Friday, October 31, 2014

Happy Hallowe'en! (and October tag)

Hello ghosts and ghouls,

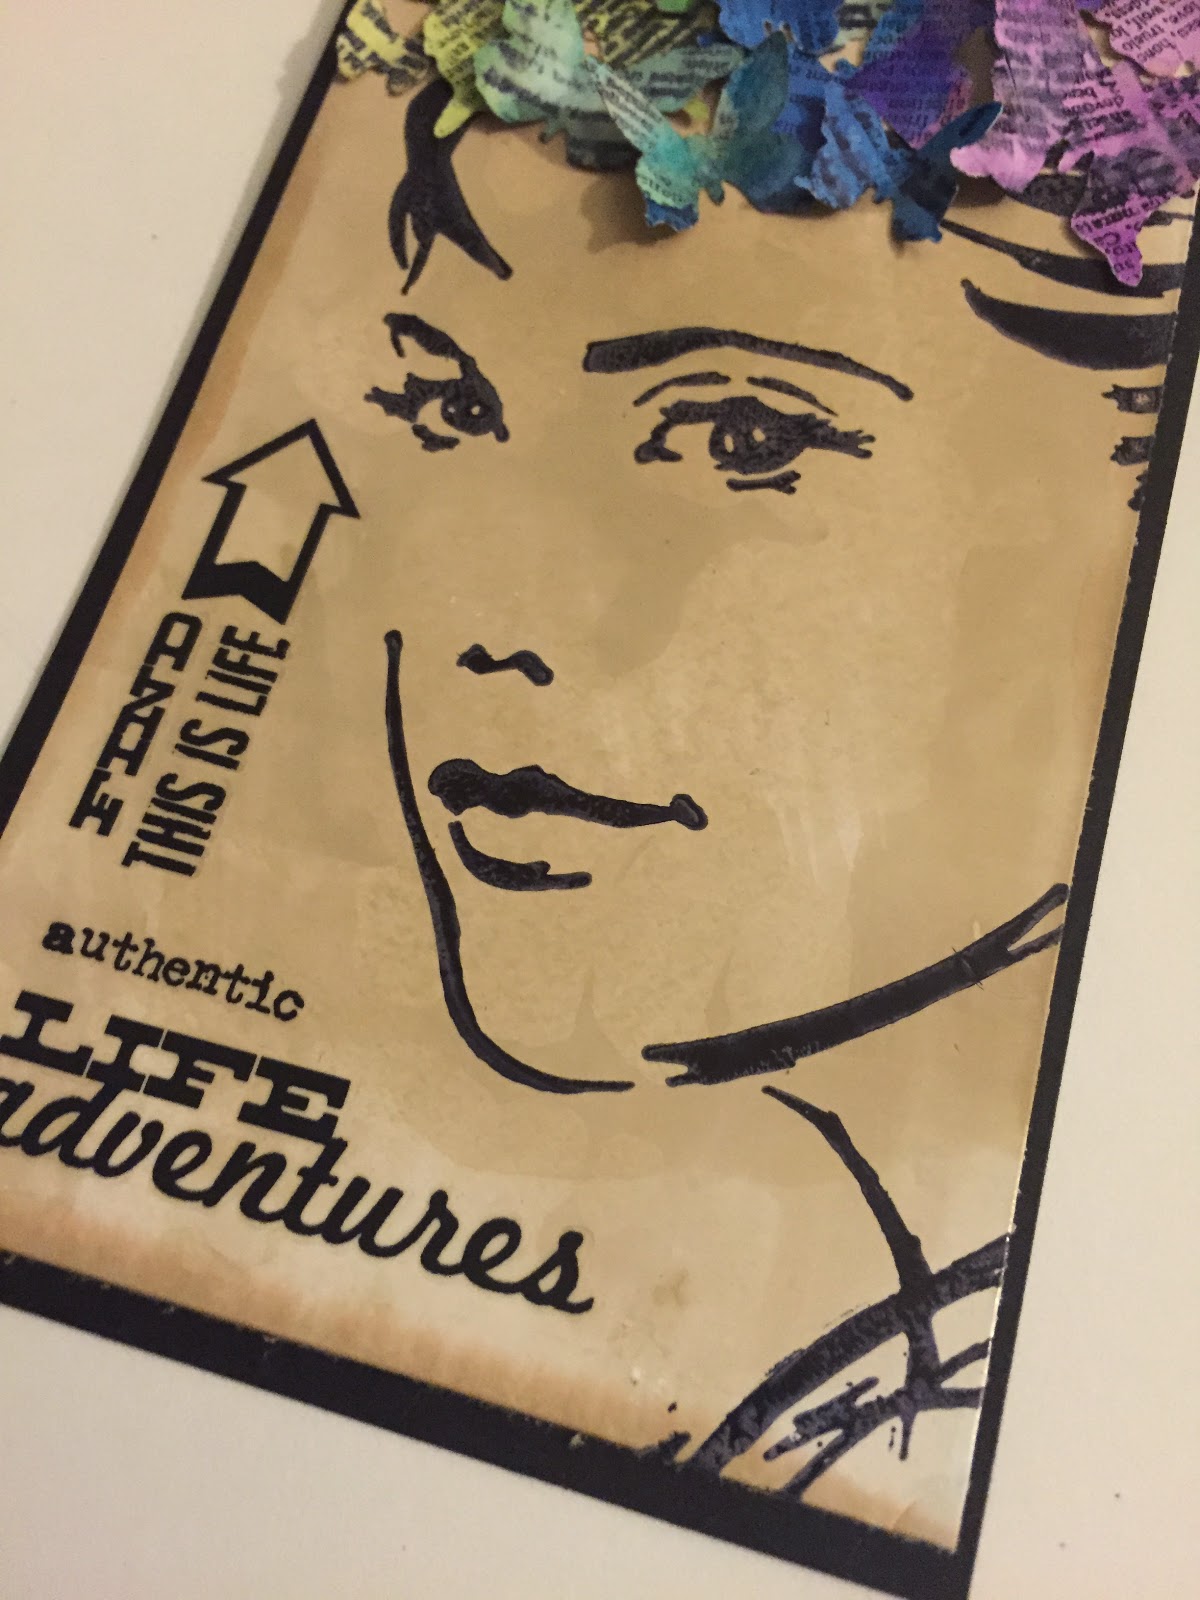
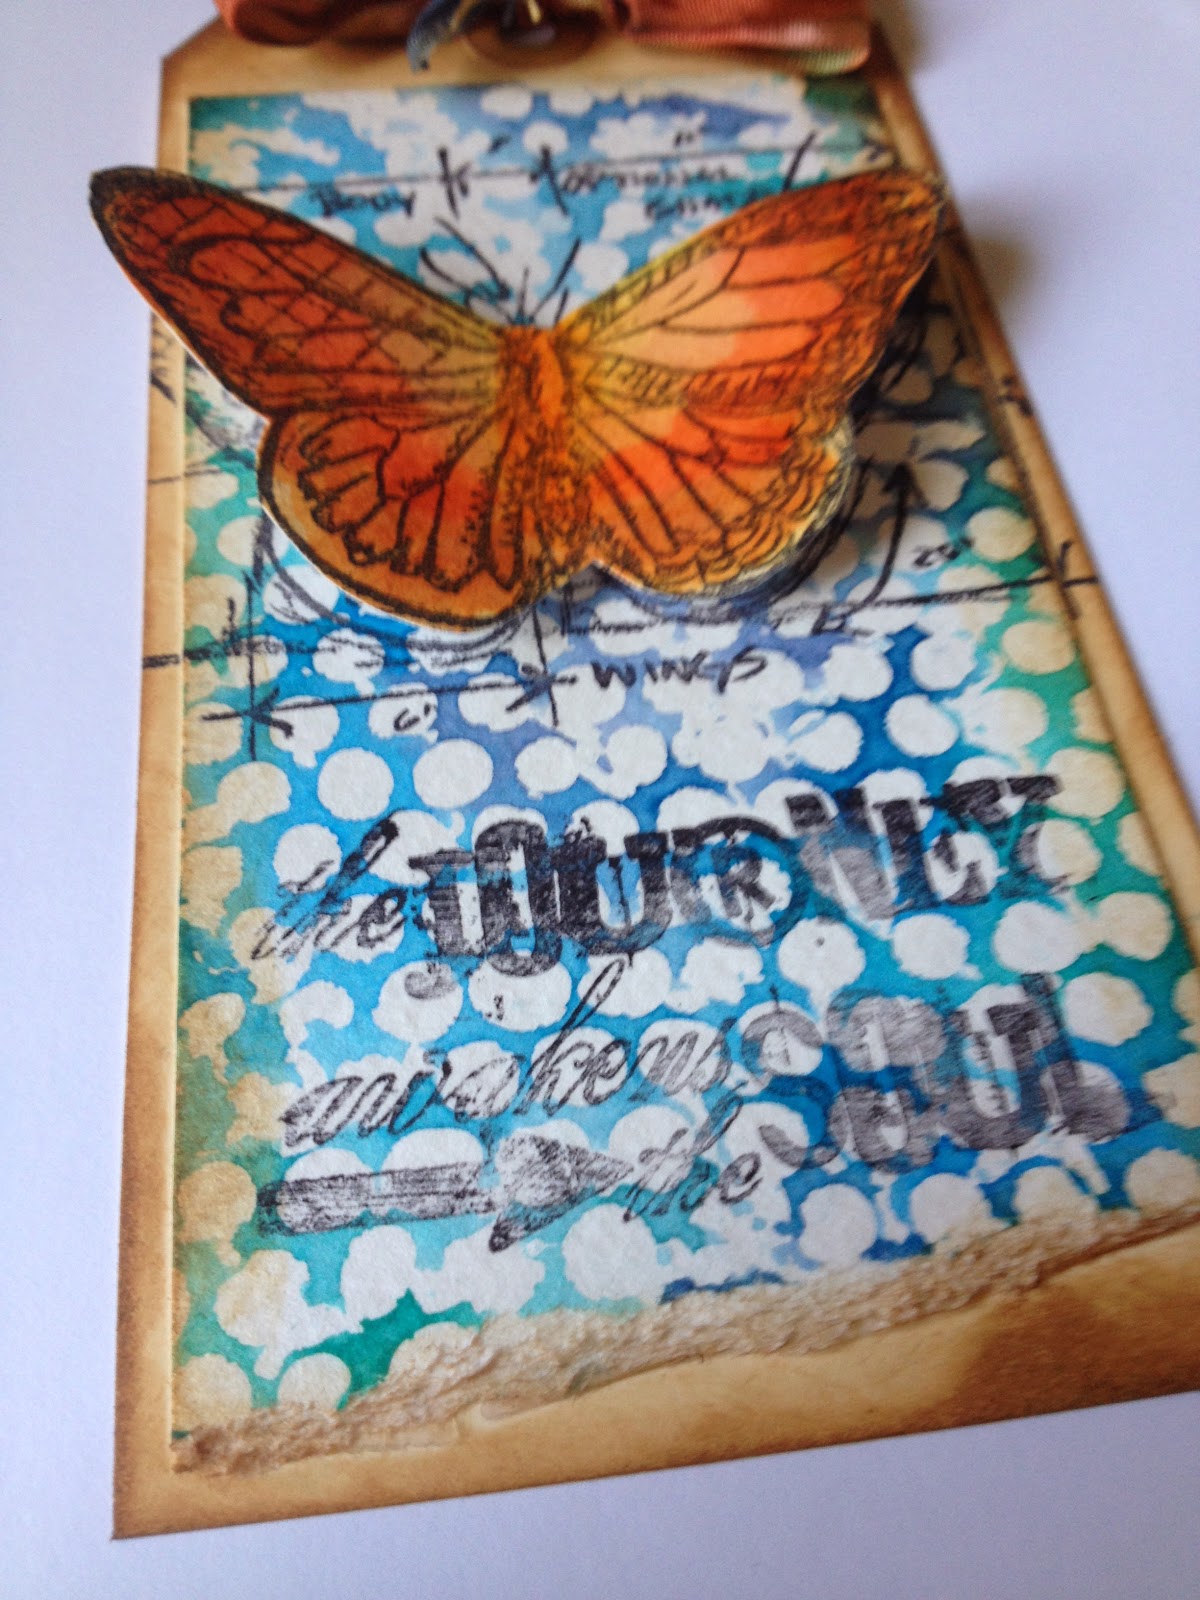
I hope you're having a frightfully wonderful Hallowe'en!  (It is entirely my favourite holiday, but I'm sad to say that I'm spending it at home, nursing a cold that's been plaguing me for what feels like far too long now!)  I did muster up the energy to whip together my October tag for you though:


Materials/Tools used:
 - Ranger Inkssentials Manila tags
 - Ranger Distress Ink: Black Soot, Frayed Burlap
 - Ranger Distress Embossing Ink
 - Ranger Distress Spray Stain: Antiqued Bronze, Crushed Olive, Seeded Preserves, Spiced Marmalade
 - Ranger Distress Paint: Picket Fence
 - Ranger Distress Markers: Mowed Lawn, Mustard Seed, Ripe Persimmon, Shabby Shutters
 - Ranger Archival Ink: Jet Black
 - Ranger Glossy Accents
 - Sharpie Marker: Black
 - Studio 490 Embossing Paste: White
 - Tsukineko Staz-on Ink: Jet Black
 - idea-ology: Alpha Chips (Elementary), Mask Sheets, Monocles, Remnant Rubs (Apothecary), Swivel Clasps, Tinsel Twine (Black), Tiny Attacher, Trimmings (Naturals, Black/Cream), Wishbones
 - Ranger Black Adhesive Foam
 - Ranger Heat Tool
 - Ranger Inkssentials Mister
 - Ranger Inkssentials Foam Blending Tool
 - Ranger Distress Marker Spritzer
 - Tonic Studios: Craft Pick, Craft Scissors, Paper Distresser
 - Stamps by Tim Holtz for Stampers Anonymous: CMS197
 - Tim Holtz for Stampers Anonymous Layering Stencil: THS027
 - Plastic palette knife
 - Waterbrush
 - 1/16" hole punch
 - Black embossing powder, cold press watercolour paper from my stash

As they are each month, techniques can be found on Tim's blog.

This month, I kept fairly close to Tim's design, with only minor variations.  A few things to note:
 - I didn't have a Dremel to drill a hole at the top of my wishbone, so I used my 1/16" hole punch.  It worked well, but it's the sort of trick that's not really recommended (and if you do try it, please don't hurt yourself!).
 - Be careful handling your Glossy Accented pumpkin, once it's dry and cut out.  It doesn't show up in pictures, but there's actually a crack near the bottom of mine that was the result of handling the tag a bit too roughly when I was putting the holes in my Alpha Chips.
 - Be aware when inking the edges of Alpha Chips, that Distress ink wipes back off fairly easily.  This is good if you accidentally apply more ink than you intended, but you have to then handle them carefully when attaching them to your project, lest you wipe off all the ink you applied.
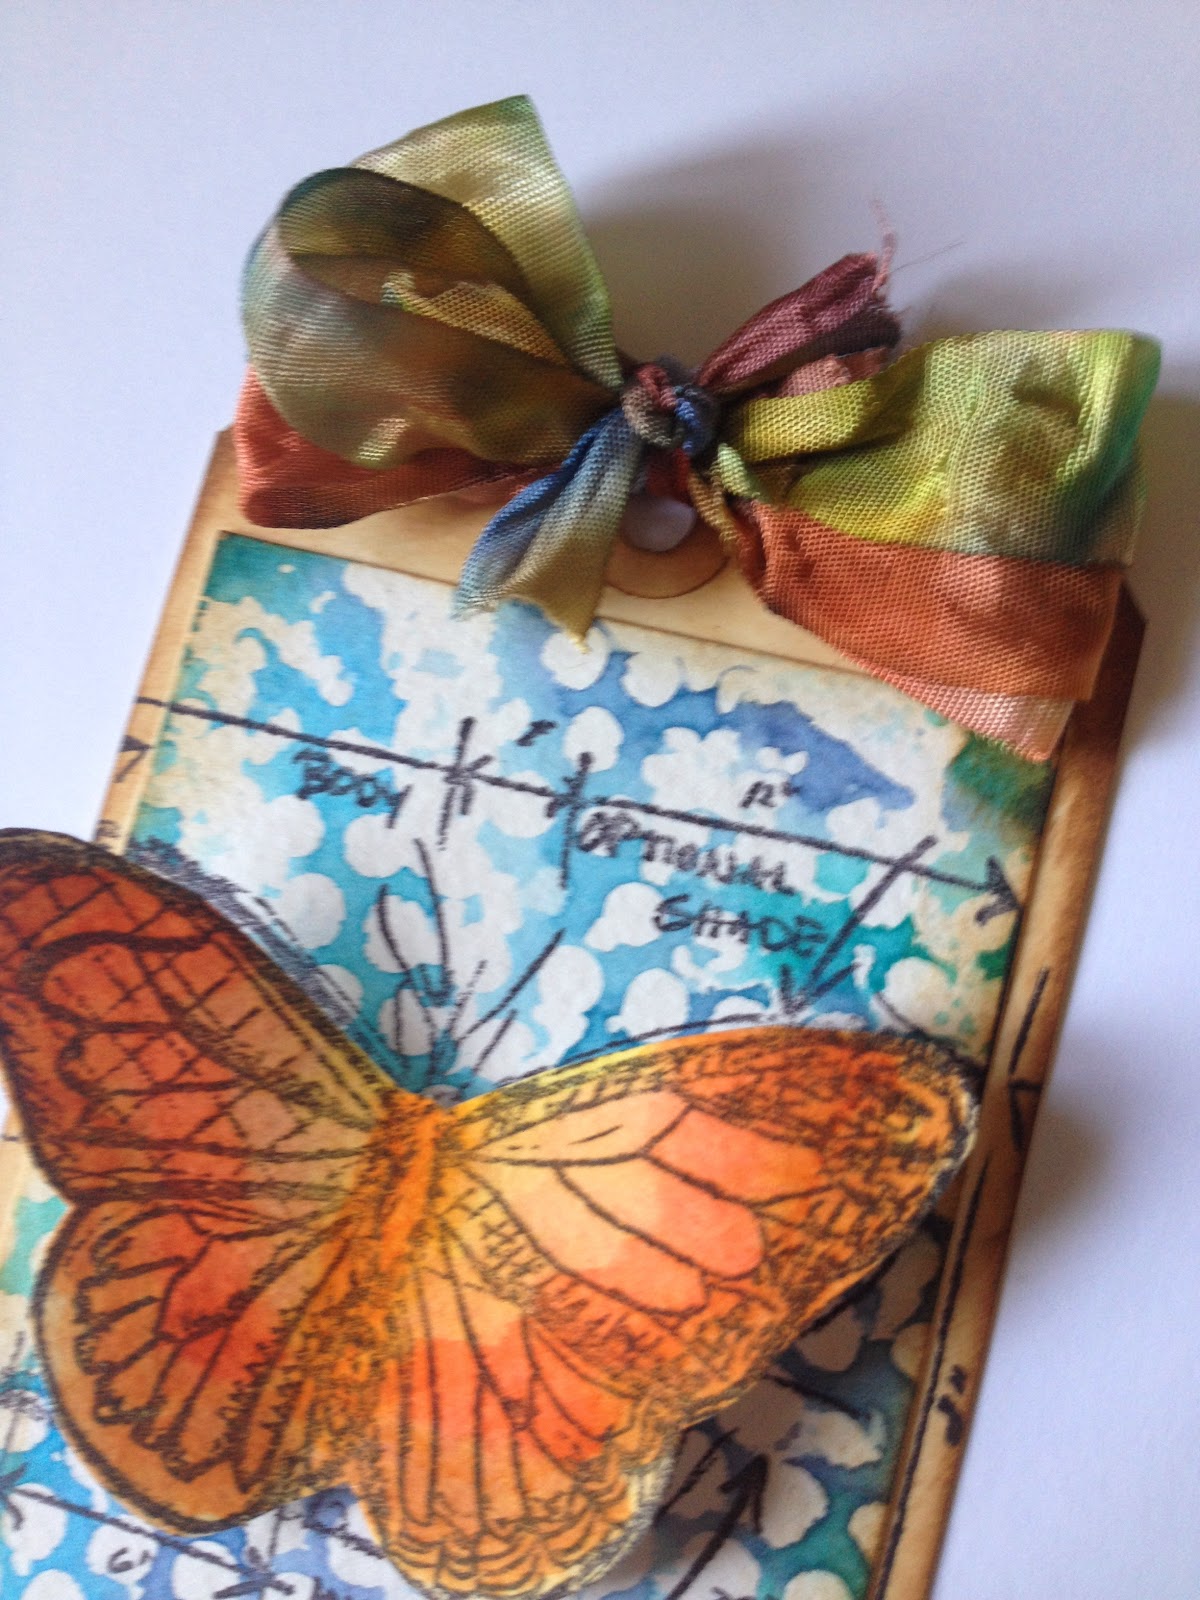
More views:


Well, that's it for tonight!

'Til next time,
BAC

Tuesday, September 30, 2014

September tag

Hello all!

I'm heavy into preparation for my October cemetery tour, but I'm popping in long enough to share my September tag with you:


Materials/tools used:
 - Ranger Inkssentials Black tags
 - Ranger Archival Ink: Jet Black
 - Ranger Alcohol Inks: Bottle, Citrus, Denim, Eggplant, Juniper, Lake Mist, Lettuce, Meadow, Purple Twilight, Sailboat Blue, Stonewashed, Stream
 - Ranger Metallic Mixatives: Gold
 - Ranger Alcohol Ink Blending Solution
 - Ranger Glossy Accents
 - Ranger Heat Tool
 - Ranger Inkssentials Foam Blending Tool
 - Ranger Alcohol Ink Felt
 - idea-ology: Remnant Rubs (Life Quotes), Tissue Tape (Hobgoblin)
 - Sizzix Big Shot
 - Sizzix Decorative Strip die: Butterfly Frenzy
 - Stamps by Stampendous (Glance), and Tim Holtz for Stampers Anonymous (CSS27843)
 - Tim Holtz for Stampers Anonymous Layering Stencil: Cargo
 - Double-stick tape, white gloss paper from my stash
 - Paper trimmer

As always with the monthly tag, techniques are on Tim's blog.  I ran into a few issues this month, mostly because when I went to do this tag, I realized that I only had one small piece of white gloss paper left, and the only store that carries it locally was already closed.  So I did what I could, but didn't experiment as much as I sometimes do.  Stamping through the stencil with blending solution seemed like a cool idea, but I had trouble getting the stencil pattern to show up.  All I got were blobs, and I think I used too much blending solution.  Going to have to try that again.  I also needed to plan slightly better how to lay out my butterflies before I began to attach them; if you look along the top of the tag, it's plain to see where I ran out of the larger sizes.  But overall, I think it's a very pretty tag, and I did enjoy making it. :-)

Additional views:


Well, that's it for now.  Hope you're having a wonderful autumn, so far!

'Til next time!
BAC

Sunday, August 31, 2014

August tag

Hello again,

I know I've been very quiet this summer.  It's been a crazy busy summer, and to be honest, projects in the craft room have fallen by the wayside for the time being.  However, I always make some time for 12 Tags!  :-)

Here's my August tag:


Materials/tools used:
 - Ranger Inkssentials Manila tags
 - Ranger Distress Ink: Gathered Twigs
 - Ranger Distress Embossing Ink
 - Ranger Distress Stain: Faded Jeans, Festive Berries
 - Ranger Distress Paint: Antiqued Bronze, Broken China, Bundled Sage
 - Ranger Archival Ink: Jet Black
 - Studio 490 Embossing Paste: White
 - Ranger Distress Embossing Powder: Vintage Photo
 - idea-ology: Crinkle Ribbon, Filmstrip Ribbon, Jute String, Remnant Rubs (Words), Sanding Grip, Tiny Attacher, Tissue Tape (Commute, Symphony), Vial Labels, Word Bands
 - Ranger Heat Tool
 - Ranger Inkssentials Mister
 - Ranger Inkssentials Foam Blending Tool
 - Tonic Studios: Craft Scissors, Paper Distresser
 - Stamps by Tim Holtz for Stampers Anonymous: CMS160
 - Tim Holtz for Stampers Anonymous Layering Stencils: Clockwork, Eye Chart, Harlequin, Splatters
 - Plastic palette knife

I took my take on Tim's tag in a London direction.  Followed pretty much the same bunch of techniques in his August post, though I have fewer metal embellishments on my tag.  Otherwise, very much the same.  I think my favourite thing about this month's tag is the rust effect along some of the edges.

More views:


Well, that's it for now.  I'm not sure when I'm going to be getting back to my regular project schedule, but in the meantime, you know you can count on seeing me back here for next month's tag.  :-)  And if there's something you'd like to see more of, learn about, or see me post about, feel free to comment below, or email me directly: bfloanonchick (at) gmail (dot) com.

'Til next time!

BAC

Sunday, July 27, 2014

12 Tags of 2014: July

Hello again!

I'm headed out of town for a few days in the morning, but first I wanted to share my July tag with you! :-)

Here it is:


Materials/tools used:
 - Ranger Inkssentials Manila tags
 - Ranger Distress Ink: Evergreen Bough, Gathered Twigs, Salty Ocean
 - Ranger Distress Stain: Pumice Stone, Weathered Wood
 - Ranger Distress Paint: Antique Linen, Broken, China, Peeled Paint, Salty Ocean, Weathered Wood, Wild Honey
 - Ranger Distress Crackle Paint: Clear Rock Candy
 - Ranger Distress Markers: Brushed Corduroy, Pumice Stone
 - Ranger Distress Embossing Powder: Antique Linen, Black Soot
 - Ranger Distress Glitter: Antique Linen
 - Ranger UTEE: Clear
 - Ranger Glossy Accents
 - Ranger Distress Marker Spritzer
 - Ranger Heat Tool
 - Ranger Inkssentials Foam Blending Tool
 - Ranger Inkssentials Mister
 - Core'dinations Tim Holtz Kraft Core: #2, #9, #11
 - idea-ology: Grungeboard, Jute String, Linen Ribbon, Sanding Grip, Tiny Attacher, Word Bands
 - Sizzix Big Shot
 - Sizzix Bigz die: Sand & Sea
 - Sizzix Decorative Strip die: Spring Greenery
 - Sizzix Movers & Shapers dies: Mini Sand & Sea
 - Quickutz Circles A2 embossing folder
 - Tonic Craft Scissors
 - Plastic palette knife
 - Single whole punch
 - Clear plastic (I reused the package from a Sizzix Bigz die)

As with each of the 12 Tags, techniques can be found on Tim's blog.  :-)

Notes:
 - The tag is pretty close to Tim's example.  I switched up a couple of colours here and there, and used a different embossing folder for the plastic, but the effect of the bubbles is pretty much the same.
 - I still don't own the #8 tag die (someday!), so I just cut my embossed plastic using a blank tag as a guide.  The plastic slipped a bit, so it's not perfect, but it's pretty close.  :-)  Then used my single hole punch to punch the hole at the top.
 - Couldn't lay my hands on my paper distresser (which I'm sure will jump out at me, now that I'm finished with the tag), but in a pinch, you can use one of the craft scissor blades to get the same effect.
 - I really enjoyed making the "sand", but I probably should have used a little bit more Glossy Accents in my mix.  Not sure how well it's going to stay, or if I'm going to wind up replacing it in a few days.  :-/

More views:


Well, that's it for now.  I'm HOPING to get one more project done on Thursday of this week, so hopefully I'll talk to you then!

BAC

Wednesday, July 23, 2014

A Bit About Blitsy!

This post brought to you by Blitsy. The content and opinions expressed below are that of BAC's Creative Adventures.

Hello all,

I'll be back to posting projects a little later this week, but in the meantime, I wanted to talk a bit about Blitsy.com's online craft store again.  (You might remember I gave a little info about this awesome site last fall during their Holiday Card Challenge.)

Basically, Blitsy is a private sale site, just for crafting supplies!  :-)  You have to be a member (though membership is free), and then you get emails that tell you what's currently on sale.  New sales start 3 times a week (Monday, Wednesday and Friday at 11 am CST).  Sales last 7 days, or until everything is Blitsed (sold out).  (If there's something you really want, I recommend logging in quickly, since some items sell out pretty quick!)  Members can also refer their friends and receive shopping credits!

The type of craft supplies they sell run the gamut from paper-crafting, to jewelry-making, needle crafts, fine arts, stuff for kids, and more.  I pretty much stick with just the paper-crafting stuff, and I'l gotten some great deals.  If you're a Tim Holtz fan, they usually have his products on sale a couple of times a month.  I've seen Sizzix products, Fiskars, Colorbox, Ranger, and so many more great brands, and the prices are discounted up to 70%.  And they carry a nice mix of newer and older products, as well.  When Ranger recently changed their embossing powder line-up, it got harder to find the discontinued powders, but I was able to grab a nice little stash of several colours from Blitsy.  At the same time, I've also seen some of Tim Holtz's latest blueprint stamps for sale on Blitsy.

In addition to great sales, Blitsy has a lot to offer by way of crafty inspiration.  They have a whole section set aside where members can share their projects with others (which is a great way to build a following for your work!), and their blog also has great craft tips and inspiration from their staff (usually 1-2 posts per day).

So if you haven't given Blitsy a try yet, what are you waiting for???

Visit Sponsor's Site

Monday, June 30, 2014

Bombshell June Colour Challenge: Flora Brights

And I'm back with round 2 for tonight!

This project was created for Bombshell Stamps' June Colour Challenge ("Flora Brights").

And first, a BIG THANK YOU!!! to Bombshell for choosing my May project as their monthly winner! I got a fabulous gift certificate that allowed me to add to my Bombshell collection!  :-)

These were the colours to match:


Here's my tag:


Materials/tools used:
 - Ranger Inkssentials #5 Manila tags
 - Ranger Distress Stain: Broken China
 - Ranger Archival Ink: Cobalt
 - Tsukineko Memento Ink: Tuxedo Black
 - Copic Sketch markers: G46, R02, R05, YR61
 - Maya Road Twine Cording Solids: Blue Raspberry
 - Ranger Heat Tool
 - Bombshell Stamps "Lotus Garden" stamp set
 - Tonic Studios Craft Scissors
 - White cardstock, foam dots from my stash

This was another quick and easy project!  :-)  I really like the lotus stamp, and wanted it to be my focus, so I sized down to a #5 tag.  Covered my tag with Distress Stain, and heated it to dry it faster.  Stamped the water ripple and "Balance" with Archival, and set the tag aside.  Stamped the lotus and petals on some white cardstock (I just grab a couple of blank ATCs for stuff like this) with the Memento dye ink (love it for working with Copics!), gave it a quick shot with the heat tool to dry it, and went to town with my Copics.  I coloured an area of green below the lotus, and included that when I cut it out to give the impression of a lily pad beneath it.  Once everything was coloured and cut out, I attached the pieces to the tag with foam dots for dimension, added some twine cording on the top, and I was done!

More views:


Well, that's it for now!  I'm going to be spending some time out of town in July, so I'm really going to try to get the July projects up a bit faster.  ;-)  Hope you're all enjoying your summers as much as I am!

'Til next time!
BAC

12 Tags of 2014: June

Hello all!

Long time, no blog, I know.  It's been a crazy summer, and summer's just getting started!  :-)

I have two projects to share with you this evening, and the first is my June tag for 12 Tags:


Materials/tools used:
 - Ranger Inkssentials Manila tags
 - Ranger Distress Ink: Broken China, Faded Jeans, Peacock Feathers, Ripe Persimmon, Rusty Hinge, Salty Ocean, Spiced Marmalade, Vintage Photo
 - Ranger Archival Ink: Jet Black
 - idea-ology Crinkle Ribbon
 - Ranger Heat Tool
 - Ranger Inkssentials Mister
 - Ranger Inkssentials Foam Blending Tool
 - Tonic Studios Craft Scissors
 - Tim Holtz for Stampers Anonymous Layering Stencils: Bubble
 - Stamps by Tim Holtz for Stampers Anonymous: CSS25887, U1-2067
 - Cold-press watercolour paper
 - Paper trimmer
 - Waterbrush
- Double-stick tape, foam dots from my stash

Tips and techniques are on Tim's blog.  :-)

I don't own any of the stamp/die combo sets that Tim highlighted in his project post, but you can get the same effect by fussy-cutting your stamped image.

Also, I think it's time to re-ink my Archival black pad.  ;-)

More views:


Well, that's it on this project.  Back in a little bit with another!

'Til then,
BAC