Hello ghosts and ghouls,
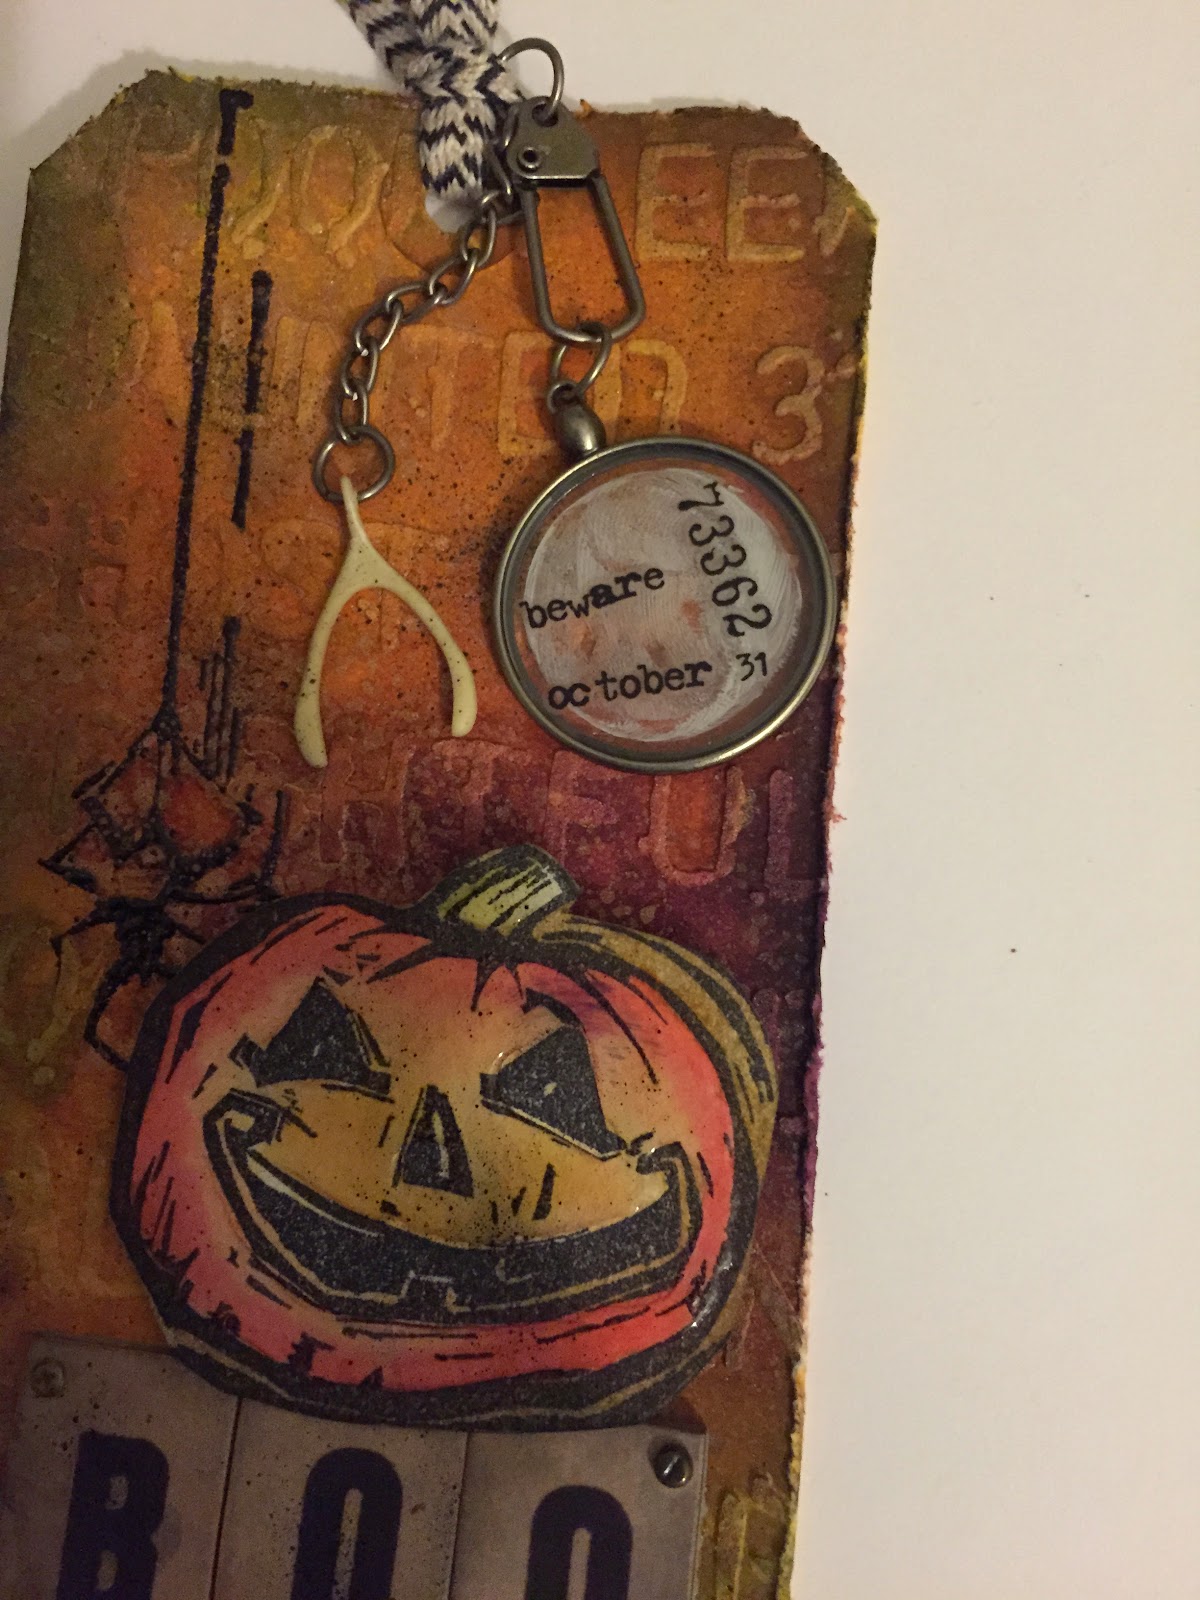
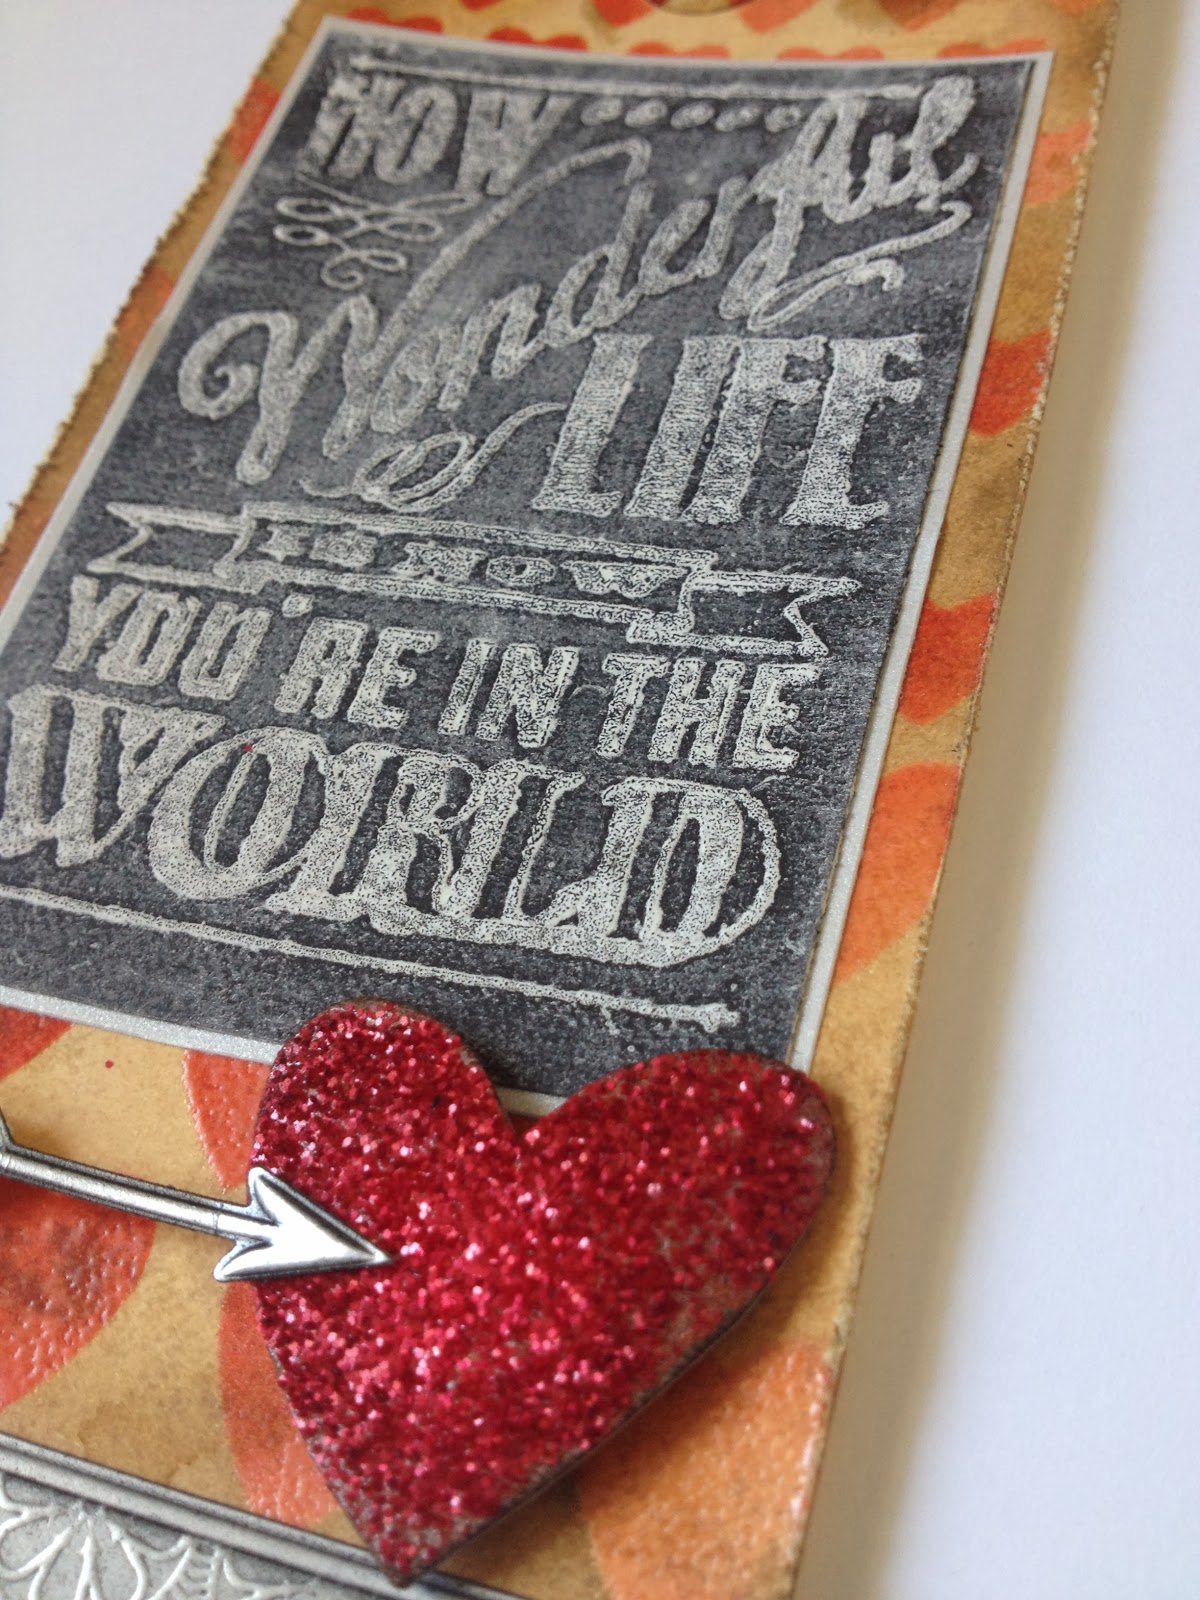
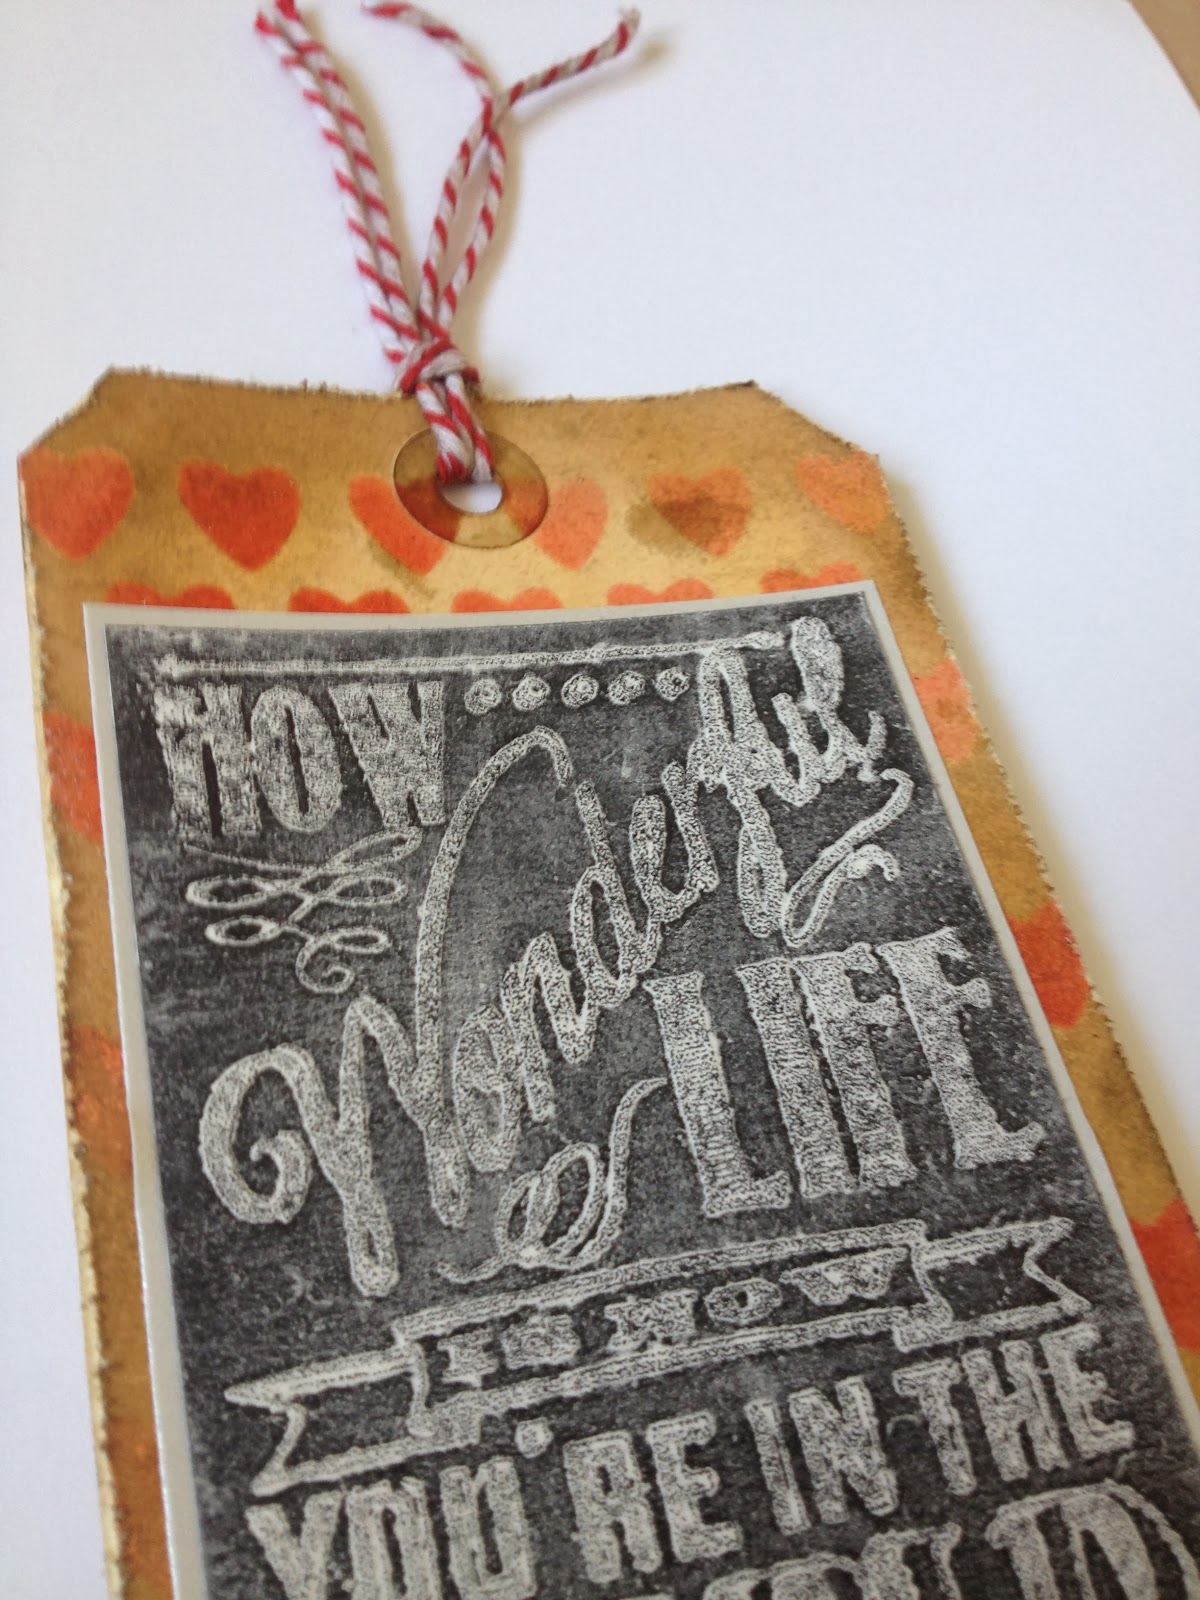
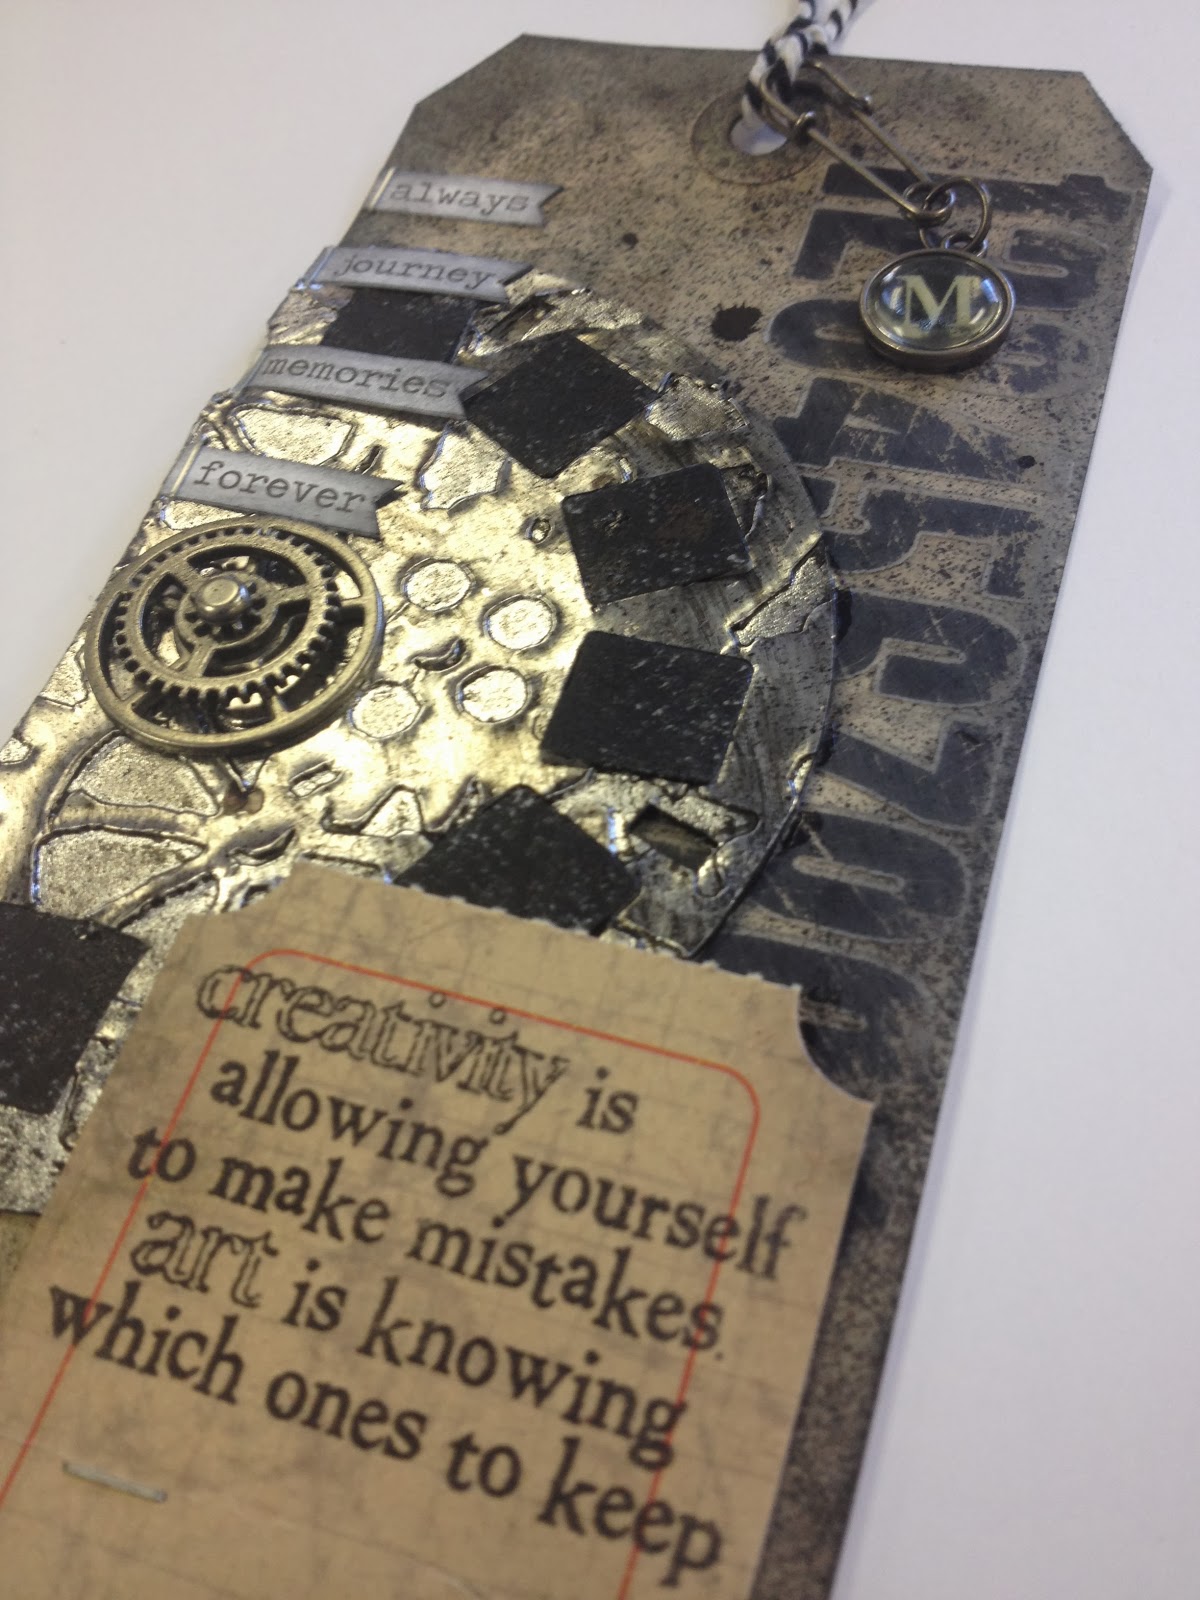
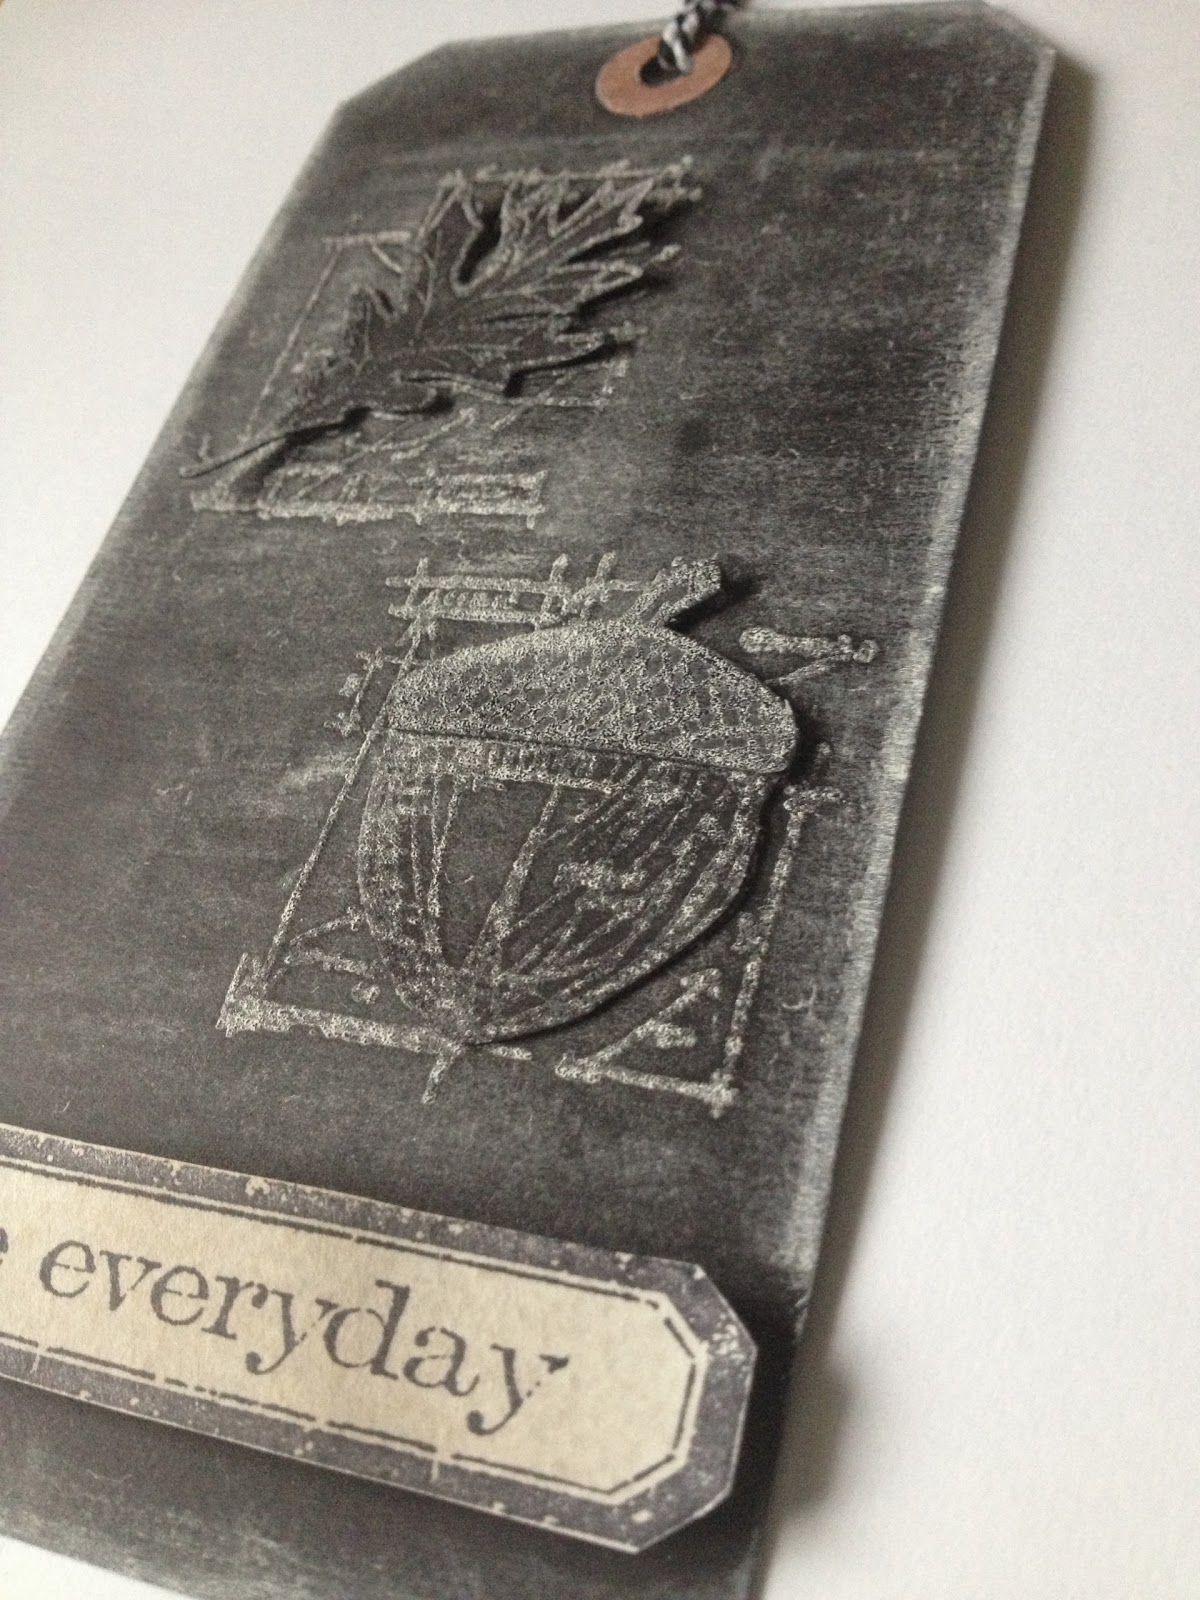
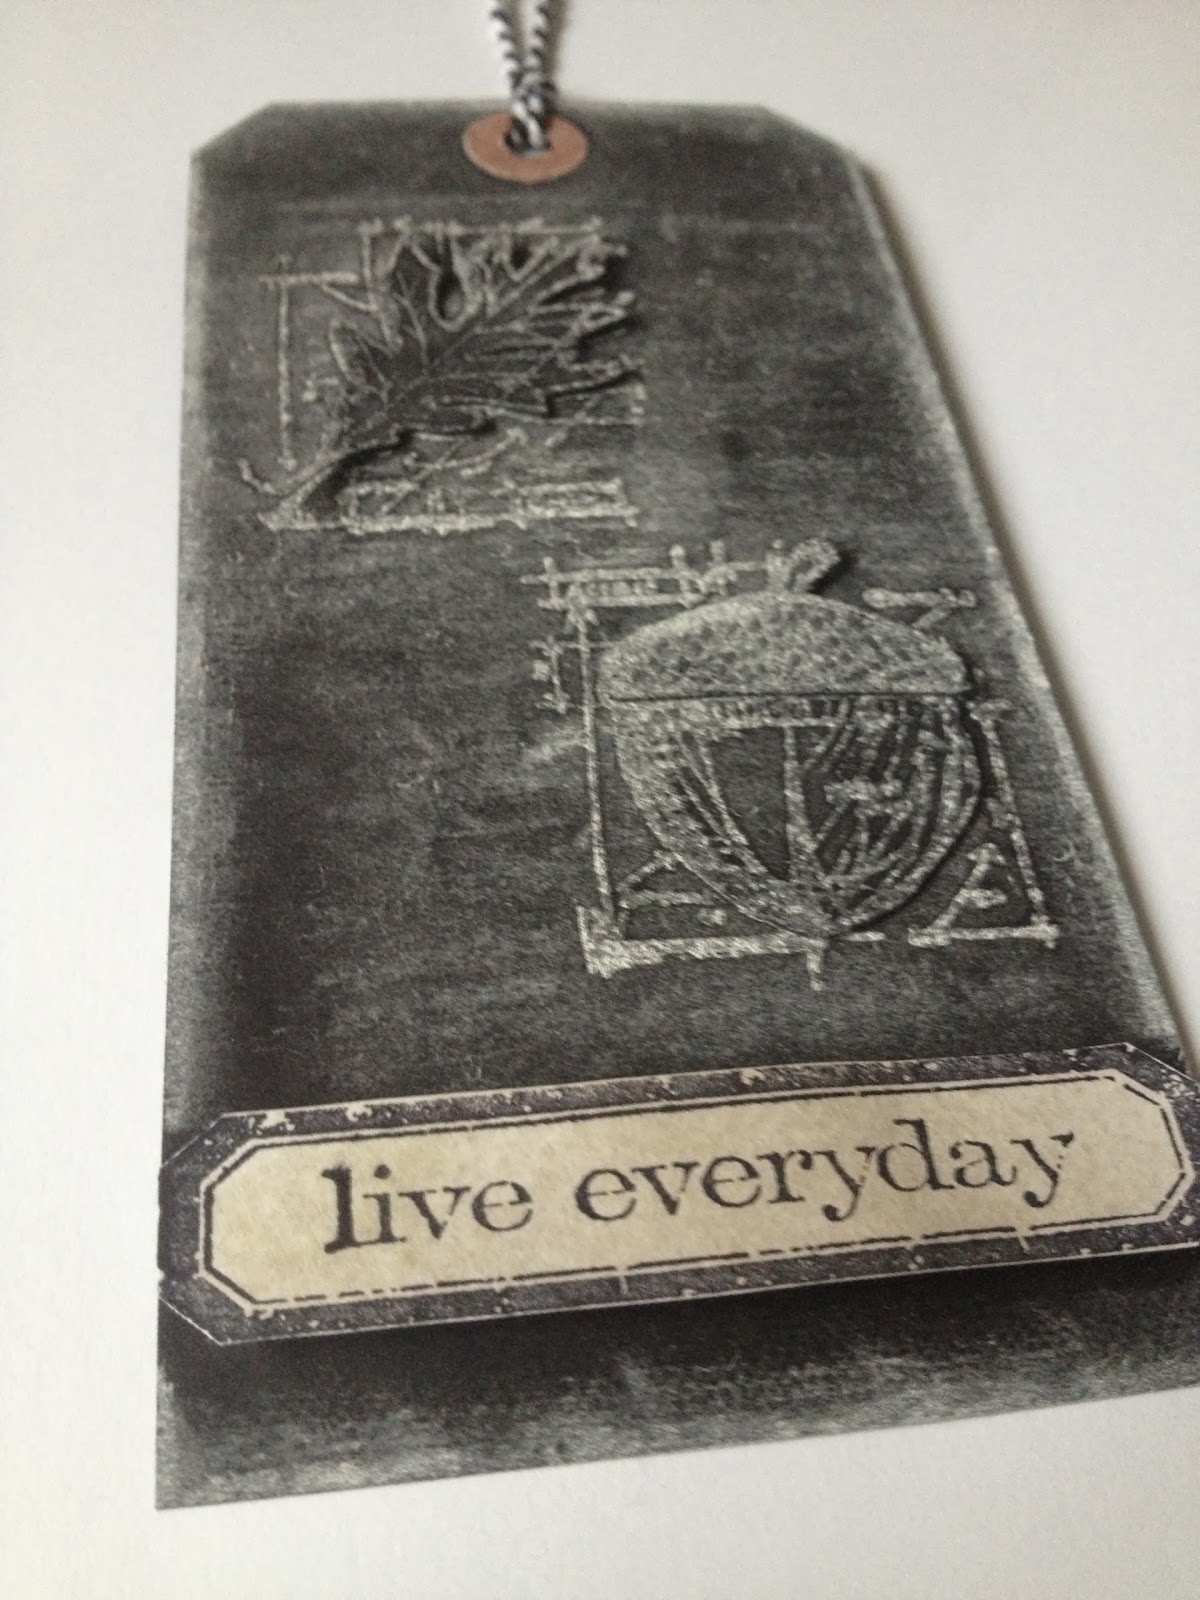
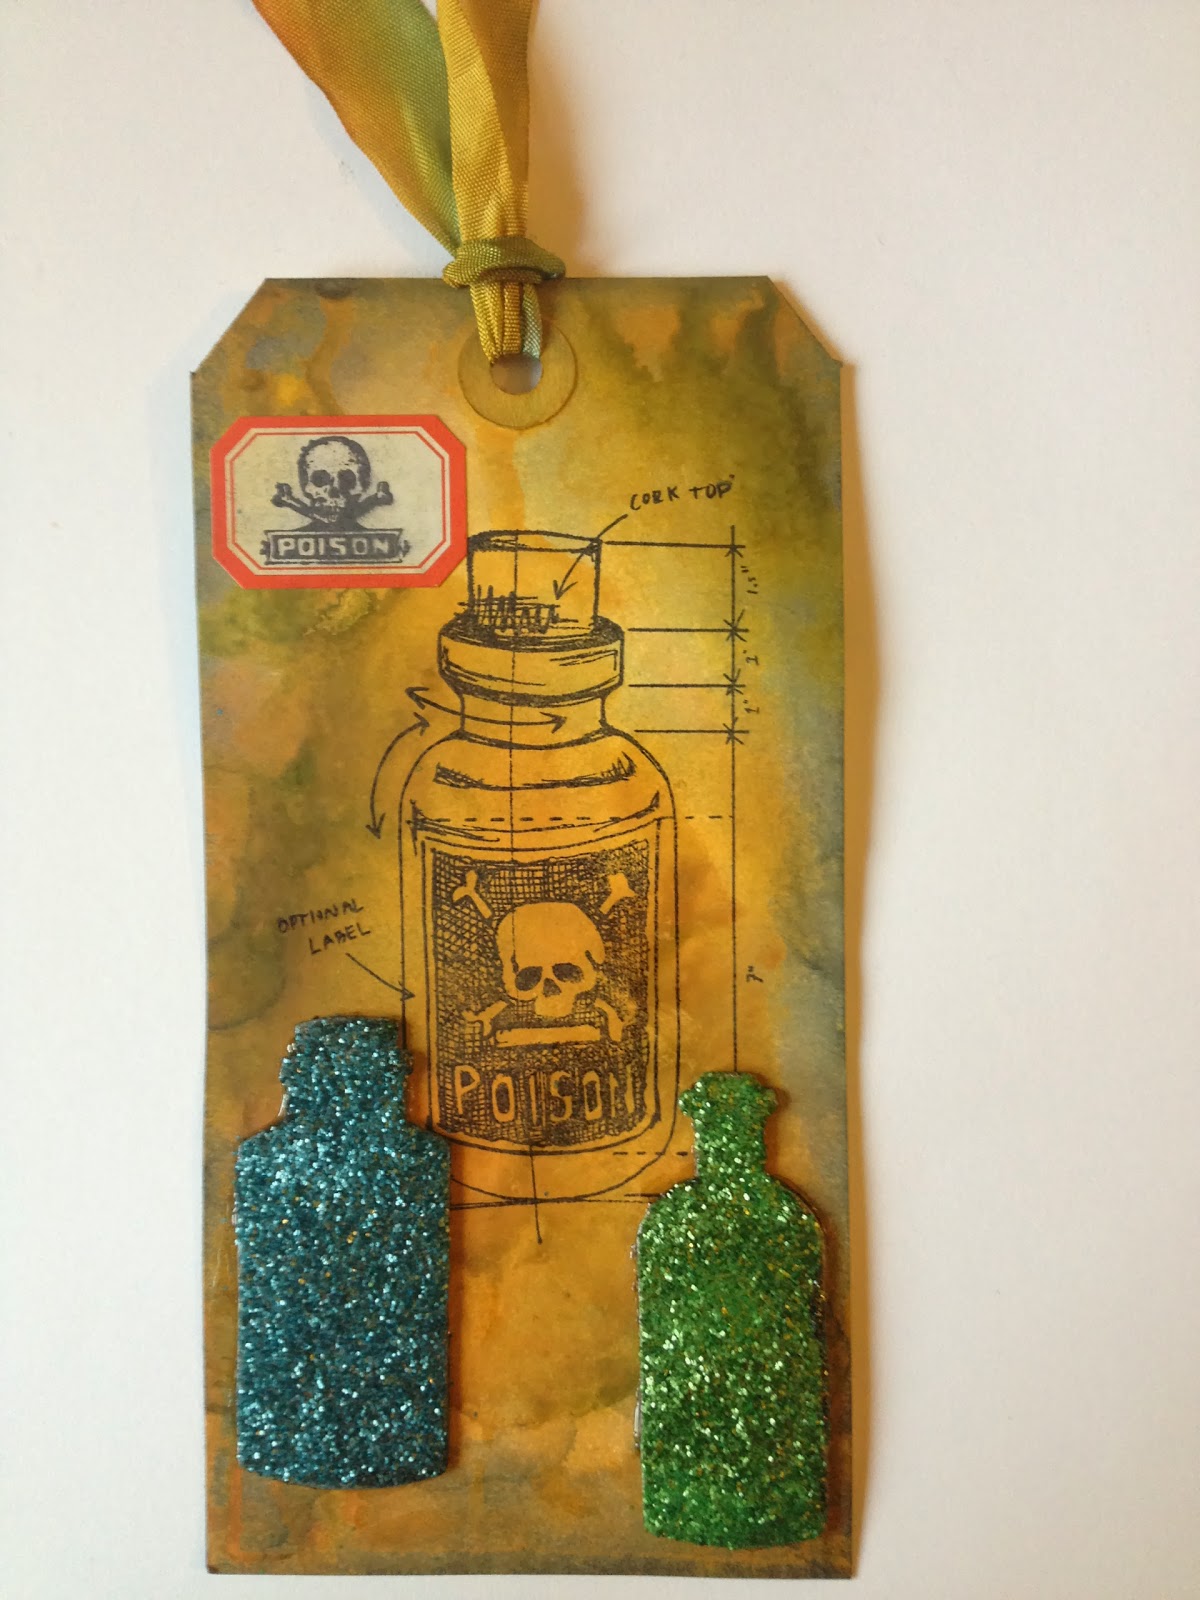
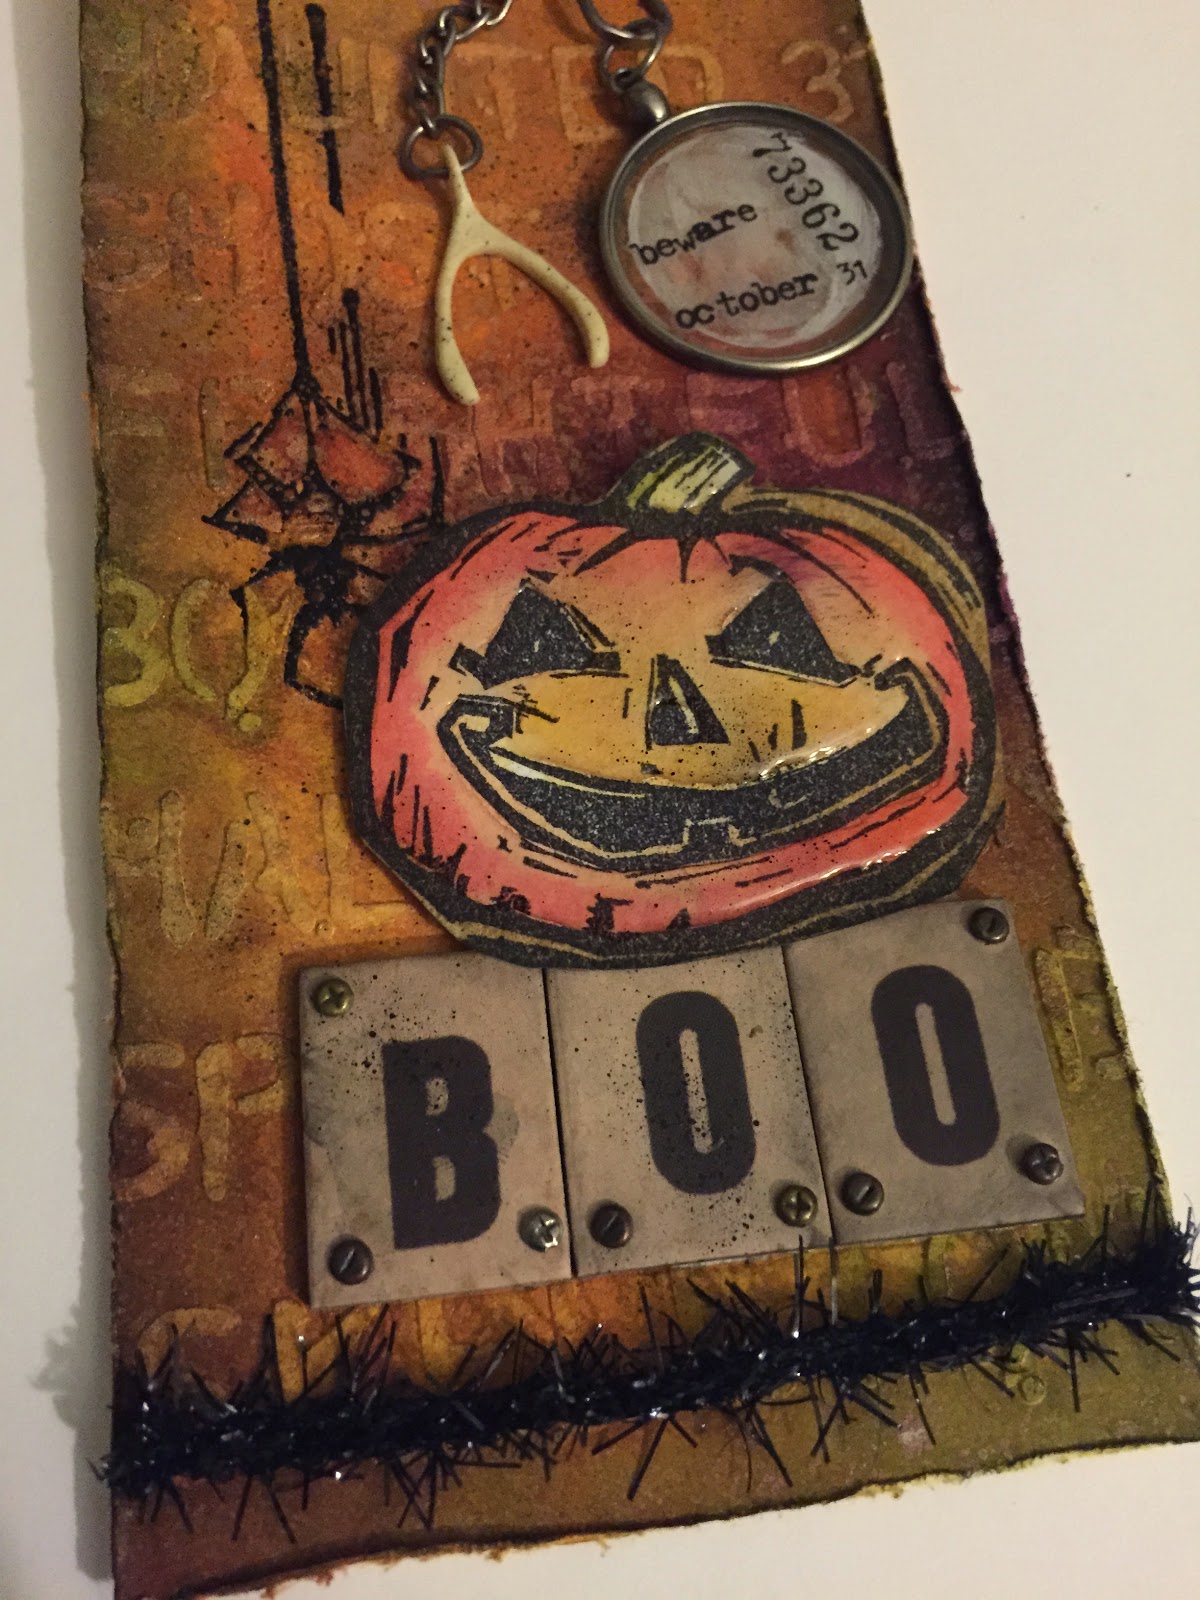
I hope you're having a frightfully wonderful Hallowe'en! (It is entirely my favourite holiday, but I'm sad to say that I'm spending it at home, nursing a cold that's been plaguing me for what feels like far too long now!) I did muster up the energy to whip together my October tag for you though:
Materials/Tools used:
- Ranger Inkssentials Manila tags
- Ranger Distress Ink: Black Soot, Frayed Burlap
- Ranger Distress Embossing Ink
- Ranger Distress Spray Stain: Antiqued Bronze, Crushed Olive, Seeded Preserves, Spiced Marmalade
- Ranger Distress Paint: Picket Fence
- Ranger Distress Markers: Mowed Lawn, Mustard Seed, Ripe Persimmon, Shabby Shutters
- Ranger Archival Ink: Jet Black
- Ranger Glossy Accents
- Sharpie Marker: Black
- Studio 490 Embossing Paste: White
- Tsukineko Staz-on Ink: Jet Black
- idea-ology: Alpha Chips (Elementary), Mask Sheets, Monocles, Remnant Rubs (Apothecary), Swivel Clasps, Tinsel Twine (Black), Tiny Attacher, Trimmings (Naturals, Black/Cream), Wishbones
- Ranger Black Adhesive Foam
- Ranger Heat Tool
- Ranger Inkssentials Mister
- Ranger Inkssentials Foam Blending Tool
- Ranger Distress Marker Spritzer
- Tonic Studios: Craft Pick, Craft Scissors, Paper Distresser
- Stamps by Tim Holtz for Stampers Anonymous: CMS197
- Tim Holtz for Stampers Anonymous Layering Stencil: THS027
- Plastic palette knife
- Waterbrush
- 1/16" hole punch
- Black embossing powder, cold press watercolour paper from my stash
As they are each month, techniques can be found on Tim's blog.
This month, I kept fairly close to Tim's design, with only minor variations. A few things to note:
- I didn't have a Dremel to drill a hole at the top of my wishbone, so I used my 1/16" hole punch. It worked well, but it's the sort of trick that's not really recommended (and if you do try it, please don't hurt yourself!).
- Be careful handling your Glossy Accented pumpkin, once it's dry and cut out. It doesn't show up in pictures, but there's actually a crack near the bottom of mine that was the result of handling the tag a bit too roughly when I was putting the holes in my Alpha Chips.
- Be aware when inking the edges of Alpha Chips, that Distress ink wipes back off fairly easily. This is good if you accidentally apply more ink than you intended, but you have to then handle them carefully when attaching them to your project, lest you wipe off all the ink you applied.
More views:
Well, that's it for tonight!
'Til next time,
BAC
Showing posts with label 12 tags. Show all posts
Friday, October 31, 2014
Tuesday, September 30, 2014
September tag
Hello all!
I'm heavy into preparation for my October cemetery tour, but I'm popping in long enough to share my September tag with you:
Materials/tools used:
- Ranger Inkssentials Black tags
- Ranger Archival Ink: Jet Black
- Ranger Alcohol Inks: Bottle, Citrus, Denim, Eggplant, Juniper, Lake Mist, Lettuce, Meadow, Purple Twilight, Sailboat Blue, Stonewashed, Stream
- Ranger Metallic Mixatives: Gold
- Ranger Alcohol Ink Blending Solution
- Ranger Glossy Accents
- Ranger Heat Tool
- Ranger Inkssentials Foam Blending Tool
- Ranger Alcohol Ink Felt
- idea-ology: Remnant Rubs (Life Quotes), Tissue Tape (Hobgoblin)
- Sizzix Big Shot
- Sizzix Decorative Strip die: Butterfly Frenzy
- Stamps by Stampendous (Glance), and Tim Holtz for Stampers Anonymous (CSS27843)
- Tim Holtz for Stampers Anonymous Layering Stencil: Cargo
- Double-stick tape, white gloss paper from my stash
- Paper trimmer
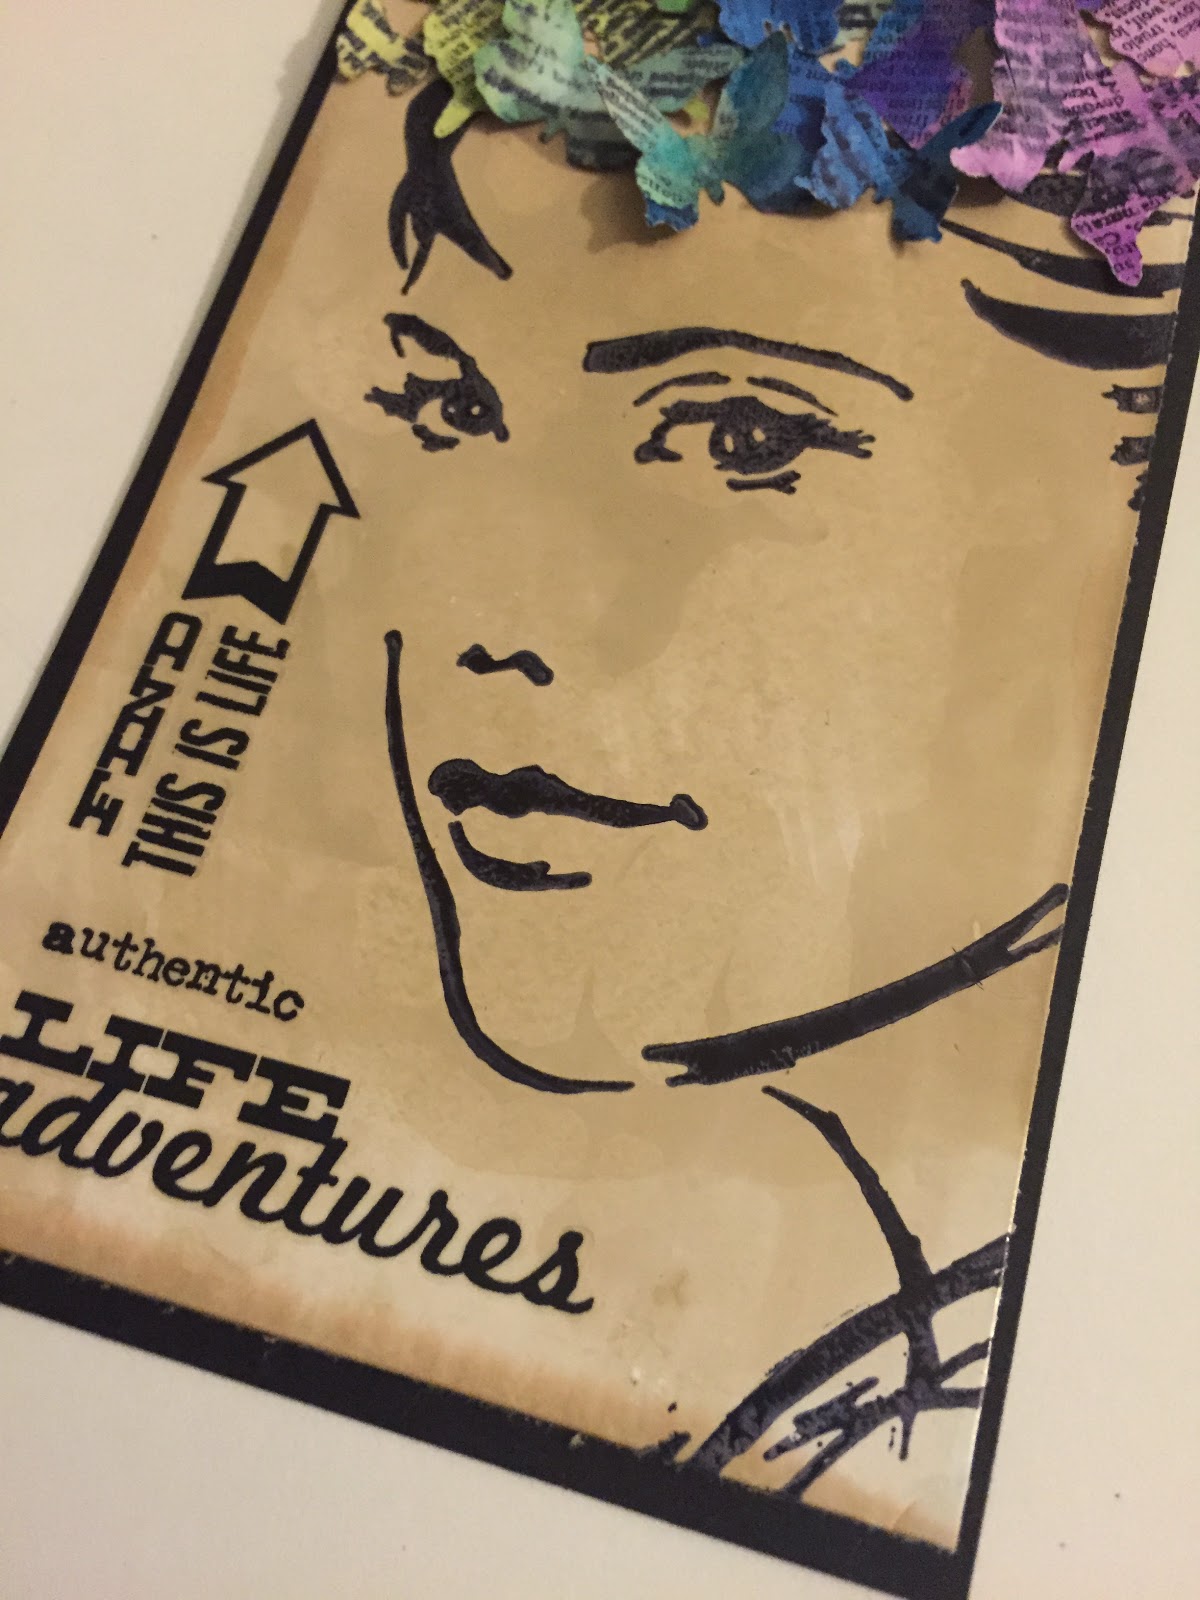
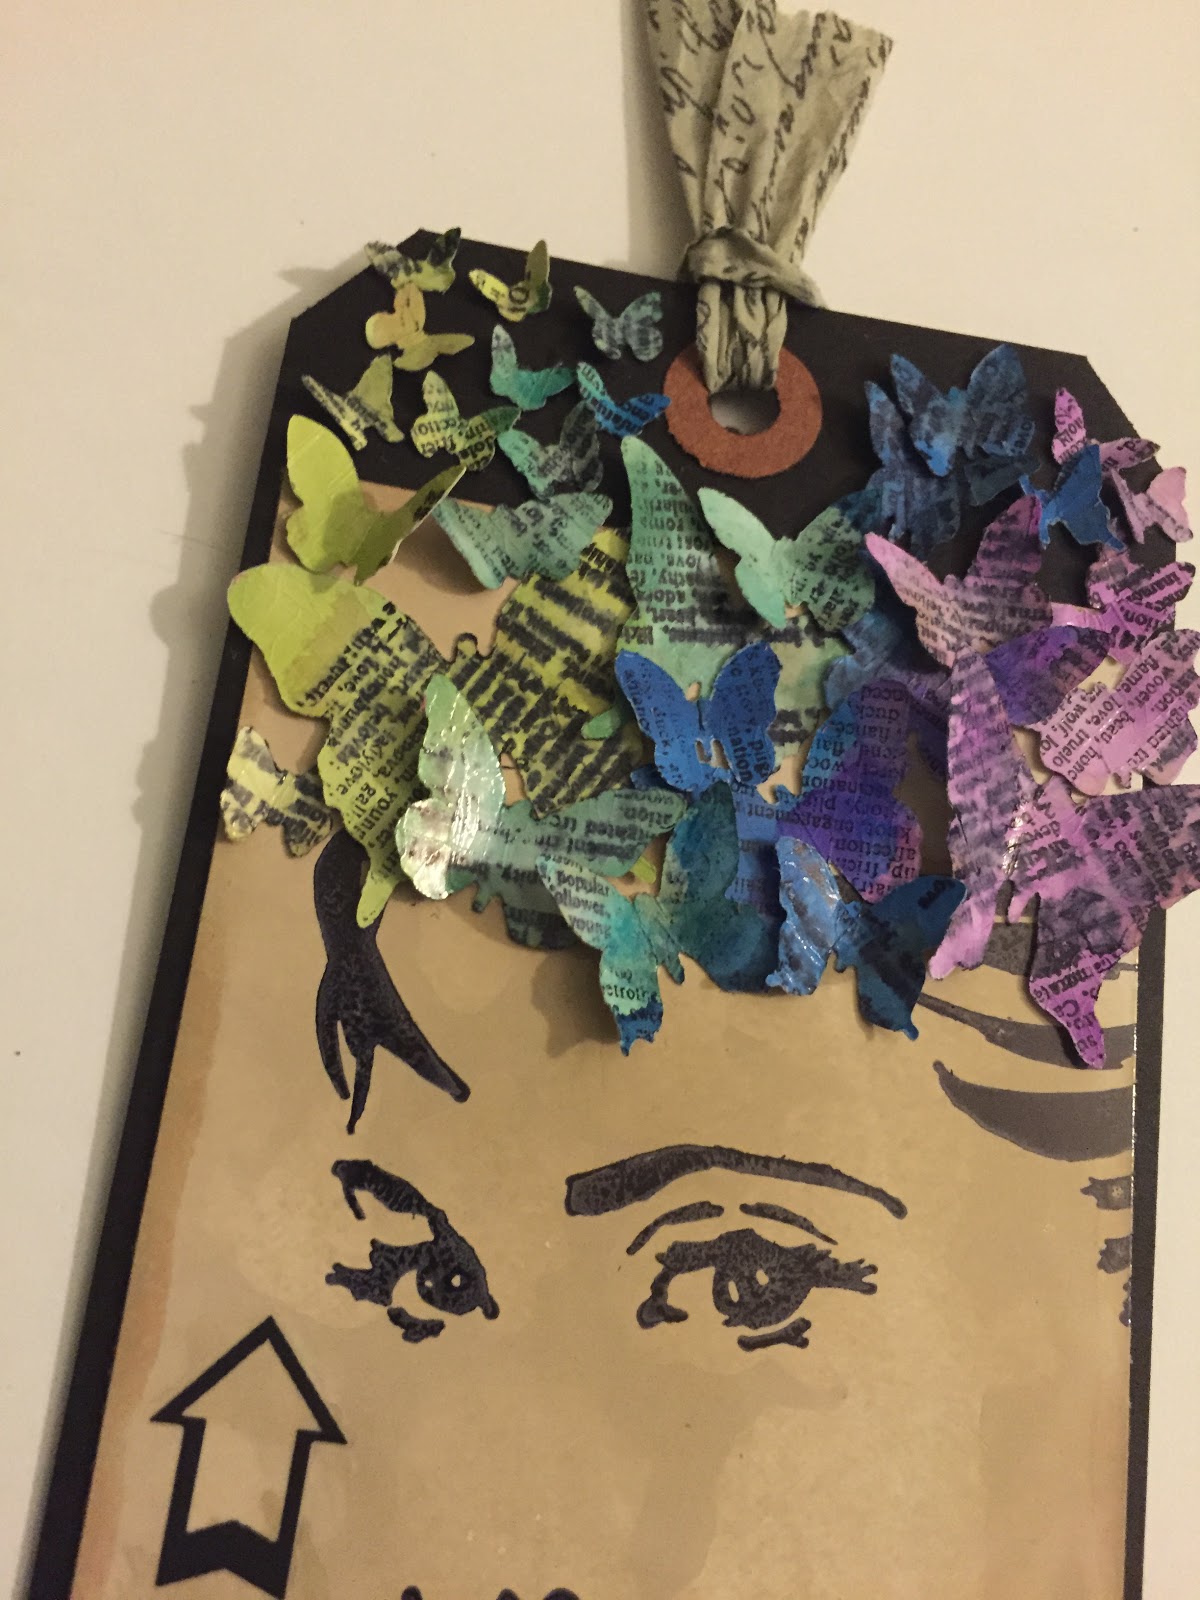
As always with the monthly tag, techniques are on Tim's blog. I ran into a few issues this month, mostly because when I went to do this tag, I realized that I only had one small piece of white gloss paper left, and the only store that carries it locally was already closed. So I did what I could, but didn't experiment as much as I sometimes do. Stamping through the stencil with blending solution seemed like a cool idea, but I had trouble getting the stencil pattern to show up. All I got were blobs, and I think I used too much blending solution. Going to have to try that again. I also needed to plan slightly better how to lay out my butterflies before I began to attach them; if you look along the top of the tag, it's plain to see where I ran out of the larger sizes. But overall, I think it's a very pretty tag, and I did enjoy making it. :-)
Additional views:
Well, that's it for now. Hope you're having a wonderful autumn, so far!
'Til next time!
BAC
I'm heavy into preparation for my October cemetery tour, but I'm popping in long enough to share my September tag with you:
Materials/tools used:
- Ranger Inkssentials Black tags
- Ranger Archival Ink: Jet Black
- Ranger Alcohol Inks: Bottle, Citrus, Denim, Eggplant, Juniper, Lake Mist, Lettuce, Meadow, Purple Twilight, Sailboat Blue, Stonewashed, Stream
- Ranger Metallic Mixatives: Gold
- Ranger Alcohol Ink Blending Solution
- Ranger Glossy Accents
- Ranger Heat Tool
- Ranger Inkssentials Foam Blending Tool
- Ranger Alcohol Ink Felt
- idea-ology: Remnant Rubs (Life Quotes), Tissue Tape (Hobgoblin)
- Sizzix Big Shot
- Sizzix Decorative Strip die: Butterfly Frenzy
- Stamps by Stampendous (Glance), and Tim Holtz for Stampers Anonymous (CSS27843)
- Tim Holtz for Stampers Anonymous Layering Stencil: Cargo
- Double-stick tape, white gloss paper from my stash
- Paper trimmer
As always with the monthly tag, techniques are on Tim's blog. I ran into a few issues this month, mostly because when I went to do this tag, I realized that I only had one small piece of white gloss paper left, and the only store that carries it locally was already closed. So I did what I could, but didn't experiment as much as I sometimes do. Stamping through the stencil with blending solution seemed like a cool idea, but I had trouble getting the stencil pattern to show up. All I got were blobs, and I think I used too much blending solution. Going to have to try that again. I also needed to plan slightly better how to lay out my butterflies before I began to attach them; if you look along the top of the tag, it's plain to see where I ran out of the larger sizes. But overall, I think it's a very pretty tag, and I did enjoy making it. :-)
Additional views:
Well, that's it for now. Hope you're having a wonderful autumn, so far!
'Til next time!
BAC
Sunday, August 31, 2014
August tag
Hello again,
I know I've been very quiet this summer. It's been a crazy busy summer, and to be honest, projects in the craft room have fallen by the wayside for the time being. However, I always make some time for 12 Tags! :-)
Here's my August tag:
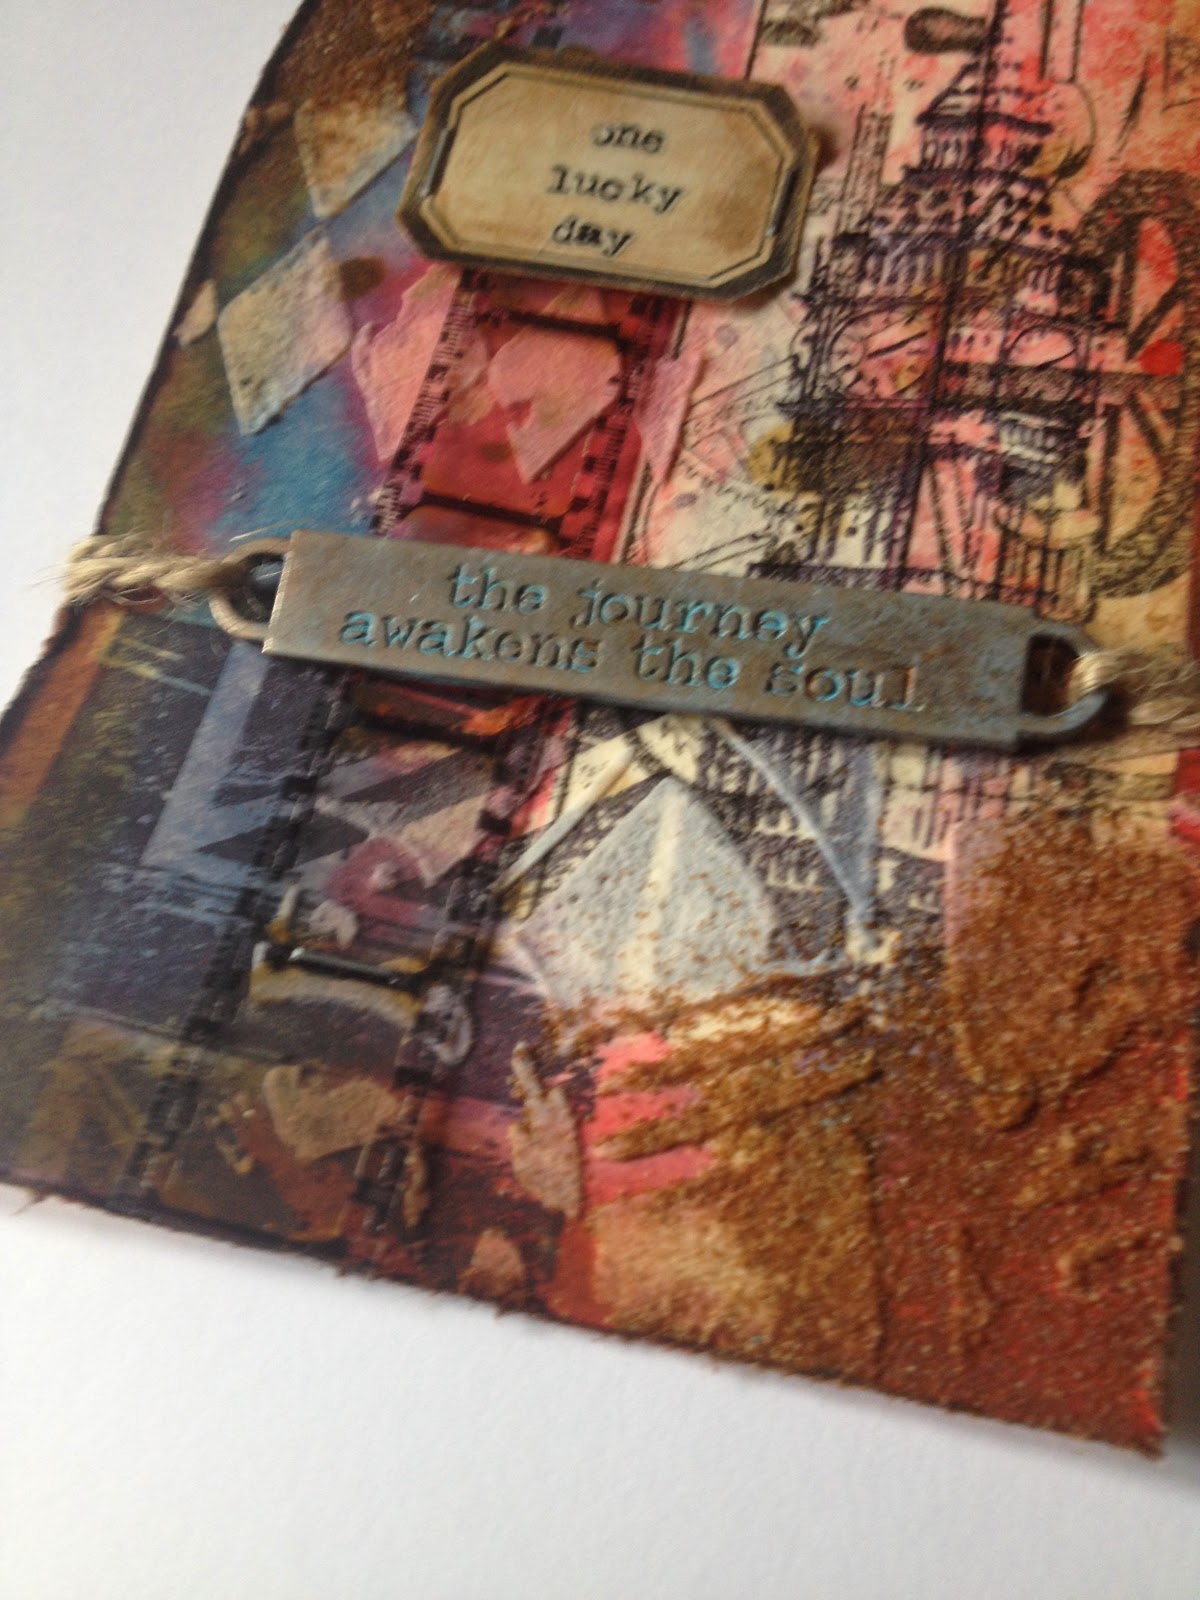
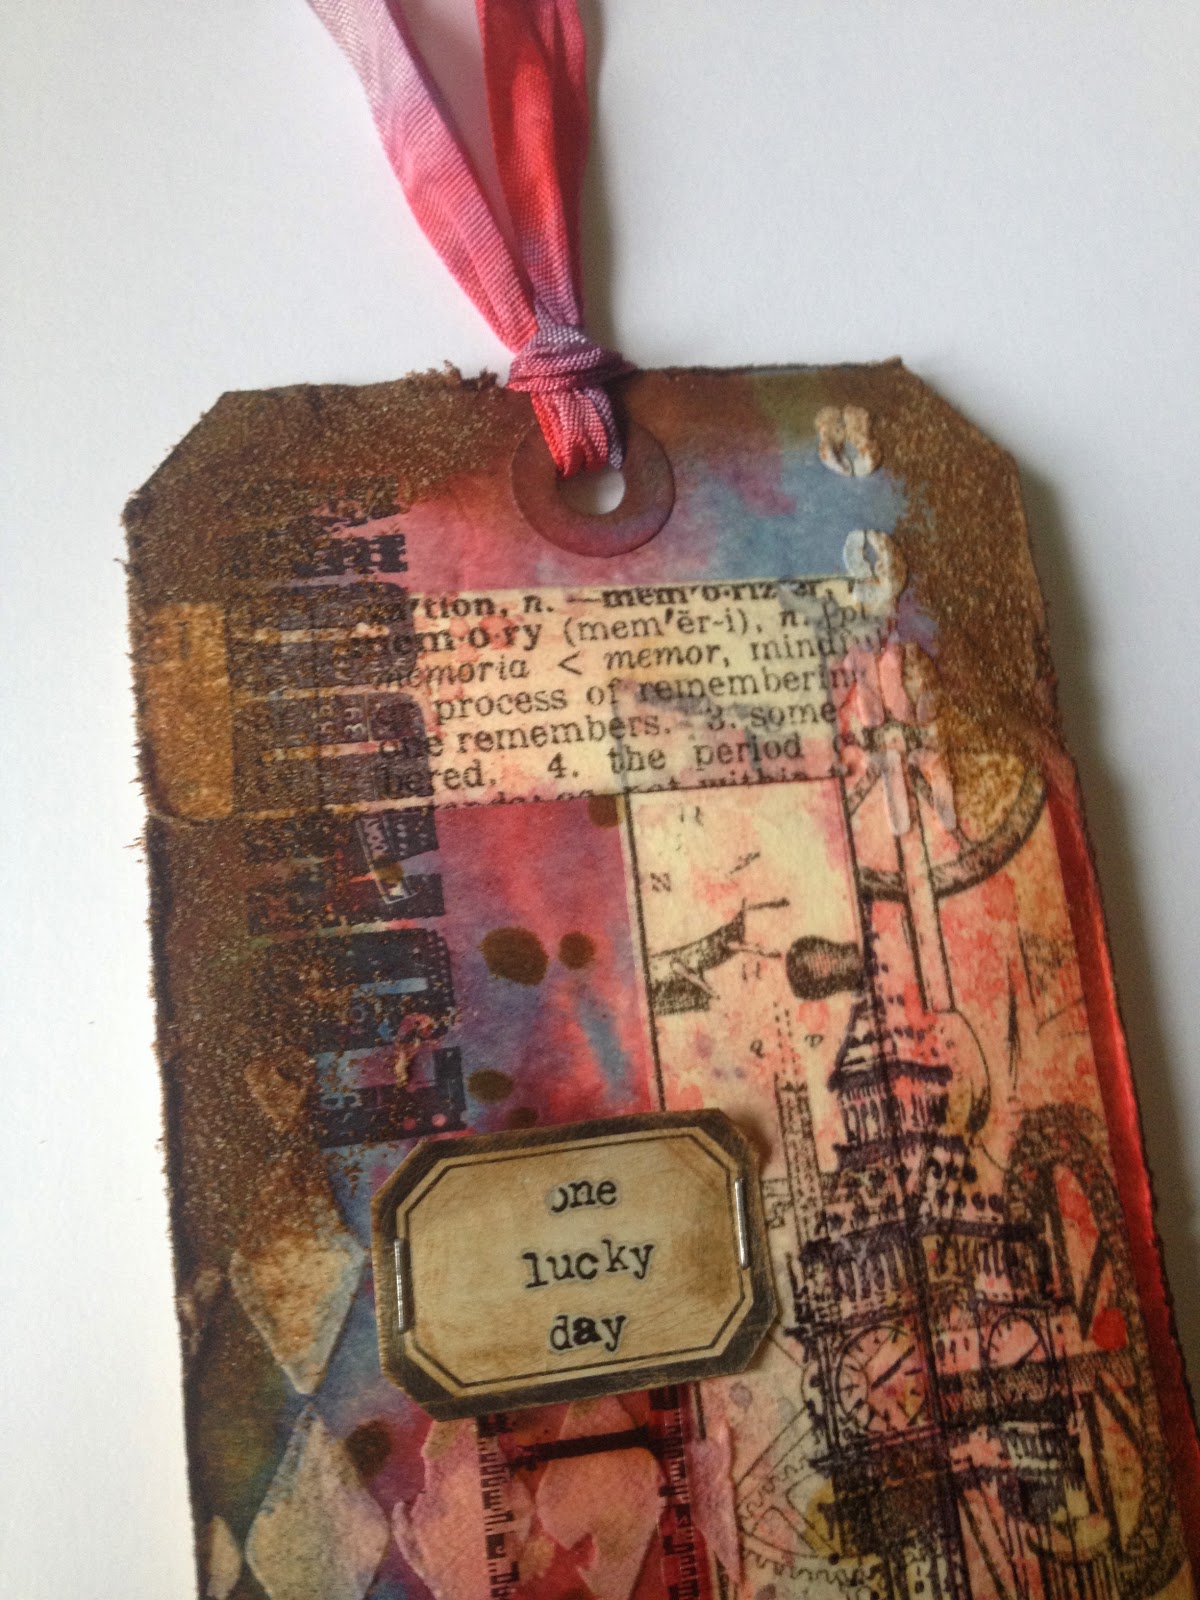
I took my take on Tim's tag in a London direction. Followed pretty much the same bunch of techniques in his August post, though I have fewer metal embellishments on my tag. Otherwise, very much the same. I think my favourite thing about this month's tag is the rust effect along some of the edges.
More views:
Well, that's it for now. I'm not sure when I'm going to be getting back to my regular project schedule, but in the meantime, you know you can count on seeing me back here for next month's tag. :-) And if there's something you'd like to see more of, learn about, or see me post about, feel free to comment below, or email me directly: bfloanonchick (at) gmail (dot) com.
'Til next time!
BAC
I know I've been very quiet this summer. It's been a crazy busy summer, and to be honest, projects in the craft room have fallen by the wayside for the time being. However, I always make some time for 12 Tags! :-)
Here's my August tag:
Materials/tools used:
- Ranger Inkssentials Manila tags
- Ranger Distress Ink: Gathered Twigs
- Ranger Distress Embossing Ink
- Ranger Distress Stain: Faded Jeans, Festive Berries
- Ranger Distress Paint: Antiqued Bronze, Broken China, Bundled Sage
- Ranger Archival Ink: Jet Black
- Studio 490 Embossing Paste: White
- Ranger Distress Embossing Powder: Vintage Photo
- idea-ology: Crinkle Ribbon, Filmstrip Ribbon, Jute String, Remnant Rubs (Words), Sanding Grip, Tiny Attacher, Tissue Tape (Commute, Symphony), Vial Labels, Word Bands
- Ranger Heat Tool
- Ranger Inkssentials Mister
- Ranger Inkssentials Foam Blending Tool
- Tonic Studios: Craft Scissors, Paper Distresser
- Stamps by Tim Holtz for Stampers Anonymous: CMS160
- Tim Holtz for Stampers Anonymous Layering Stencils: Clockwork, Eye Chart, Harlequin, Splatters
- Plastic palette knife
I took my take on Tim's tag in a London direction. Followed pretty much the same bunch of techniques in his August post, though I have fewer metal embellishments on my tag. Otherwise, very much the same. I think my favourite thing about this month's tag is the rust effect along some of the edges.
More views:
Well, that's it for now. I'm not sure when I'm going to be getting back to my regular project schedule, but in the meantime, you know you can count on seeing me back here for next month's tag. :-) And if there's something you'd like to see more of, learn about, or see me post about, feel free to comment below, or email me directly: bfloanonchick (at) gmail (dot) com.
'Til next time!
BAC
Sunday, July 27, 2014
12 Tags of 2014: July
Hello again!
I'm headed out of town for a few days in the morning, but first I wanted to share my July tag with you! :-)
Here it is:
Materials/tools used:
- Ranger Inkssentials Manila tags
- Ranger Distress Ink: Evergreen Bough, Gathered Twigs, Salty Ocean
- Ranger Distress Stain: Pumice Stone, Weathered Wood
- Ranger Distress Paint: Antique Linen, Broken, China, Peeled Paint, Salty Ocean, Weathered Wood, Wild Honey
- Ranger Distress Crackle Paint: Clear Rock Candy
- Ranger Distress Markers: Brushed Corduroy, Pumice Stone
- Ranger Distress Embossing Powder: Antique Linen, Black Soot
- Ranger Distress Glitter: Antique Linen
- Ranger UTEE: Clear
- Ranger Glossy Accents
- Ranger Distress Marker Spritzer
- Ranger Heat Tool
- Ranger Inkssentials Foam Blending Tool
- Ranger Inkssentials Mister
- Core'dinations Tim Holtz Kraft Core: #2, #9, #11
- idea-ology: Grungeboard, Jute String, Linen Ribbon, Sanding Grip, Tiny Attacher, Word Bands
- Sizzix Big Shot
- Sizzix Bigz die: Sand & Sea
- Sizzix Decorative Strip die: Spring Greenery
- Sizzix Movers & Shapers dies: Mini Sand & Sea
- Quickutz Circles A2 embossing folder
- Tonic Craft Scissors
- Plastic palette knife
- Single whole punch
- Clear plastic (I reused the package from a Sizzix Bigz die)
As with each of the 12 Tags, techniques can be found on Tim's blog. :-)
Notes:
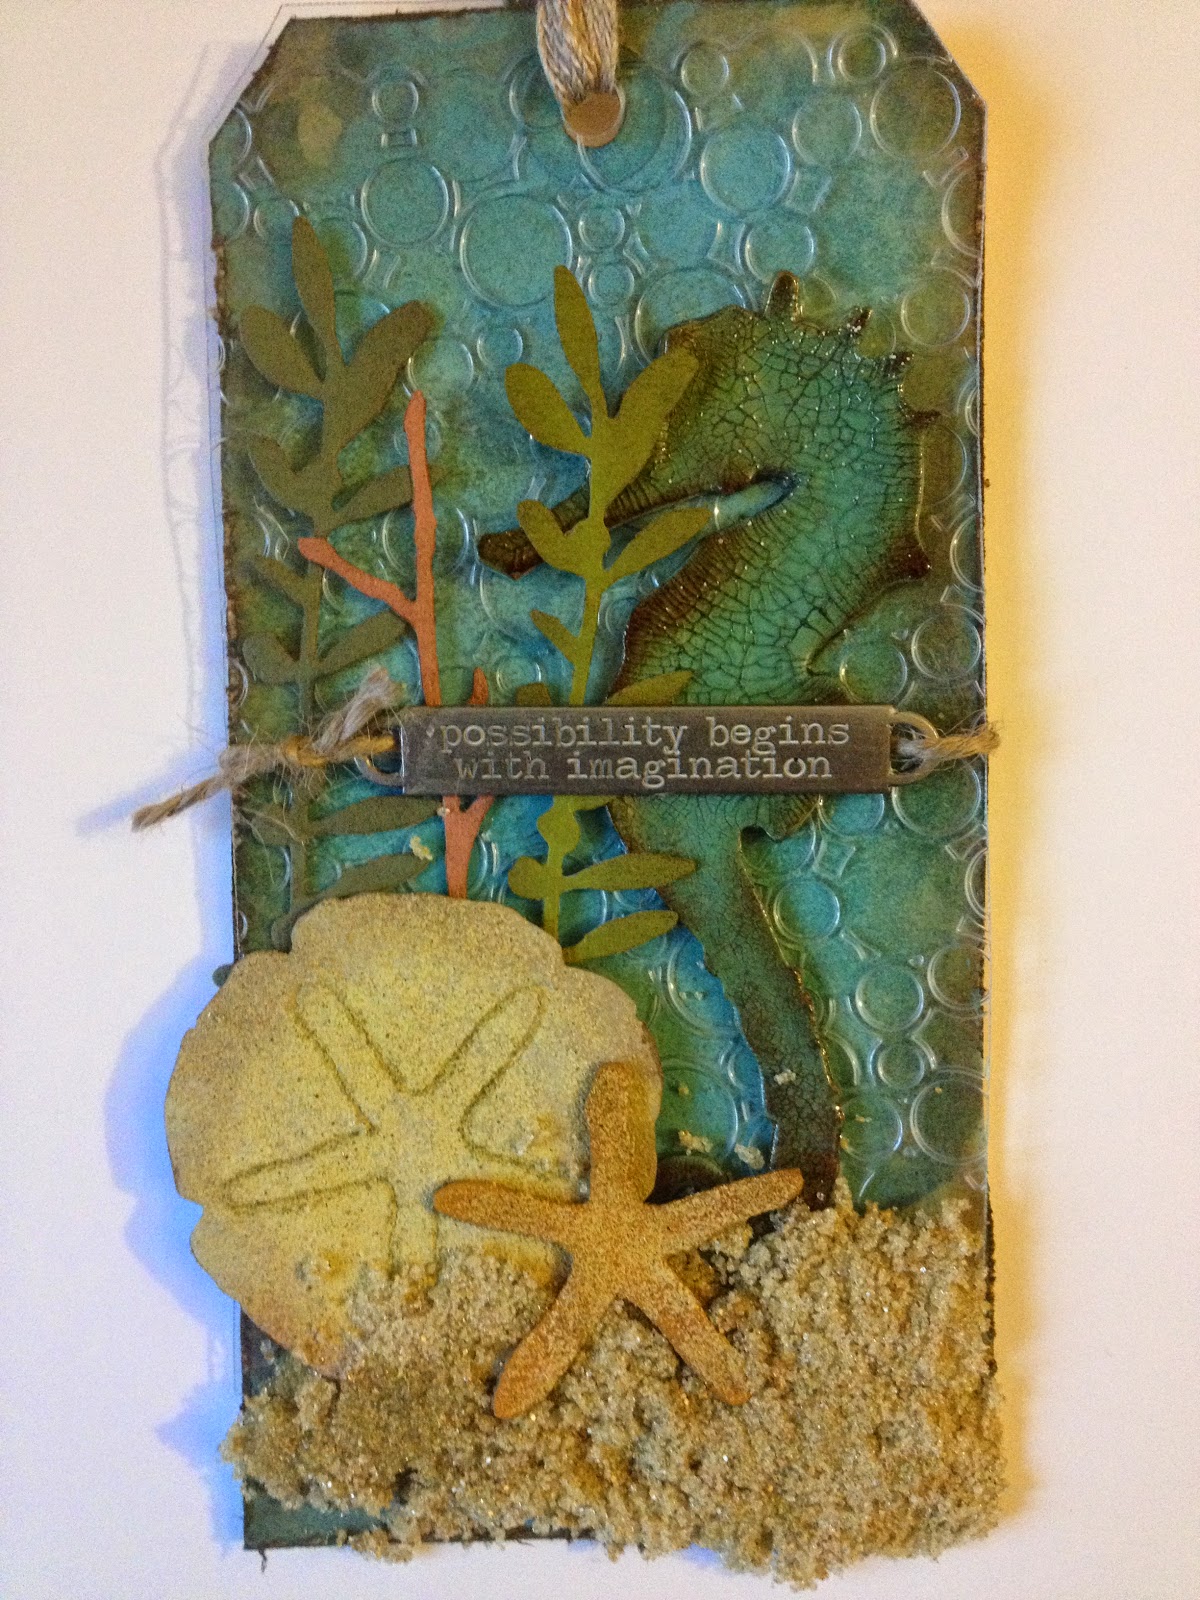
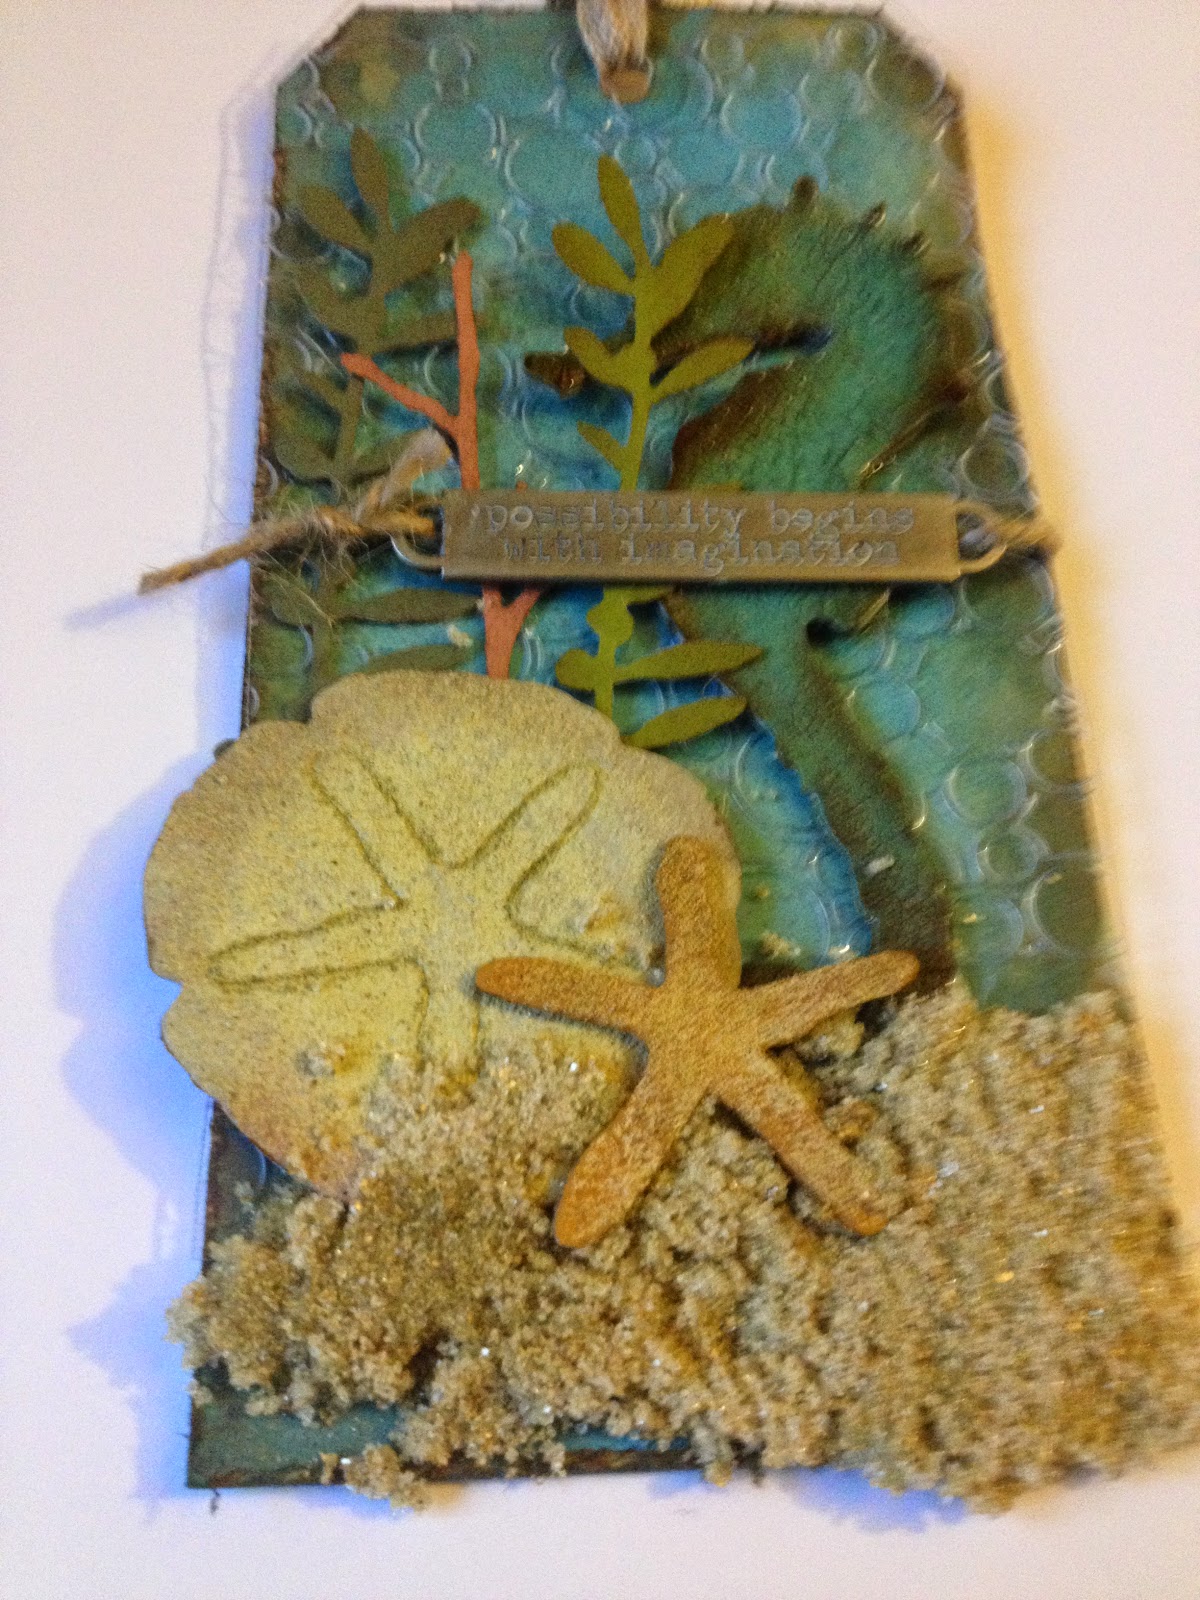
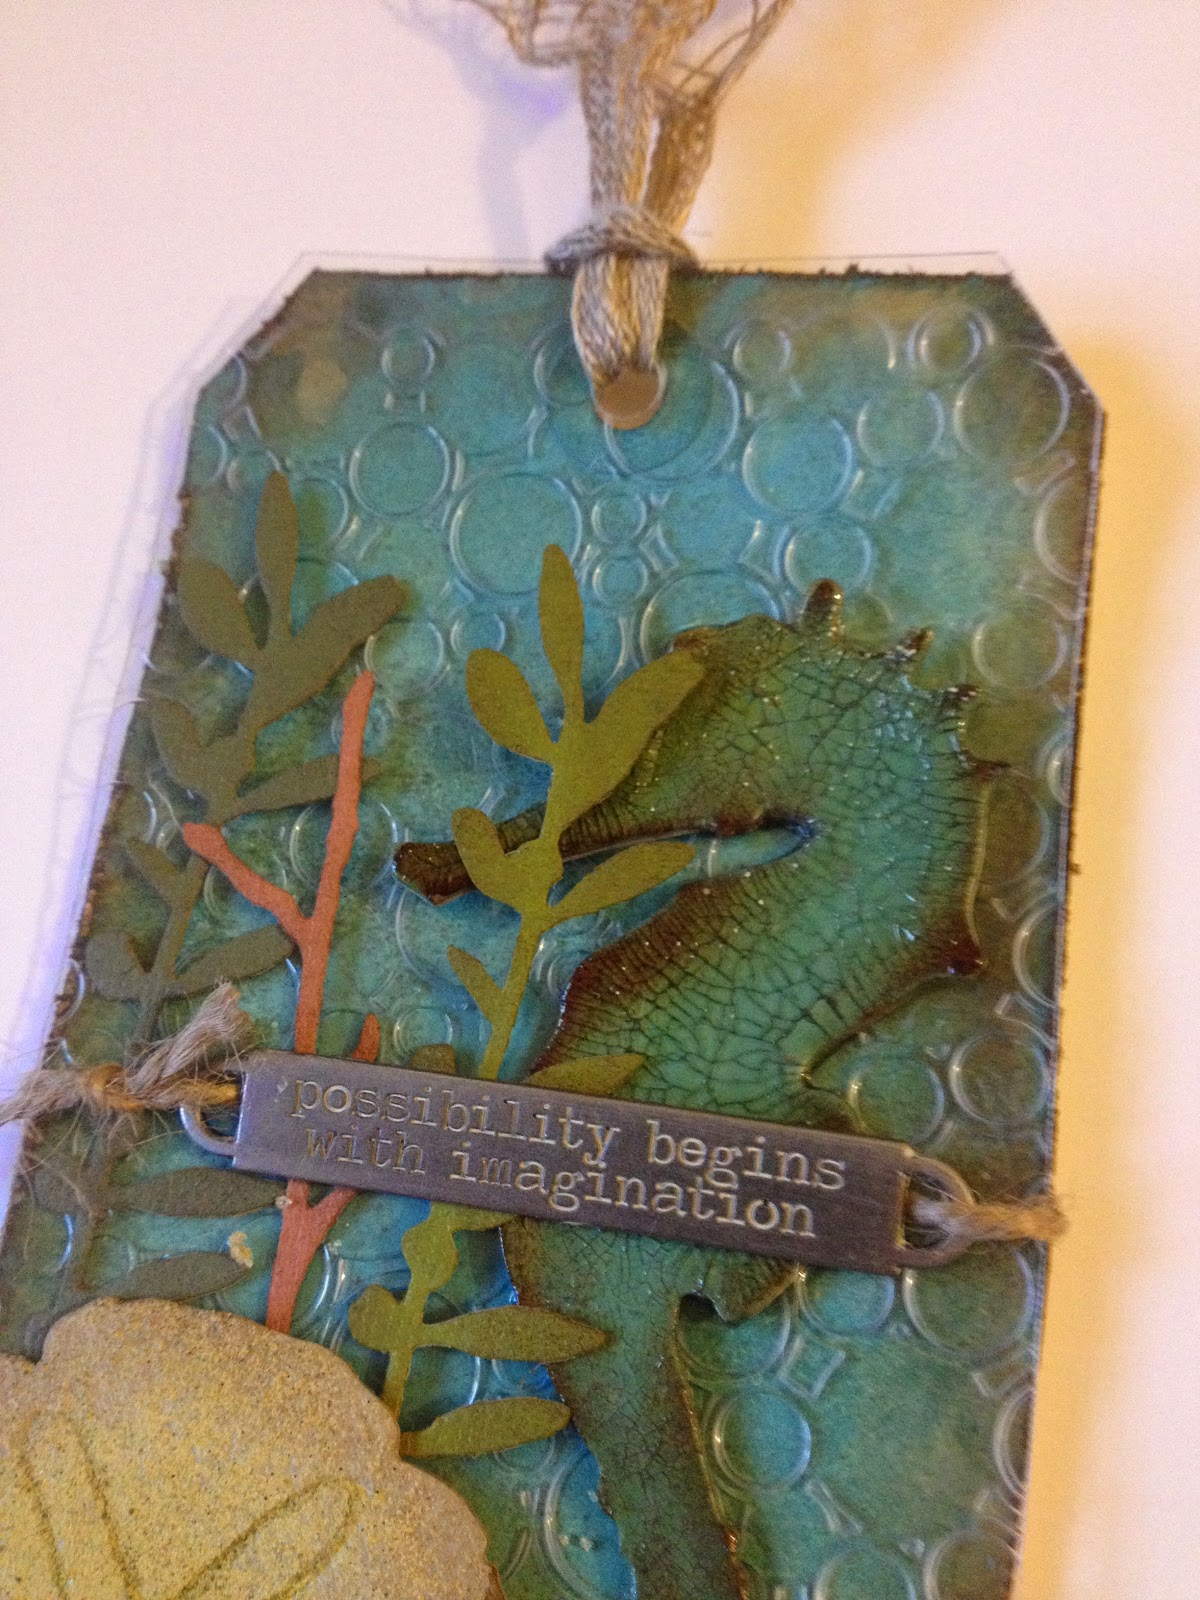
- The tag is pretty close to Tim's example. I switched up a couple of colours here and there, and used a different embossing folder for the plastic, but the effect of the bubbles is pretty much the same.
- I still don't own the #8 tag die (someday!), so I just cut my embossed plastic using a blank tag as a guide. The plastic slipped a bit, so it's not perfect, but it's pretty close. :-) Then used my single hole punch to punch the hole at the top.
- Couldn't lay my hands on my paper distresser (which I'm sure will jump out at me, now that I'm finished with the tag), but in a pinch, you can use one of the craft scissor blades to get the same effect.
- I really enjoyed making the "sand", but I probably should have used a little bit more Glossy Accents in my mix. Not sure how well it's going to stay, or if I'm going to wind up replacing it in a few days. :-/
More views:
Well, that's it for now. I'm HOPING to get one more project done on Thursday of this week, so hopefully I'll talk to you then!
BAC
I'm headed out of town for a few days in the morning, but first I wanted to share my July tag with you! :-)
Here it is:
Materials/tools used:
- Ranger Inkssentials Manila tags
- Ranger Distress Ink: Evergreen Bough, Gathered Twigs, Salty Ocean
- Ranger Distress Stain: Pumice Stone, Weathered Wood
- Ranger Distress Paint: Antique Linen, Broken, China, Peeled Paint, Salty Ocean, Weathered Wood, Wild Honey
- Ranger Distress Crackle Paint: Clear Rock Candy
- Ranger Distress Markers: Brushed Corduroy, Pumice Stone
- Ranger Distress Embossing Powder: Antique Linen, Black Soot
- Ranger Distress Glitter: Antique Linen
- Ranger UTEE: Clear
- Ranger Glossy Accents
- Ranger Distress Marker Spritzer
- Ranger Heat Tool
- Ranger Inkssentials Foam Blending Tool
- Ranger Inkssentials Mister
- Core'dinations Tim Holtz Kraft Core: #2, #9, #11
- idea-ology: Grungeboard, Jute String, Linen Ribbon, Sanding Grip, Tiny Attacher, Word Bands
- Sizzix Big Shot
- Sizzix Bigz die: Sand & Sea
- Sizzix Decorative Strip die: Spring Greenery
- Sizzix Movers & Shapers dies: Mini Sand & Sea
- Quickutz Circles A2 embossing folder
- Tonic Craft Scissors
- Plastic palette knife
- Single whole punch
- Clear plastic (I reused the package from a Sizzix Bigz die)
As with each of the 12 Tags, techniques can be found on Tim's blog. :-)
Notes:
- The tag is pretty close to Tim's example. I switched up a couple of colours here and there, and used a different embossing folder for the plastic, but the effect of the bubbles is pretty much the same.
- I still don't own the #8 tag die (someday!), so I just cut my embossed plastic using a blank tag as a guide. The plastic slipped a bit, so it's not perfect, but it's pretty close. :-) Then used my single hole punch to punch the hole at the top.
- Couldn't lay my hands on my paper distresser (which I'm sure will jump out at me, now that I'm finished with the tag), but in a pinch, you can use one of the craft scissor blades to get the same effect.
- I really enjoyed making the "sand", but I probably should have used a little bit more Glossy Accents in my mix. Not sure how well it's going to stay, or if I'm going to wind up replacing it in a few days. :-/
More views:
Well, that's it for now. I'm HOPING to get one more project done on Thursday of this week, so hopefully I'll talk to you then!
BAC
Monday, June 30, 2014
12 Tags of 2014: June
Hello all!
Long time, no blog, I know. It's been a crazy summer, and summer's just getting started! :-)
I have two projects to share with you this evening, and the first is my June tag for 12 Tags:
Materials/tools used:
- Ranger Inkssentials Manila tags
- Ranger Distress Ink: Broken China, Faded Jeans, Peacock Feathers, Ripe Persimmon, Rusty Hinge, Salty Ocean, Spiced Marmalade, Vintage Photo
- Ranger Archival Ink: Jet Black
- idea-ology Crinkle Ribbon
- Ranger Heat Tool
- Ranger Inkssentials Mister
- Ranger Inkssentials Foam Blending Tool
- Tonic Studios Craft Scissors
- Tim Holtz for Stampers Anonymous Layering Stencils: Bubble
- Stamps by Tim Holtz for Stampers Anonymous: CSS25887, U1-2067
- Cold-press watercolour paper
- Paper trimmer
- Waterbrush
- Double-stick tape, foam dots from my stash
Tips and techniques are on Tim's blog. :-)
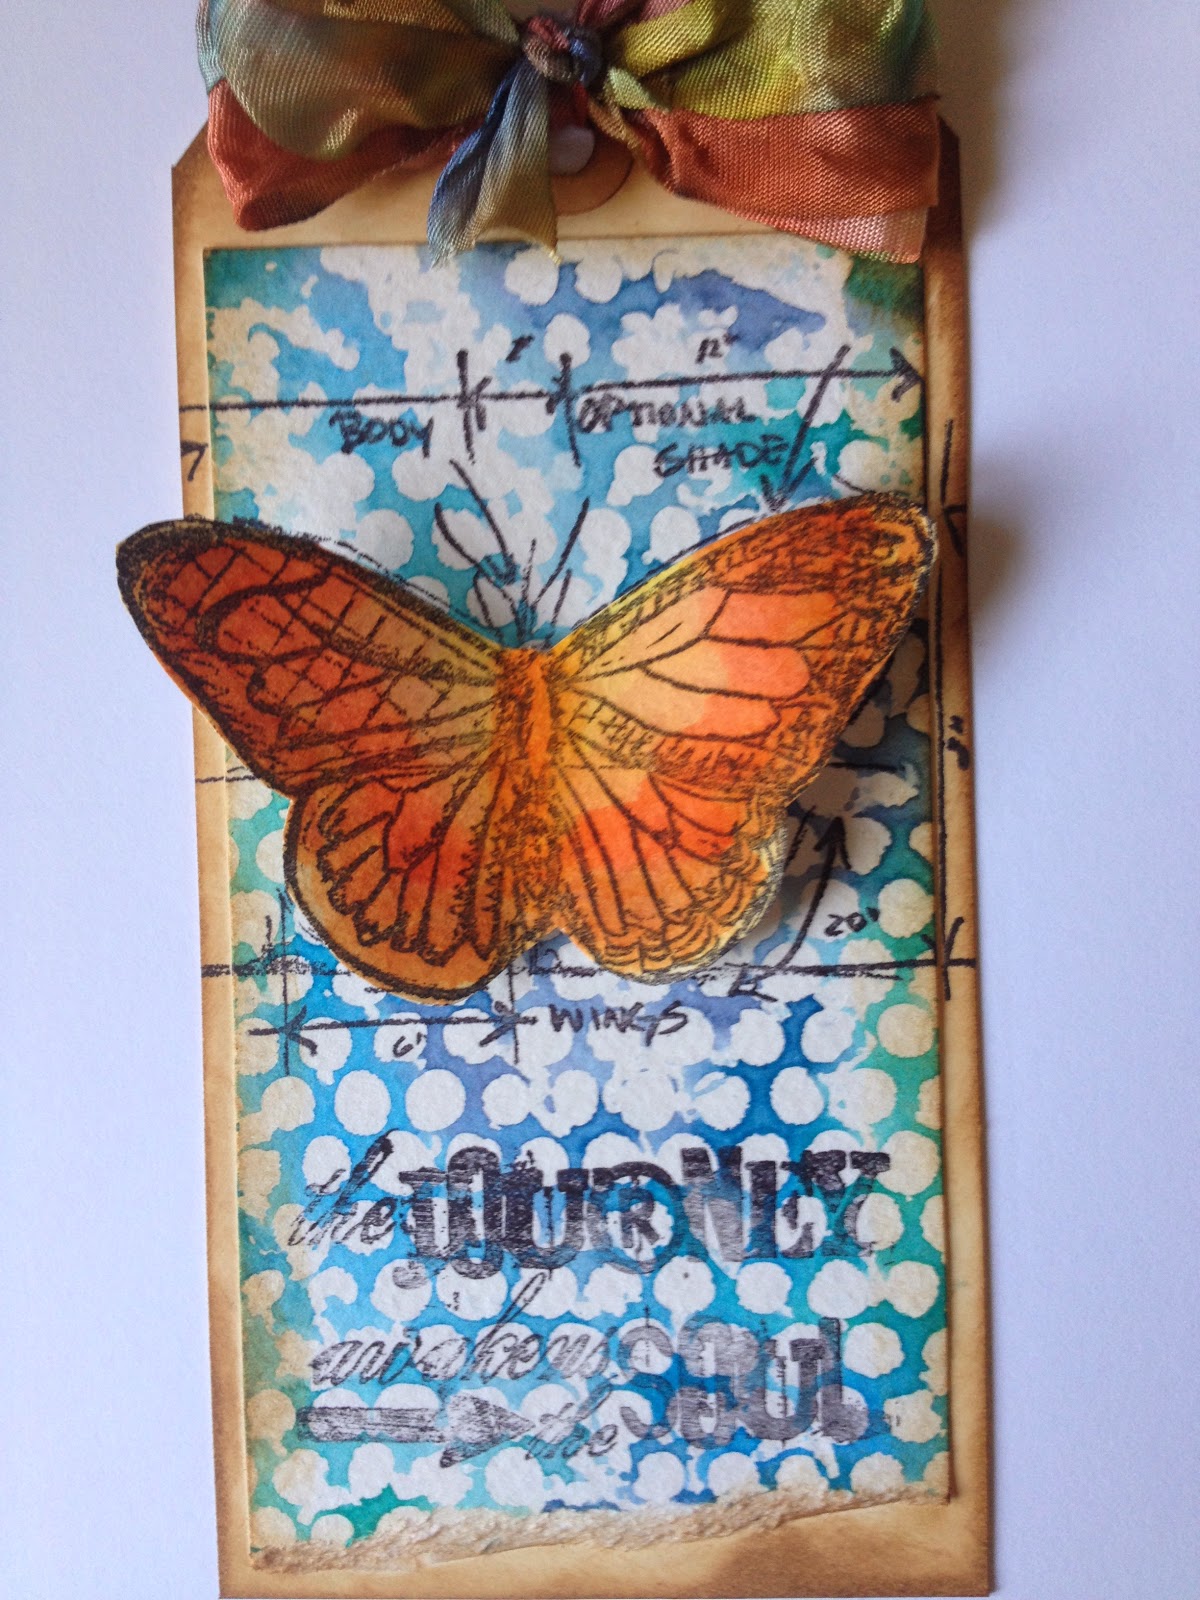
I don't own any of the stamp/die combo sets that Tim highlighted in his project post, but you can get the same effect by fussy-cutting your stamped image.
Also, I think it's time to re-ink my Archival black pad. ;-)
More views:
Long time, no blog, I know. It's been a crazy summer, and summer's just getting started! :-)
I have two projects to share with you this evening, and the first is my June tag for 12 Tags:
Materials/tools used:
- Ranger Inkssentials Manila tags
- Ranger Distress Ink: Broken China, Faded Jeans, Peacock Feathers, Ripe Persimmon, Rusty Hinge, Salty Ocean, Spiced Marmalade, Vintage Photo
- Ranger Archival Ink: Jet Black
- idea-ology Crinkle Ribbon
- Ranger Heat Tool
- Ranger Inkssentials Mister
- Ranger Inkssentials Foam Blending Tool
- Tonic Studios Craft Scissors
- Tim Holtz for Stampers Anonymous Layering Stencils: Bubble
- Stamps by Tim Holtz for Stampers Anonymous: CSS25887, U1-2067
- Cold-press watercolour paper
- Paper trimmer
- Waterbrush
- Double-stick tape, foam dots from my stash
Tips and techniques are on Tim's blog. :-)
I don't own any of the stamp/die combo sets that Tim highlighted in his project post, but you can get the same effect by fussy-cutting your stamped image.
Also, I think it's time to re-ink my Archival black pad. ;-)
More views:
Well, that's it on this project. Back in a little bit with another!
'Til then,
BAC
Saturday, May 31, 2014
12 Tags of 2014: May
(In just under the wire - phew!) ;-)
Here's my tag:
Materials/tools used:
- Ranger Inkssentials Manila tags
- Ranger Distress Ink: Faded Jeans, Peeled Paint, Shabby Shutters, Weathered Wood
- Ranger Distress Markers: Faded Jeans
- Ranger Matte Multi-Medium
- Ranger Inkssentials Collage Glue Stick
- idea-ology: Arrows, Design Ruler, Industrious Stickers ("Frames & Trims"), Label Letters, Linen Ribbon, Mini Fasteners, Muse Tokens, Pen Nibs, Sanding Grip, Trinket Pins, Wishbones
- Tim Holtz 8x8 Paper Stash: Collage
- Ranger Inkssentials Foam Blending Tool
- Sizzix Big Shot
- Sizzix Shadow Press embossing folders: Documented
- Sizzix Movers & Shapers die: Mini Hearts
- Tonic Studios Craft Scissors
- Chipboard
- 1/8" Hole Punch
Tips and techniques are on Tim's blog. :-)
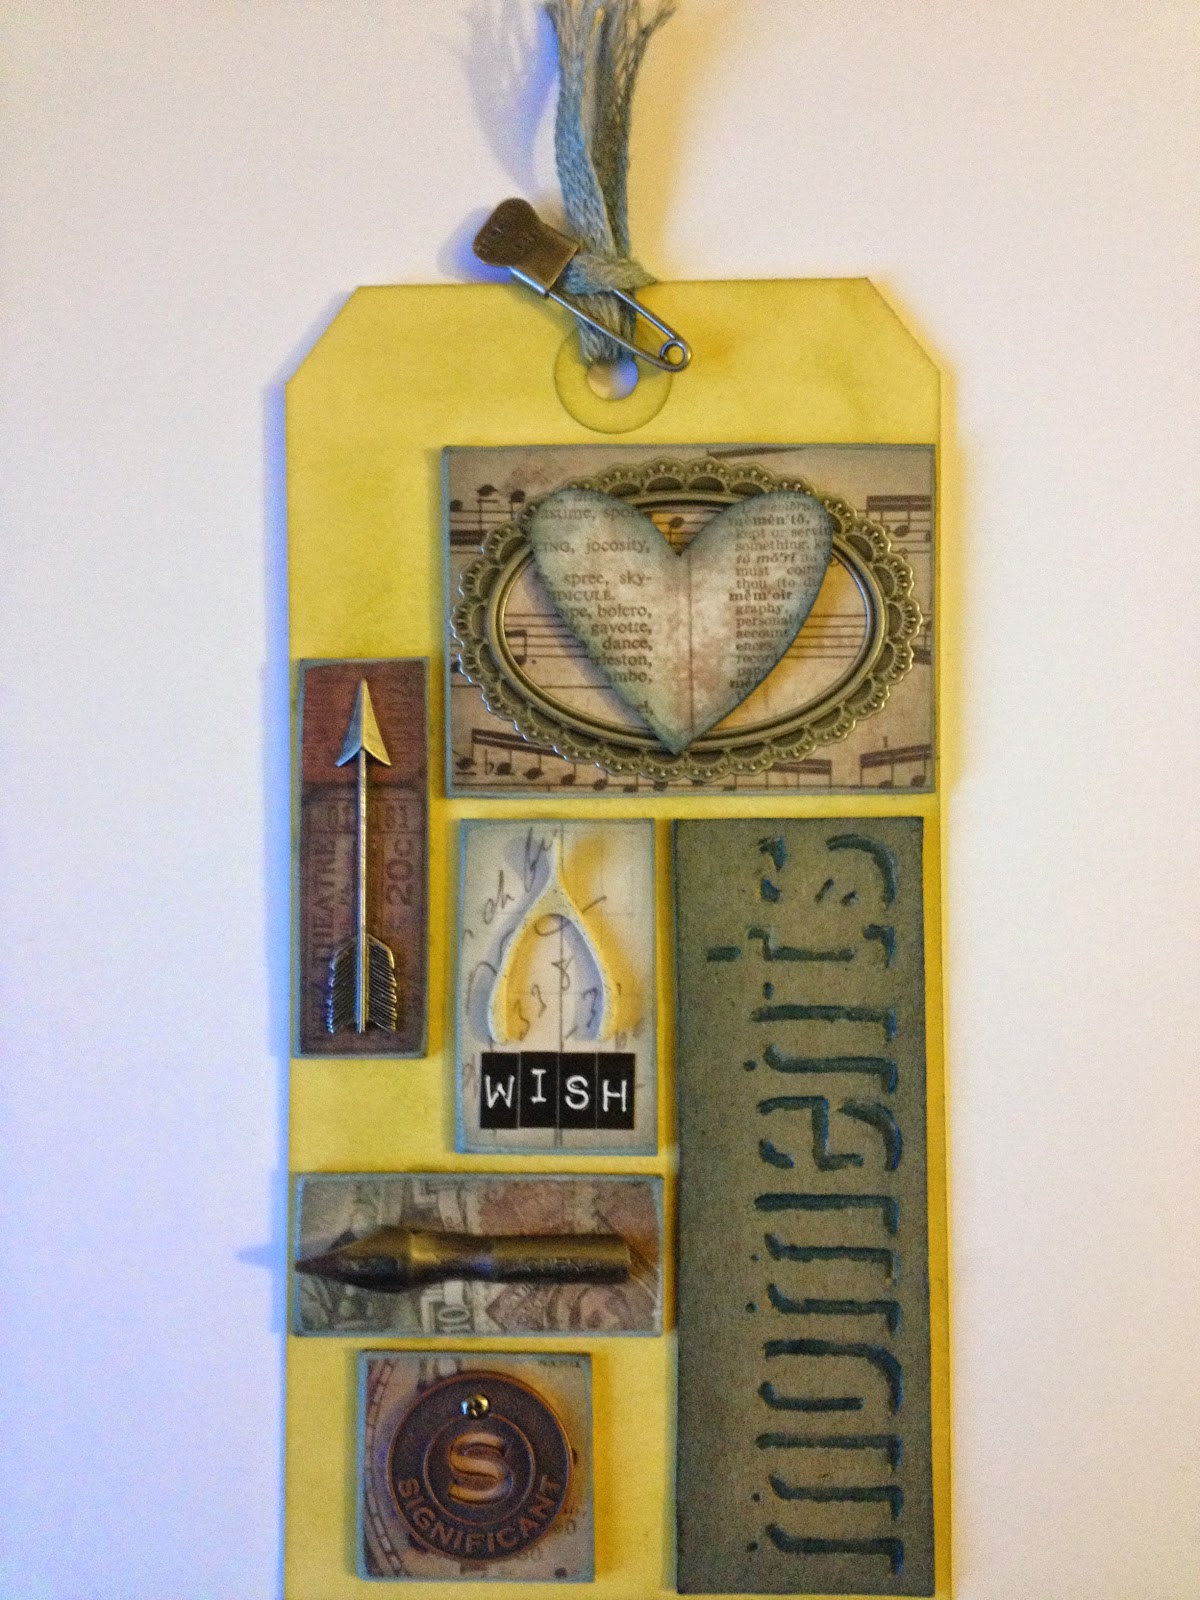
I didn't pack quite as many things onto my tag as Tim did in his example. I had all the stuff, but I just didn't like the way it looked quite as much. I *did* obtain a jar of multi-medium for this month. And then opened the drawer where I keep my painting stuff to find that I did indeed already have a jar, and it was sitting in there with the gesso. (At least I wasn't going crazy, thinking I'd already bought it!) If I had it to do over again (a third time!), I might get the smaller bottle with the nozzle applicator, though. I was using it to attach small fiddly things, and I think it would have been a little cleaner, than how I was using it with a small paintbrush. Oh well!
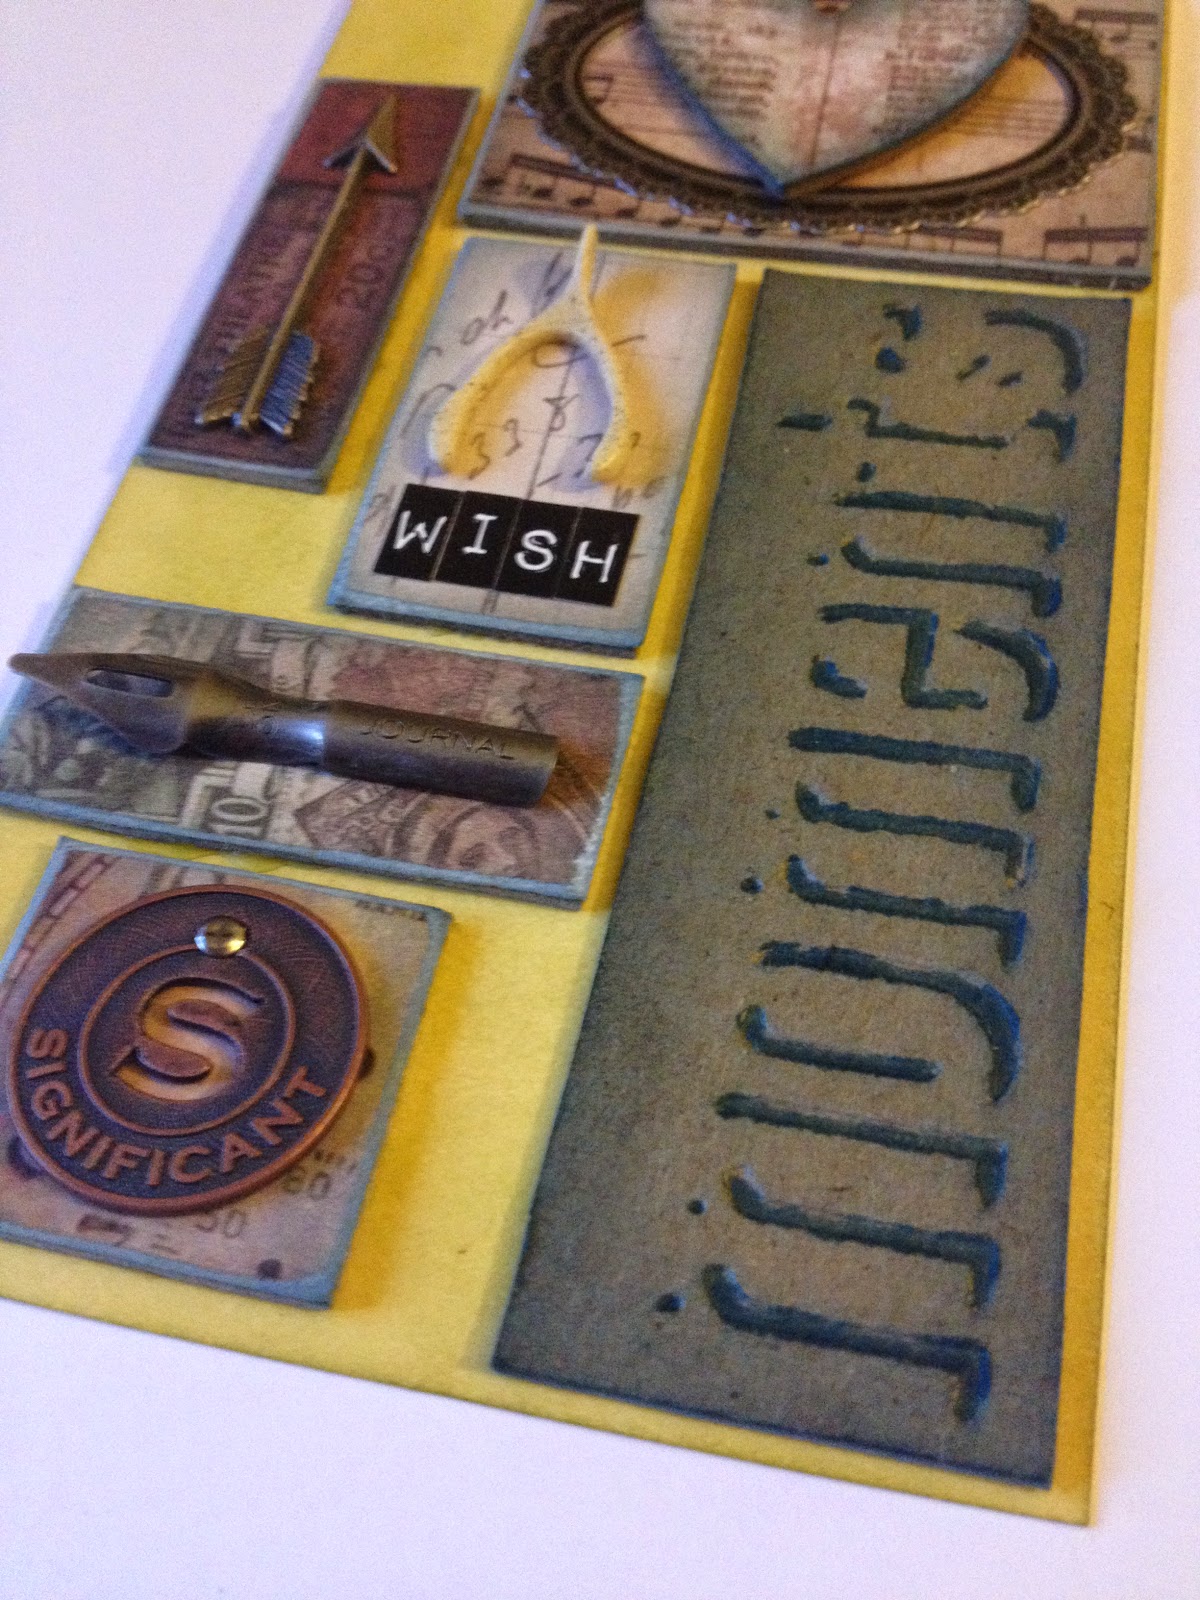
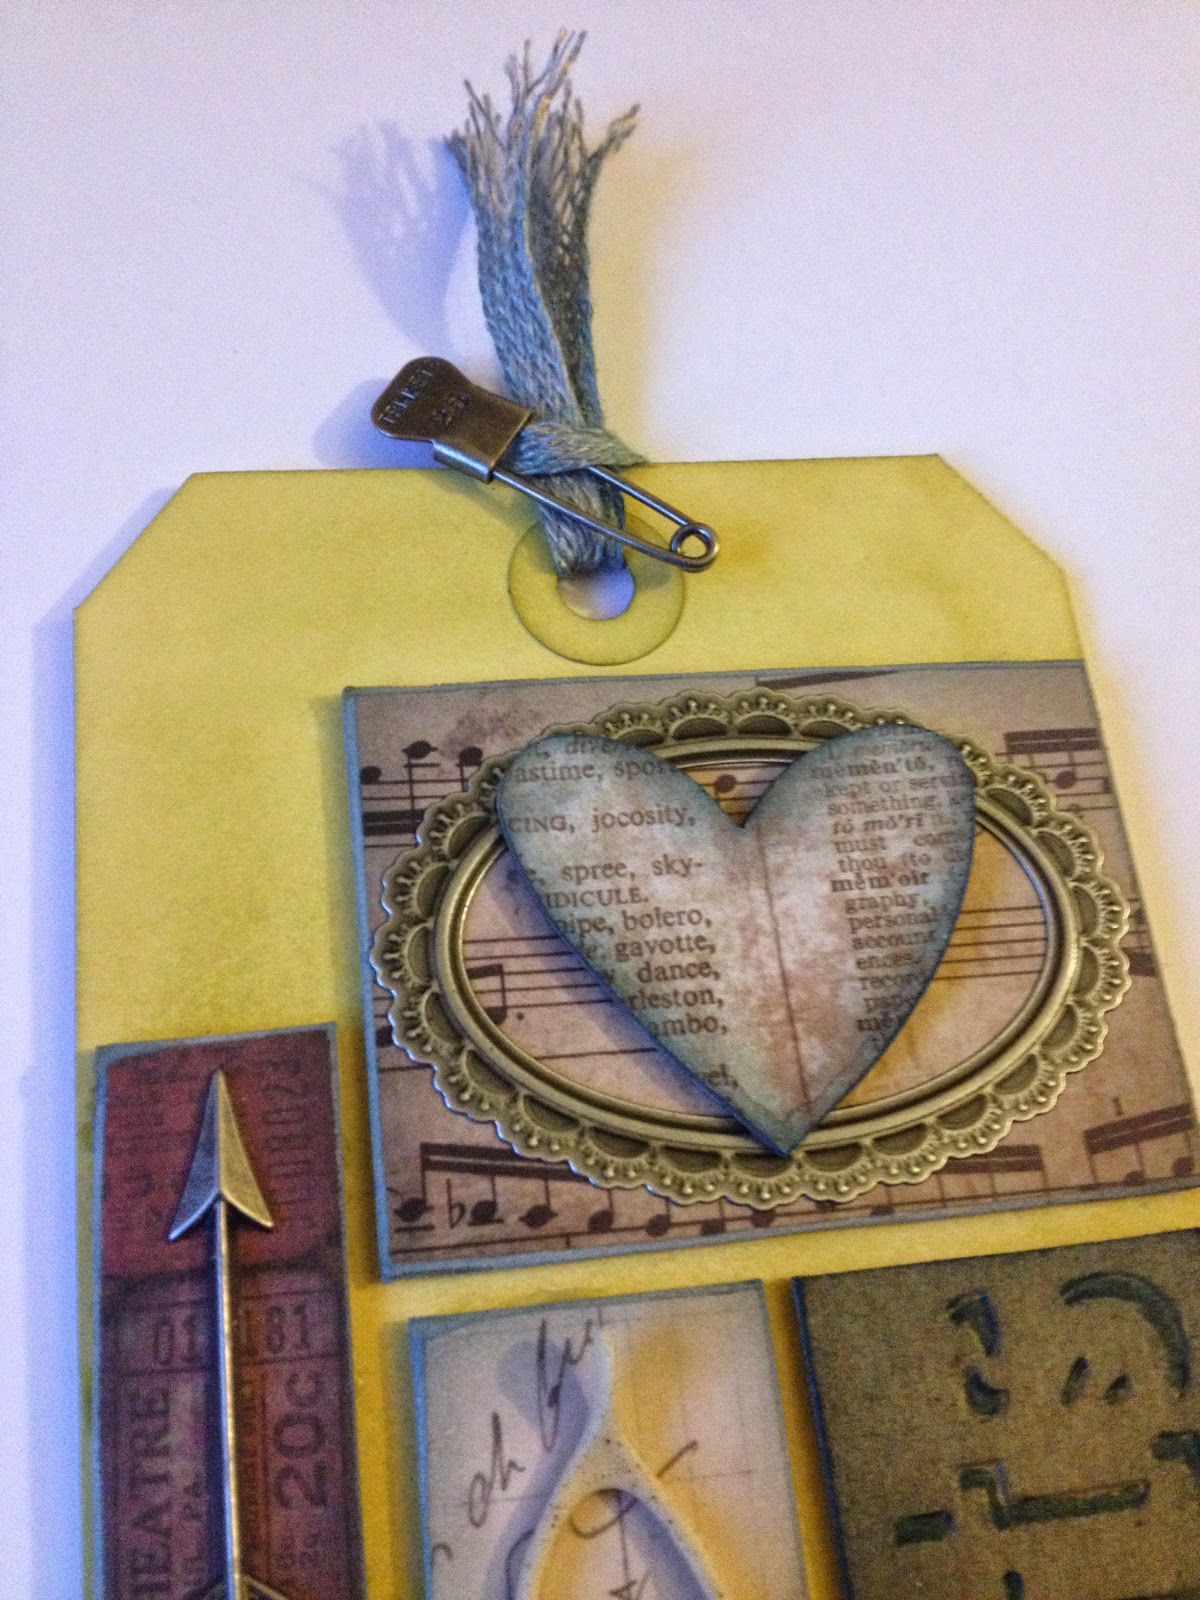
More views:
Here's my tag:
Materials/tools used:
- Ranger Inkssentials Manila tags
- Ranger Distress Ink: Faded Jeans, Peeled Paint, Shabby Shutters, Weathered Wood
- Ranger Distress Markers: Faded Jeans
- Ranger Matte Multi-Medium
- Ranger Inkssentials Collage Glue Stick
- idea-ology: Arrows, Design Ruler, Industrious Stickers ("Frames & Trims"), Label Letters, Linen Ribbon, Mini Fasteners, Muse Tokens, Pen Nibs, Sanding Grip, Trinket Pins, Wishbones
- Tim Holtz 8x8 Paper Stash: Collage
- Ranger Inkssentials Foam Blending Tool
- Sizzix Big Shot
- Sizzix Shadow Press embossing folders: Documented
- Sizzix Movers & Shapers die: Mini Hearts
- Tonic Studios Craft Scissors
- Chipboard
- 1/8" Hole Punch
Tips and techniques are on Tim's blog. :-)
I didn't pack quite as many things onto my tag as Tim did in his example. I had all the stuff, but I just didn't like the way it looked quite as much. I *did* obtain a jar of multi-medium for this month. And then opened the drawer where I keep my painting stuff to find that I did indeed already have a jar, and it was sitting in there with the gesso. (At least I wasn't going crazy, thinking I'd already bought it!) If I had it to do over again (a third time!), I might get the smaller bottle with the nozzle applicator, though. I was using it to attach small fiddly things, and I think it would have been a little cleaner, than how I was using it with a small paintbrush. Oh well!
More views:
As we head into June, I'm going to try to be a little more timely with the challenges I *do* opt to do, rather than waiting 'til the end of the month. :-) (And if it rains as much this week as they're predicting, my next post may be quite soon indeed!)
'Til next time,
BAC
Wednesday, April 30, 2014
12 Tags of 2014: April
Wow! My second year doing 12 Tags, and I'm already a third of the way through it! :-) Time flies!
I'm also sharing this project with A Vintage Journey ("Spring Flowers").
Materials/tools used:
- Ranger Inkssentials Manila tags
- Ranger Distress Ink: Iced Spruce, Milled Lavender, Mustard Seed, Shaded Lilac, Squeezed Lemonade, Vintage Photo, Walnut Stain
- Ranger Distress Paint: Broken China, Peeled Paint
- Ranger Glossy Accents
- Ranger Matte Glue 'n' Seal
- idea-ology: Crinkle Ribbon, Grungeboard, Jump Rings, Jute String, Mirrored, Philosophy Tags, Sanding Grip, Tissue Tape (Sketchbook, Symphony), Wire Pins
- DCWV adhesive backed cork
- Tim Holtz 8x8 Paper Stash: Menagerie
- Ranger Heat Tool
- Ranger Inkssentials Foam Blending Tool
- Ranger Inkssentials Mister
- Ranger Inkssentials Collage Glue Stick
- Sizzix Big Shot
- Sizzix dies: Tattered Pinecone Bigz, Trellis Frameworks
- Tonic Studios Craft Scissors
- Hot glue gun
- Toothpicks, paper towels
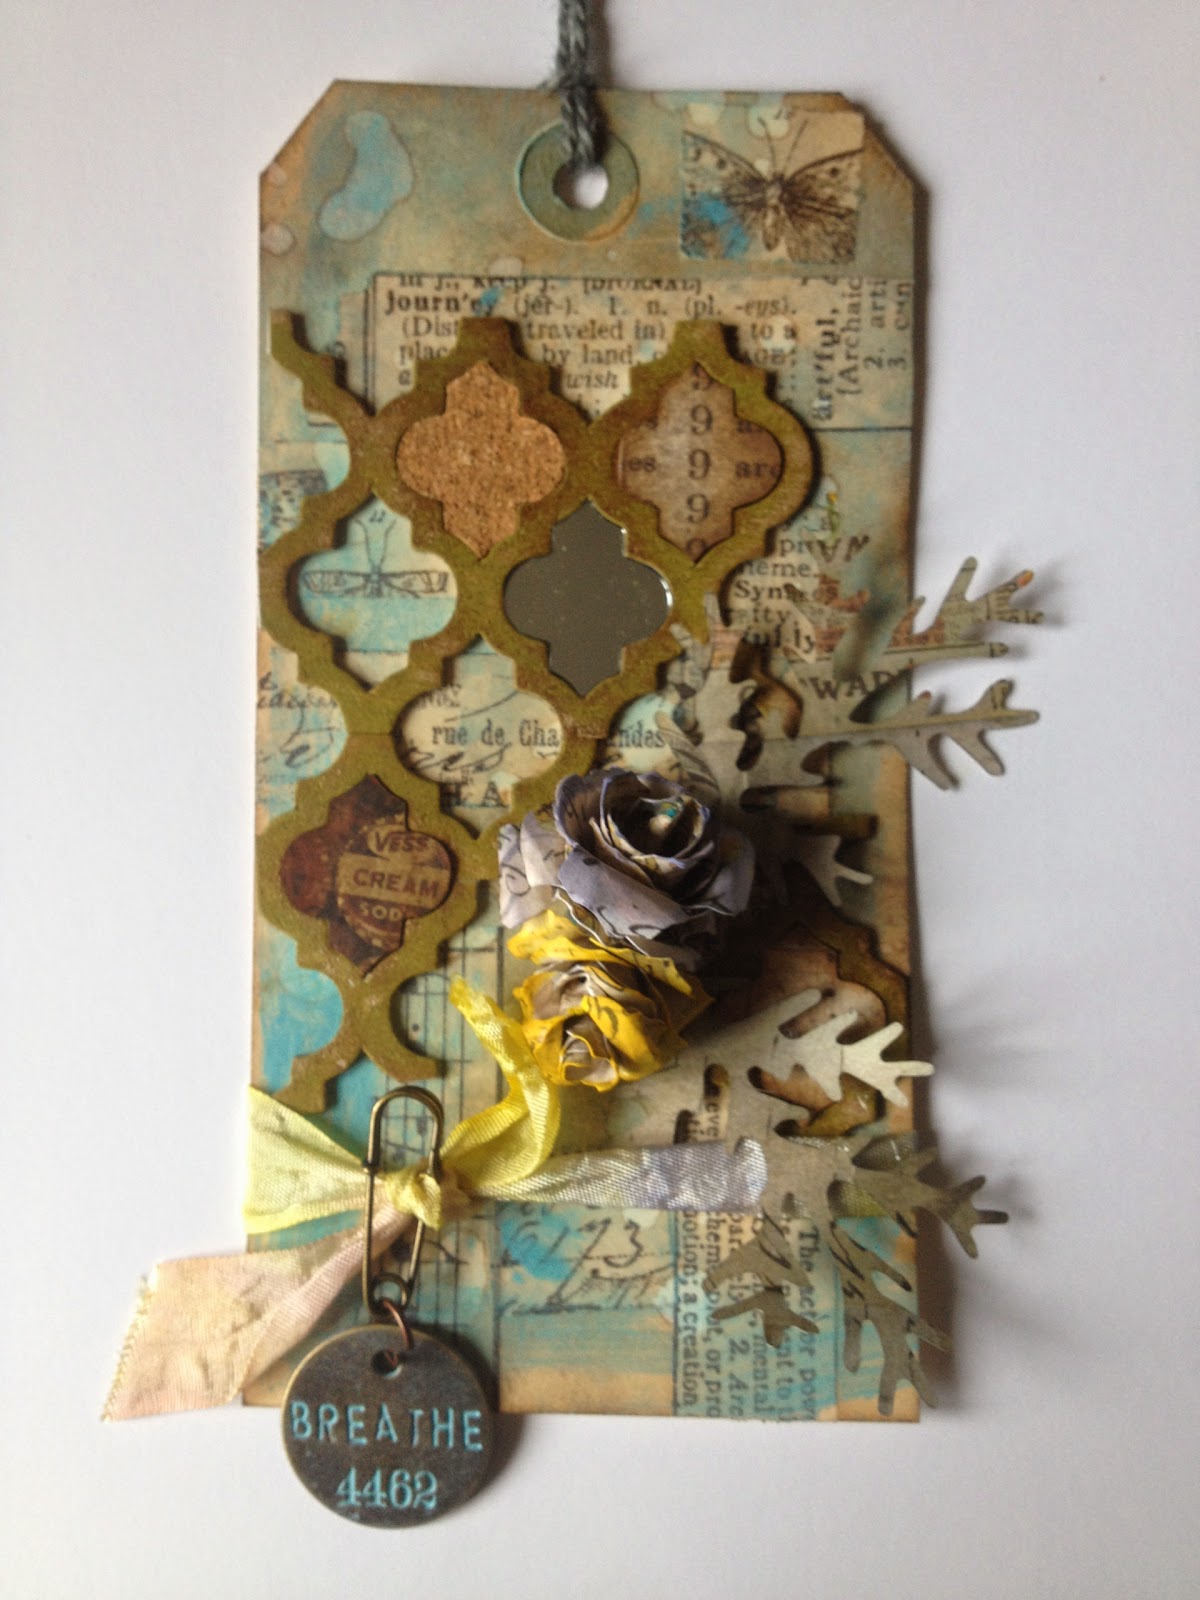
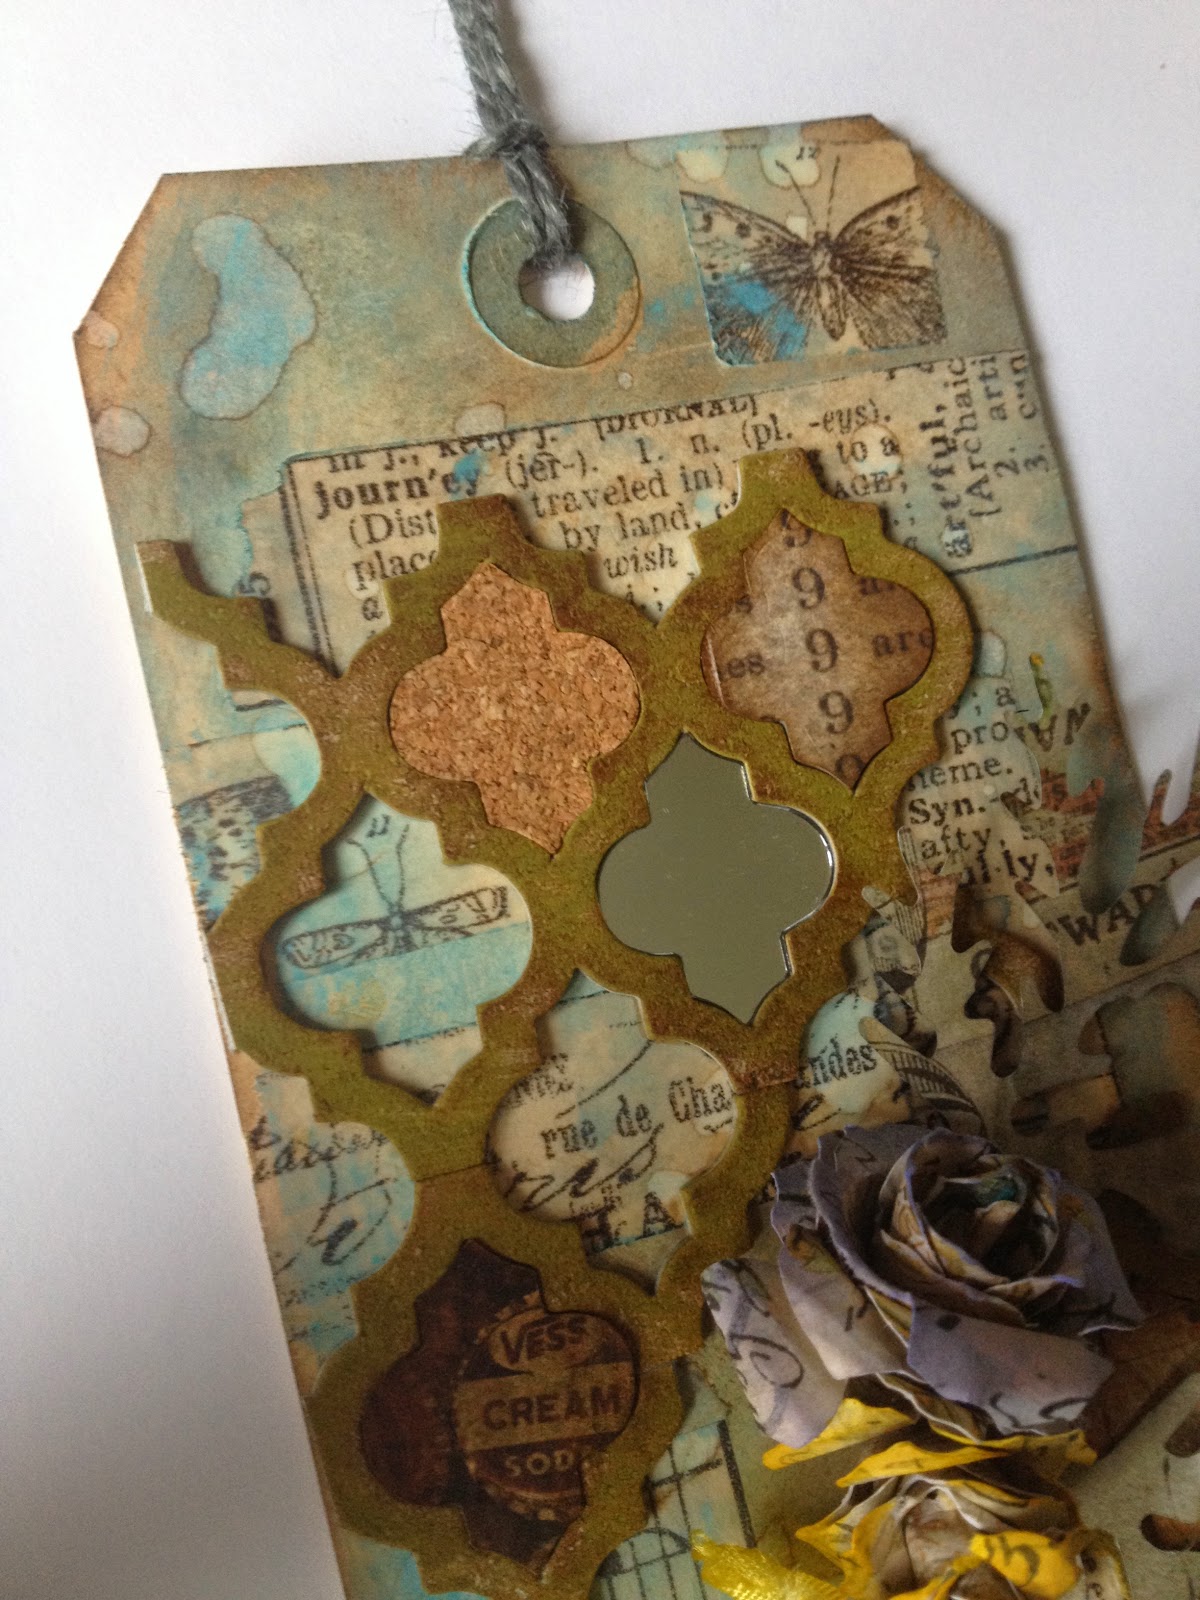
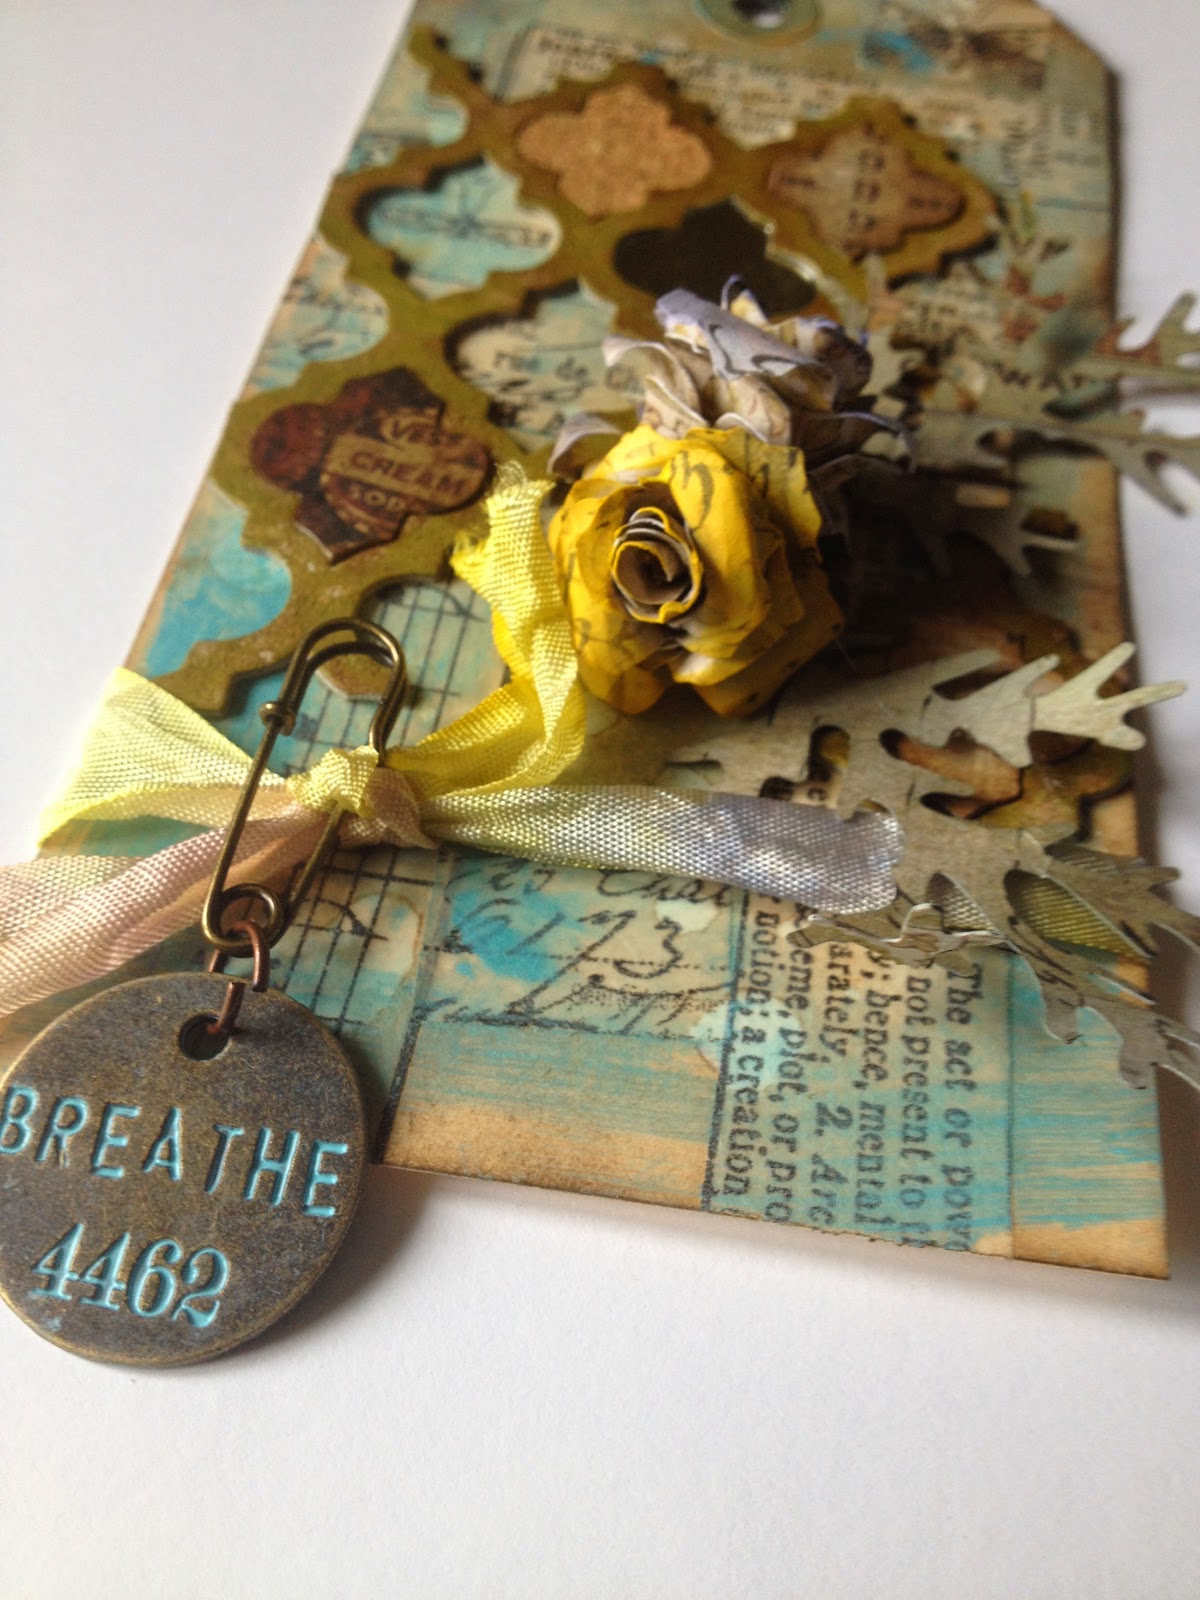
I'm not going to devote a long post to what techniques I used. My 12 Tags post is always based on inspiration from Tim Holtz's post, so head there for all the tips and techniques! :-)
I will note that I was aready elbow-deep in project when I realized that what I was remembering as a jar of Multi-Medium, was in fact Glue 'n' Seal, so I wound up using that instead, to attach my trellis die cut, and it worked pretty well. I put a heavy book on top of it for about 10 minutes, just to keep it in place and let it bond. I used dots of Glossy Accents to adhere the center pieces into the trellis.
The technique for turning a tattered pinecone into a tea rose is cool, but takes some practice. I did okay on the first rose (the yellow one), but then on the second (purple), when I was loosening and repositioning the petals, 2 of them separated, so that I basically had 2 spirals, instead of one. It still came out okay, but I think I still need some practice making those. :-) (Also, fun fact: the hot glue gun doesn't lie. It's hot.)
More views:
I still have two more projects I completed for the end of April to share with you this evening, so check back in a little bit for installments 2 & 3. :-)
BAC
Thursday, March 27, 2014
March tag!
Hello all!
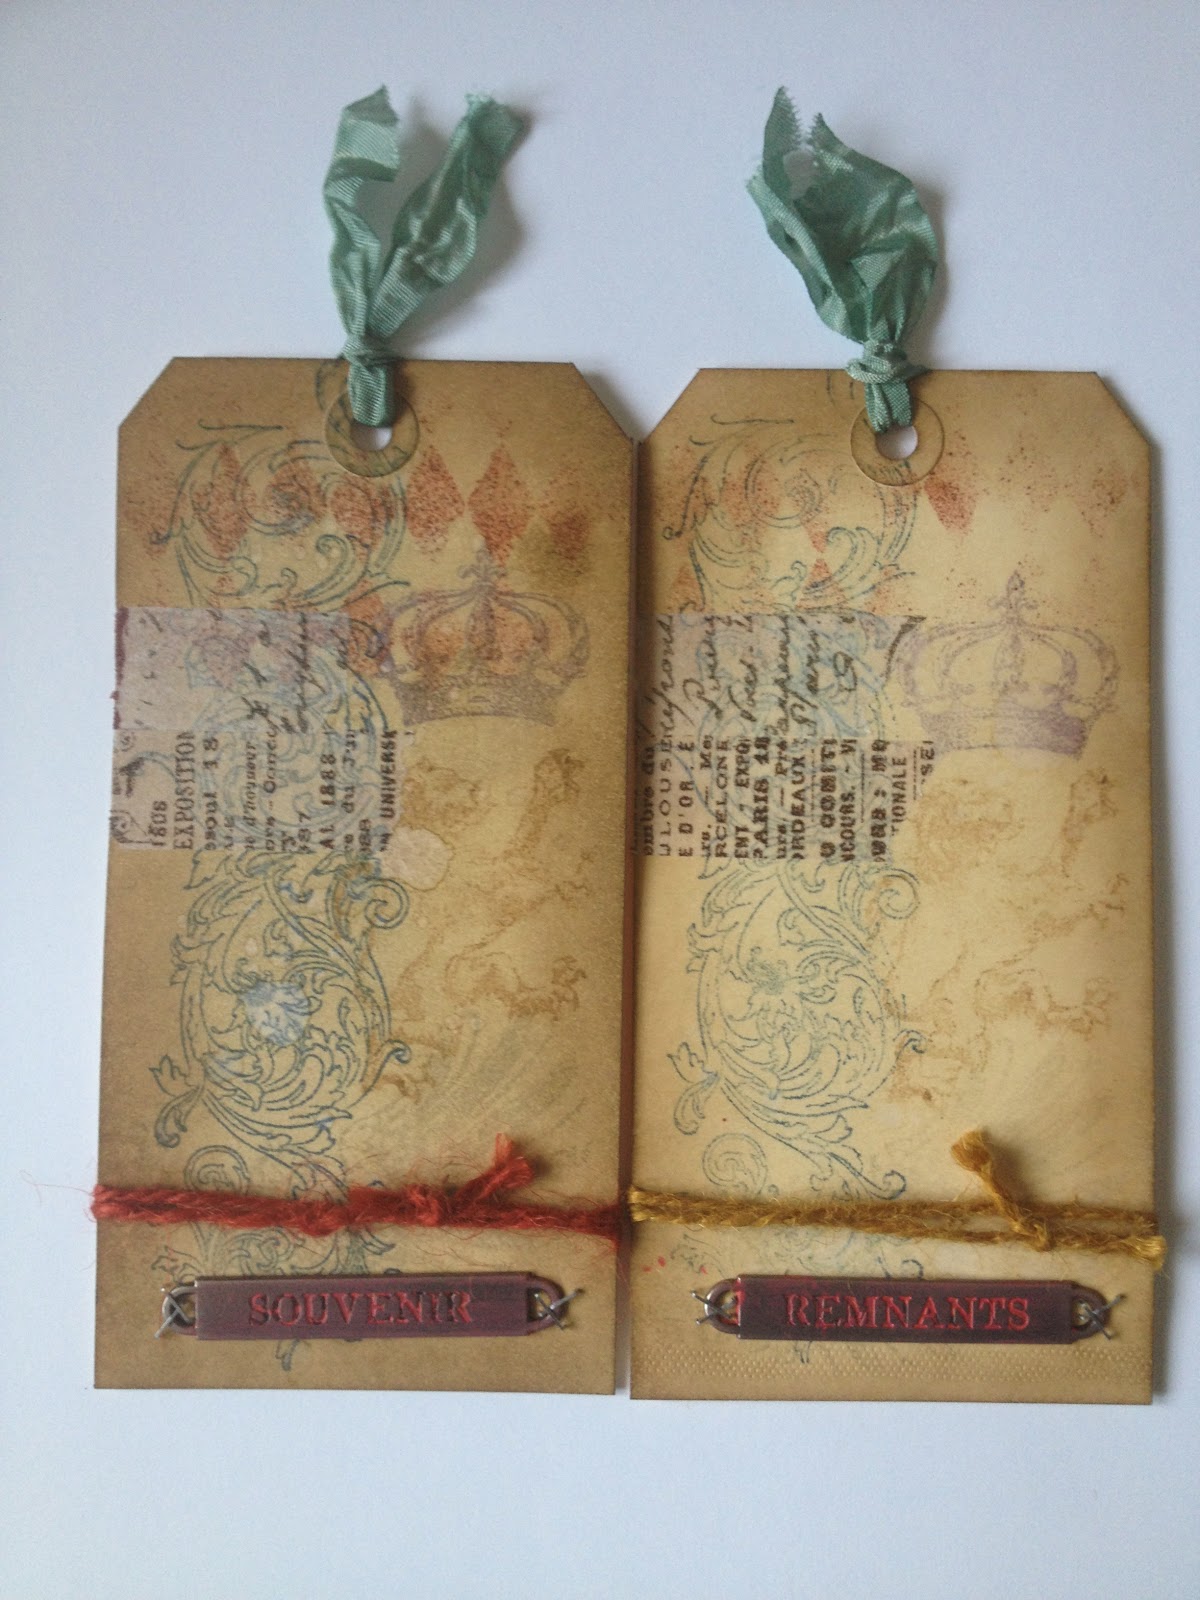
I have 2 posts for you today, and the first is my March tag(s) for 12 Tags of 2014! It's actually 2 tags, created at the same time, using Tim's suggestion of huffing the stamp after stamping the first time, for a second generation print.
Here are my tags:
I have 2 posts for you today, and the first is my March tag(s) for 12 Tags of 2014! It's actually 2 tags, created at the same time, using Tim's suggestion of huffing the stamp after stamping the first time, for a second generation print.
Here are my tags:
Materials/tools used:
- Ranger Inkssentials Manila tags
- Ranger Distress Ink: Antique Linen, Chipped Sapphire, Dusty Concord, Frayed Burlap, Pumice Stone, Vintage Photo, Walnut Stain
- Ranger Distress Marker: Fired Brick
- Ranger Distress Paint: Barn Door
- Ranger Distress Stain: Weathered Wood
- idea-ology: Crinkle Ribbon, Jute String, Tiny Attacher, Tissue Tape (Nostalgic), Word Bands (Observations)
- Ranger Heat Tool
- Ranger Distress Marker Spritzer
- Ranger Inkssentials Mister
- Ranger Inkssentials Blending Foam
- Tonic Studios Craft Scissors
- Tim Holtz for Stampers Anonymous Layering Stencil: Harlequin
- Stamps by Tim Holtz for Stampers Anonymous: CSS25894, CSS30188
I won't lie; these are not my favourite tags out of all the ones I've done for 12 Tags over the last 15 months. If I did them over, I'd probably choose some brighter ink colours that would pop more against the background. But the technique is solid. (And any letterboxers reading this know that we've been huffing our stamps for more impressions long before Tim Holtz started telling papercrafters to!) ;-)
I'm a bit frustrated with the Marker Spritzer. When I first tested it out, I used a new marker with it, and got great, dark results. The colour I used on this project is one I've had for over a year, and while it still colours beautifully, I had a lot of trouble getting it to work with the Spritzer. :-/ Maybe it only works with very new juicy markers?
More views:
I'll be back in a little bit with my next post, so grab a cup of coffee (tea/water/etc.), kick your feet up, and hang out.
'Til then!
BAC
Tuesday, February 25, 2014
February tags...times 2!
That's right, I did 2 tags using Tim's inspiration this month!
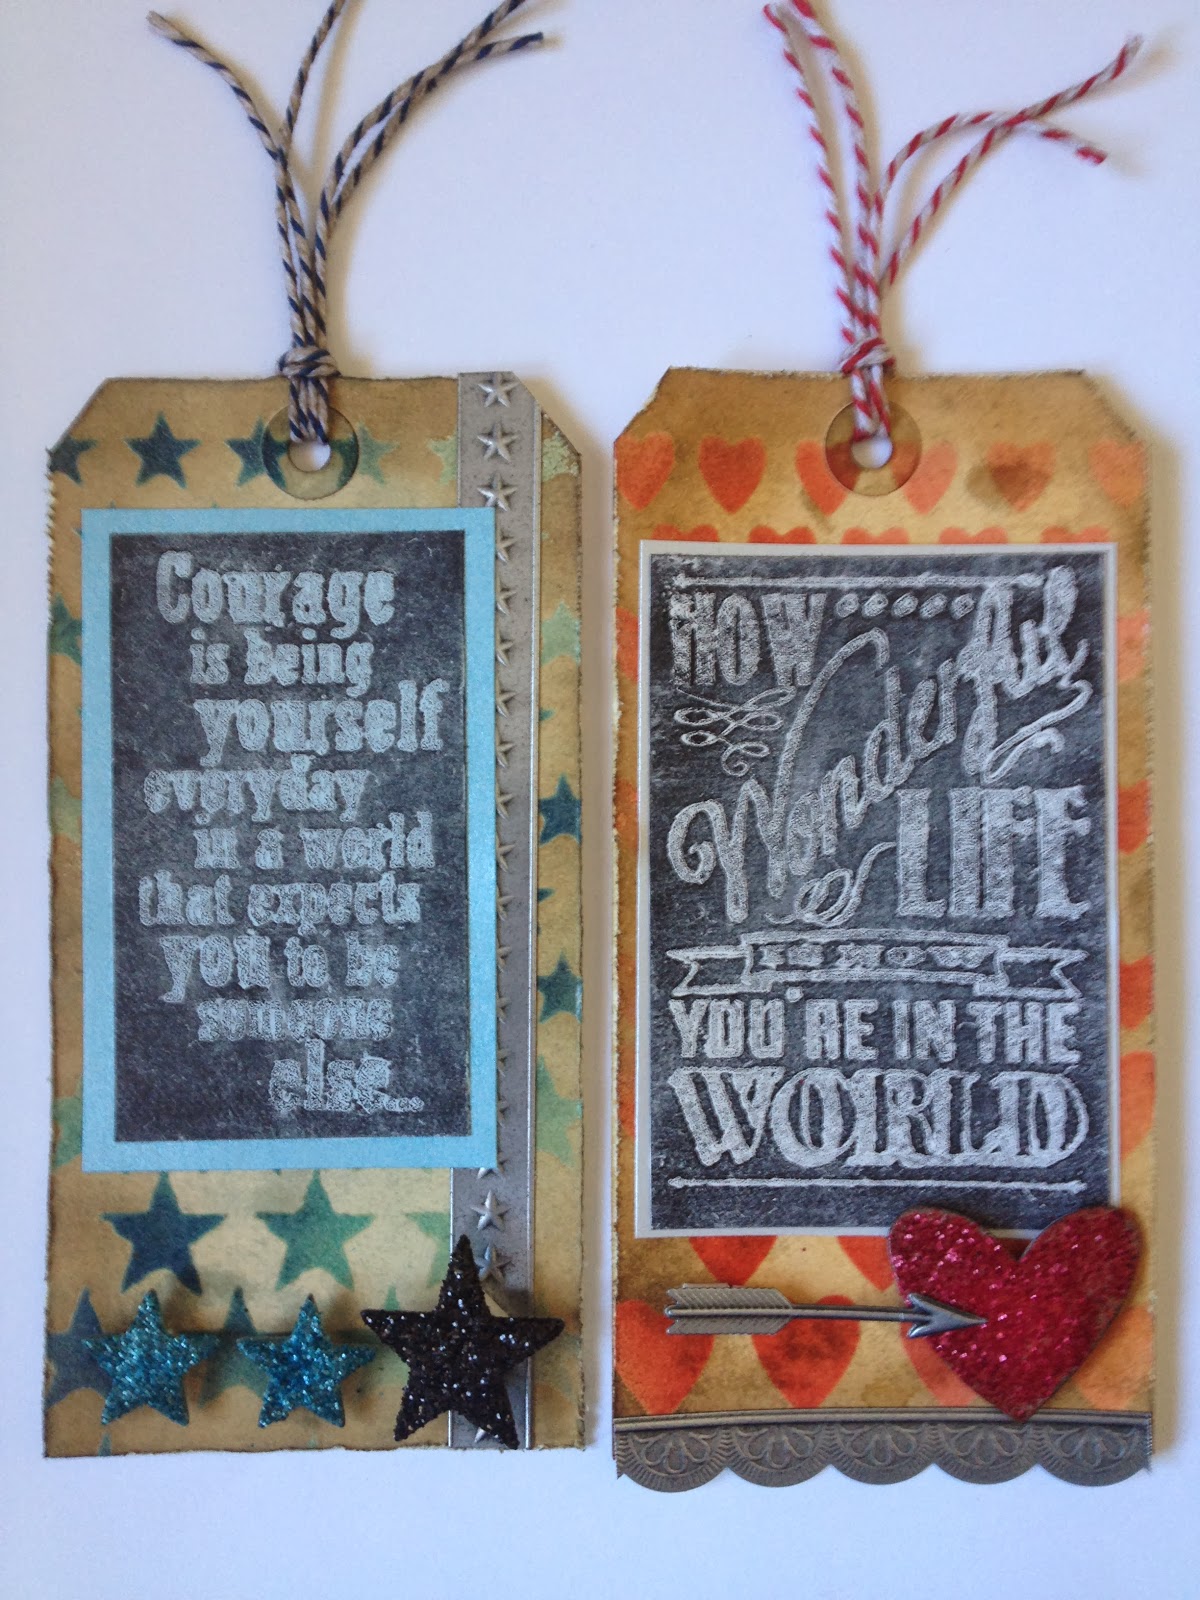
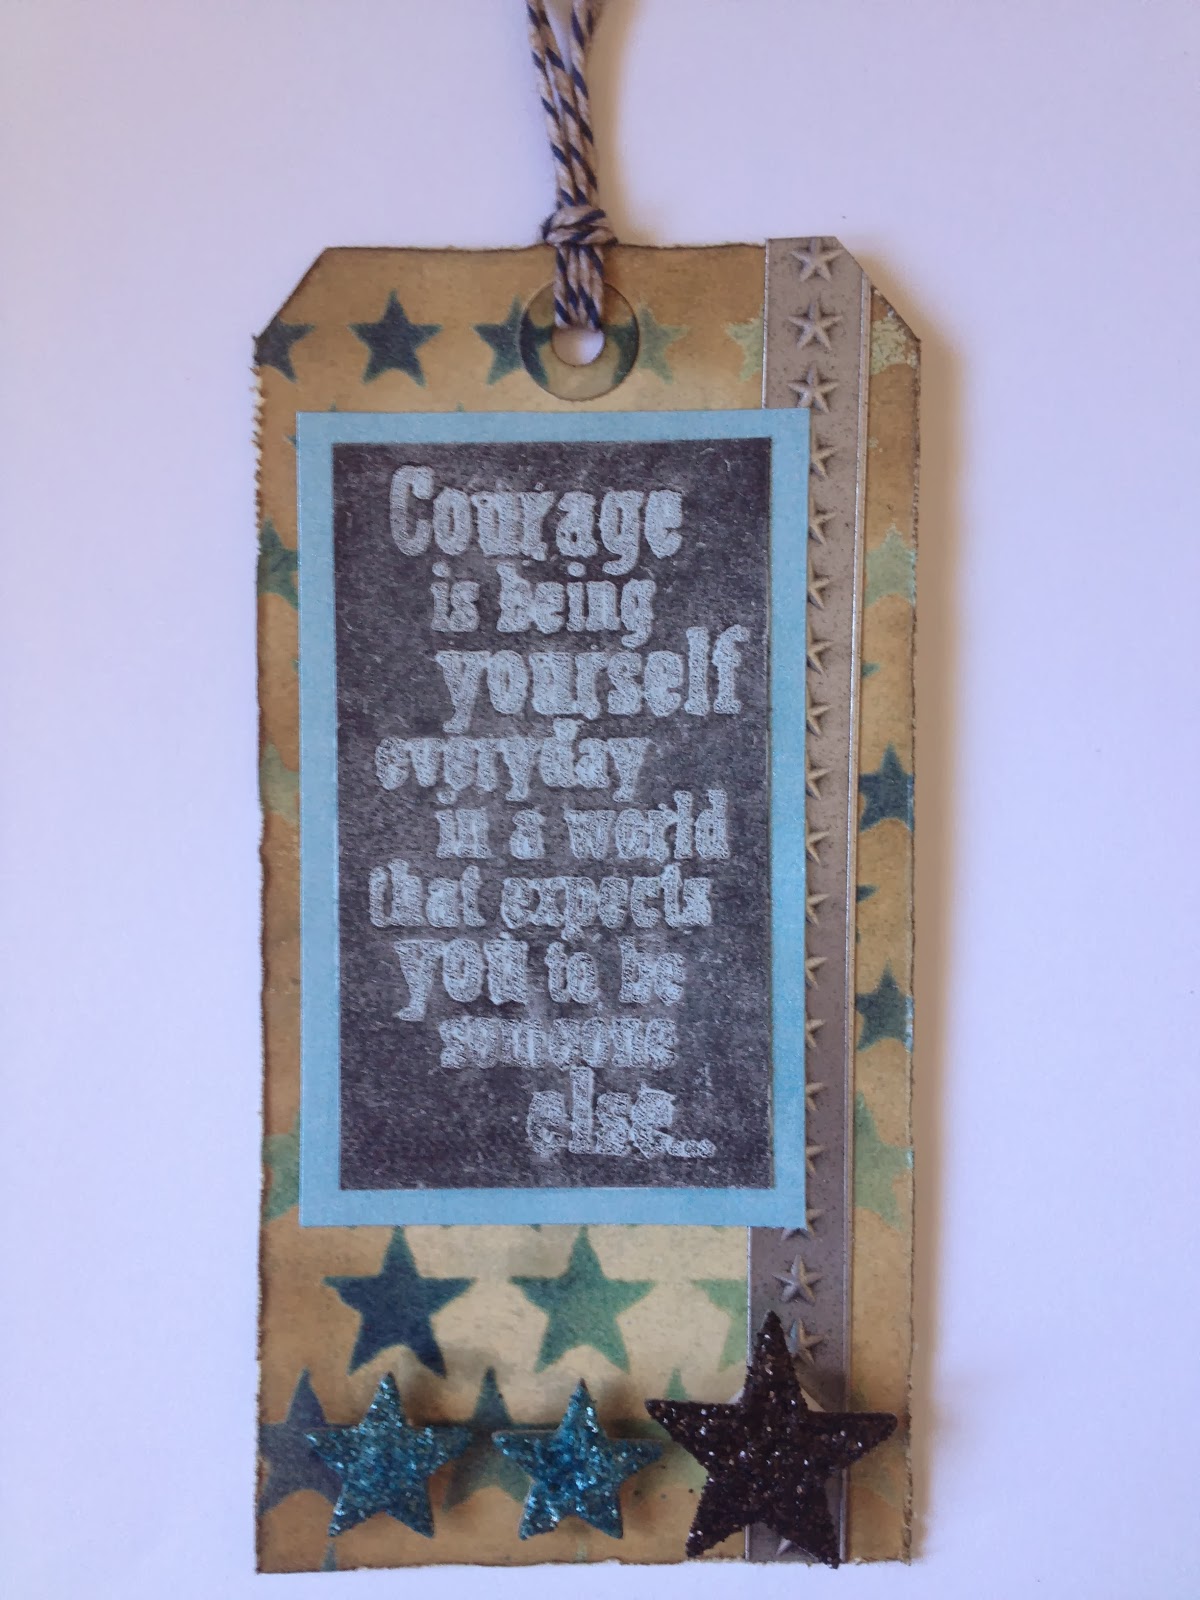
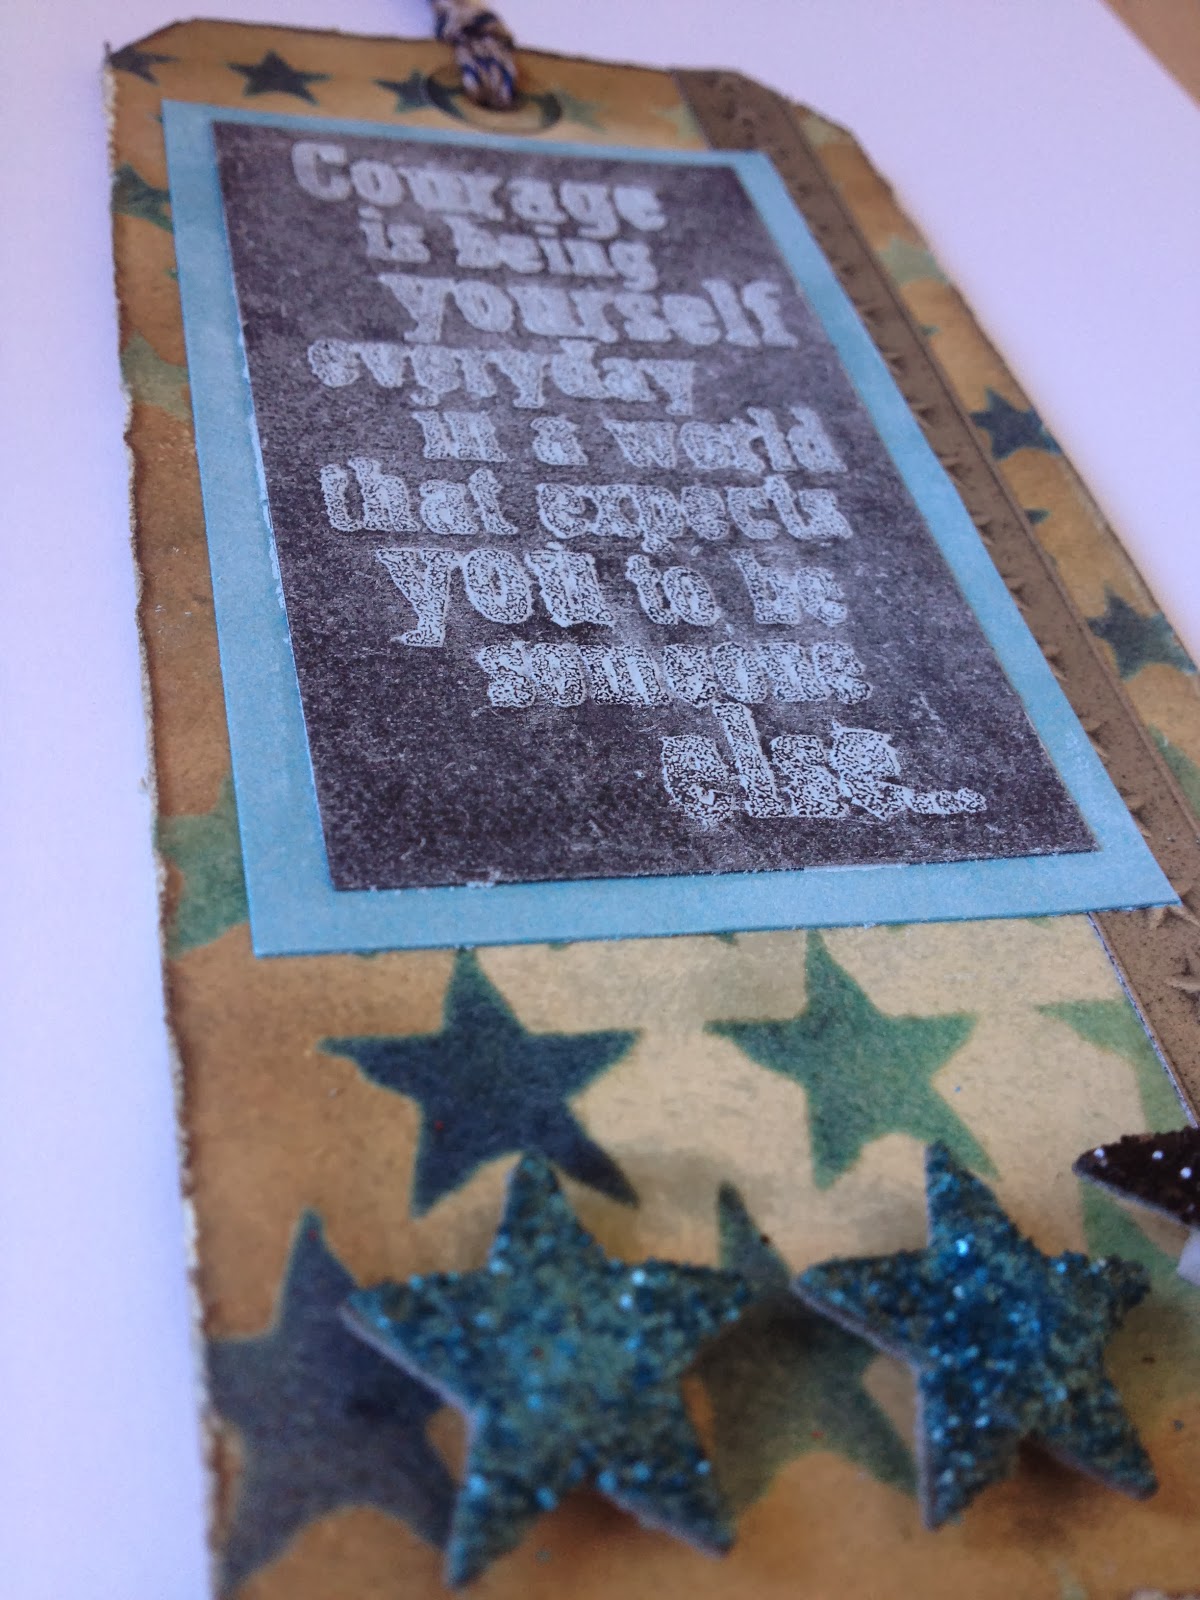
If you've been reading this blog for a bit, then you know that if I don't have a certain stamp or die featured in Tim's post from month to month, I'll substitute something else in. Other times I completely change colours (usually into "Liz palette" - blues and greens). And I've gotten to the point where it kinda bugs me to completely copy Tim's tag. This month, however, I just had to - it was so lovely! (And I *love* the quote stamp he chose!) So in addition to creating a tag that turned out pretty much like his (I did swap a stain colour for one I don't have yet), I created another tag of my own design to share with you.
Here they both are:
Additional materials/tools used on star tag:
- Ranger Distress Ink: Black Soot, Broken China, Chipped Sapphire, Tumbled Glass
- Ranger Distress Stain: Antique Linen, Weathered Wood
- Ranger Distress Glitter: Black Soot, Broken China
- Maya Road Twine Cording: Blueberry
- idea-ology Grungeboard Elements
- Crayola Sidewalk Chalk: Sky Blue
- Stamp by Tim Holtz for Stampers Anonymous: CMS165
- Tim Holtz for Stampers Anonymous Layering Stencil: Stars
- Long Tweezers
- Metallic Blue Cardstock from my stash
I will admit that playing with loose glitter is never my idea of a good time. It gets everywhere, and can sometimes be difficult to clean up. For a glittered look, I much prefer Stickles, which come out cleanly and stay where I put them. That said, I have to say that Ranger's Distress Glitter isn't too difficult to clean up, and the effect is really cool. (And I realize that using Stickles to get the same effect would use up a lot of bottles of Stickles!) I do find it frustrating, however, that even after using my heat tool on a glittered object, and letting it sit overnight, that when I go to ink the edges I still get glitter on my blending tool. :-P
I made the star tag second, and had the good idea to use a long pair of tweezers to help me manipulate the stars beneath the glitter I'd poured on them. It won't work for larger shapes, but the stars were small enough that I could grasp them on the sides and move them without disturbing the glitter on top. (Mostly.)
More views:
That's it for this month, I think. I won't have a lot of studio time over the next few days, but I plan to be back in early March with my next project.
'Til then!
BAC
If you've been reading this blog for a bit, then you know that if I don't have a certain stamp or die featured in Tim's post from month to month, I'll substitute something else in. Other times I completely change colours (usually into "Liz palette" - blues and greens). And I've gotten to the point where it kinda bugs me to completely copy Tim's tag. This month, however, I just had to - it was so lovely! (And I *love* the quote stamp he chose!) So in addition to creating a tag that turned out pretty much like his (I did swap a stain colour for one I don't have yet), I created another tag of my own design to share with you.
Here they both are:
Materials/tools used on both tags:
- Ranger Inkssentials Manila tags
- Ranger Inkssentials Black tags
- Ranger Distress Ink: Walnut Stain
- Ranger Distress Embossing Ink
- Ranger Distress Stain: Pumice Stone
- Ranger Glossy Accents
- Ranger Embossing Antiquities Powder: Frosted Crystal
- idea-ology Industrious Stickers - Borders
- Ranger Heat Tool
- Ranger Inkssentials Mister
- Ranger Inkssentials Blending Foam
- Tonic Studios: Craft Scissors, Paper Distresser
- Paper Trimmer
- Painters Tape
- Double-stick tape, foam dots, clear embossing powder from my stash
Additional materials/tools used on heart tag:
- Ranger Distress Ink: Barn Door, Fired Brick, Worn Lipstick
- Ranger Distress Stain: Brushed Corduroy, Milled Lavender
- Ranger Distress Glitter: Festive Berries
- Maya Road Twine Cording: Tomato Red
- idea-ology Grungeboard
- Crayola Sidewalk Chalk: White
- Stamp by Tim Holtz for Stampers Anonymous: CMS182
- Tim Holtz for Stampers Anonymous Layering Stencil: Hearts
- Sizzix Big Shot
- Sizzix Movers and Shapers Dies: Mini Hearts Set
- Silver cardstock from my stash
Additional materials/tools used on star tag:
- Ranger Distress Ink: Black Soot, Broken China, Chipped Sapphire, Tumbled Glass
- Ranger Distress Stain: Antique Linen, Weathered Wood
- Ranger Distress Glitter: Black Soot, Broken China
- Maya Road Twine Cording: Blueberry
- idea-ology Grungeboard Elements
- Crayola Sidewalk Chalk: Sky Blue
- Stamp by Tim Holtz for Stampers Anonymous: CMS165
- Tim Holtz for Stampers Anonymous Layering Stencil: Stars
- Long Tweezers
- Metallic Blue Cardstock from my stash
I will admit that playing with loose glitter is never my idea of a good time. It gets everywhere, and can sometimes be difficult to clean up. For a glittered look, I much prefer Stickles, which come out cleanly and stay where I put them. That said, I have to say that Ranger's Distress Glitter isn't too difficult to clean up, and the effect is really cool. (And I realize that using Stickles to get the same effect would use up a lot of bottles of Stickles!) I do find it frustrating, however, that even after using my heat tool on a glittered object, and letting it sit overnight, that when I go to ink the edges I still get glitter on my blending tool. :-P
I made the star tag second, and had the good idea to use a long pair of tweezers to help me manipulate the stars beneath the glitter I'd poured on them. It won't work for larger shapes, but the stars were small enough that I could grasp them on the sides and move them without disturbing the glitter on top. (Mostly.)
More views:
That's it for this month, I think. I won't have a lot of studio time over the next few days, but I plan to be back in early March with my next project.
'Til then!
BAC
Thursday, January 30, 2014
Beginning a New Year: January tag
Well, I successfully made it through all 12 tags last year, and I'm looking to repeat that again this year. So, without further ado, my January tag:
- Ranger Metal Foil Tape
- idea-ology: Chit Chat, Grunge Board, Journaling Tickets, Jump Rings, Long Fasteners, Mini Gears, Remnant Rubs - Numbers, Sanding Grip, Sprocket Gears, Tiny Attacher, Type Charms, Wire Pins
- Maya Road Twine Cording: Blackberry
- Ranger Heat Tool
- Ranger Inkssentials Mister
- Ranger Inkssentials Blending Foam
- Tonic Studios: Craft Pick, Craft Scissors
- Sizzix Big Shot
- Sizzix Bigz Die: Picture Wheel
- Sizzix Texture Fades: Steampunk
- Stamp by Tim Holtz for Stampers Anonymous: CSS27911
- Tim Holtz for Stampers Anonymous Layering Stencil: Clockwork
Notes:
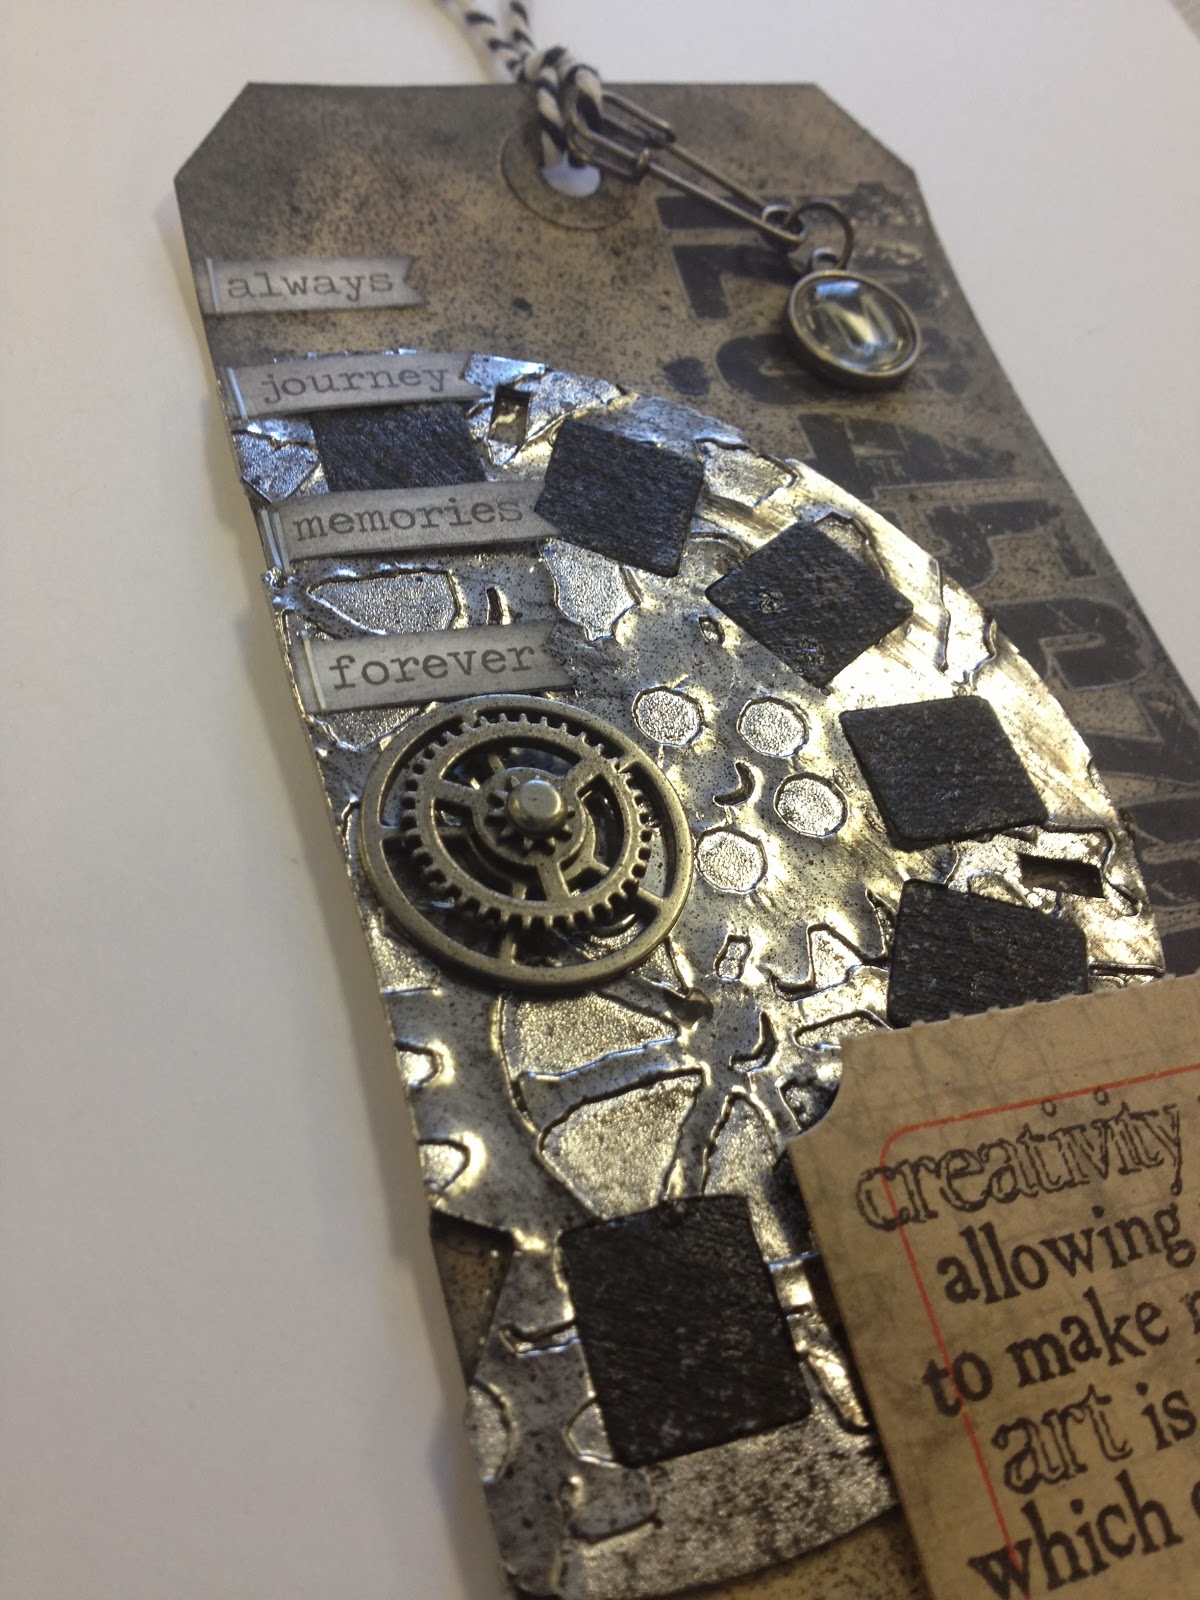
- This month I went out of my way to use tools/dies etc. that I already had. So my tag looks quite a bit different from Tim's example. That said, I love the picture wheel die! So much fun!
- Still lacking that splatter brush, so once again, I used Dylusions ink spray to get my splatter effect. Worked pretty well!
- Went with a basic type charms rather than creating one with remnant rubs, since it seems I don't have a 1/2" round punch (yet!). That one'll be on the list quite soon!
- Overall, though, I like how my tag turned out! :-)
Additional views:
Materials/tools used:
- Ranger Inkssentials Manila Craft Tags
- Ranger Distress Inks: Black Soot, Pumice Stone
- Ranger Distress Paint: Black Soot
- Ranger Distress Stain: Pumice Stone
- Ranger Archival Ink: Jet Black
- Ranger Dylusions Spray Ink: Black Marble
- Ranger Glossy Accents- Ranger Metal Foil Tape
- idea-ology: Chit Chat, Grunge Board, Journaling Tickets, Jump Rings, Long Fasteners, Mini Gears, Remnant Rubs - Numbers, Sanding Grip, Sprocket Gears, Tiny Attacher, Type Charms, Wire Pins
- Maya Road Twine Cording: Blackberry
- Ranger Heat Tool
- Ranger Inkssentials Mister
- Ranger Inkssentials Blending Foam
- Tonic Studios: Craft Pick, Craft Scissors
- Sizzix Big Shot
- Sizzix Bigz Die: Picture Wheel
- Sizzix Texture Fades: Steampunk
- Stamp by Tim Holtz for Stampers Anonymous: CSS27911
- Tim Holtz for Stampers Anonymous Layering Stencil: Clockwork
Notes:
- This month I went out of my way to use tools/dies etc. that I already had. So my tag looks quite a bit different from Tim's example. That said, I love the picture wheel die! So much fun!
- Still lacking that splatter brush, so once again, I used Dylusions ink spray to get my splatter effect. Worked pretty well!
- Went with a basic type charms rather than creating one with remnant rubs, since it seems I don't have a 1/2" round punch (yet!). That one'll be on the list quite soon!
- Overall, though, I like how my tag turned out! :-)
Additional views:
That's it for now! Time to get back to getting over my cold.
'Til next time!
BAC
Tuesday, December 31, 2013
...and December makes 12!
I'm getting it in just under the wire, but I've completed 12 Tags of 2013! :-) Without further ado, here's my December tag!
Materials/tools used:
- Ranger Inkssentials Manila Craft Tags
- Ranger Distress Ink: Frayed Burlap
- Ranger Distress Stain: Antique Linen
- Ranger Dylusions Spray Ink: White Linen
- Ranger Archival Ink: Fern Green, Vermillion
- Ranger Perfect Medium
- Ranger Glossy Accents
- Studio 490 Clearly for Art
- idea-ology: Frosted Film, Long Fasteners
- Stamp by Tim Holtz for Stampers Anonymous: CMS175
- Dylusions Stencil: Diamond of a Border
- Ranger Craft Scraper
- Ranger Heat Tool
- Ranger Inkssentials Mister
- Ranger Inkssentials Foam Blending Tool
- Sizzix Big Shot
- Sizzix Bigz Dies: Tattered Florals, Tattered Leaves
- Tonic Studios: Craft Scissors, Craft Pick, Paper Distresser
- Paper trimmer
- Self-healing cutting mat
- Black embossing powder, yellow gem, ribbon from my stash
There were a few items Tim used on his tag that I either don't have, or couldn't find when I was making my tag. (Oops! Let's make organizing the craft room again a resolution for 2014!) I don't own the Tattered Poinsettia die, but I substituted a couple other dies for a similar effect. The splatter brush Tim used for the snow effect looks nifty, and I now have one on my list, but since I don't have it yet, I used white Dylusions instead of white Distress paint. Still came out looking quite cool, I think.
Getting the frosted film onto the Clearly for Art was quite the challenge, even using a craft scraper to smooth as you go. I suspect it's one of those things that just takes some practice, but I'm not quite there yet.
The other thing that mystified me a bit was how Tim's flower retained such vivid colours even after heating and shaping. I found that the shaping process left ink on my fingers, and less on the flower. Maybe he added more ink after he was finished shaping? Don't know, but I see more experimentation in my future. :-)
More views:
Materials/tools used:
- Ranger Inkssentials Manila Craft Tags
- Ranger Distress Ink: Frayed Burlap
- Ranger Distress Stain: Antique Linen
- Ranger Dylusions Spray Ink: White Linen
- Ranger Archival Ink: Fern Green, Vermillion
- Ranger Perfect Medium
- Ranger Glossy Accents
- Studio 490 Clearly for Art
- idea-ology: Frosted Film, Long Fasteners
- Stamp by Tim Holtz for Stampers Anonymous: CMS175
- Dylusions Stencil: Diamond of a Border
- Ranger Craft Scraper
- Ranger Heat Tool
- Ranger Inkssentials Mister
- Ranger Inkssentials Foam Blending Tool
- Sizzix Big Shot
- Sizzix Bigz Dies: Tattered Florals, Tattered Leaves
- Tonic Studios: Craft Scissors, Craft Pick, Paper Distresser
- Paper trimmer
- Self-healing cutting mat
- Black embossing powder, yellow gem, ribbon from my stash
There were a few items Tim used on his tag that I either don't have, or couldn't find when I was making my tag. (Oops! Let's make organizing the craft room again a resolution for 2014!) I don't own the Tattered Poinsettia die, but I substituted a couple other dies for a similar effect. The splatter brush Tim used for the snow effect looks nifty, and I now have one on my list, but since I don't have it yet, I used white Dylusions instead of white Distress paint. Still came out looking quite cool, I think.
Getting the frosted film onto the Clearly for Art was quite the challenge, even using a craft scraper to smooth as you go. I suspect it's one of those things that just takes some practice, but I'm not quite there yet.
The other thing that mystified me a bit was how Tim's flower retained such vivid colours even after heating and shaping. I found that the shaping process left ink on my fingers, and less on the flower. Maybe he added more ink after he was finished shaping? Don't know, but I see more experimentation in my future. :-)
More views:
Overall, 2013 has been a fun, inky, creative journey for me, and I can't wait to see what 2014 has in store! I have a feeling it's going to be a great year! :-)
Happy New Year!
BAC
Tuesday, November 26, 2013
November tag!
I can't believe this year is almost over!! One more tag to go in 2013!
But first, here's my November tag:
I'm looking forward to a nice long weekend (I'm off work beginning at noon on Wednesday, and continuing through the weekend), and spending a lot of it in my studio. Still have a couple more posts planned in November. What are your creative plans for the holiday? :-)
BAC
But first, here's my November tag:
Materials/tools used:
- Ranger Inkssentials Black Craft Tags
- Ranger Distress Ink: Pumice Stone
- Ranger Distress Embossing Ink
- Ranger Archival Ink: Jet Black
- Ranger Embossing Antiquities powder: Frosted Crystal
- Maya Road Twine Cording: Blackberry
- Ranger Heat Tool
- Ranger Inkssentials Mister
- Ranger Inkssentials Foam Blending Tool
- Tonic Craft Scissors
- Stamps by Tim Holtz for Stampers Anonymous: CMS136, CMS155
- White cardstock, white chalk, glue dots, foam tape from my stash
Notes:
- This was my first time trying out the chalkboard technique, and while I think it's a lot of fun, and looks awesome, it does take some practice. Just getting the embossing powder cured in all the places, without being overcured in some of them, takes a lot of practice! But I'll be continuing to work with this one, and eager to see what results I get with coloured chalk as well.
- I noticed that the white of my chalk didn't look as bright as Tim's example, but I was using the no-name teacher chalk I found at the office supply store. I'll likely try again with RoseArt or Crayola and see if that makes a difference. :-)
- As much as I am intrigued by Tim's new stamp & die collections, they haven't found their way into my budget yet, so in the meantime, I used some blueprint stamps I already owned, and fussy cut them. Same effect, a little more work. But totally doable without laying out for new stamp/die combos, and the magnetic platform. :-)
More views:
BAC
Wednesday, October 30, 2013
October tag...
Hello all!
It's been a crazy month, but I did have a little time yesterday evening to hit my studio and catch up on some projects, including my October tag!
Materials/tools used:
- Ranger Inkssentials Manila Tags
- Ranger Distress Ink: Black Soot, Brushed Corduroy, Peeled Paint, Stormy Sky, Walnut Stain
- Ranger Distress Glitter: Broken China, Mowed Lawn
- Ranger Distress Paint: Broken China, Mustard Seed, Peeled Paint, Picket Fence, Spiced Marmalade
- Ranger Archival Ink: Jet Black
- Ranger Glossy Accents
- idea-ology: Crinkle Ribbon, Grunge Board, Vial Labels
- Ranger Heat Tool
- Ranger Inkssentials Mister
- Ranger Inkssentials Foam Blending Tool
- Stamps by Tim Holtz for Stampers Anonymous: CMS120, CMS167
- Sizzix Movers & Shapers Dies: Mini Apothecary Bottles
- Sizzix Big Shot
This month's technique was really about familiarizing yourself with the Distress Glitter. I have to admit, I'm not really a "glitter" person. I get too easily frustrated by the way it sticks to everything, and you continue finding little pieces of it in various places months later. When I need sparkly, I usually use Stickles. Consequently, I only own 4 colours of Distress Glitter so far, so my options for the tag were a little limited. If I had it to do over, I'd probably choose some different colours, but at least I spent some time playing with them. I DO have to say that cleaning up after this glitter wasn't that difficult. It wiped up easily, and washed off my hands easily, so that was cool. I was a bit frustrated though, when trying to ink over the top of the glittered pieces, that I wound up with glitter sticking to my blending foam and ink pad. It's an interesting technique, but probably not one I'll use on a regular basis.
But it's good to try new things, right? :-)
I'll have another Challenge project to share, either later today or tomorrow morning.
'Til then,
BAC
Monday, September 30, 2013
September tag!
Two posts in one day! Either I've been really busy the past few days, or I'm a procrastinator! (It's possible that both are true.) :-)
Here's my September tag:
Materials/tools used:
- Ranger Inkssentials Manila Tags
- Ranger Distress Ink: Black Soot, Salty Ocean, Walnut Stain
- Ranger Distress Marker: Black Soot
- Ranger Distress Paint: Picket Fence
- Ranger Distress Stain: Evergreen Bough, Festive Berries, Shaded Lilac
- Ranger Archival Ink: Jet Black
- Ranger Glossy Accents
- Studio 490 Embossing Paste: White
- idea-ology: Halloween Muse Tokens, Wire Pins, Jump Rings, Crinkle Ribbon, Chit Chat, Pen Nibs
- Tim Holtz for Stampers Anonymous Layering Stencils: Bubble, Burlap, Clockwork, Honeycomb, Rays
- Ranger Heat Tool
- Ranger Inkssentials Mister
- Ranger Inkssentials Foam Blending Tool
- Tonic Paper Distresser
- Plastic Palette Knife
- "The Raven" text stamp by Impression Obsession
- Poe stamp carved by me
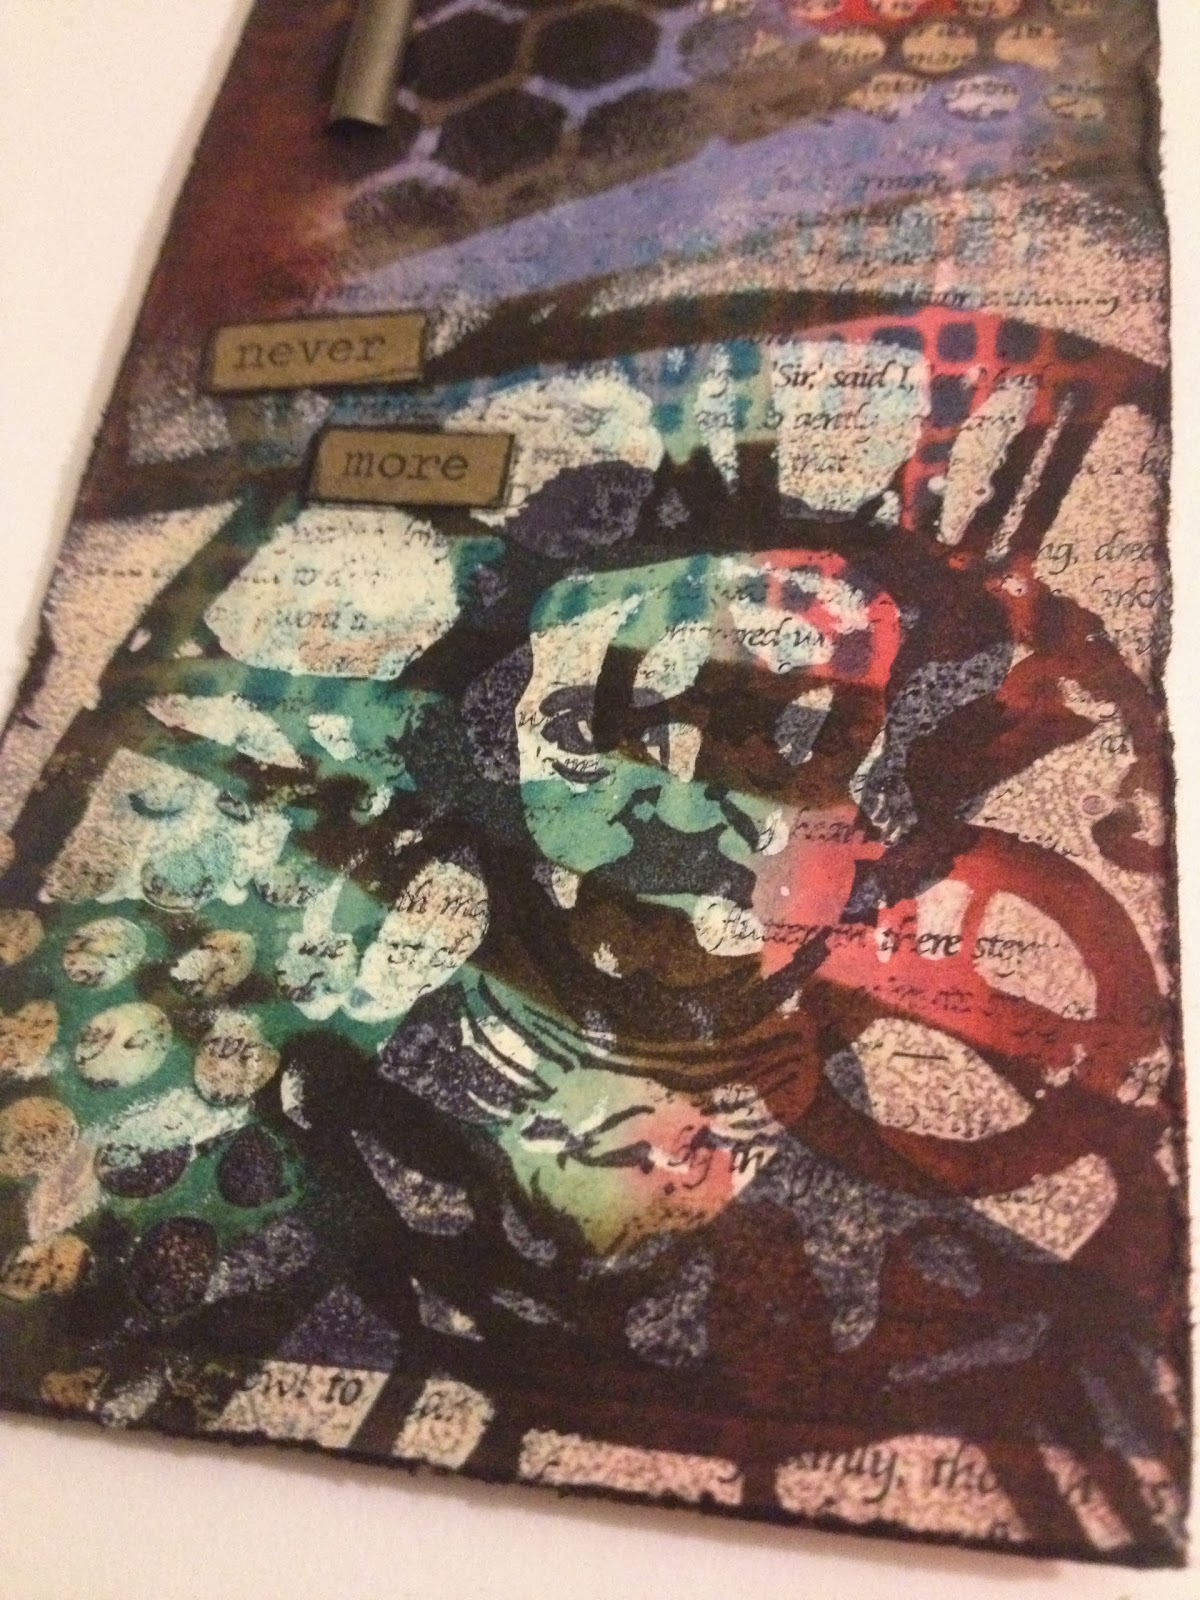
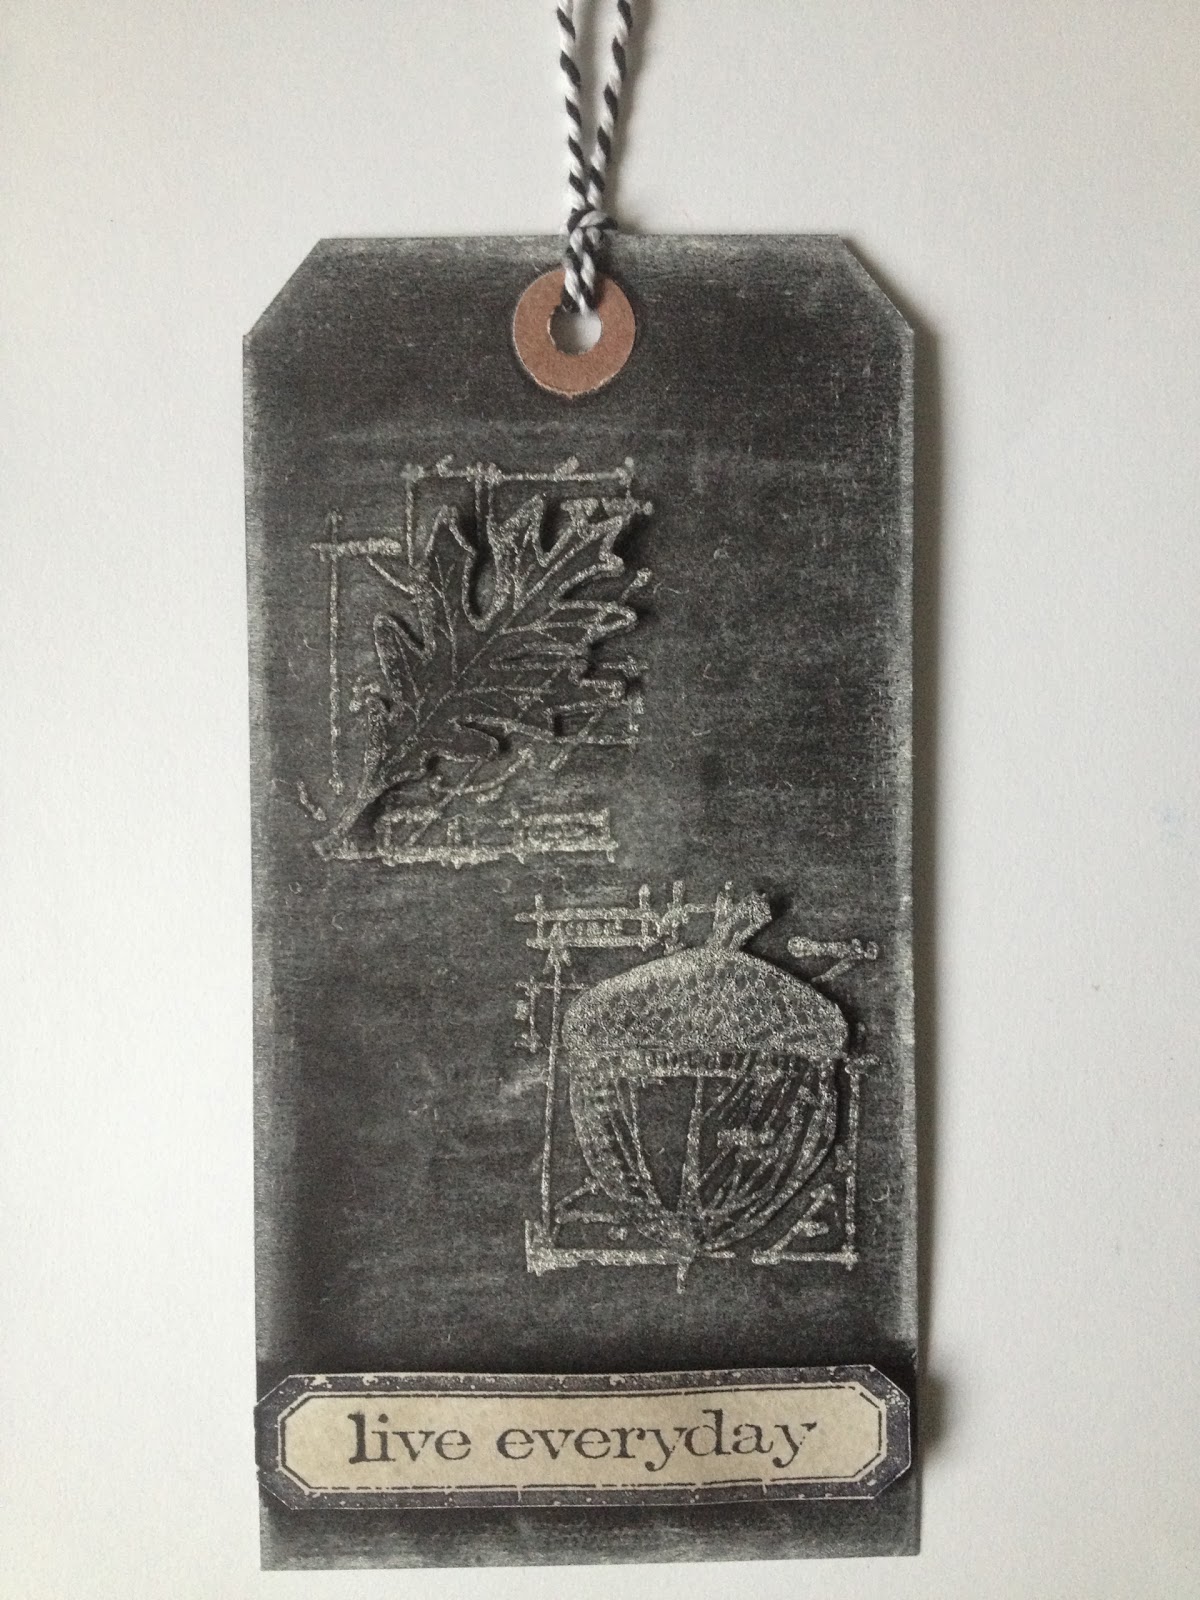
This month was all about playing with layers, and Tim's fun new layering stencils. I picked up the awesome Raven stamp at my local stamping shop a few weeks ago, and it'll be getting a lot of use in the coming weeks (including on some projects that show the text itself better). It includes the full text of the poem on it, and matches perfectly with the Poe bust I carved for an ATC a few months back. (Have you figured out yet that autumn is my favourite season, and Halloween is my favourite holiday?) :-)
This was my first time playing with Studio 490’s embossing paste, and it was a lot of fun! Easy to use, and dried quickly to a very unusual texture. I'm excited to play with it again, and even more excited to experiment with the jar of clear embossing paste that I ordered at the same time!
More views:
Well, that's it for now! Have fun and get inky! :-)
BAC
Wednesday, August 28, 2013
August tag!!
Hello again!
In just a few hours, I'll be on my way out the door for a fun long weekend in Massachusetts! But first, here's my tag! :-)
Materials used:
- Ranger Inkssentials Manila Craft Tags
- Ranger Distress Inks: Black Soot, Walnut Stain
- Ranger Distress Markers: Chipped Sapphire, Fired Brick, Pumice Stone
- Ranger Distress Stain: Brushed Corduroy, Pumice Stone
- Ranger Archival Ink: Jet Black
- Tsukineko Staz-on Ink: Jet Black
- idea-ology Word Bands
- Inkadinkadoo Stamping Mask Paper
- Stamps by Tim Holtz for Stampers Anonymous: CMS162
- Maya Road Twine Cording: Blackberry
Tools used:
- Ranger Heat Tool
- Ranger Inkssentials Mister
- Ranger Inkssentials Foam Blending Tool
- Tonic Craft Scissors
- Tonic Paper Distresser
- idea-ology Tiny Attacher
Notes:
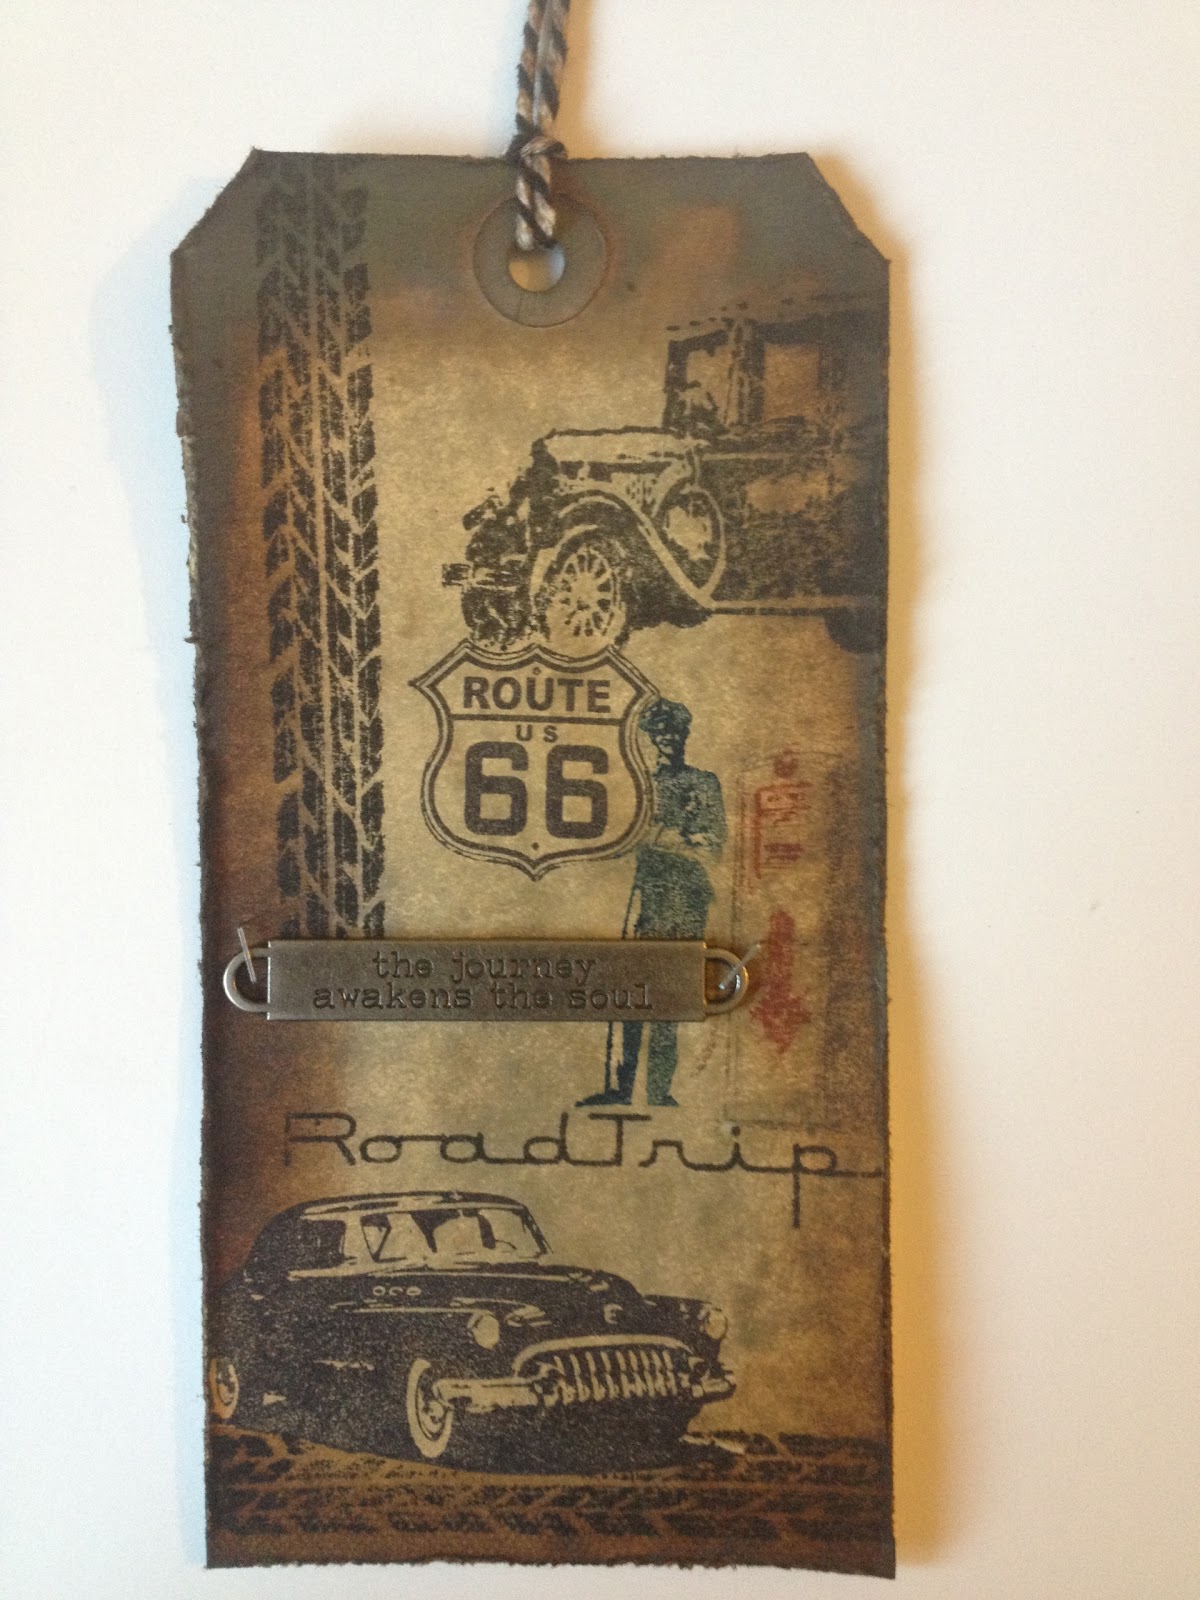
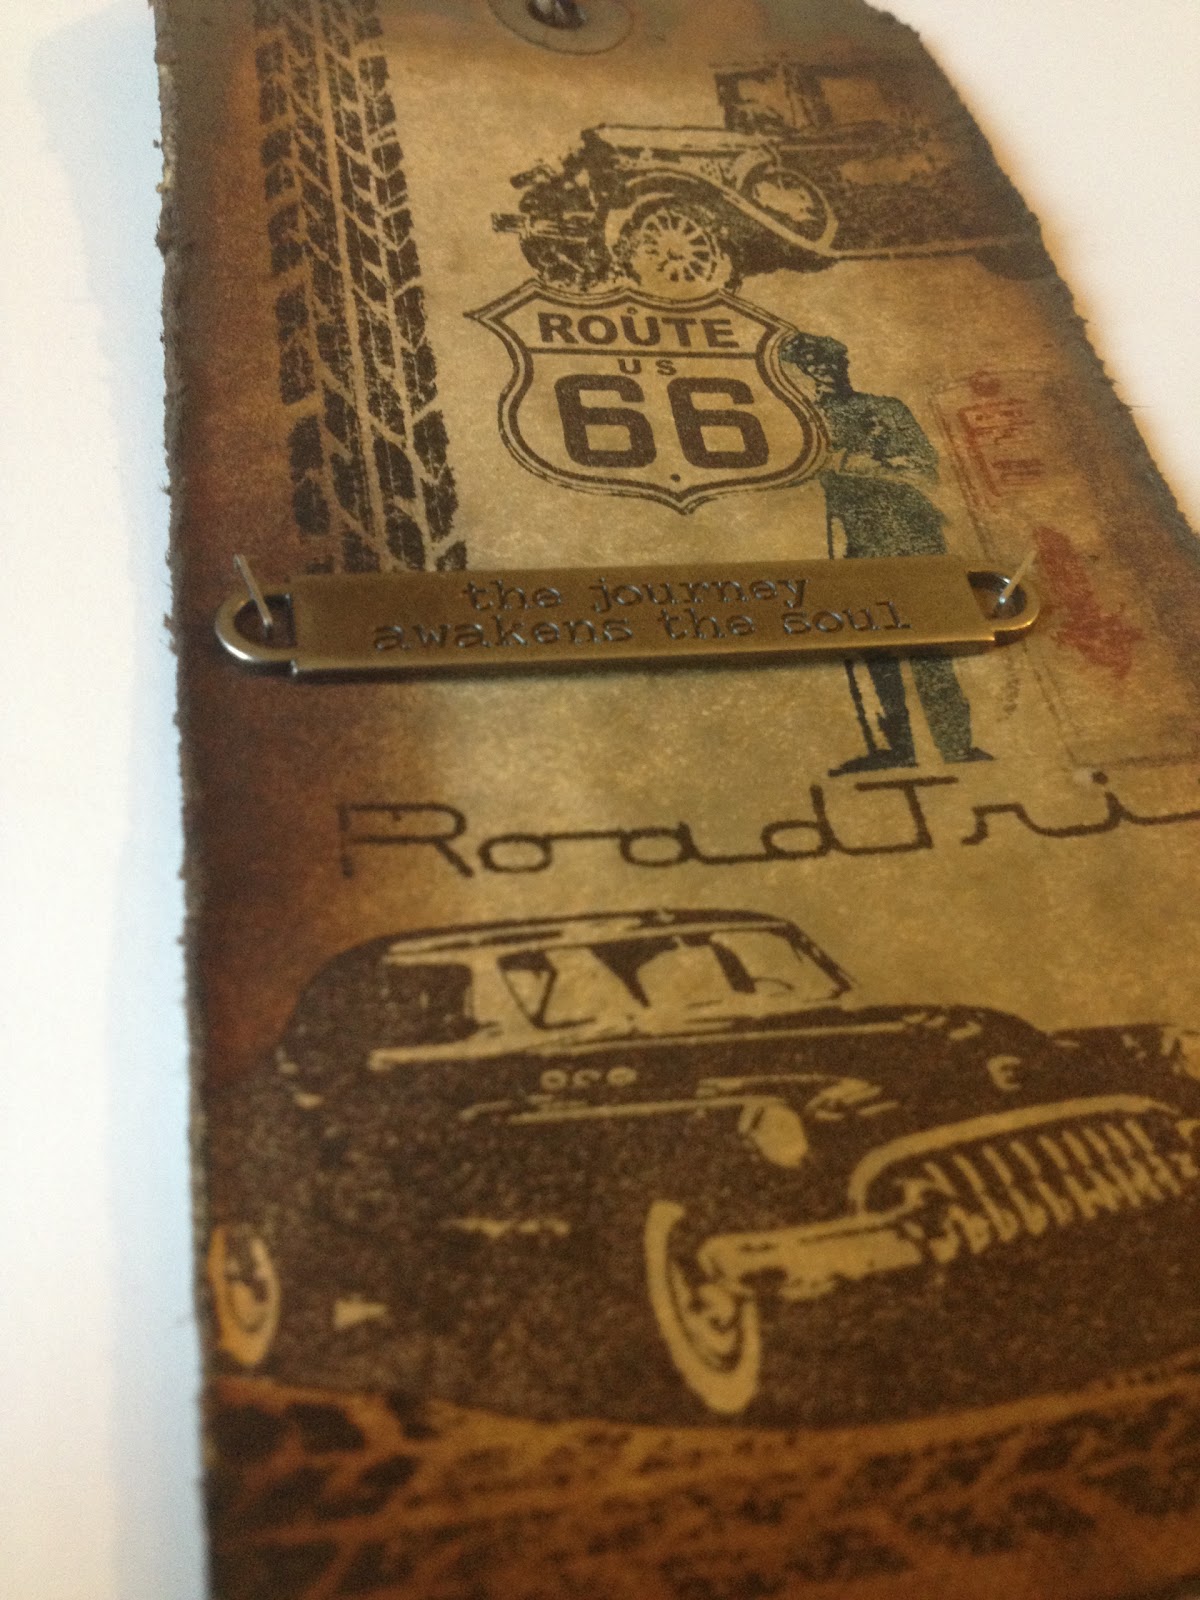
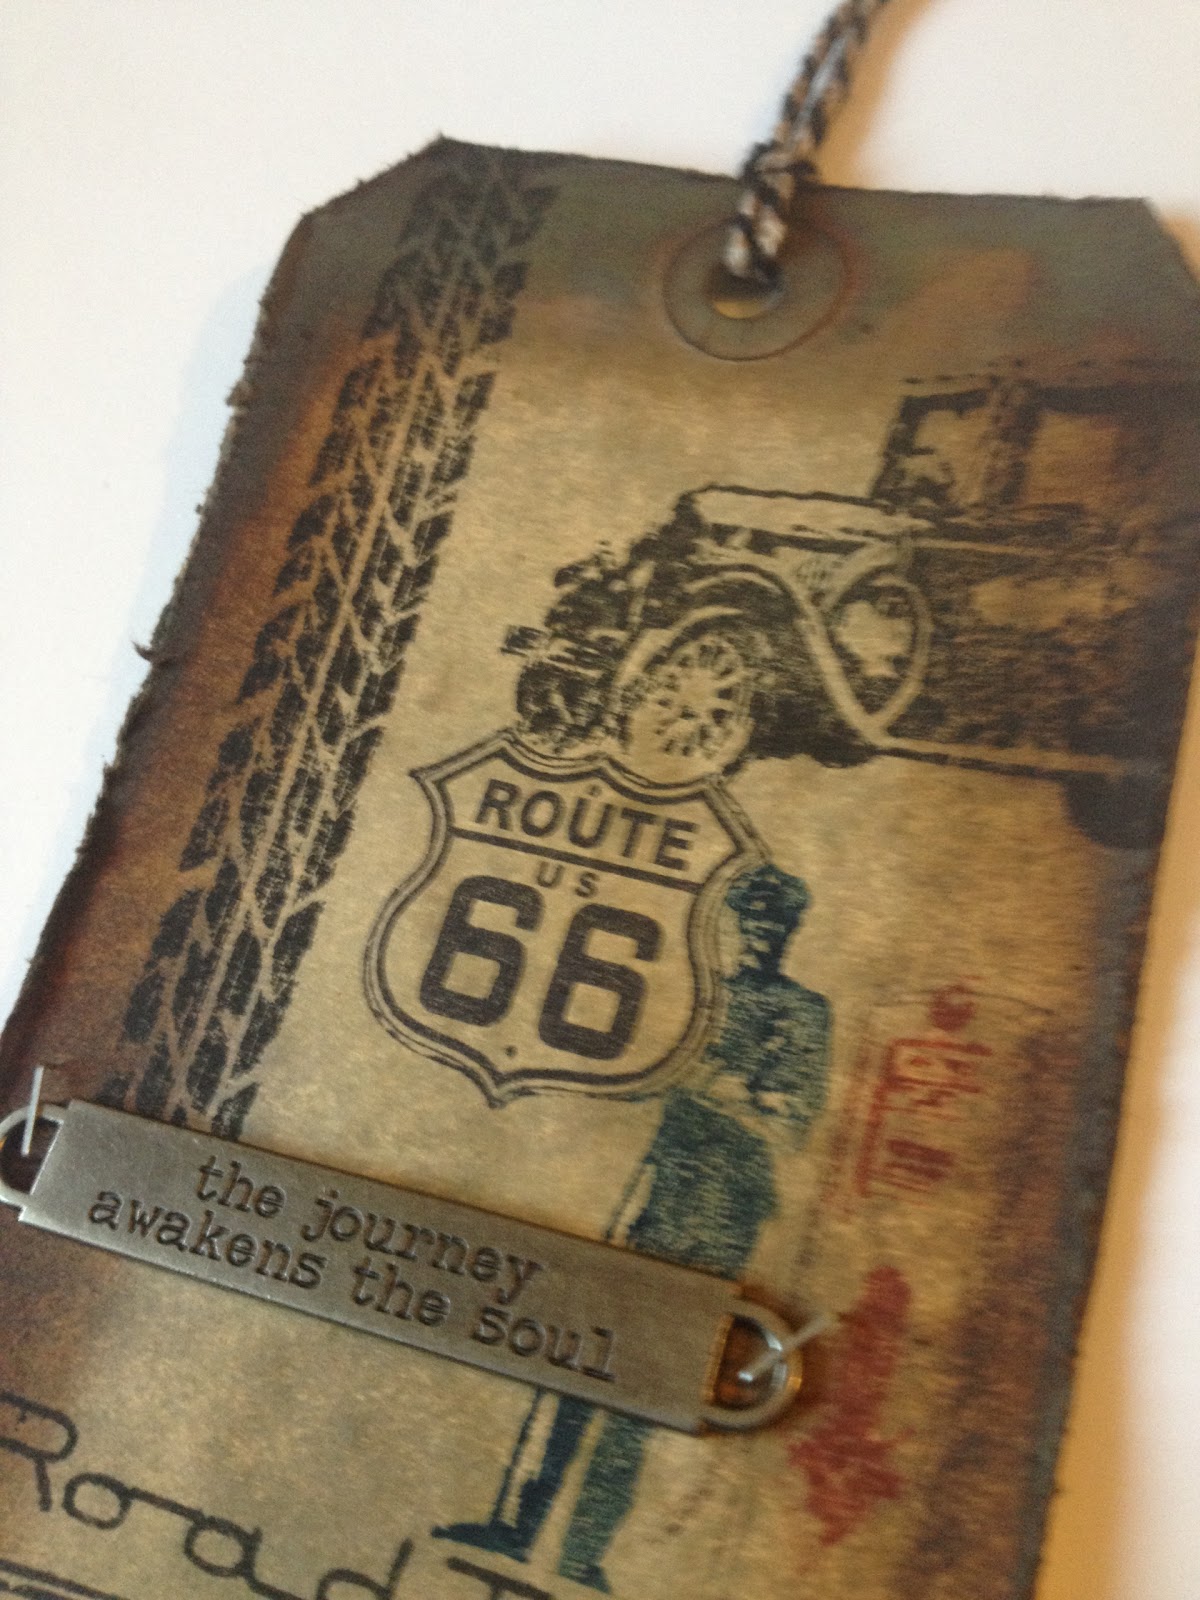
- With a good bit of travel behind me this summer, and one last road trip approaching quick, I was LOVING Tim's travel theme this month! I went with (what else?) ROAD TRIP!!! Tim's full-size Travel cling mount sets are definitely on my wishlist, but what I had was the Travel Ways sets, so I made do with some smaller stamps. I still like how it turned out!
- What I was less crazy about, though, was the behaviour I got from my manila tags! I've been keeping my tags standing up in a tray on my craft table for easy access. I'm not sure if it's due to the high humidity here these past few days, or the recent rains (they ARE kinda close to an open window), but the upper edges of my tags would not dry completely for anything. They sucked up the stain colours, and even after a few minutes with the heat tool, were only sort of dry along those edges. If you look at the pictures, you'll see what I mean: the edges of the tag are much darker on the top half than the bottom. (I had the same problem yesterday with the tags for the challenge, but was able to disguise it pretty well.) Maybe time to rethink where I keep those! :-/
- I knew I had blank mask material in the studio, and I thought it was the clear idea-ology stuff, but when I checked that drawer, it was the Inkadinkadoo (I think I found it on clearance at Joann's awhile back). Worked pretty much the same, but because it's white rather than clear, lining it up to cover the image below was a little more of a pain. And it was decidedly one-time use, unlike the idea-ology mask material. I'll be giving that stuff a try quite soon, I think. :-)
More views:
Well, that's it for me, for now. Hope you have fun plans for this last weekend of summer! :-)
Talk to you soon!
BAC
Monday, July 29, 2013
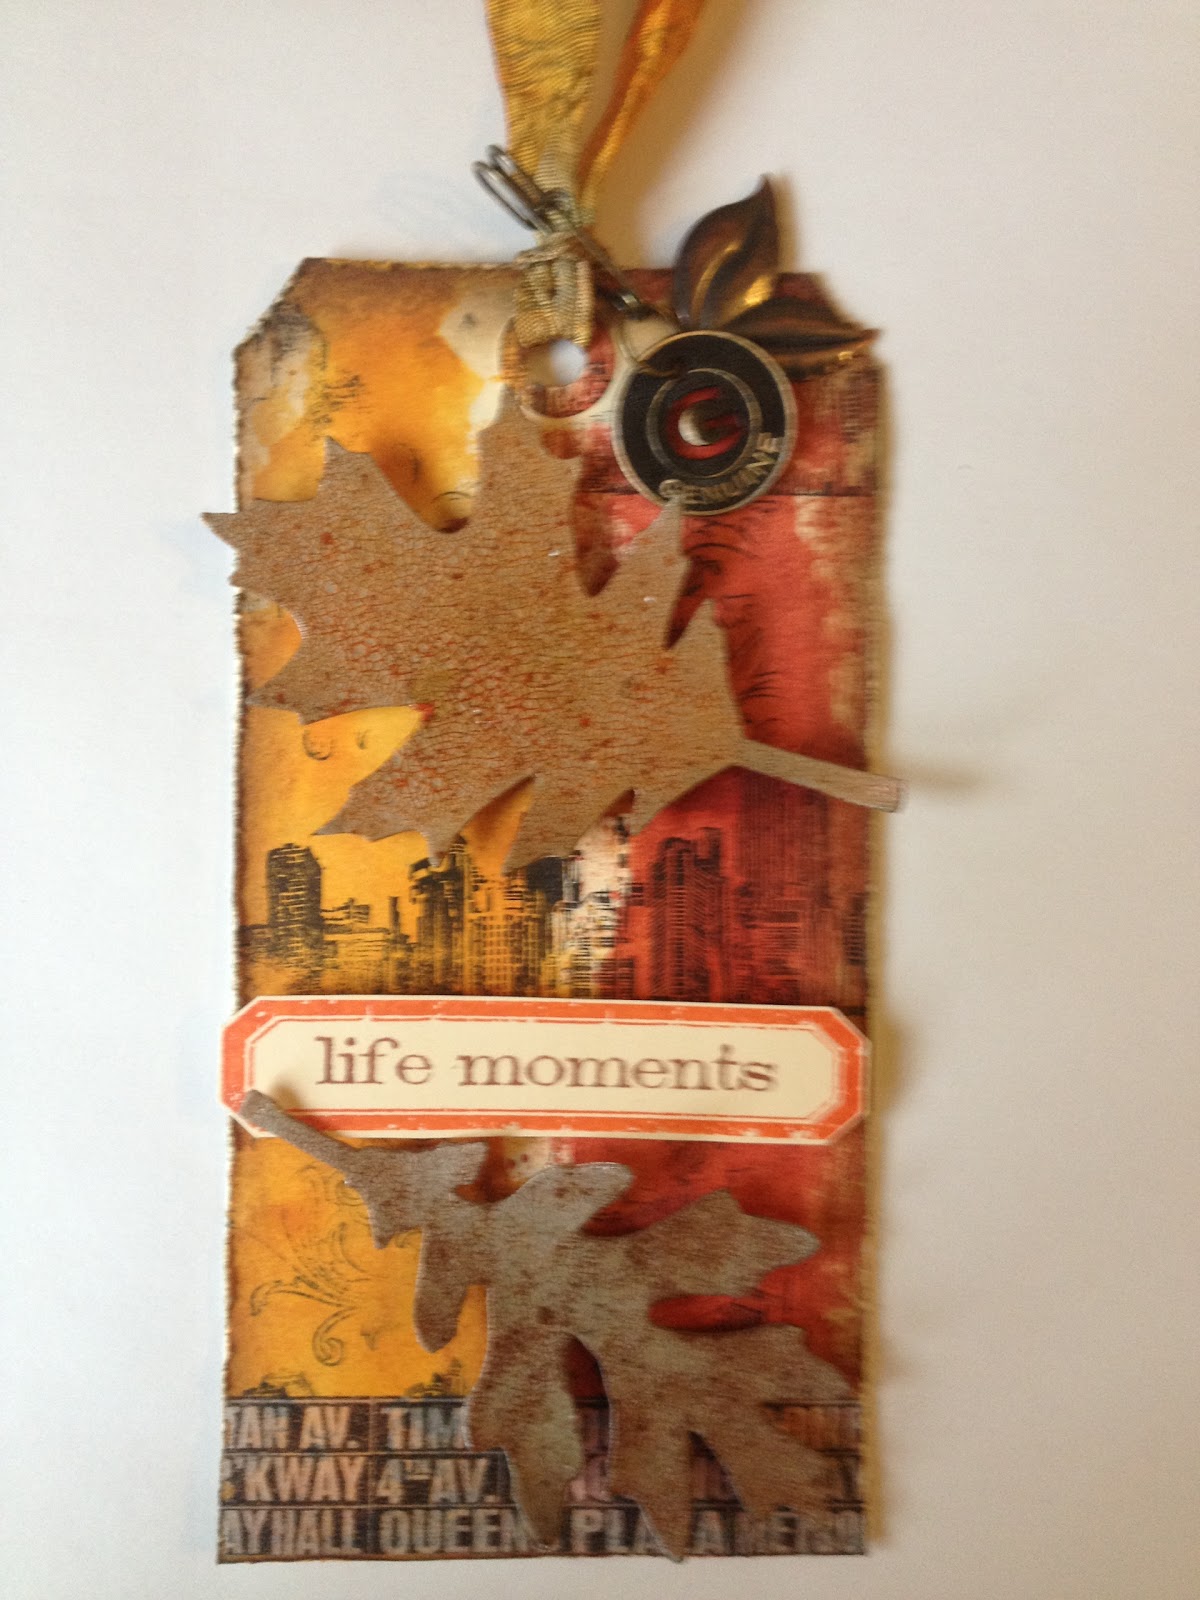
July tag!
You knew this was coming any day now, right? ;-) Well, here it is!
Materials used:
- Ranger Inkssentials Manila Craft Tags
- Ranger Distress Ink: Walnut Stain
- Ranger Distress Stain: Fired Brick, Spiced Marmalade, Tea Dye, Wild Honey
- Ranger Distress Crackle Paint: Clear Rock Candy
- Ranger Archival Ink: Coffee, Jet Black
- Tsukineko Staz-on Ink: Pumpkin
- idea-ology Grungepaper
- idea-ology Tissue Tape: Commute
- idea-ology Crinkle Ribbon
- idea-ology Foliage
- idea-ology Muse Tokens
- idea-ology Jump Rings
- idea-ology Wire Pins
- Sizzix Bigz Die: Tattered Leaves
- Stamps by Tim Holtz for Stampers Anonymous: CMS155, CSS27911, CMS30188
- Foam dots from my stash
Tools used:
- Sizzix Big Shot
- Ranger Heat Tool
- Ranger Inkssentials Small Inky Roller
- Tonic Craft Scissors
- Tonic Paper Distresser
- idea-ology Sanding Grip
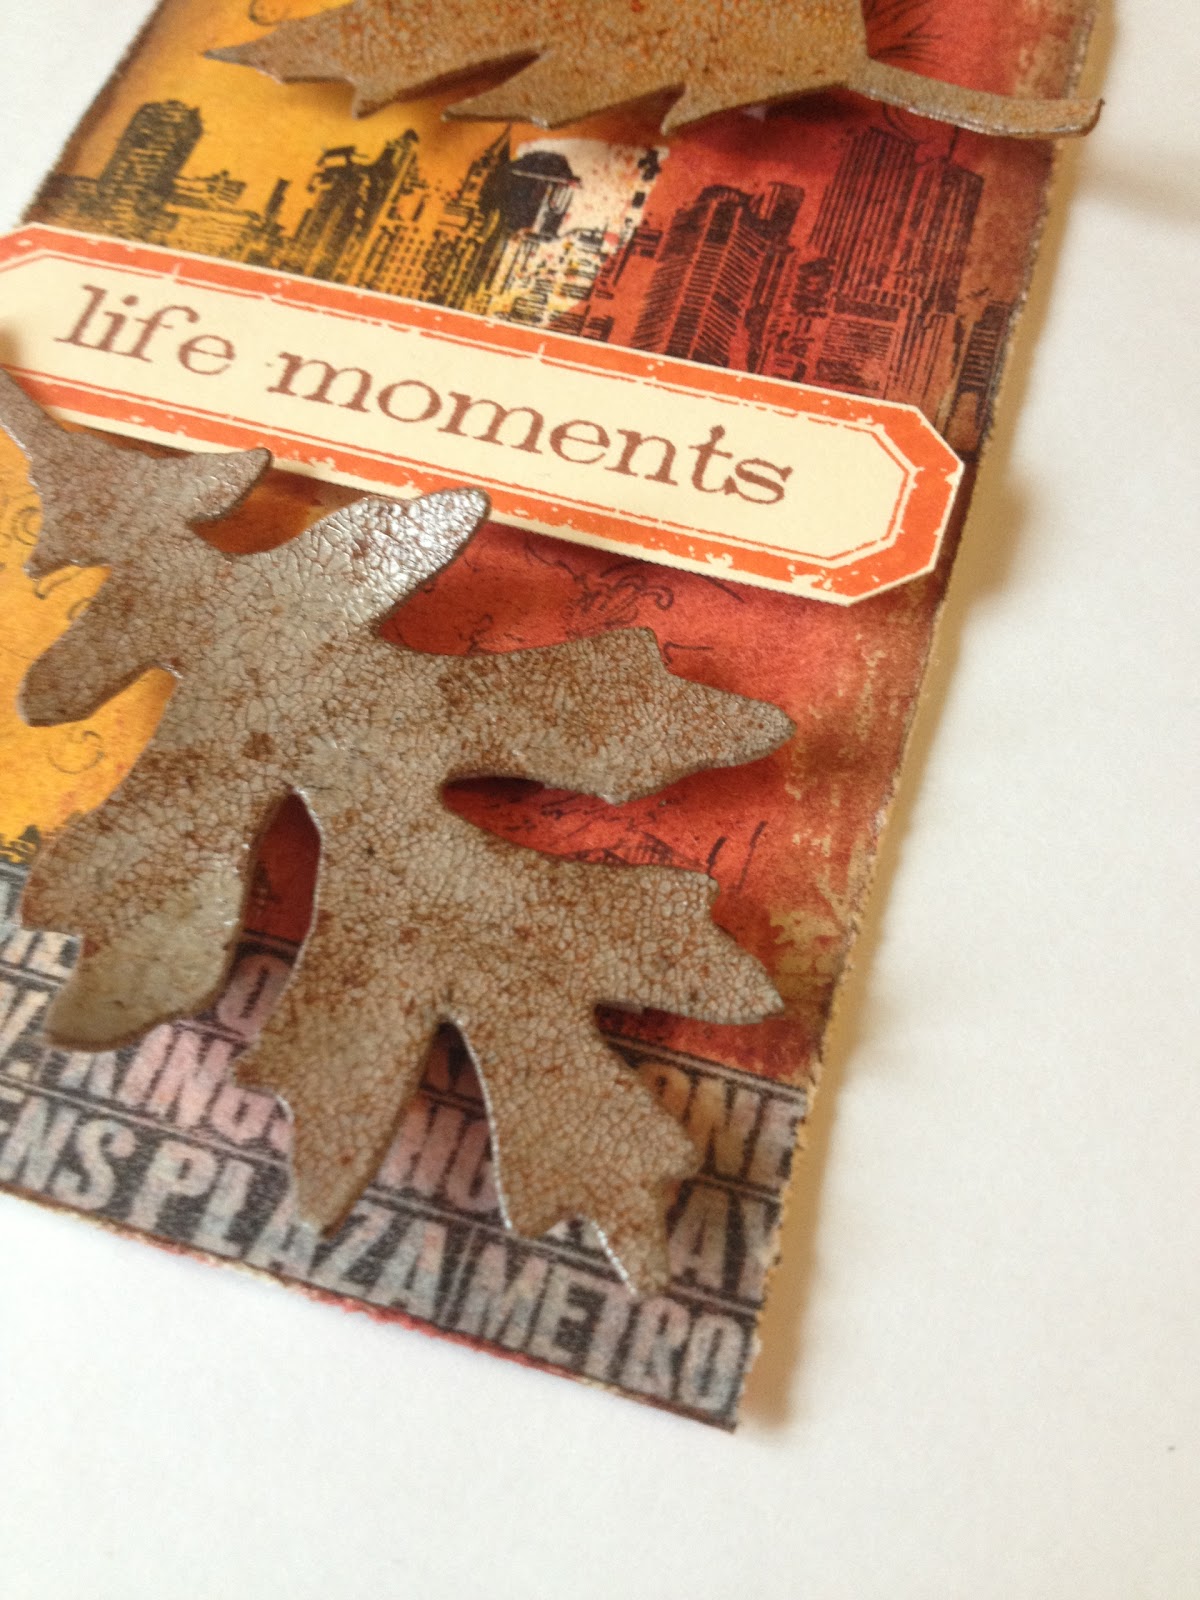
I know, I know, I'm jumping the gun a bit on autumn (it IS my favourite season!), but when I was looking over materials and tools, what came to mind was autumn in the city. So that's what I ran with.
I do so love the baked stains technique; I think it worked perfectly on my leaves! Using the brayer to create the background with stain was an awesome idea, and I can't wait to try it on other projects! I should also note that on this project (along with another one I worked on this past weekend) the tissue tape I worked with was easy to pull off the roll, and didn't shred at all, so I'm thinking perhaps my previous experience was due to a bad batch or something. This is awesome, since I love all the various tissue tape designs that keep coming out!
More views:
Materials used:
- Ranger Inkssentials Manila Craft Tags
- Ranger Distress Ink: Walnut Stain
- Ranger Distress Stain: Fired Brick, Spiced Marmalade, Tea Dye, Wild Honey
- Ranger Distress Crackle Paint: Clear Rock Candy
- Ranger Archival Ink: Coffee, Jet Black
- Tsukineko Staz-on Ink: Pumpkin
- idea-ology Grungepaper
- idea-ology Tissue Tape: Commute
- idea-ology Crinkle Ribbon
- idea-ology Foliage
- idea-ology Muse Tokens
- idea-ology Jump Rings
- idea-ology Wire Pins
- Sizzix Bigz Die: Tattered Leaves
- Stamps by Tim Holtz for Stampers Anonymous: CMS155, CSS27911, CMS30188
- Foam dots from my stash
Tools used:
- Sizzix Big Shot
- Ranger Heat Tool
- Ranger Inkssentials Small Inky Roller
- Tonic Craft Scissors
- Tonic Paper Distresser
- idea-ology Sanding Grip
I know, I know, I'm jumping the gun a bit on autumn (it IS my favourite season!), but when I was looking over materials and tools, what came to mind was autumn in the city. So that's what I ran with.
I do so love the baked stains technique; I think it worked perfectly on my leaves! Using the brayer to create the background with stain was an awesome idea, and I can't wait to try it on other projects! I should also note that on this project (along with another one I worked on this past weekend) the tissue tape I worked with was easy to pull off the roll, and didn't shred at all, so I'm thinking perhaps my previous experience was due to a bad batch or something. This is awesome, since I love all the various tissue tape designs that keep coming out!
More views:
That's it for now, but look for another Product Spotlight post before the end of this week! :-)
'Til then,
BAC
Subscribe to:
Posts (Atom)