Sunday, April 27, 2014

Simon Monday Challenge: Big Stamp

Hello everyone!  It's been a busy weekend, and I have a trifecta of posts for you today.  So let's get started!  :-)

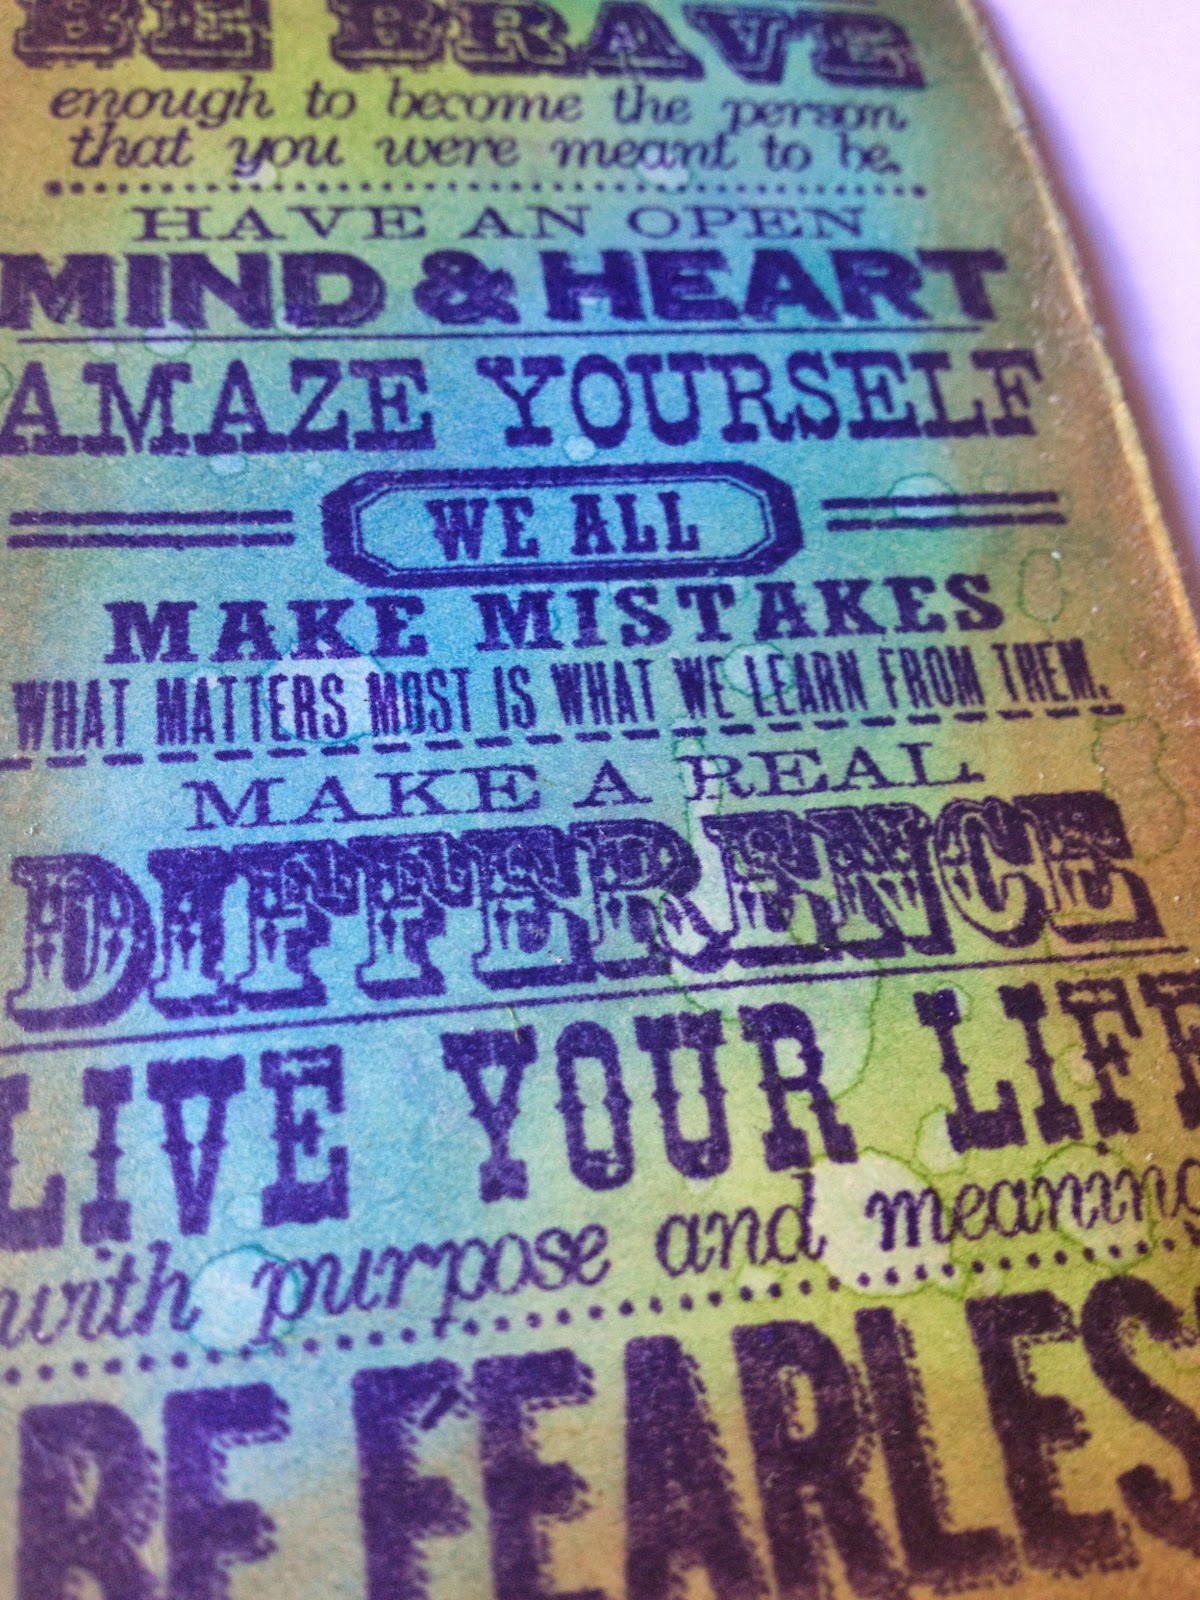
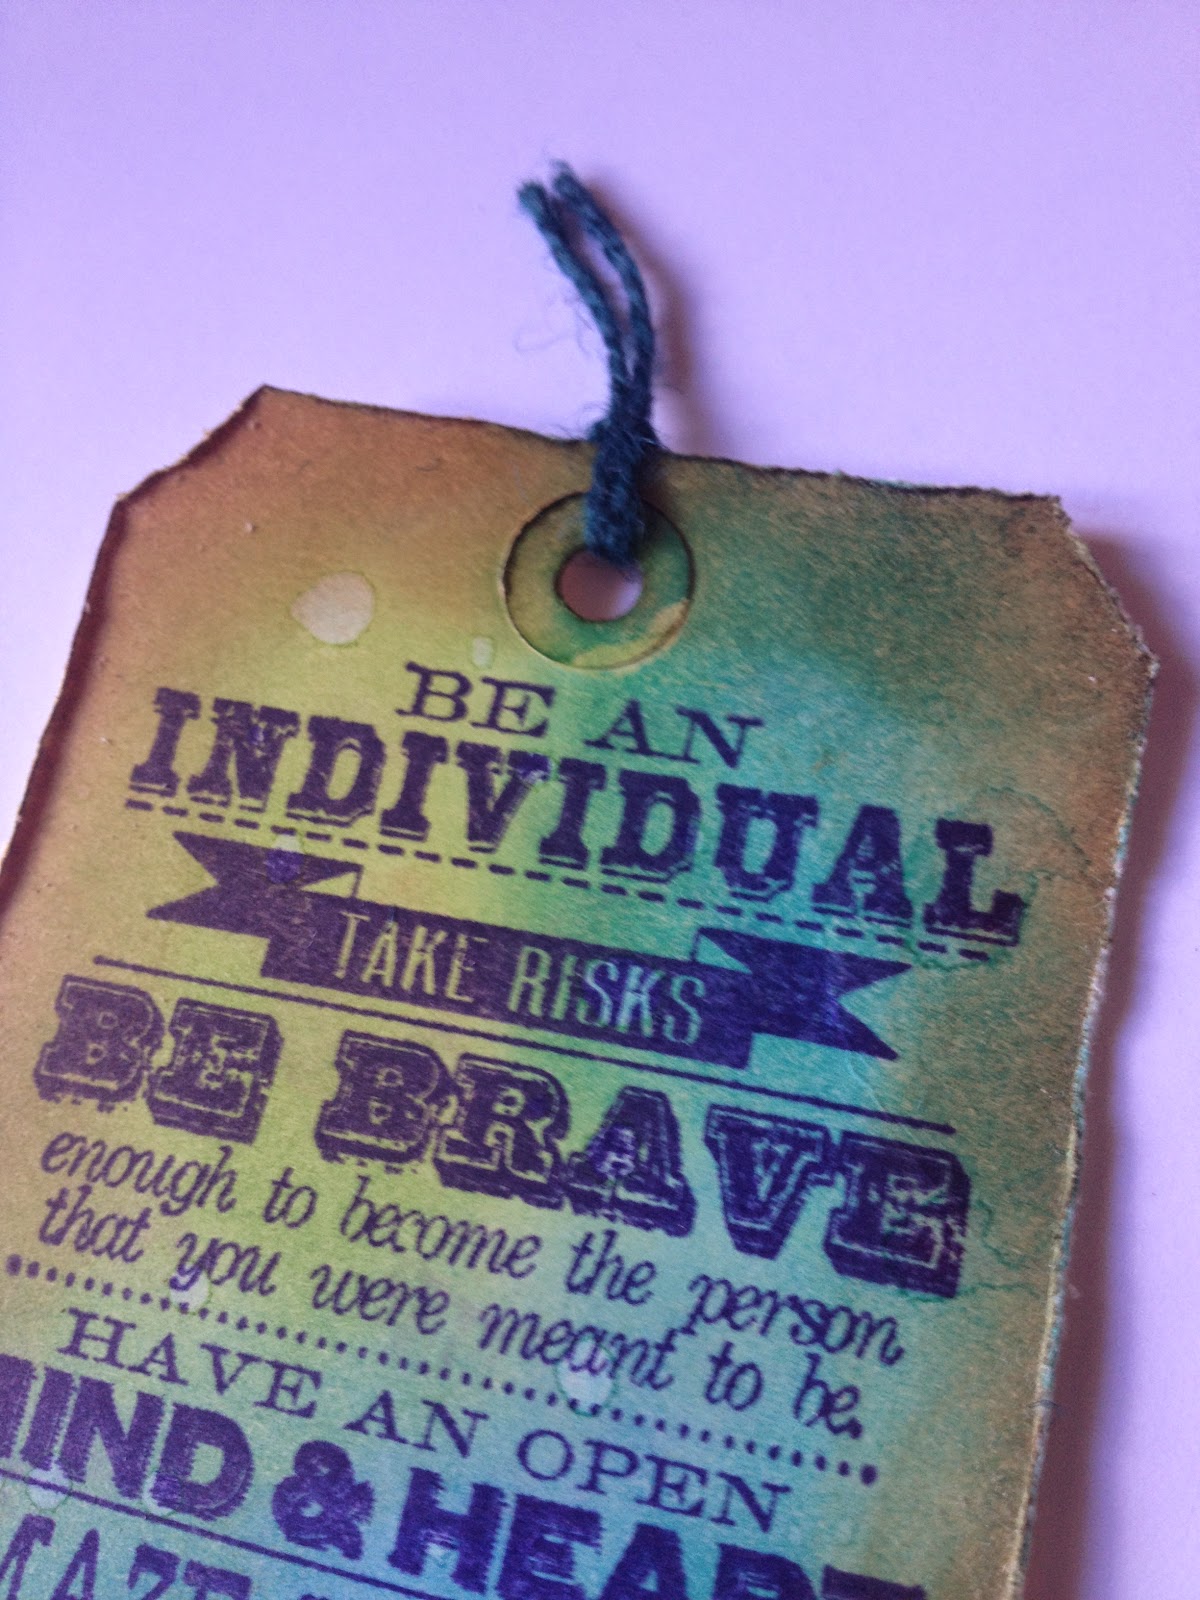
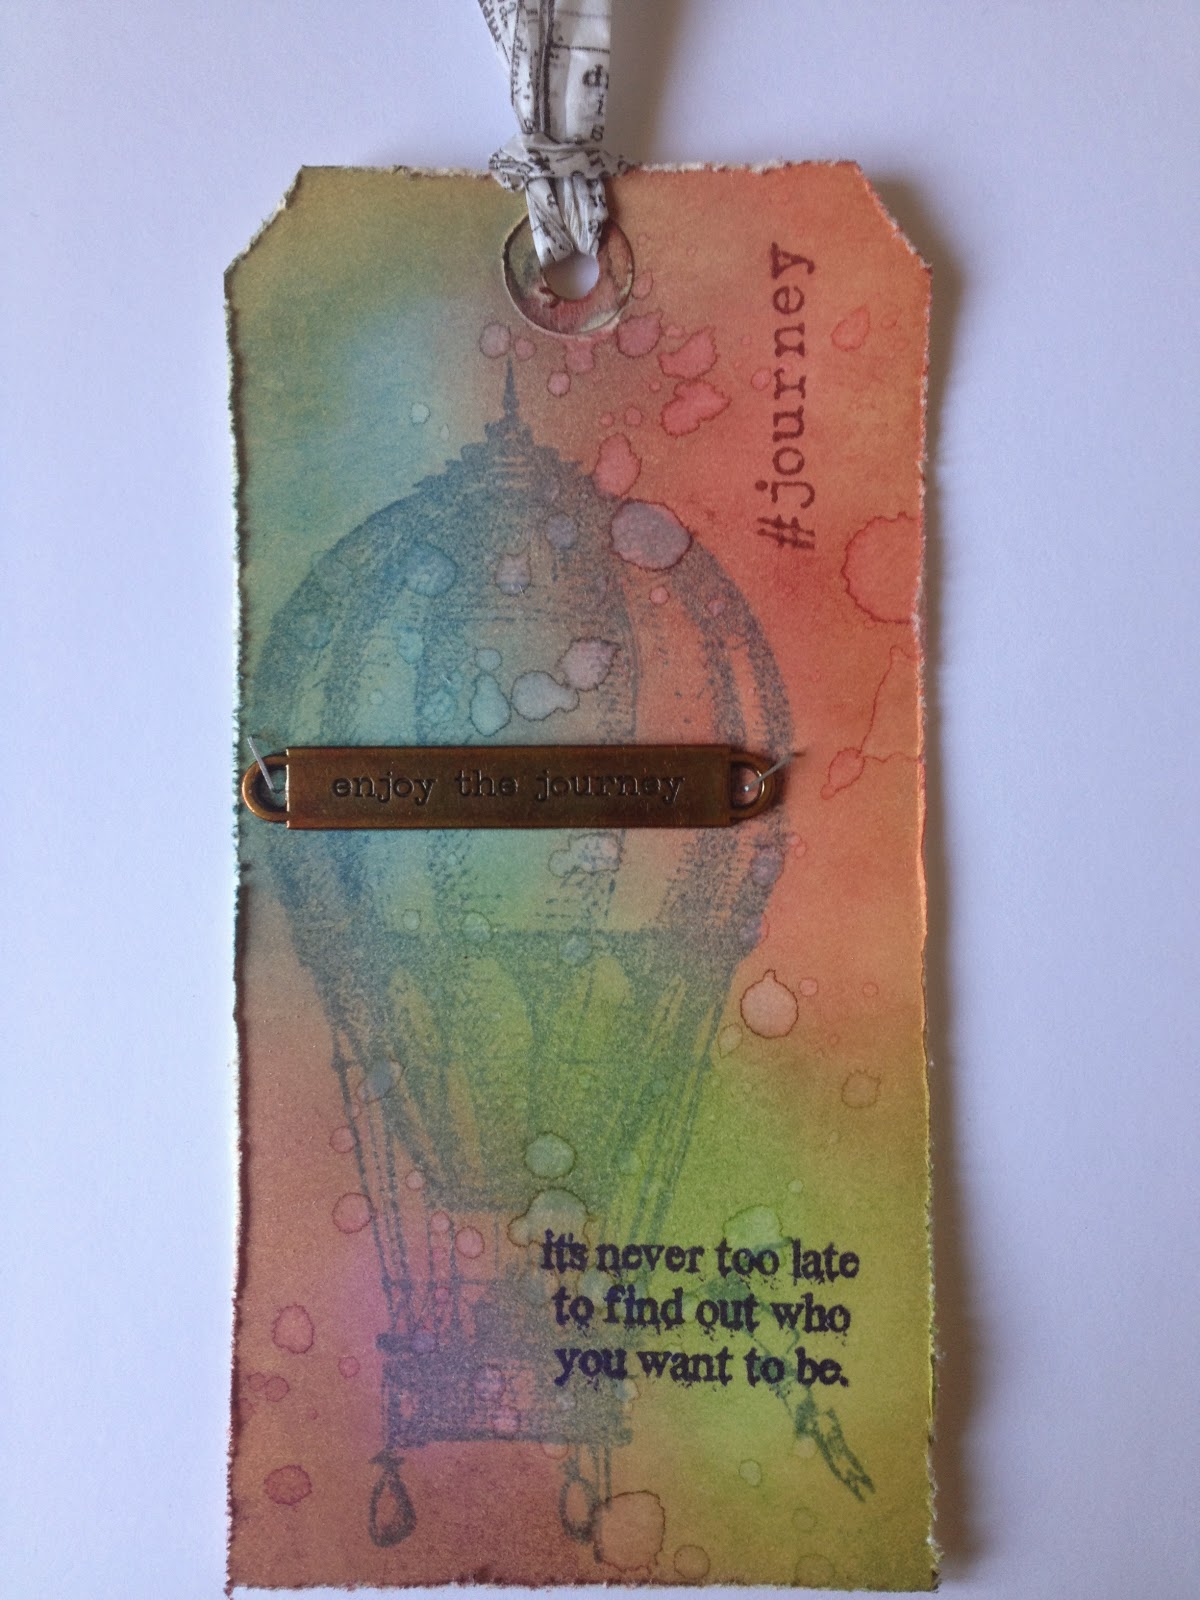
This tag was created for SimonSaysStamp's Monday challenge ("Big Stamp").  Here's my tag:


Materials/tools used:
 - Ranger Inkssentials Manila tags
 - Ranger Distress Ink: Mowed Lawn, Peacock Feathers, Salty Ocean, Vintage Photo
 - Archival Ink: Deep Purple
 - idea-ology Jute String
 - Ranger Heat Tool
 - Ranger Inkssentials Foam Blending Tool
 - Ranger Inkssentials Mister
 - Stamp by Tim Holtz for Stampers Anonymous: CMS165
 - Tonic Studios: Craft Scissors, Paper Distresser

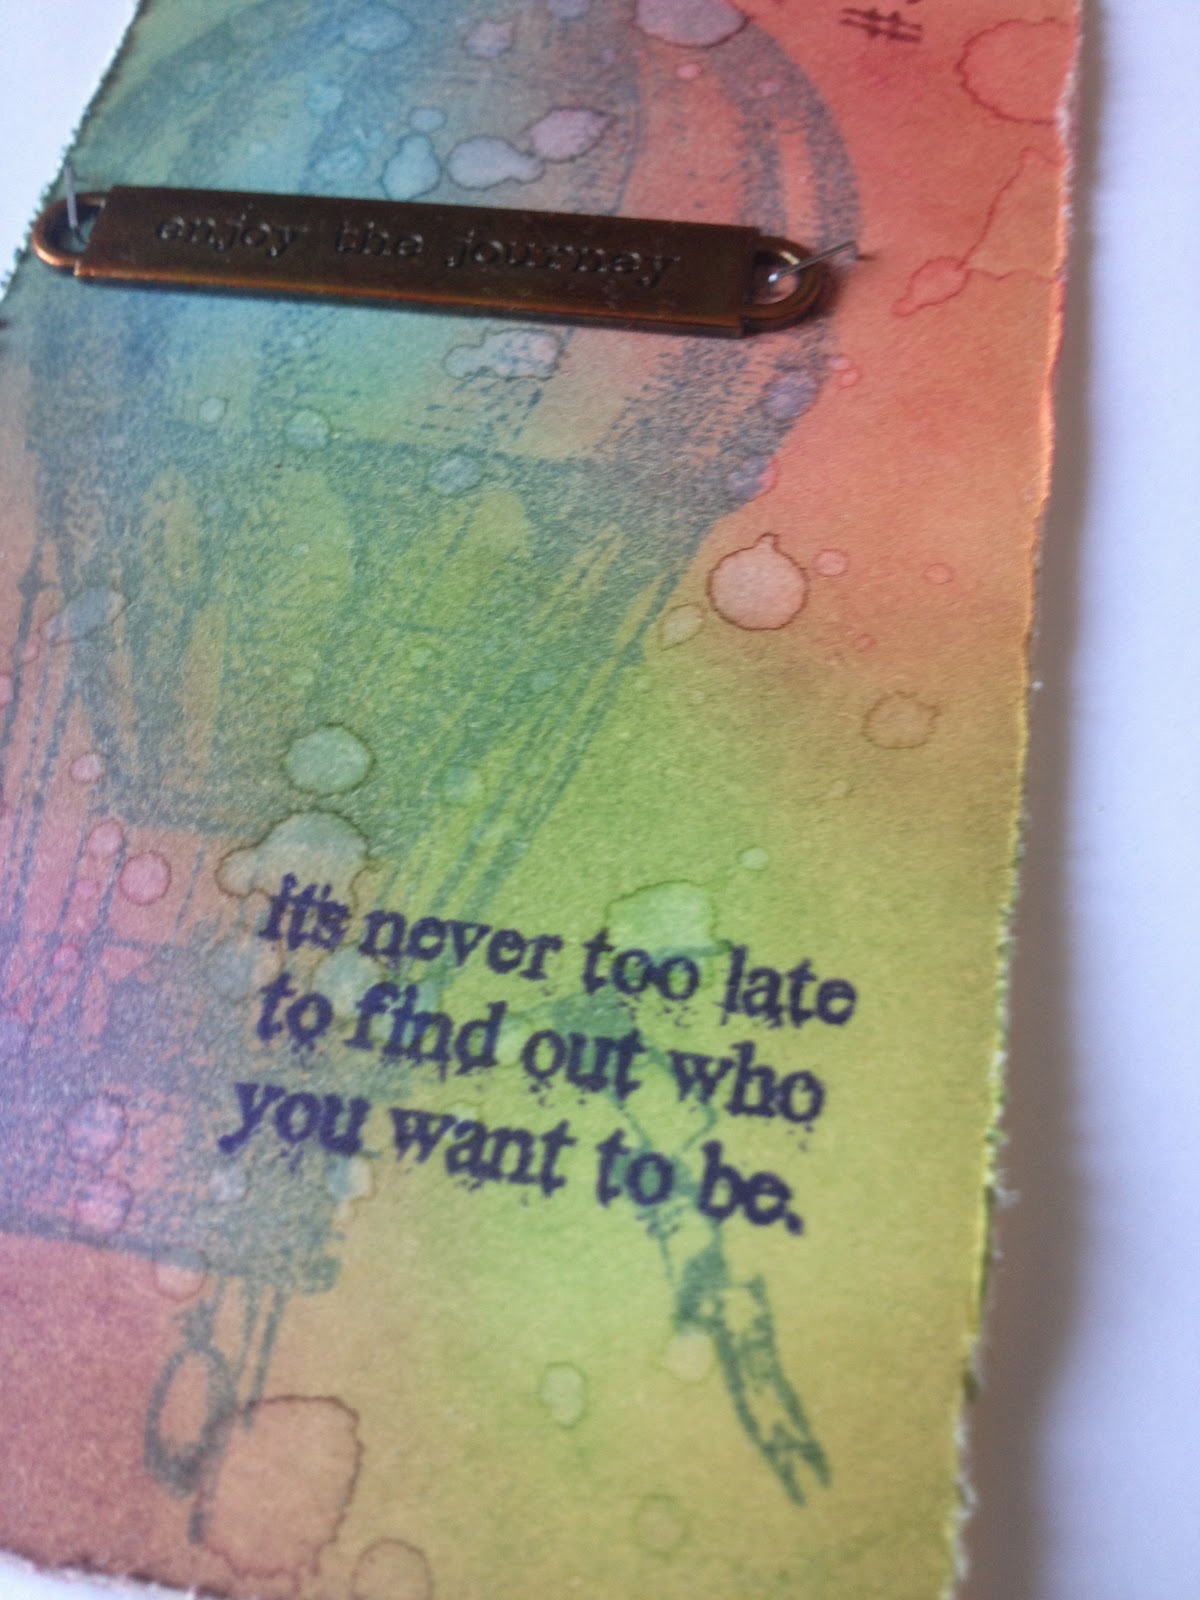
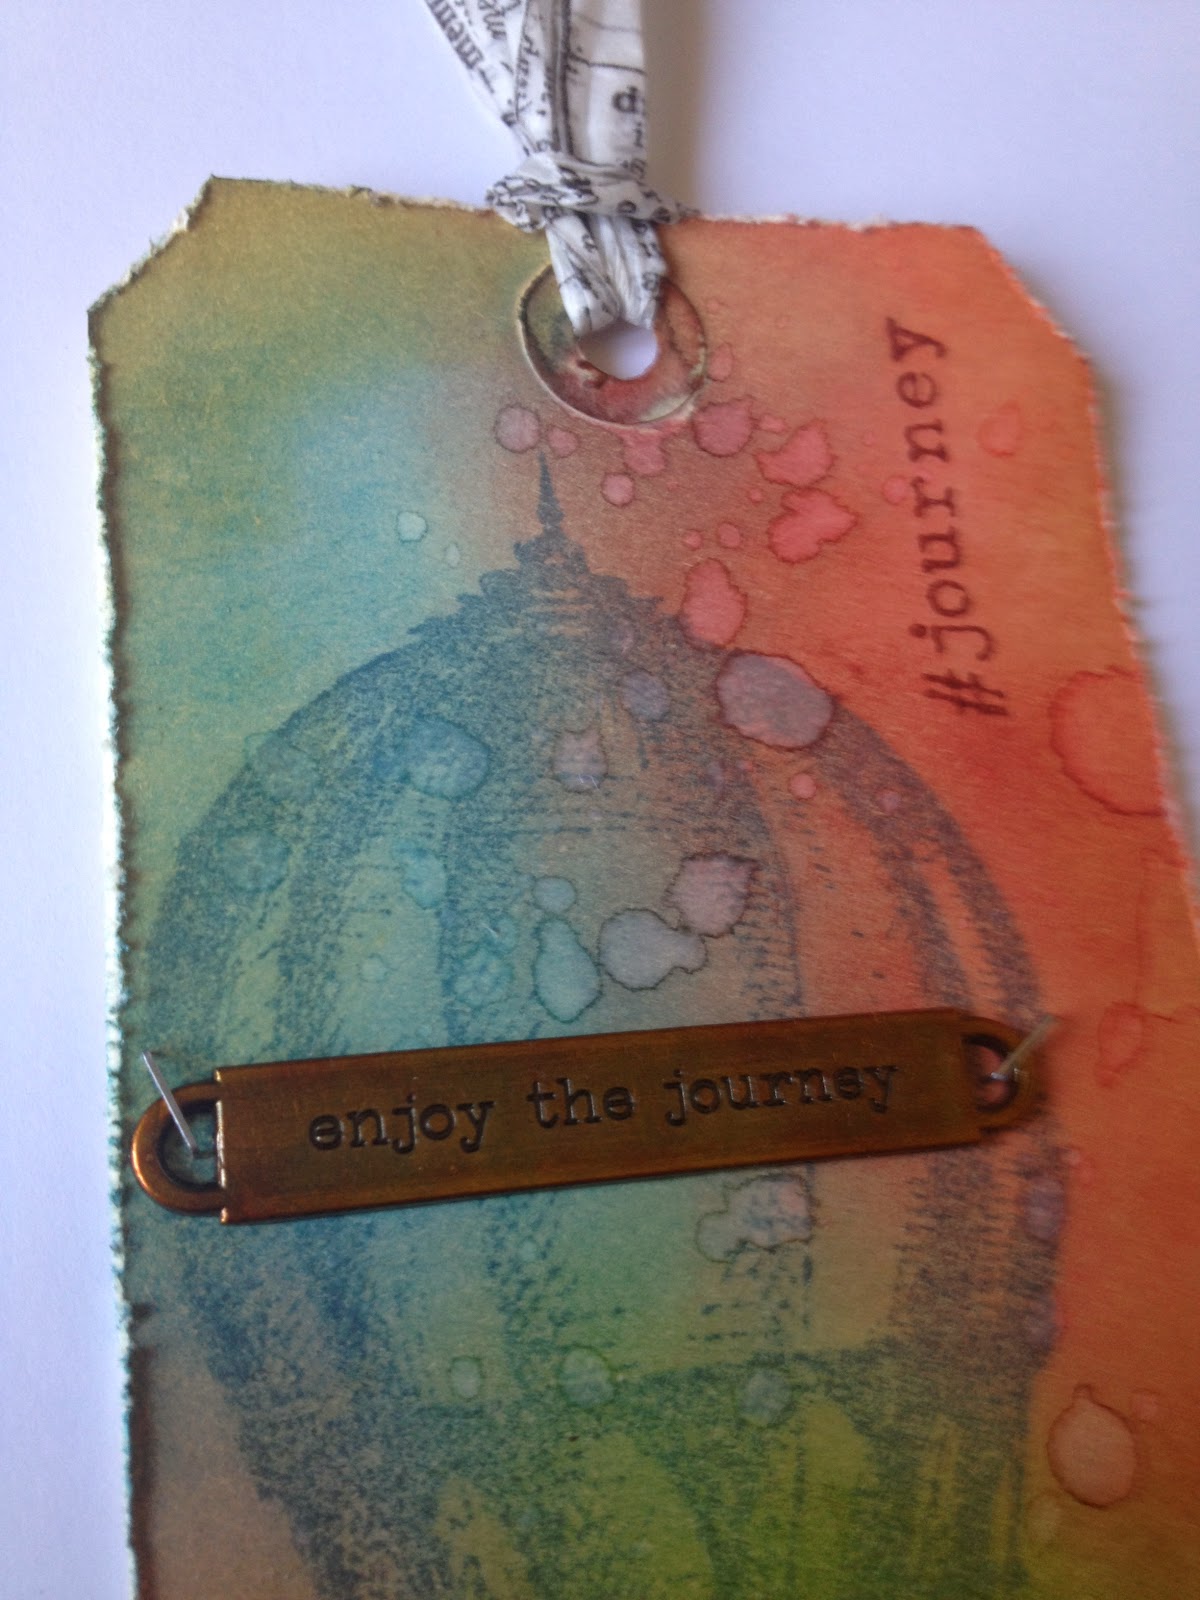
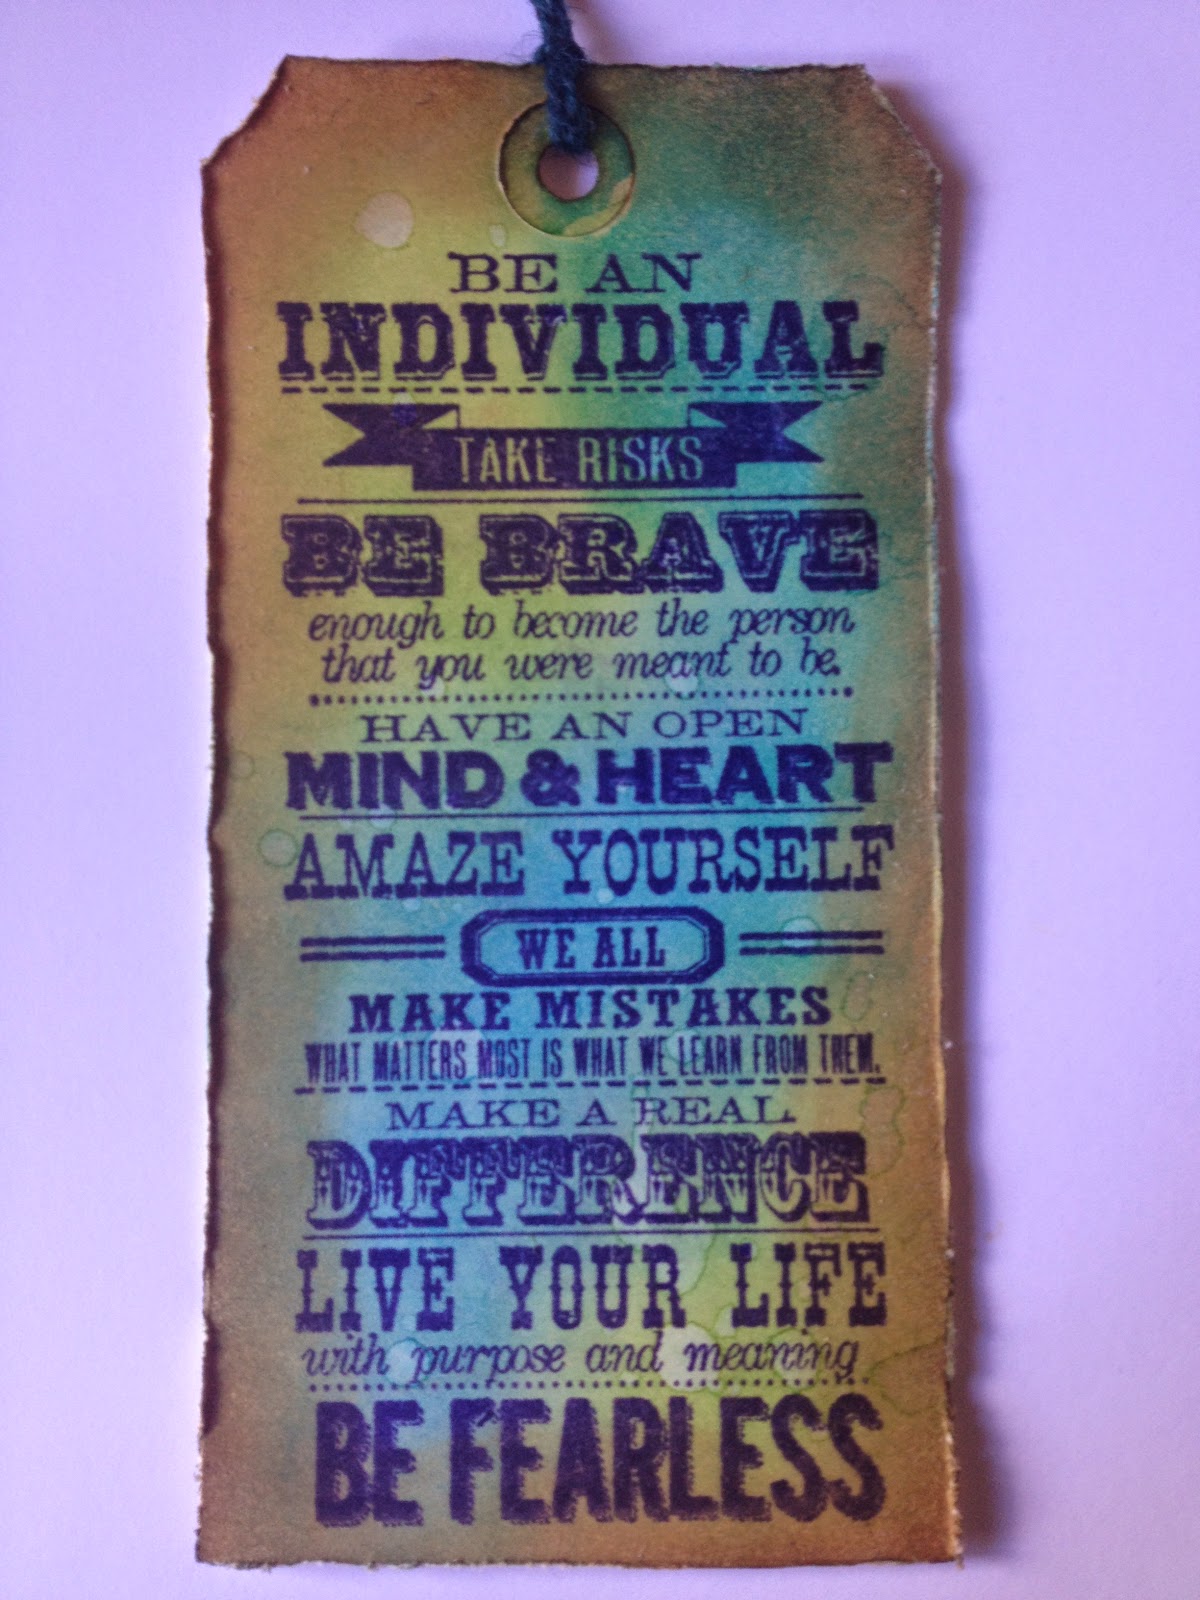
To create this tag, I selected 3 shades of Distress: a blue, a green, and an aqua, and inked all over my tag with my blending tool.  I spritzed water from my Mister, and flicked it over the tag in droplets, and dried them with my heat tool.  I stamped my sentiment (yup, all of that great advice is on one big stamp!) with Archival ink, and edged around my tag with a brown Distress shade to bring all the colours together.  I distressed the edges with my Tonic tool, and added some jute string at the top.

More views:


Be sure to check back a little later for projects #2 and #3!  :-)

BAC

Tuesday, April 22, 2014

Simon Wednesday Challenge: Simon Says Animal Antics

Hello again!

This tag was created for SimonSaysStamp's Wednesday challenge ("Simon Says Animal Antics"), and will also be submitted to SimonSaysStamp's Monday challenge ("Big Stamp"), and Inspiration Journal's April challenge ("A Few of My Favourite Things").  :-)

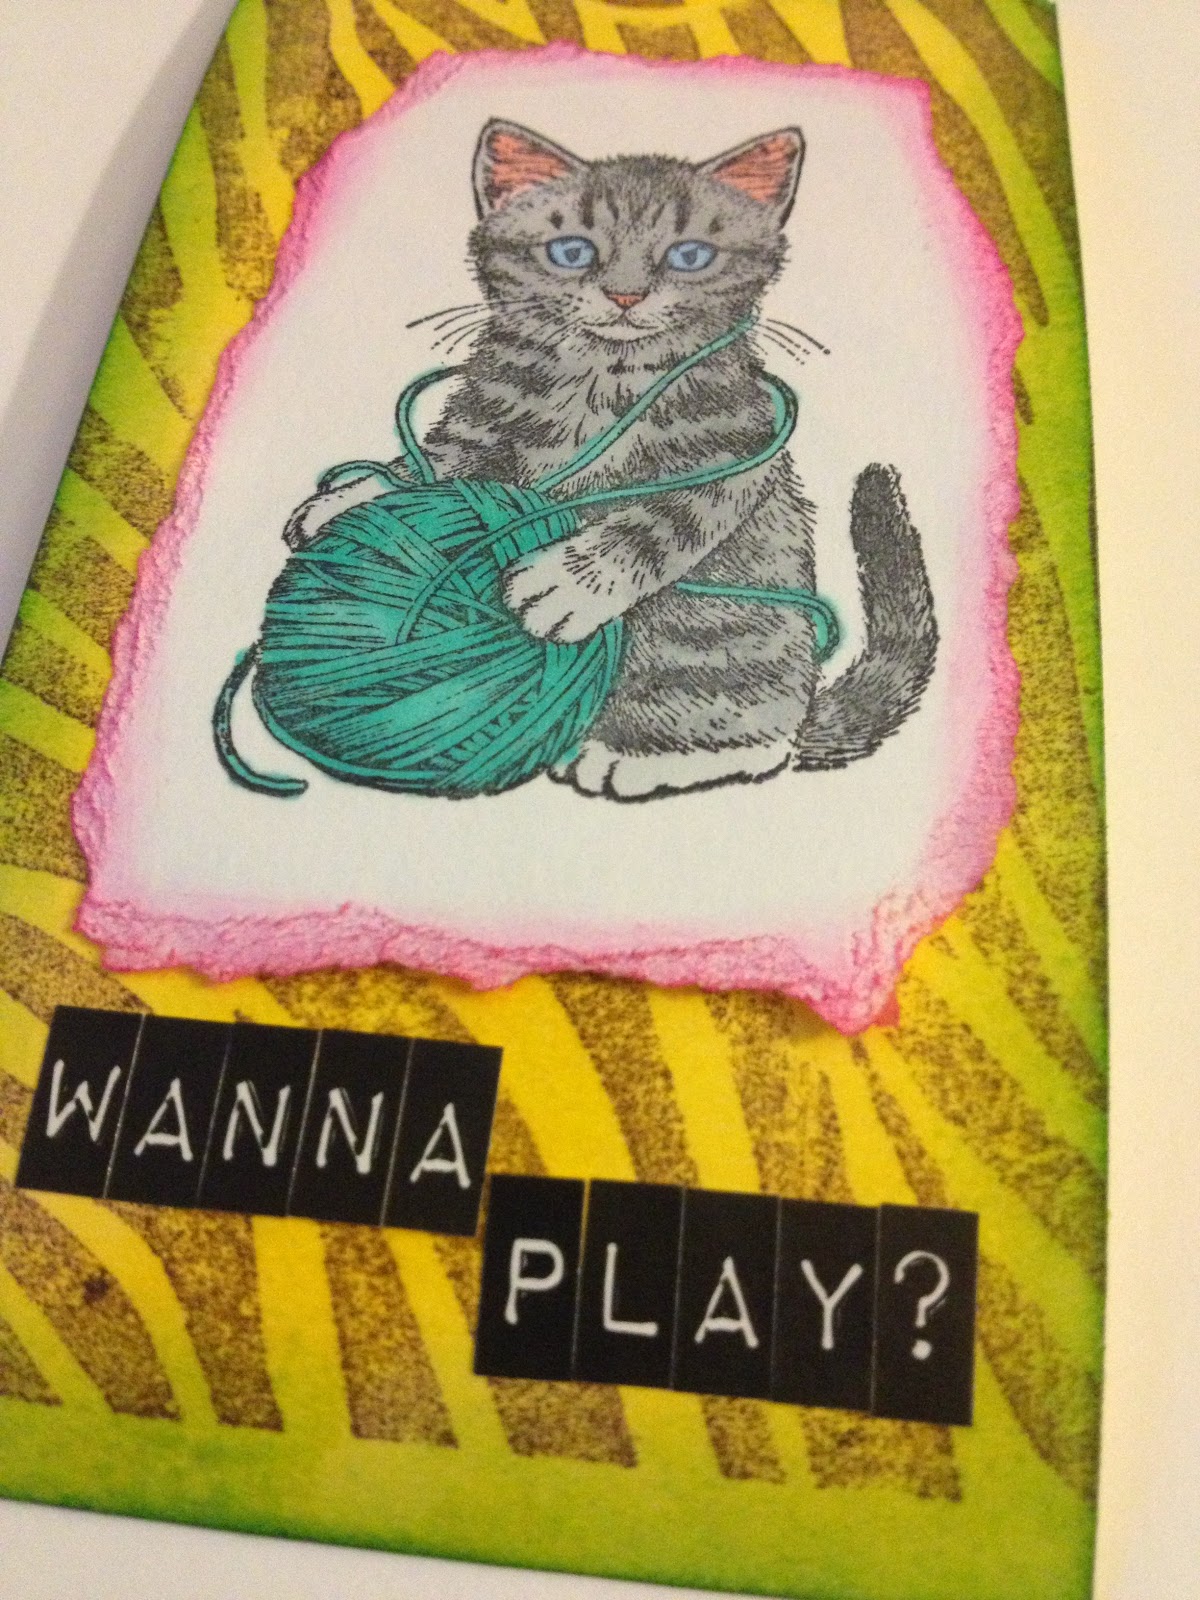
Here's my tag:


Materials/tools used:
 - Ranger Inkssentials #5 Manila tags
 - Ranger Distress Ink: Dusty Concord, Mowed Lawn, Picked Raspberry
 - Ranger Distress Stain: Squeezed Lemonade
 - Tsukineko Memento dye ink: Tuxedo Black
 - Copic Sketch markers: B32, BG13, N0, N2, N4, RV42
 - idea-ology Label Letters
 - Maya Road Twine Cording Solids: Blue Raspberry
 - Ranger Heat Tool
 - Ranger Inkssentials Foam Blending Tool
 - Tonic Studios Craft Scissors
 - Stamps by Inkadinkadoo (Kitten), and Recollections (Zebra/Tiger stripe)
 - White cardstock, double-stick tape from my stash

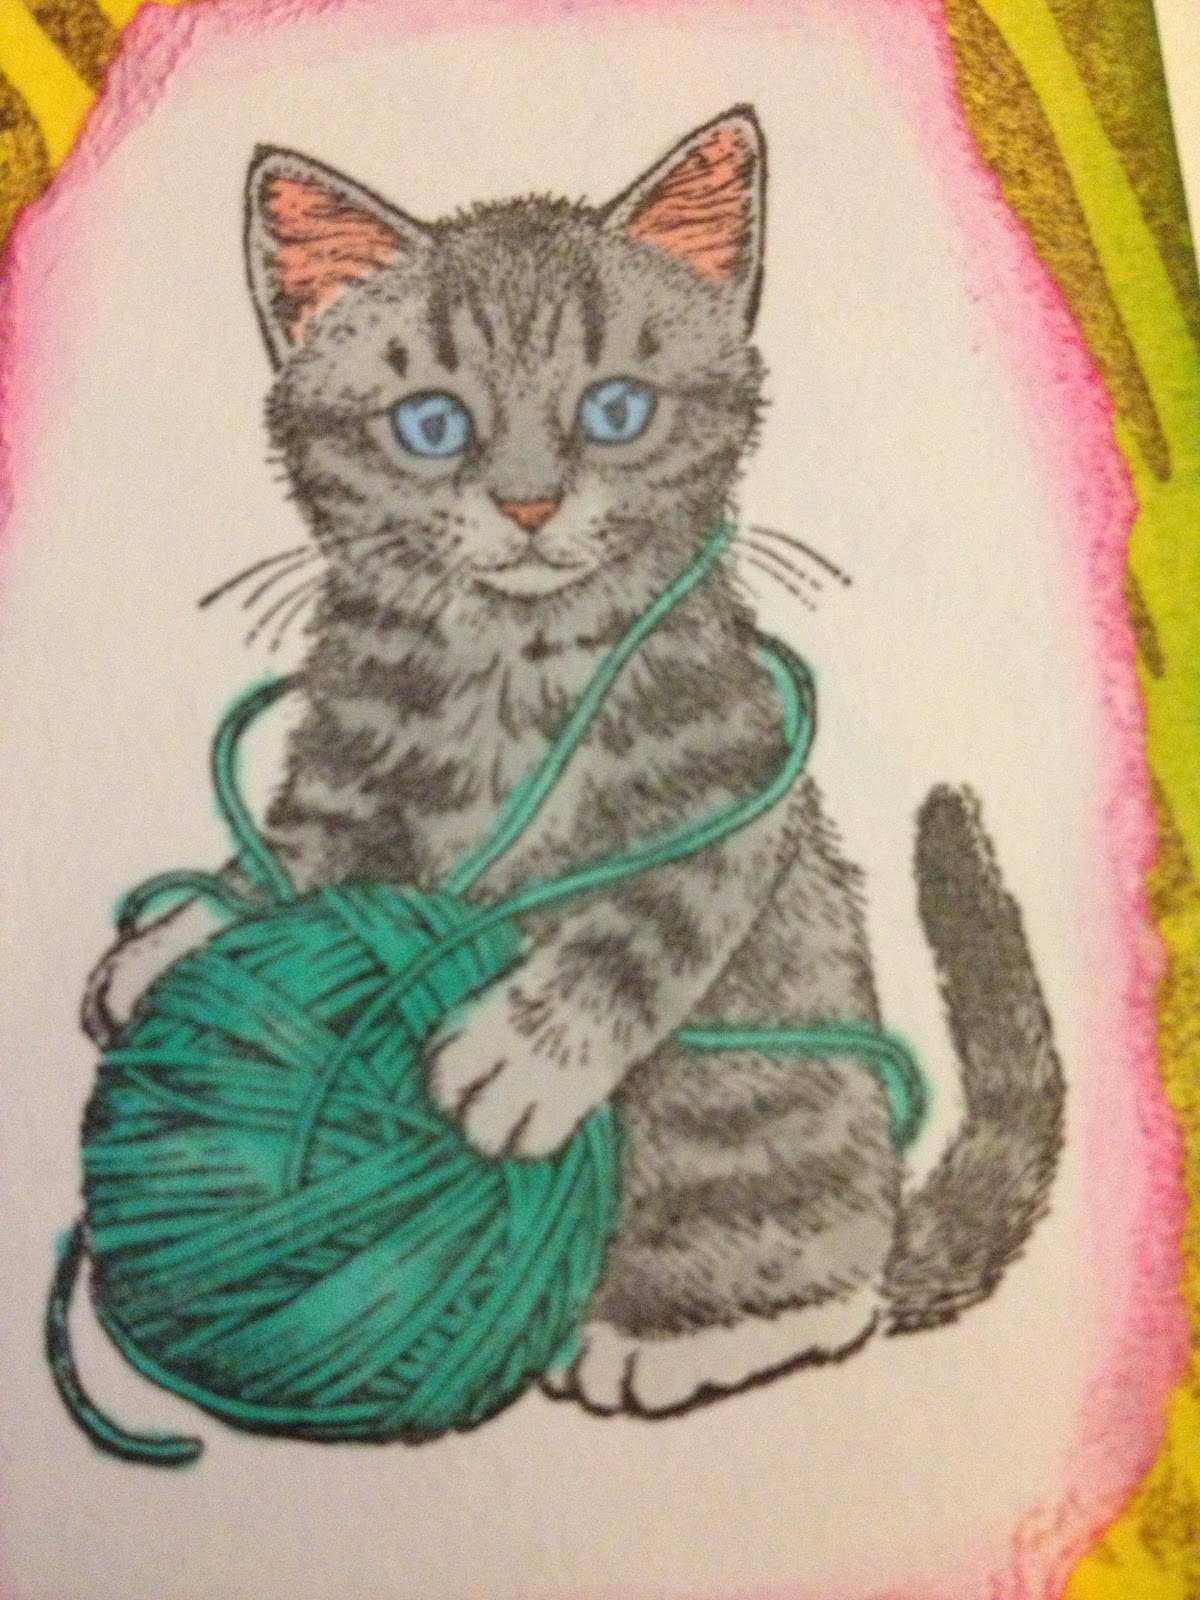
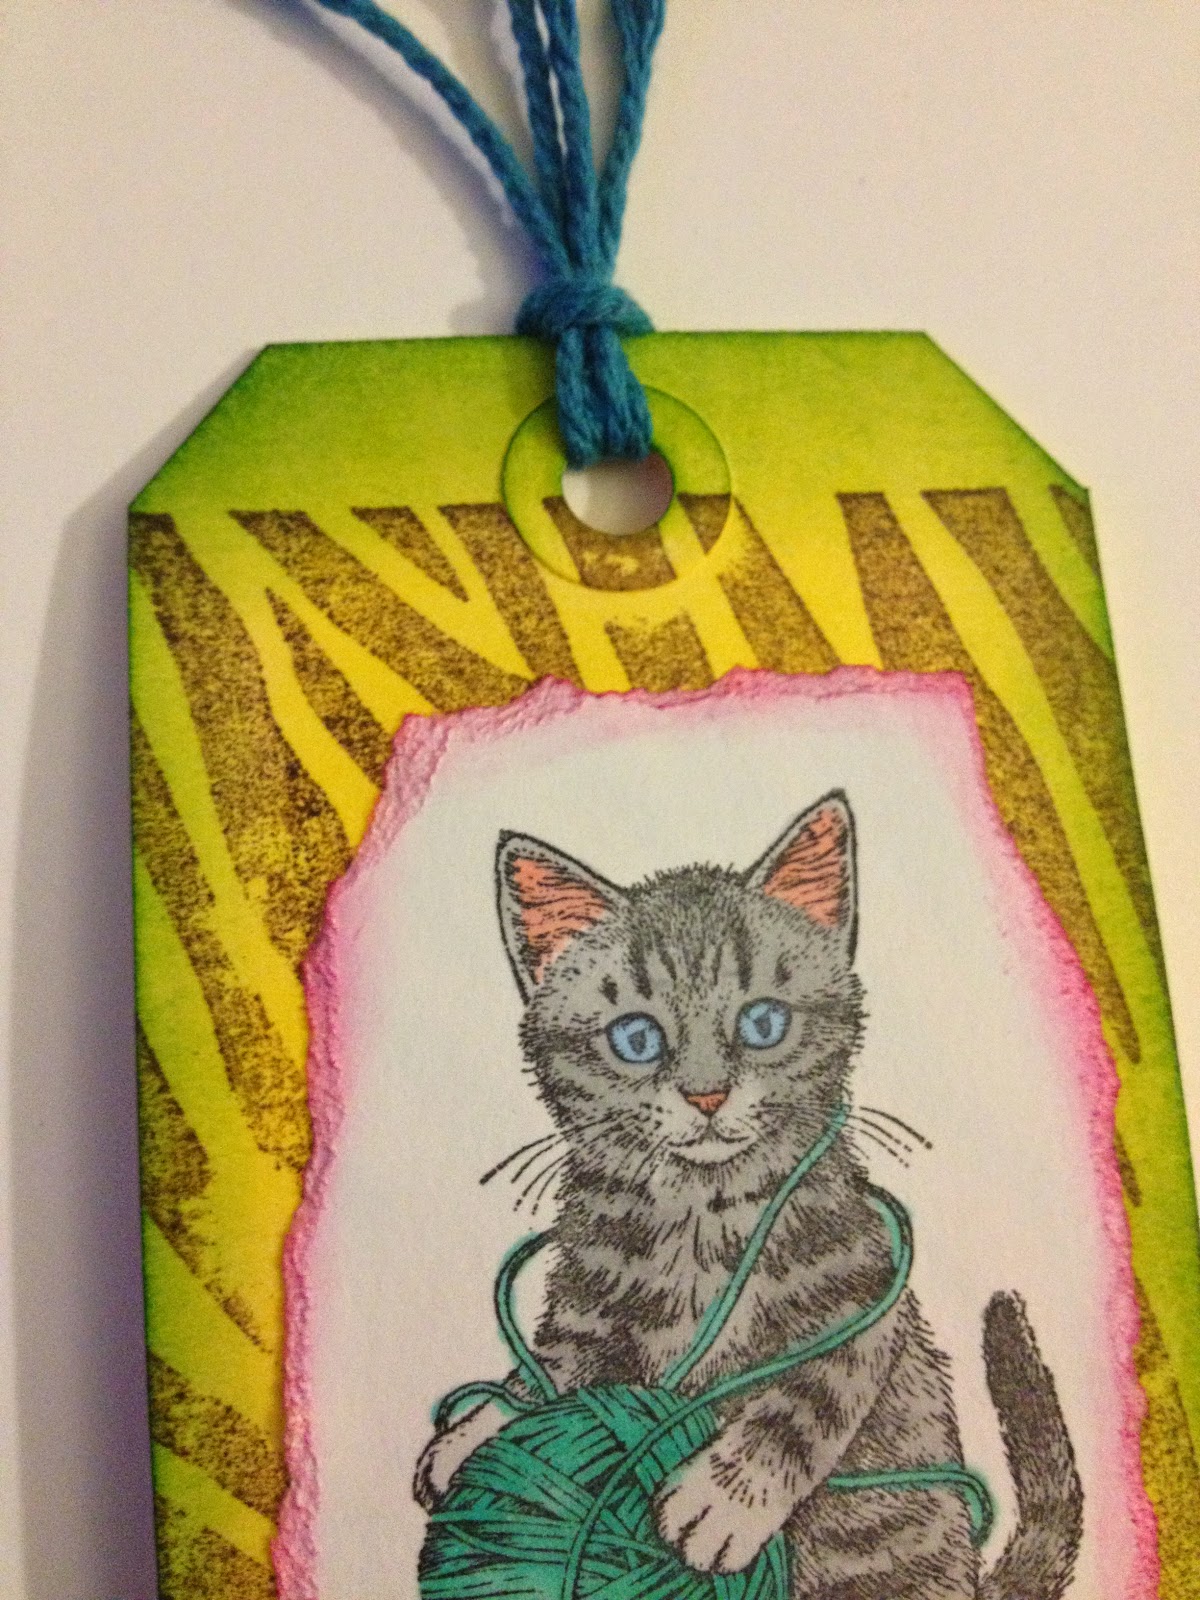
I have a LOT of animal stamps, mostly ones I've carved, but when I saw the topic for this challenge, I *knew* I wanted to use this kitten stamp.  I picked it up several months ago to use on some ATCs, and I just LOVE it!  

So I stamped it with the Memento dye ink onto a piece of white cardstock (actually an ATC blank - I keep a bunch pre-cut on my work table), and once it was dry, I coloured it in with my Copics.  I thought about doing the tiger-stripe background in more "natural" colours, but decided to keep it fun and playful.  I covered a blank tag with Distress stain, dried it with my heat tool, and then stamped up my background stamp over it.  (If memory serves, that stamp was originally sold as zebra print, but I've only ever used it as tiger print, so...)  ;-)  I inked around the edges of the tag, and set it aside.  I ripped the excess white cardstock off around my kitten stamp to create a little texture, and again inked around the edges with more Distress ink.  Attached it to the tag, added my sentiment with the label letters at the bottom, some twine cording at the top, and I was done!

More views:


'Til next time!

BAC

Sunday, April 20, 2014

Simon Monday Challenge: Winged Things

Hello everyone!

Today's project is for SimonSaysStamp's Monday challenge ("Winged Things"), and will also be submitted to SimonSaysStamp's Wednesday challenge ("Animal Antics"), and Inspiration Journal's April challenge ("A Few of My Favourite Things").

Here's my tag:


Materials/tools used:
 - Ranger Inkssentials Manila tags
 - Ranger Distress Ink: Chipped Sapphire, Faded Jeans, Peacock Feathers, Vintage Photo
 - Ranger Distress Stain: Broken China
 - Ranger Archival Ink: Jet Black
 - Ranger Alcohol Ink: Bottle, Denim, Purple Twilight, Sailboat Blue
 - Ranger Metallic Mixatives: Gold
 - Ranger Alcohol Ink Blending Solution
 - idea-ology: Adage Tickets, Sanding Block
 - Core'dinations Distress Cardstock: Walnut Stain
 - Maya Road Twine Cording: Blueberry
 - Ranger Heat Tool
 - Ranger Inkssentials Foam Blending Tool
 - Ranger Alcohol Ink Felt
 - Ranger Collage Glue Stick
 - Tonic Studios: Craft Knife, Craft Scissors
 - Sizzix Big Shot
 - Sizzix Autumn Gatherings die
 - Stamps by Tim Holtz for Stampers Anonymous: CMS167, CSS25870, CSS25887
 - Self-healing cutting mat
 - White glossy cardstock, foam dots from my stash

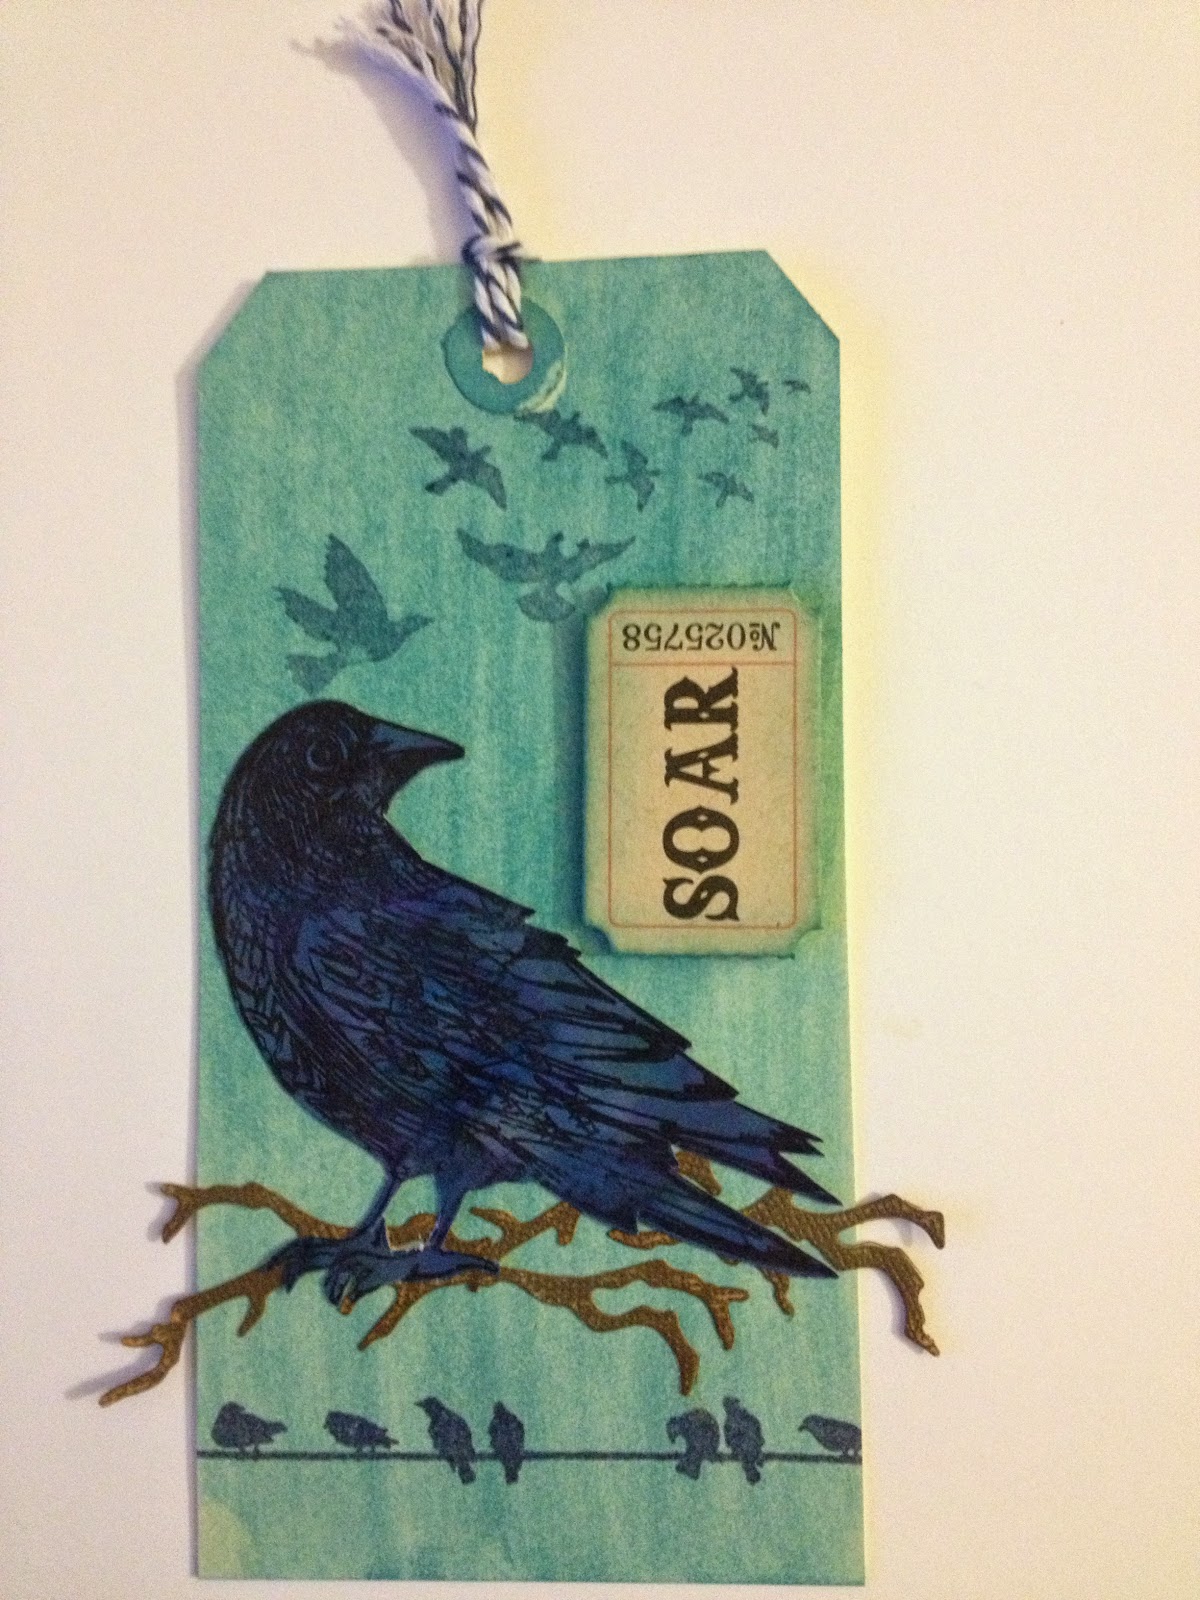
I took my inspiration for this tag from some of the birds we see in our backyard.  At a distance, they look black, but when the light hits them right, you see blues and greens and purples - beautiful!

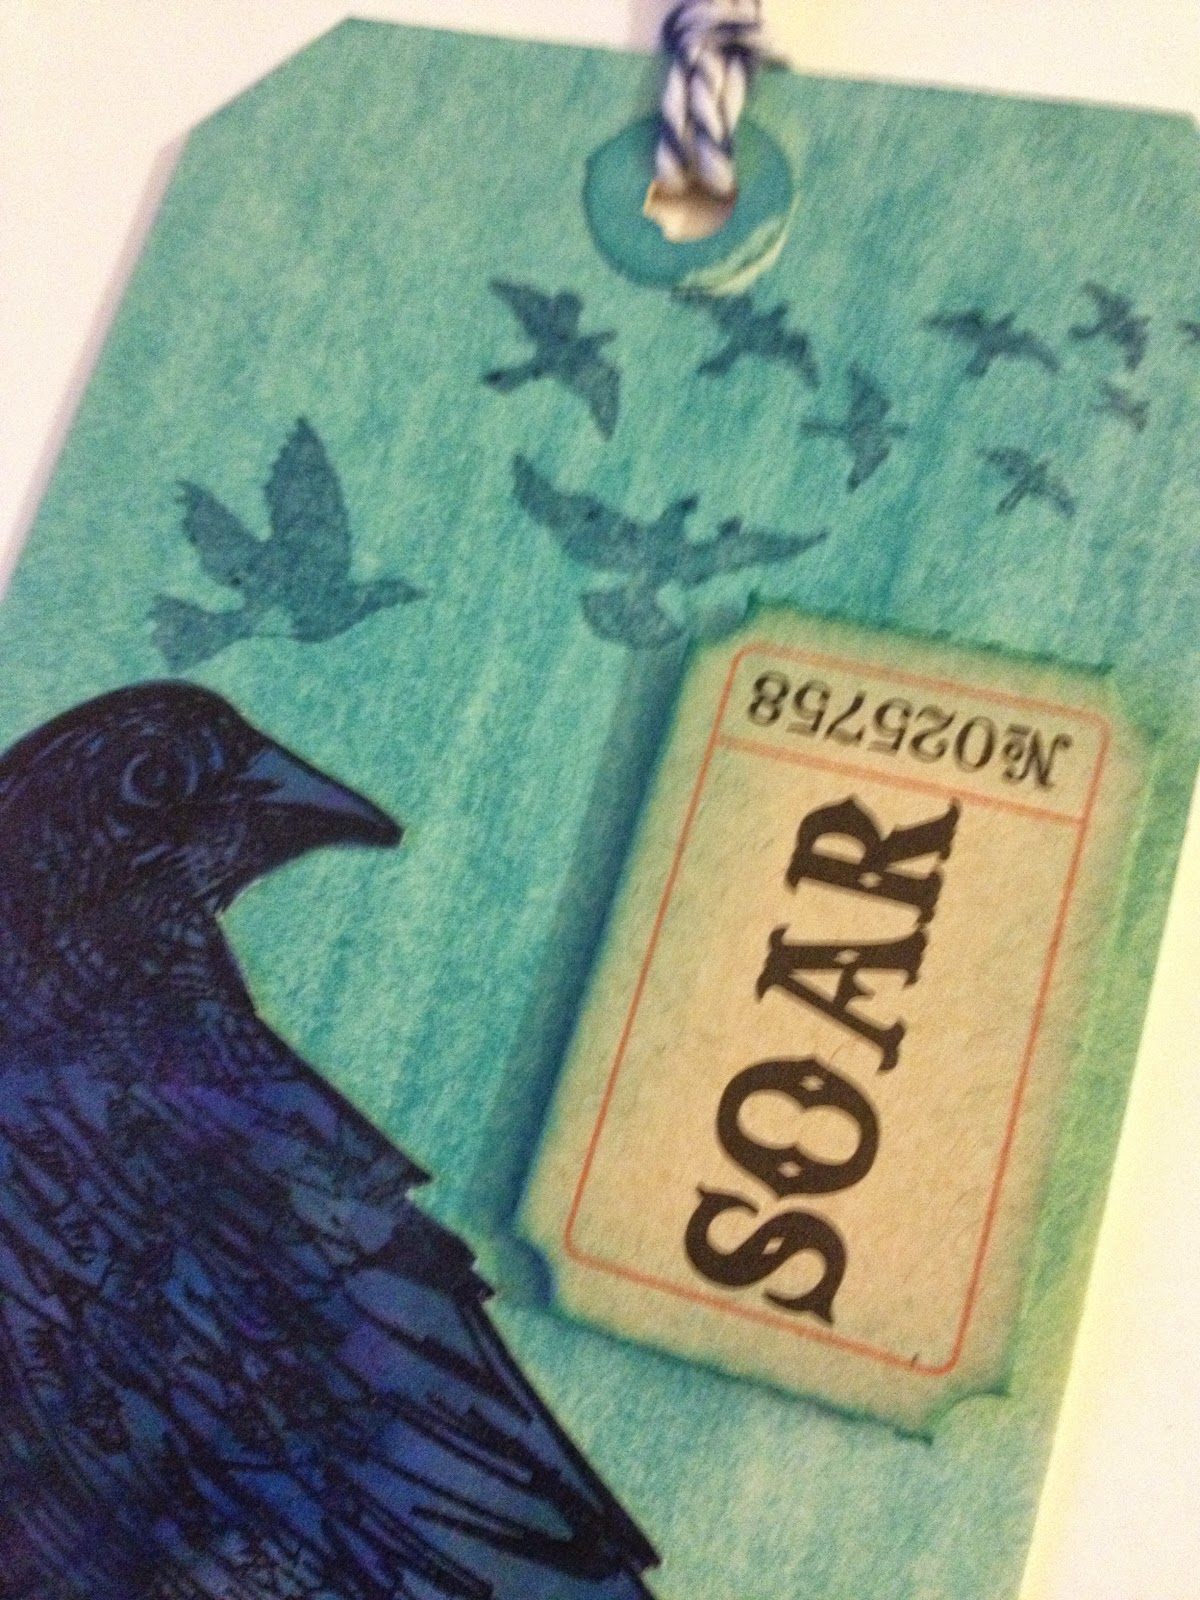
I started by covering my tag with Distress stain, and drying it quickly with my heat tool.  I stamped the smaller bird stamps with Distress ink, and then set the tag aside.  I took a piece of white glossy cardstock, and began to build up a couple of layers of alcohol ink on it, with dots of each of my colours all on the same piece of felt, and periodically using a little blending solution.  Once I had a result I liked, I let it dry, and then stamped my raven stamp on top of it with Archival ink.  (I don't know what it is about that blueprint raven, but I love how it looks stamped over alcohol inks!)  I dried the Archival, and then fussy-cut the raven out.  Using my craft knife and a self-healing mat, I carefully cut out the space between the raven's legs.  (Never use a blade on a non-stick craft sheet!!!)  I wanted the suggestion of a nest, so I ran some brown Distress cardstock through my Big Shot with the Autumn Gatherings die, and used the twig pieces (the leaves, etc. will get set aside for a future project). :-)  I lightly sanded the twigs, and then inked over them with Vintage Photo Distress ink.  I considered using my Xyron to adhere them, but then decided against it because I knew I want pieces hanging off the edge on either side, and didn't want adhesive on the back of those pieces, so I used glue stick instead.  I have to admit, it's not a product I remember to use frequently.  My past experiences with glue stick have not been fabulous.  But Ranger's collage glue stick holds extremely well, and allows me to add adhesive only in certain areas.  After I glued the twigs and the bird, I inked around the edges of an Adage ticket, and added it with foam dots for a little dimension.  Some twine cording at the top, and I was done!

More views:


Well, that's it for now!  'Til next time!

BAC
Wednesday, April 16, 2014

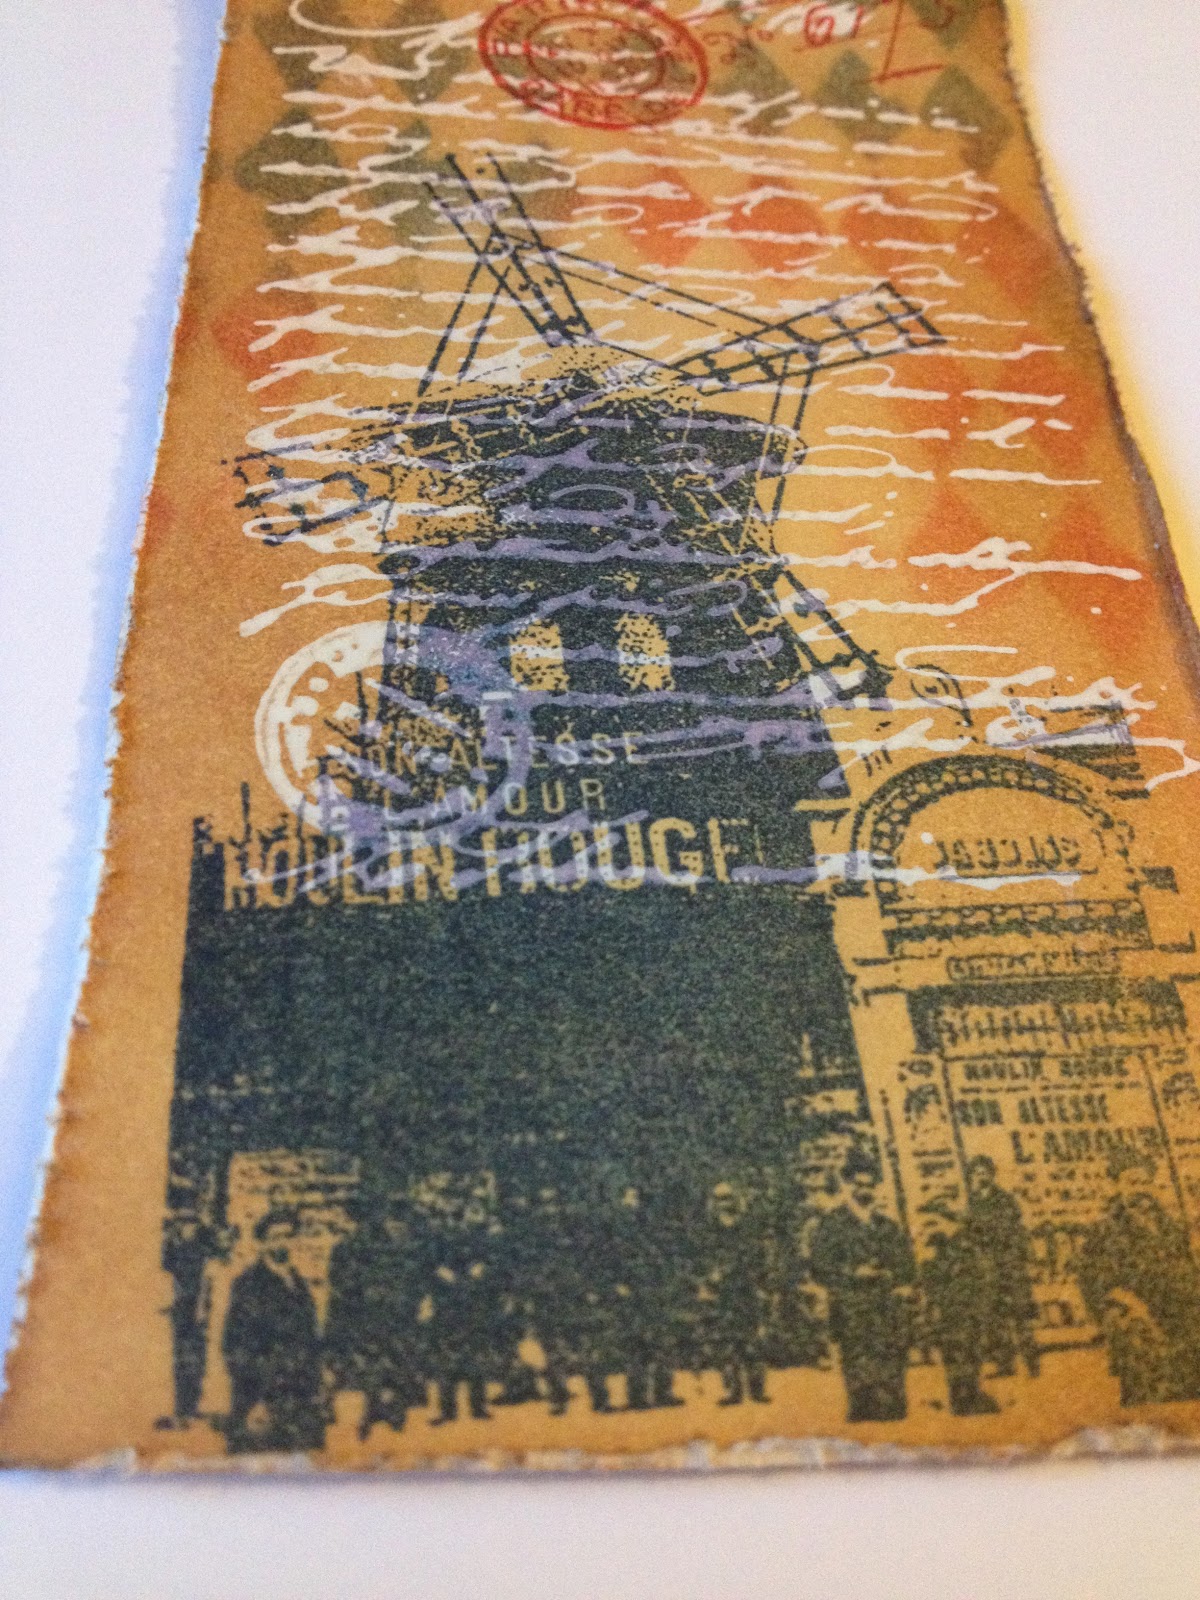
A Vintage Journey: A Little Bit French

Hello again!

Today's tag was created for A Vintage Journey's Challenge #3 ("A Little Bit French").  I'm also submitting it to Inspiration Journal's April challenge ("A Few of My Favourite Things").

Here's my tag:


Materials/tools used:
 - Ranger Inkssentials Manila tags
 - Ranger Distress Ink: Antique Linen, Faded Jeans, Fired Brick, Tea Dye, Vintage Photo
 - Ranger Distress Paint: Picket Fence
 - Ranger Archival Ink: Cobalt, Vermillion
 - Ranger Heat Tool
 - Ranger Inkssentials Foam Blending Tool
 - idea-ology Tissue Tape: Nostalgic
 - Tonic Studios Paper Distresser
 - Tim Holtz for Stampers Anonymous Layering Stencil: Harlequin
 - Stamps by Tim Holtz for Stampers Anonymous: CMS071*
 - Painter's tape

* A note about stamp set CMS071: When I first ordered this set a few weeks ago, I did so specifically for the Moulin Rouge stamp you see on my tag.  Imagine my surprise when that set arrived, and the stamp had been replaced by another.  After doing a little checking around, it turned out that the composition of that set was changed within the last few years due to a copyright issue.  HUGE props to my amazing boyfriend, who managed to find one of the older sets in a corner of the Internet!  :-)  But if you purchase this set online, looking for the Moulin Rouge stamp, best to contact the seller directly to be sure it's the older set.  Don't just go by the product picture on the website.

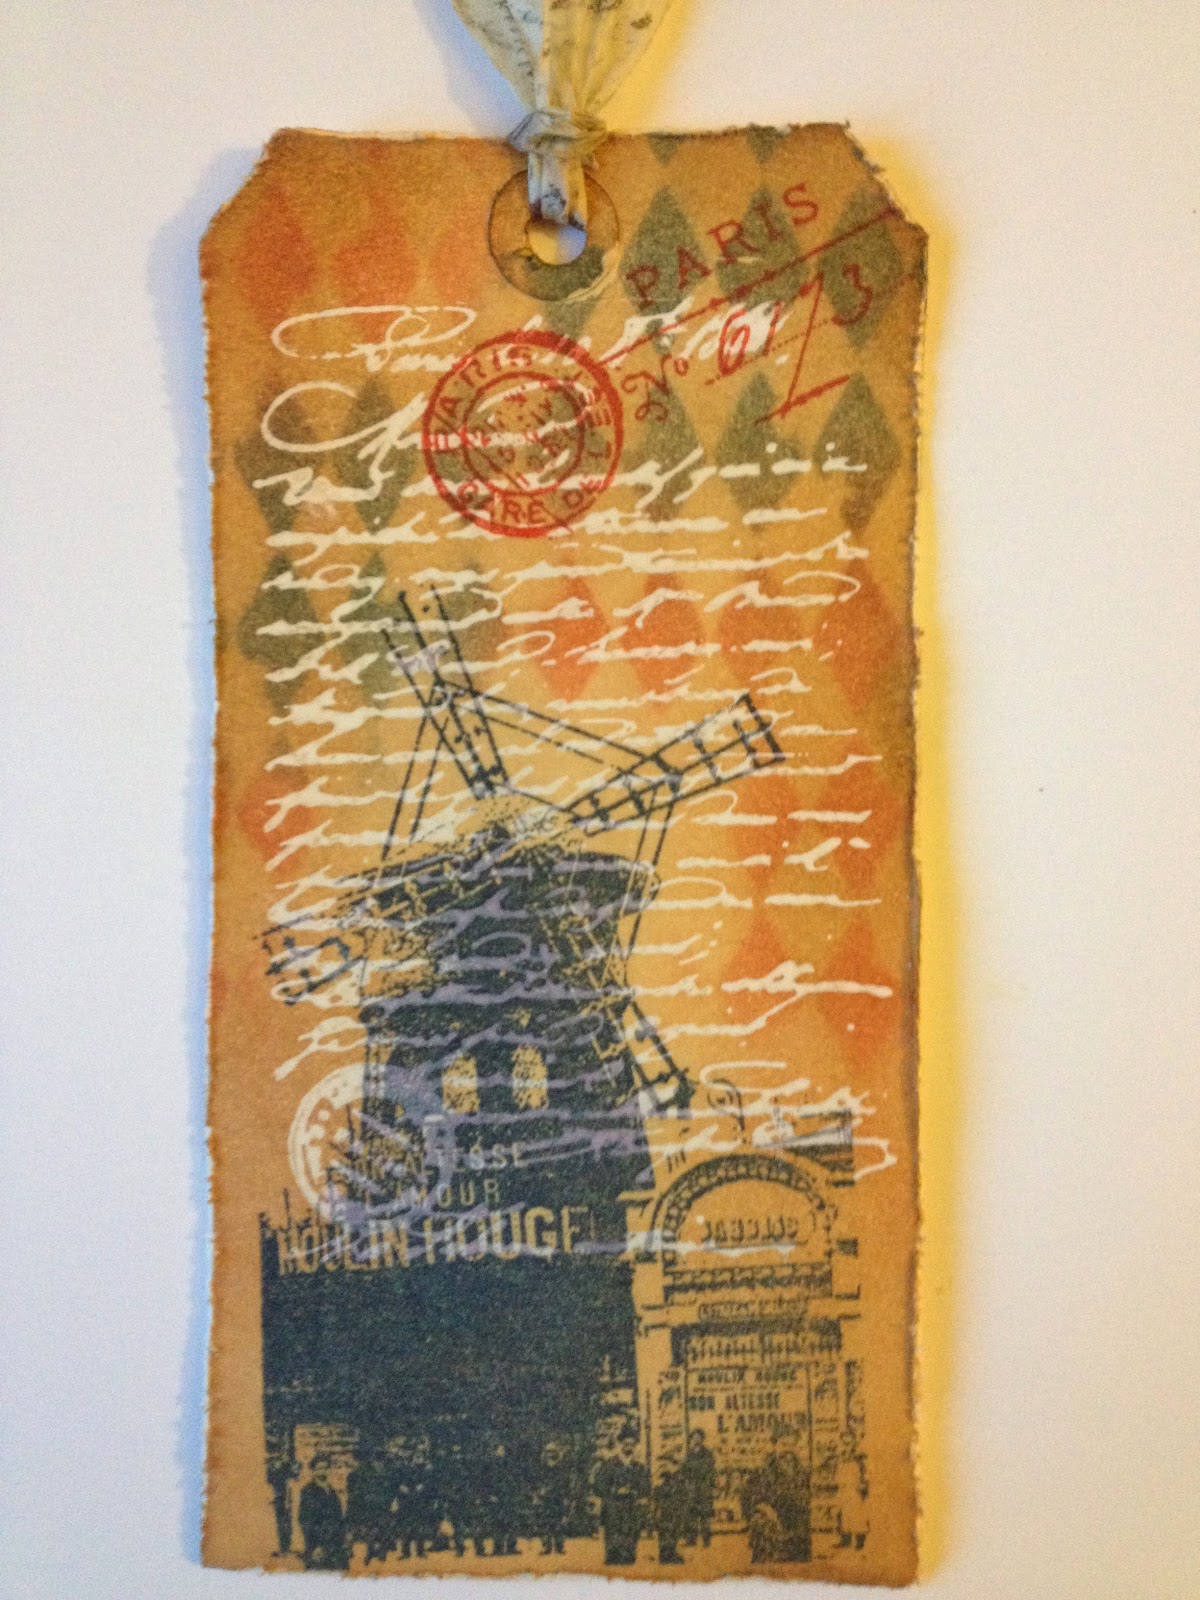
This tag combines 2 of my absolute favourite things: Moulin Rouge and Distress!  :-)  I kept my palette to reds and blues for France, and the browns of Distress.  I started by stamping the script stamp with Picket Fence Distress paint, and drying it with my heat tool.  (Be sure to clean your stamp off before the paint dries on it.  Plain water works beautifully!)  Then I blended Antique Linen & Tea Dye Distress inks over it.  I stamped the Moulin Rouge stamp and the postmark with Archival ink, and then used painter's tape to secure the Harlequin stencil in place of the tag.  I inked over the stencil in various areas with the Fired Brick and Faded Jeans, and then removed the stencil and inked all over the tag with the Tea Dye again.  I blended in some Vintage Photo around the edges, and distressed them with my paper distresser tool.  I tore a length of tissue tape, folded it in half, crumpled it a bit, and used it to finish the tag at the top.  Et voila!  Notice how the Distress paint will resist the Distress ink over it, but allows for Archival stamping.  :-)  Cool effect, huh?

More views:


Well, that's it for tonight!  'Til next time!

BAC
Tuesday, April 15, 2014

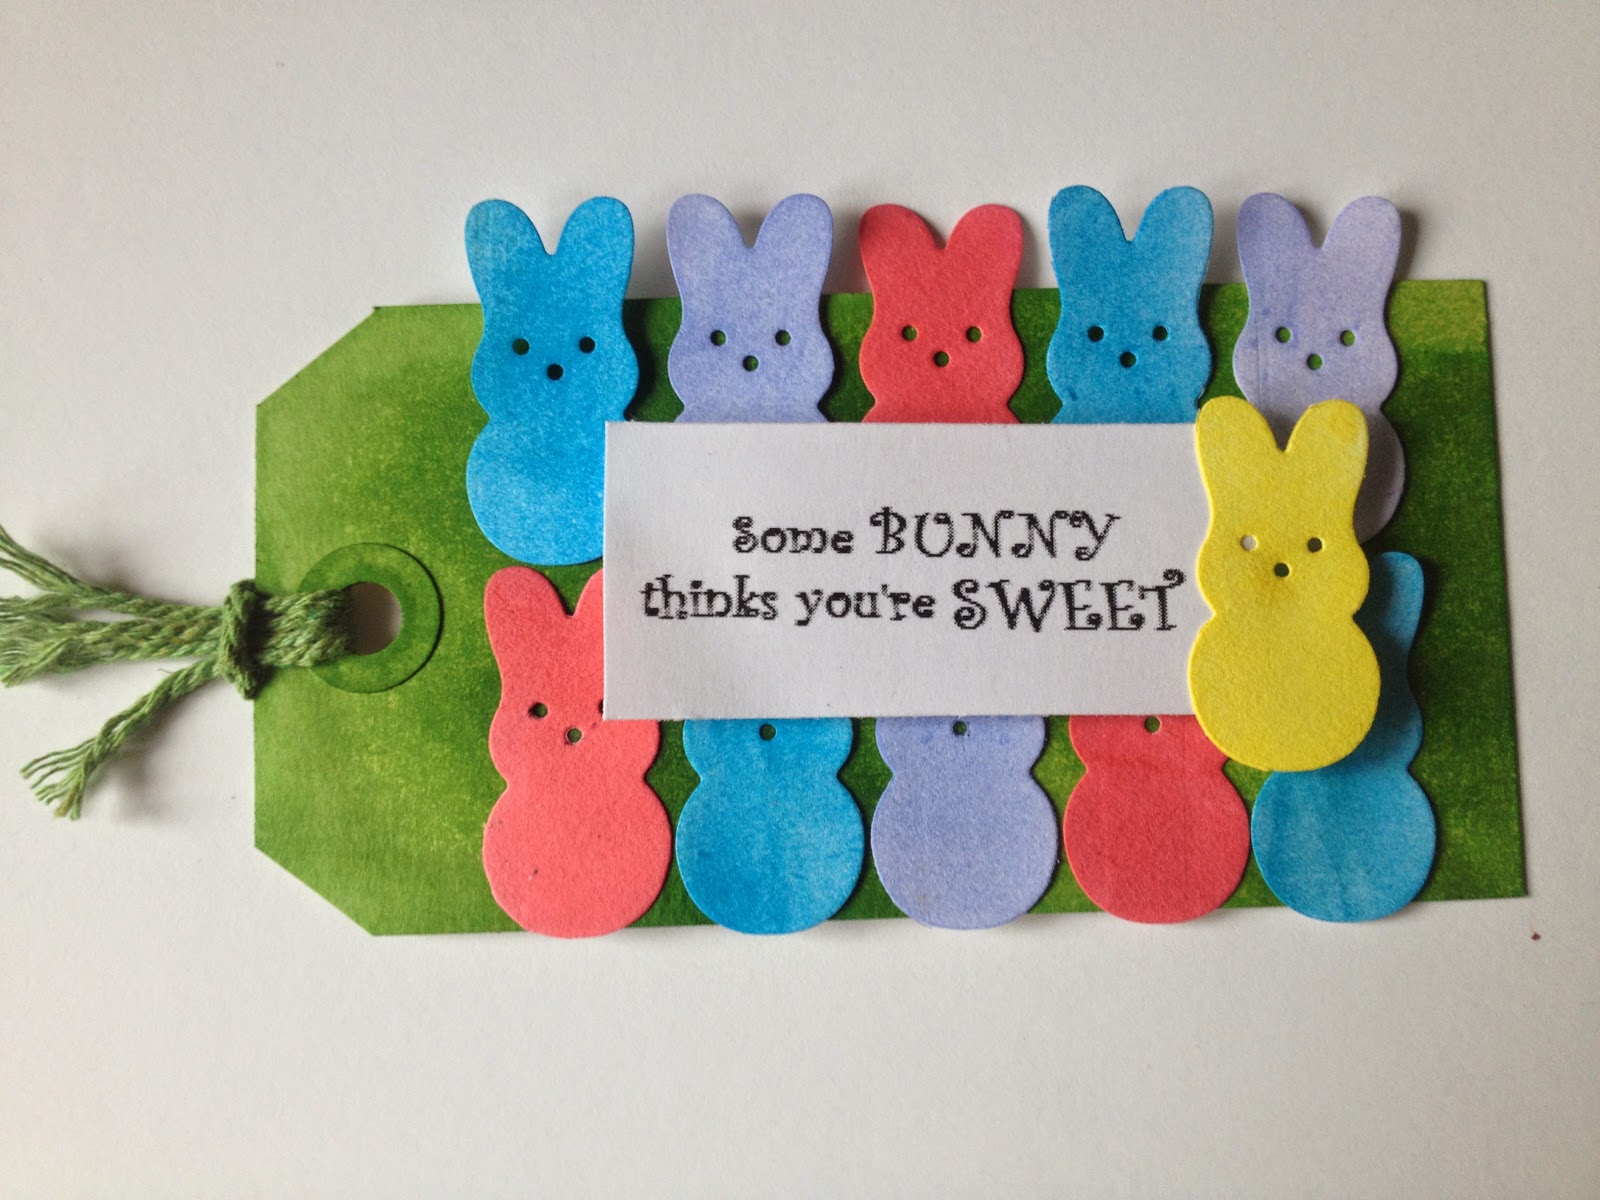
Simon Wednesday Challenge: Happy Easter and/or Sweet Treats

Hello again!

Just a quick project today for SimonSayStamp's Wednesday challenge ("Happy Easter and/or Sweet Treats").  I'm also submitting this to Inspiration Journal's April challenge ("A Few of My Favourite Things").

Here's my tag:


Materials/tools used:
 - Ranger Inkssentials #5 Manila tags
 - Ranger Distress Ink: Worn Lipstick
 - Ranger Distress Stain: Mowed Lawn, Salty Ocean, Shaded Lilac, Squeezed Lemonade
 - Maya Road Twine Cording Solids: Lime Green
 - Ranger Heat Tool
 - Sizzix Big Shot
 - Quickutz Candy Bunny die
 - Sentiment printed on computer
 - White cardstock, double-stick tape, foam dots from my stash

This project seemed like the perfect excuse to use my candy bunny die (which looks suspiciously like a Peeps bunny!).  :-)  Because that die is on the small side, I sized down the entire tag, and worked on a #5, rather than my usual #8.  Pretty simple project, but I think it turned out super cute!

Well, that's it for now. 'Til next time!

BAC

Sunday, April 13, 2014

Simon Monday Challenge: Journey

Hello again!

Quick project today for SimonSaysStamp's Monday challenge ("Journey").  Also submitting to Inspiration Journal's April challenge ("A Few of My Favourite Things").

Here's my tag:


Materials/tools used:
 - Ranger Inkssentials Manila tags
 - Ranger Distress Ink: Aged Mahogany, Brushed Corduroy, Fired Brick, Mowed Lawn, Salty Ocean, Seedless Preserves, Stormy Sky
 - Ranger Archival Ink: Deep Purple
 - Ranger Alcohol Ink: Sunset Orange, Sunshine Yellow
 - idea-ology: Tiny Attacher, Tissue Tape (Symphony), Word Bands
 - Ranger Heat Tool
 - Ranger Inkssentials Mister
 - Ranger Inkssentials Foam Blending Tool
 - Ranger Alcohol Ink Felt
 - Tonic Studios Paper Distresser
 - Stamps by Tim Holtz for Stampers Anonymous: CMS183, CSS27843, CSS31703

This was a quick and fun project with some of my fave Ranger/Distress products, and basic techniques.  :-)

Additional views:


That's it for now, but I expect to have another project for you tomorrow!  :-)

'Til then!

BAC

Wednesday, April 9, 2014

Simon Wednesday Challenge: Simon Says Happy Birthday!

Hello all!

This project was created for SimonSaysStamp's Wednesday challenge ("Simon Says Happy Birthday"), and I'm also submitting it to Inspiration Journal's April challenge ("A Few of My Favourite Things").  :-)

Here's my take on a birthday tag:


Materials/tools used:
 - Ranger Inkssentials Manila tags
 - Ranger Distress Ink: Squeezed Lemonade, Vintage Photo
 - Ranger Distress Markers: Brushed Corduroy, Dusty Concord, Mowed Lawn, Mustard Seed, Peacock Feathers, Picked Raspberry, Ripe Persimmon, Salty Ocean, Victorian Velvet, Vintage Photo
 - Ranger Archival Ink: Deep Purple, Jet Black, Vermillion
 - Maya Road Twine Cording Solids: Cherry Red
 - Ranger Heat Tool
 - Ranger Distress Marker Spritzer
 - Ranger Inkssentials Blending Foam
 - Tonic Studios Craft Scissors
 - Waterbrush: Detailer and Small tips
 - Stamps by Tim Holtz for Stampers Anonymous: CMS155, HL-P1-005

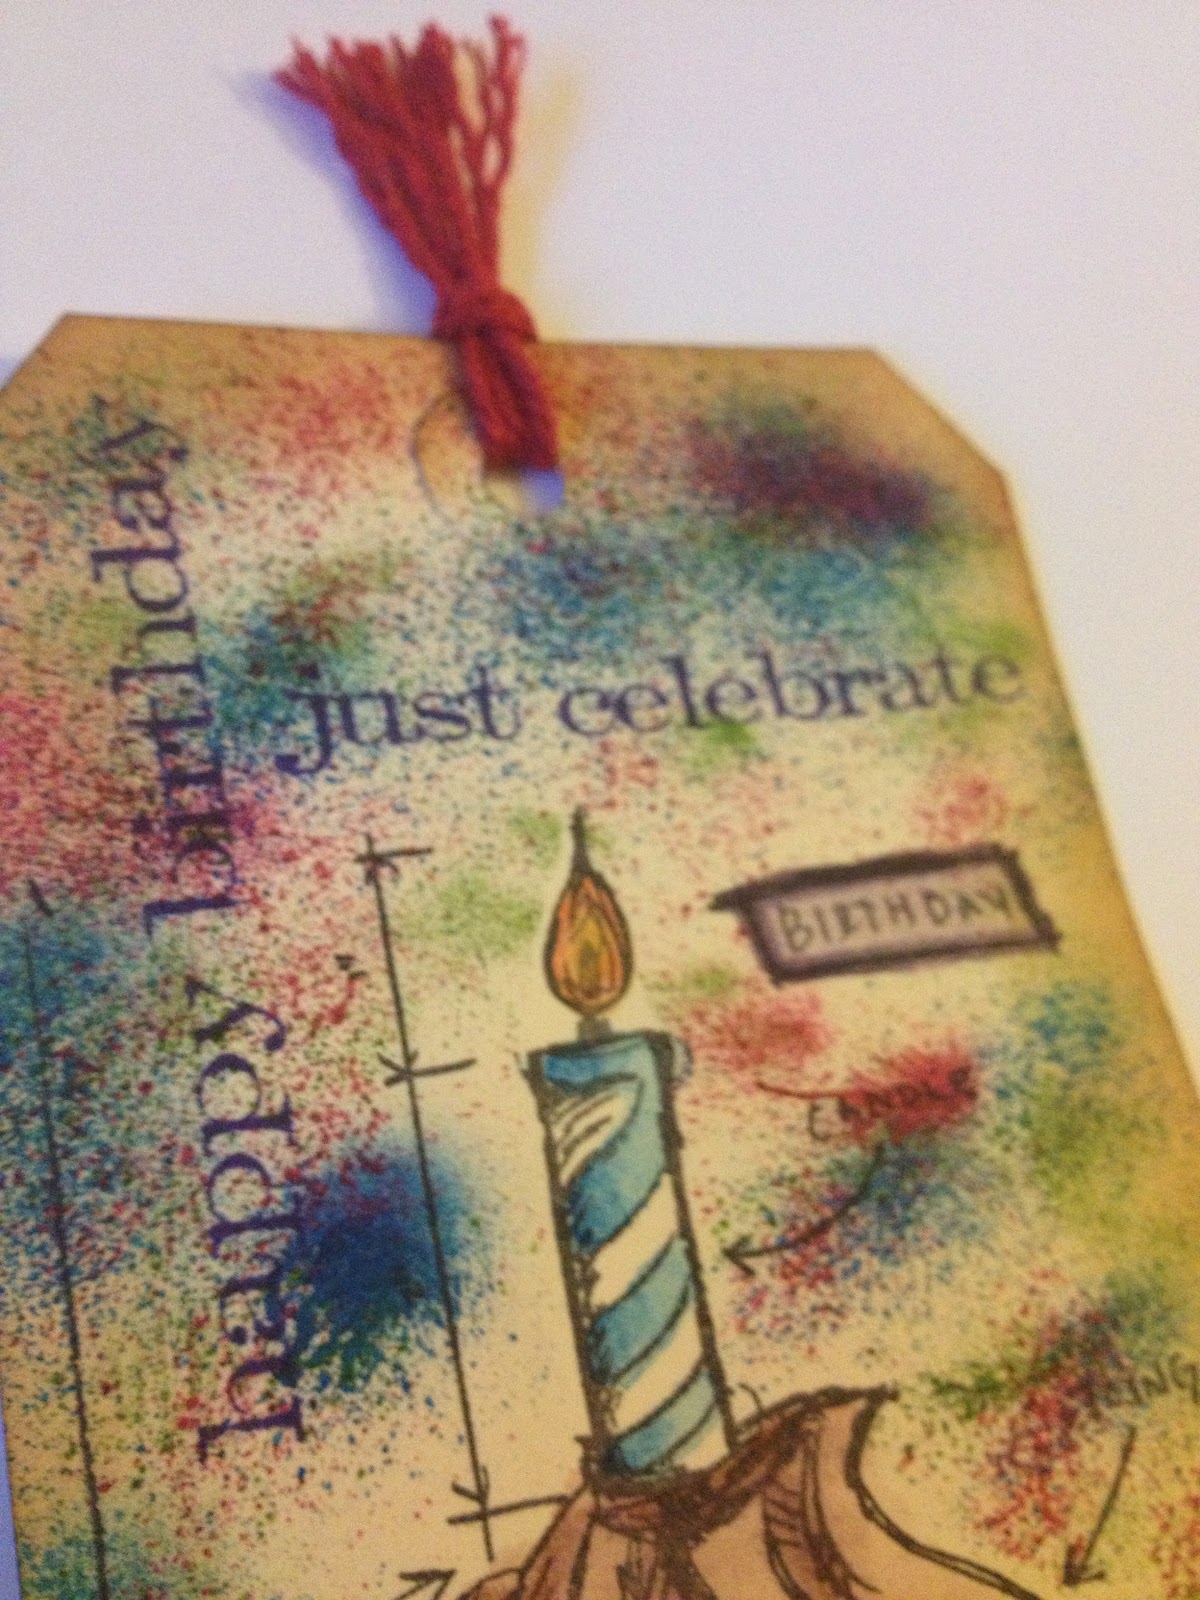
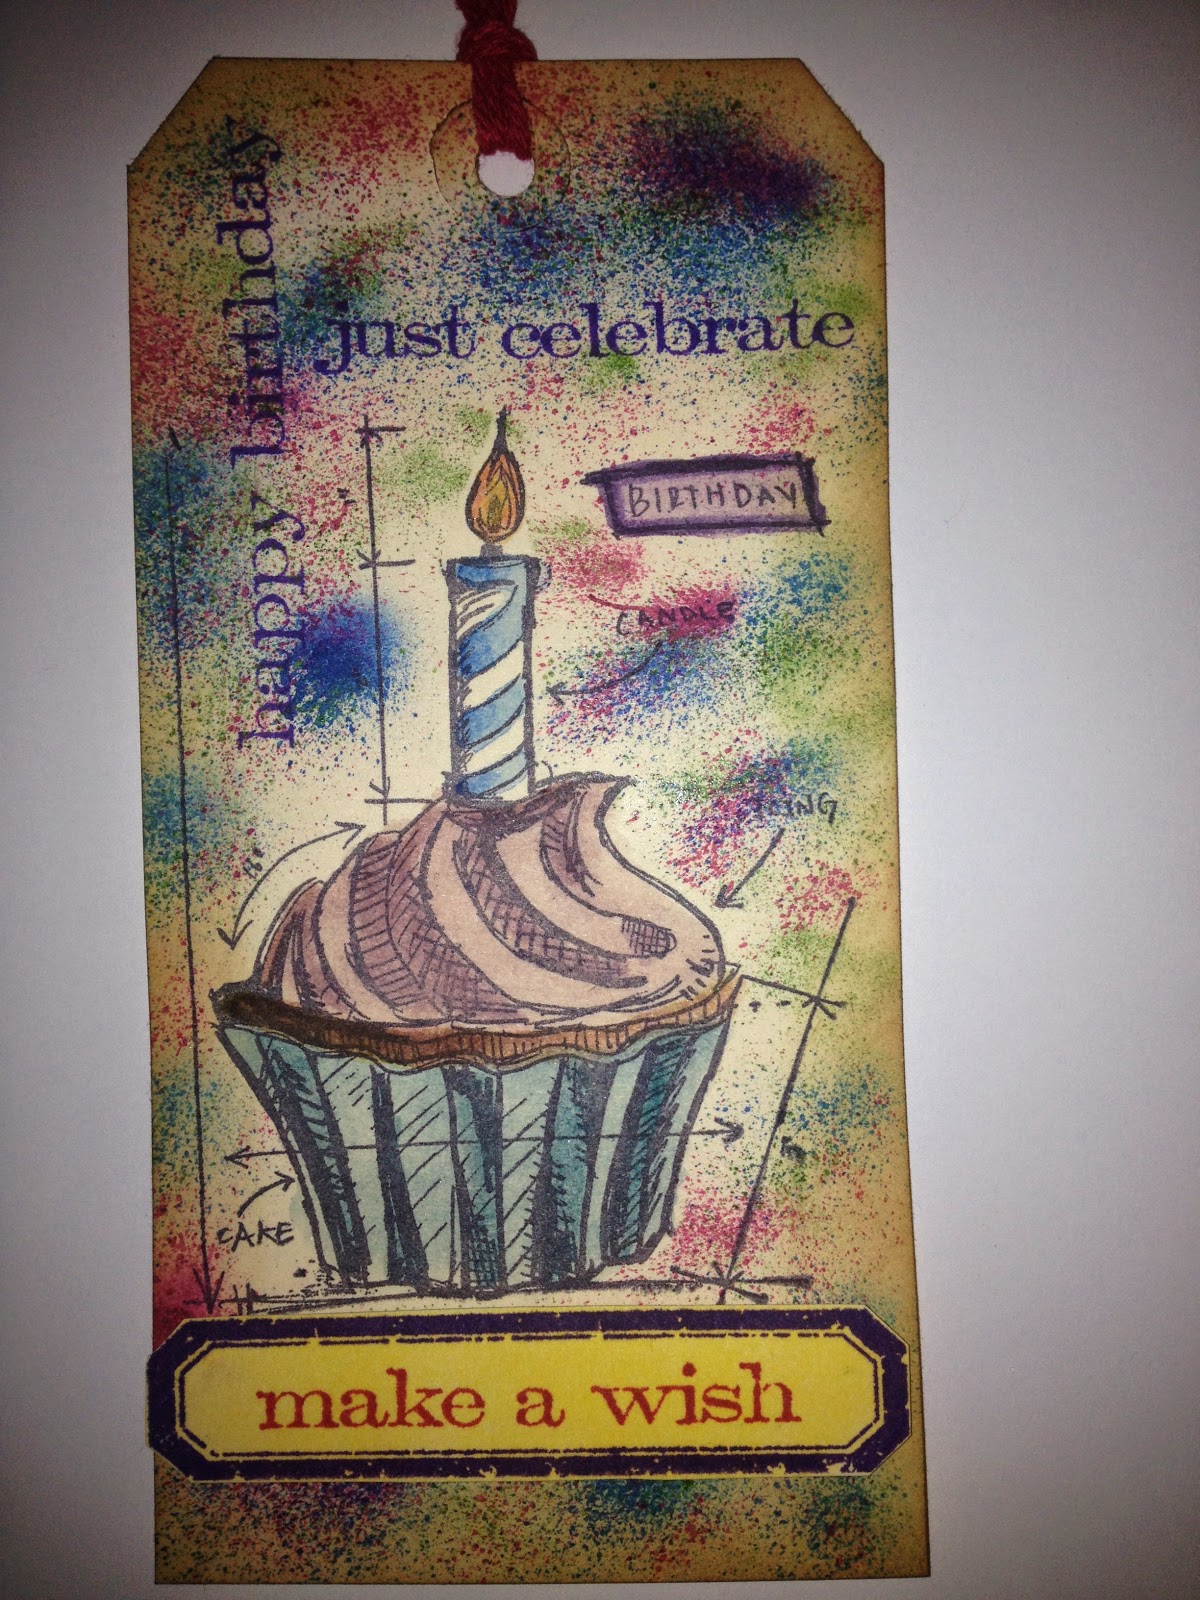
For this tag, I stamped my cupcake, set it with my heat tool, and coloured it in with Distress markers and waterbrush.  Then I cut a mask of my cupcake out of a scrap craft tag, and used it to cover the cupcake while i went to town with the marker spritzer.  I was going for a "confetti" feel, but I think it would also do well for fireworks.  :-)  Added some sentiments, and finished it off!  :-)

More views:


'Til next time!

BAC