Sunday, April 6, 2014

Simon Monday Challenge: Anything Goes

Hello again!

This afternoon, I spent some time in my studio just playing.  The tag I came up with was created for SimonSaysStamp's Monday Challenge ("Anything Goes"), but I'm also submitting it to Inspiration Journal's April challenge ("A Few of My Favourite Things").

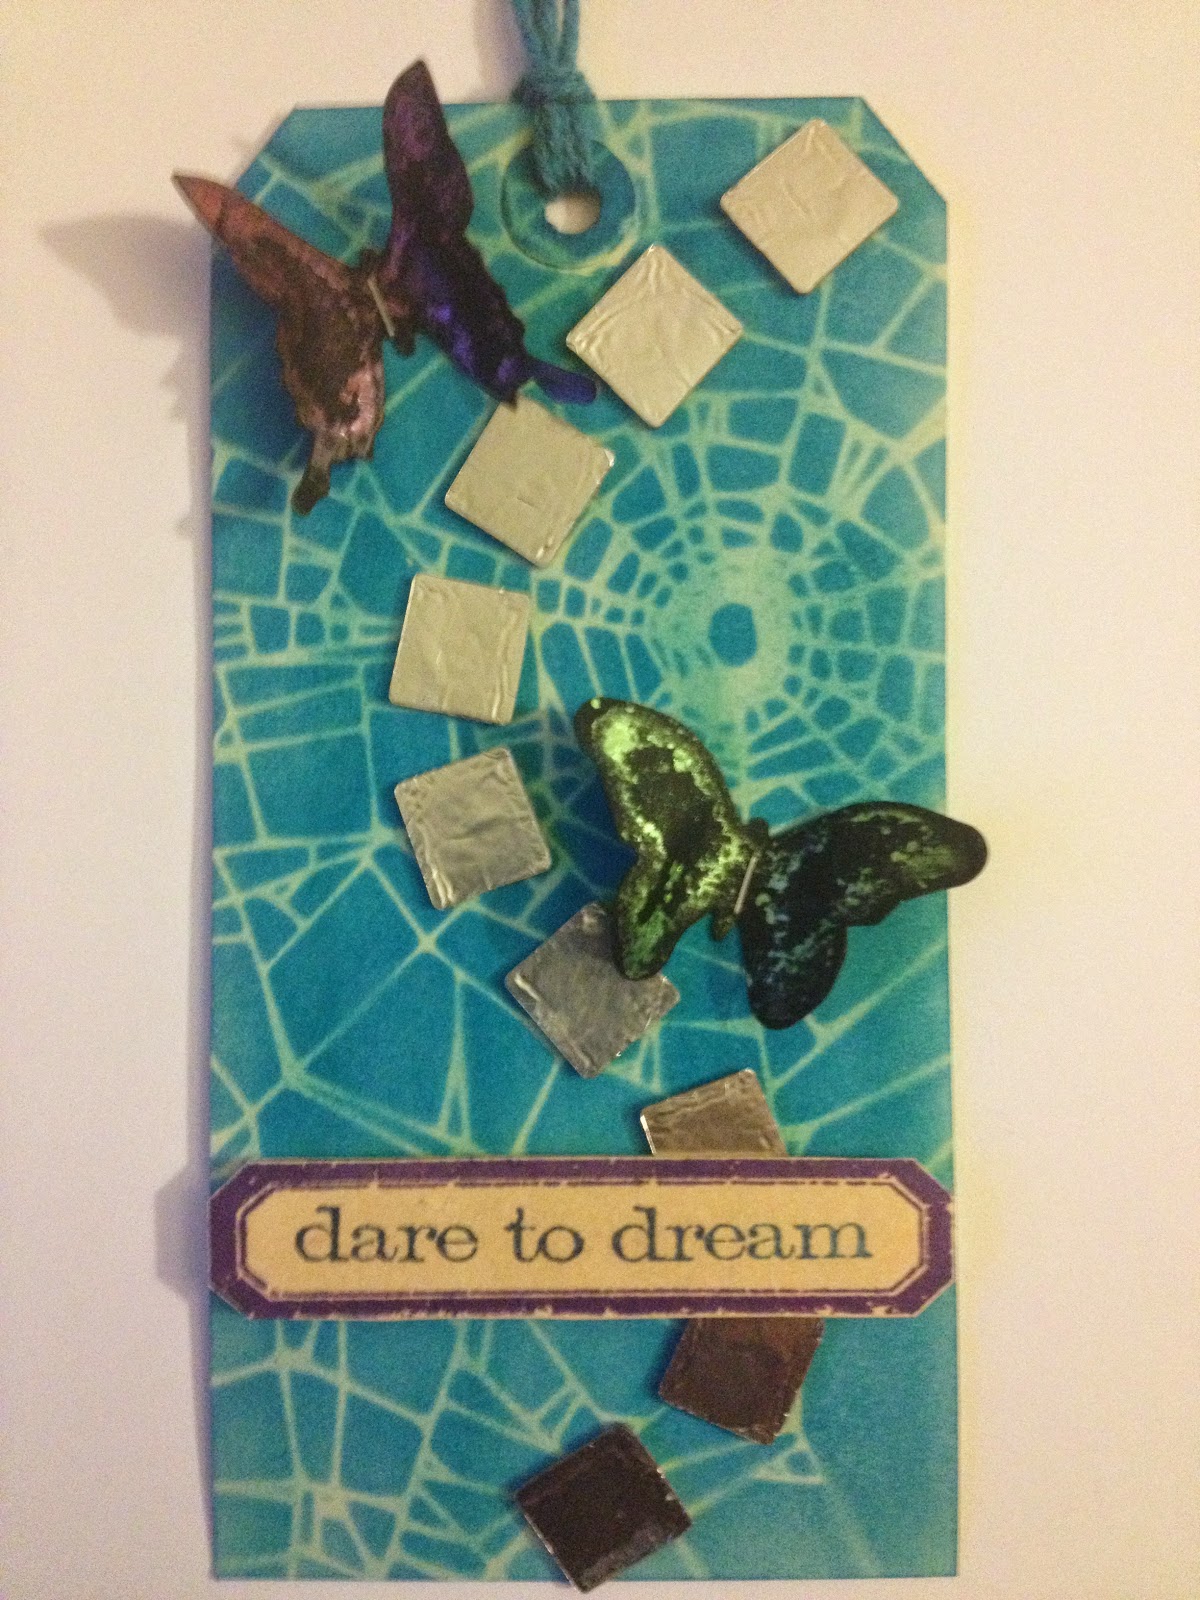
Here's my finished tag:

Materials/tools used:
 - Ranger Inkssentials Manila tags
 - Ranger Distress Ink: Old Paper, Salty Ocean
 - Ranger Distress Stain: Tumbled Glass
 - Ranger Archival Ink: Cobalt, Deep Purple
 - Ranger Perfect Pearls Mists: Forever Violet, Sour Apple
 - Ranger Metal Foil Tape
 - Studio 490 Clearly for Art Blackout
 - idea-ology: Grungeboard, Tiny Attacher
 - Maya Road Twine Cording Solids: Blue Raspberry
 - Ranger Heat Tool
 - Ranger Inkssentials Foam Blending Tool
 - Sizzix Big Shot
 - Sizzix dies: Mini Butterfly Set, Picture Wheel
 - Tonic Studios Craft Scissors
 - Stamps by Tim Holtz for Stampers Anonymous: CMS155
 - Tim Holtz for Stampers Anonymous Layering Stencil: Shatter
 - Xyron 2.5" sticker maker
 - Paper towels
 - Painters tape
 - Foam dots from my stash

I didn't really have any sort of set plan in my head when I was making this tag.  My only focus was to try to use products I love in some new ways, and I think I accomplished that pretty well!

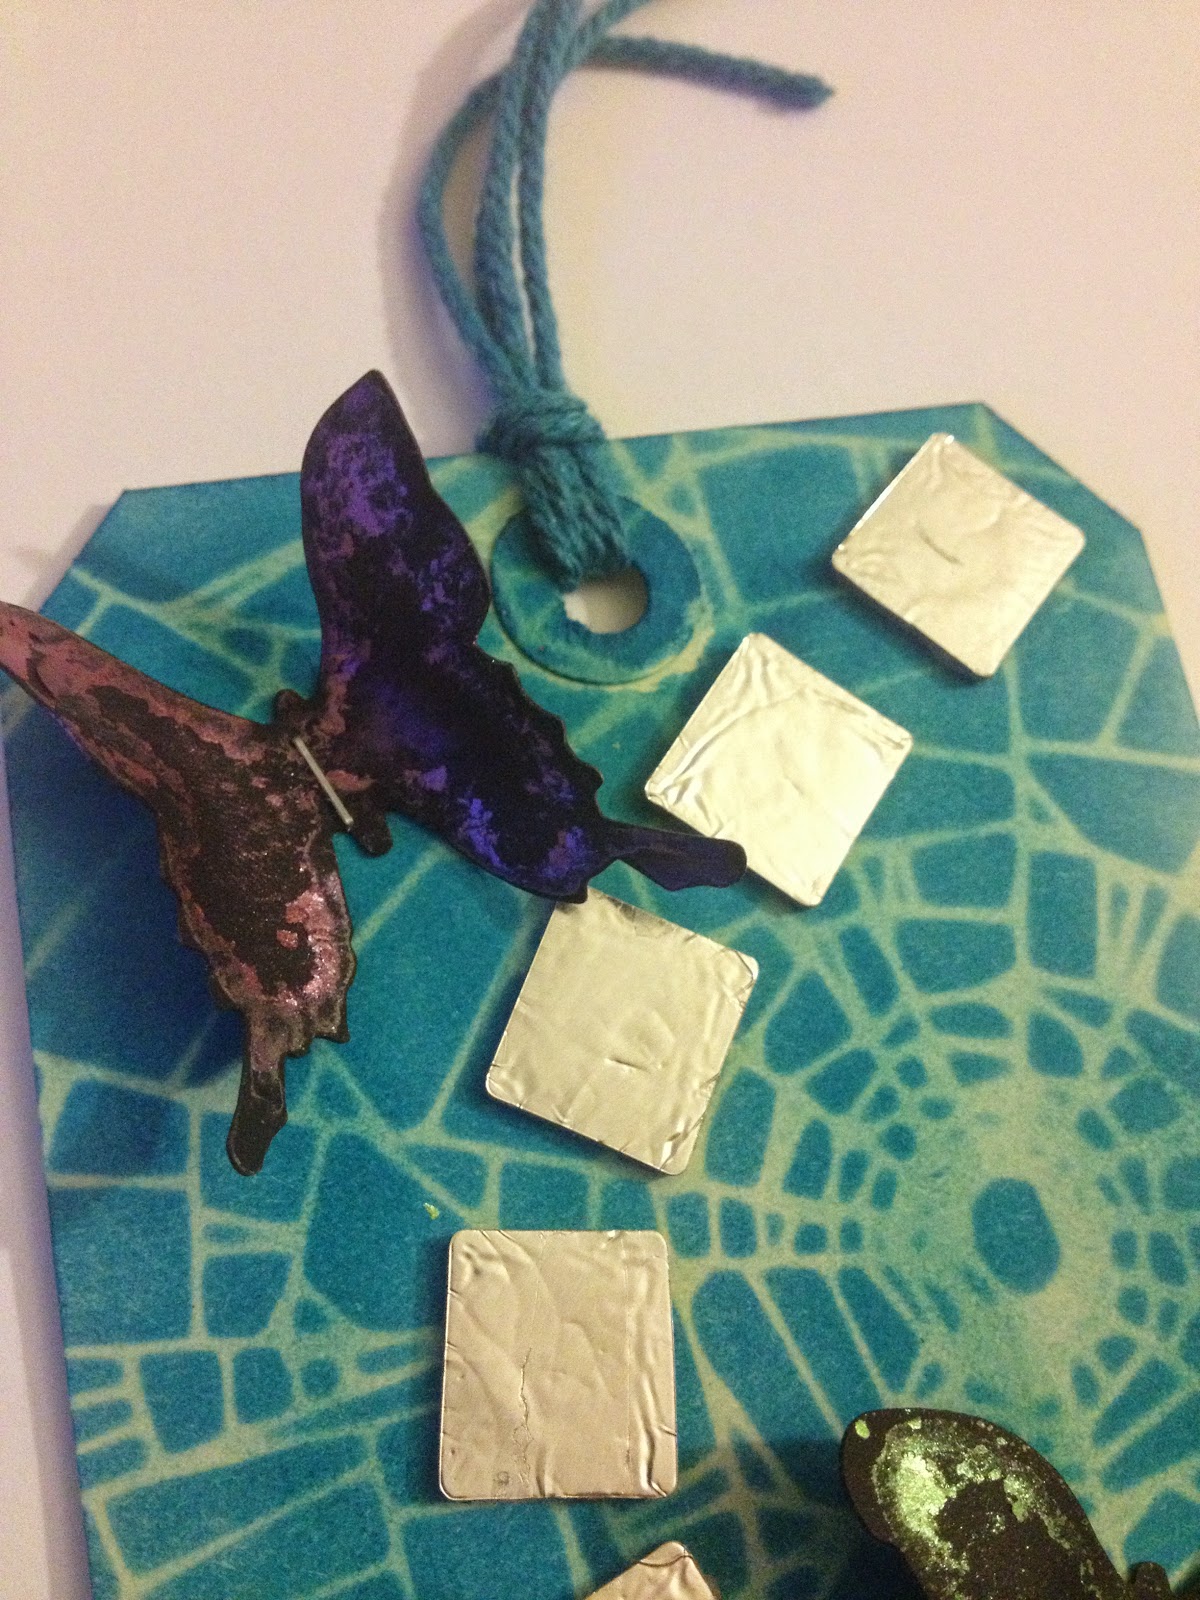
The reflective squares were left over from when I used the Picture Wheel die on this January project.  I'd set them aside for future use, and ran across them while doing some straightening today.  To adhere them, I simply ran them through my Xyron.  (Be aware that grungeboard pieces are a *little* bit too thick to go through the Xyron easily.  When I was finished, I popped out the cartridge, and snapped the front bit back into place, since running these through popped it out a bit.  No permanent damage; just be aware.)

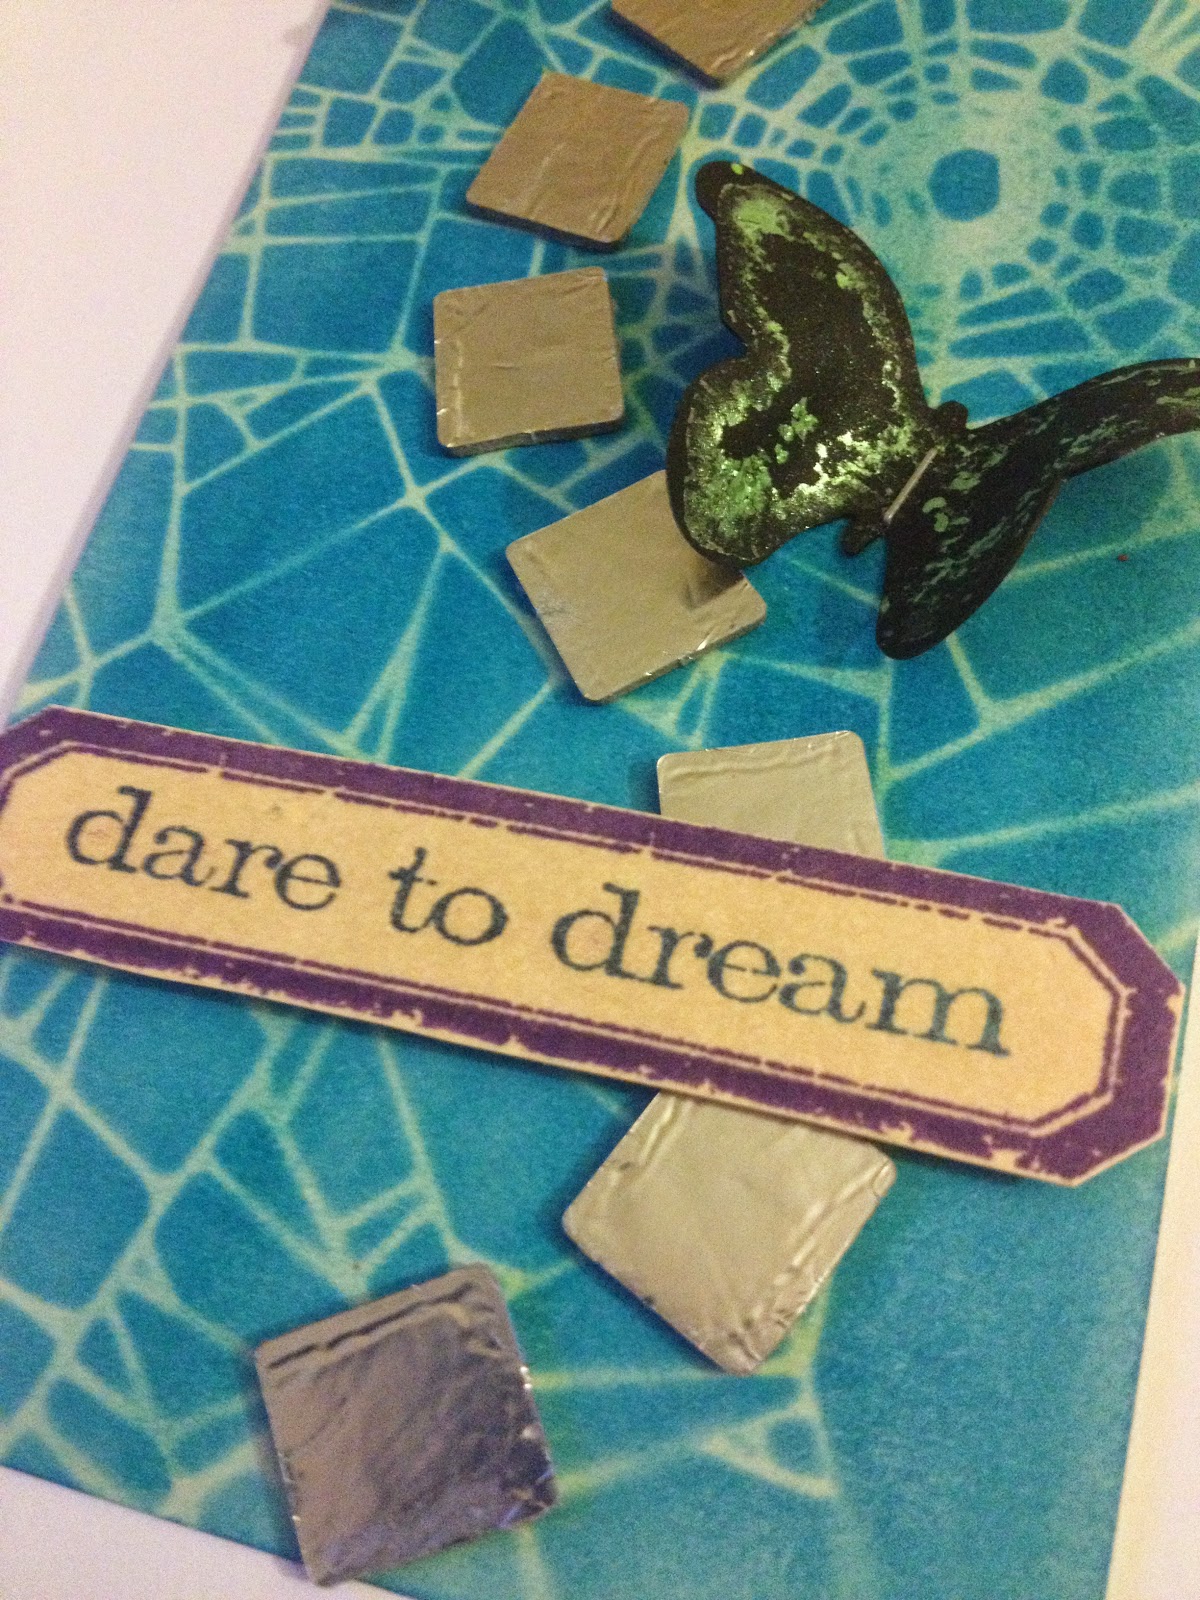
For the butterflies, I wanted to do something a bit different.  I've been loving playing with the Clearly for Art, but I have a sheet of Clearly for Art Blackout that I hadn't tried anything with yet, so I die-cut my butterflies, and decided it would be interesting to use Perfect Pearls mists to give them a bit of an iridescent look.  To get the look you see above, I sprayed the Perfect Pearls on fairly liberally and let them sit for about an hour.  I hit them with the heat tool for a little bit, and then used a paper towel to take up some of the excess liquid.  I dried them further with the heat tool, and when I noticed that the pigment was flaking off in some places, I decided to encourage that a bit by blowing on them.  Attached them to my tag, and used my heat tool to shape the wings.  And voila!  Butterflies with iridescent, but somewhat shabby, wings.  I really liked how they turned out!

Additional views:


Well, that's where a little experimentation took me today.  Where will your experimentation take you?

'Til next time!

BAC

Wednesday, April 2, 2014

A Vintage Journey: Say It with Words

Hello again!

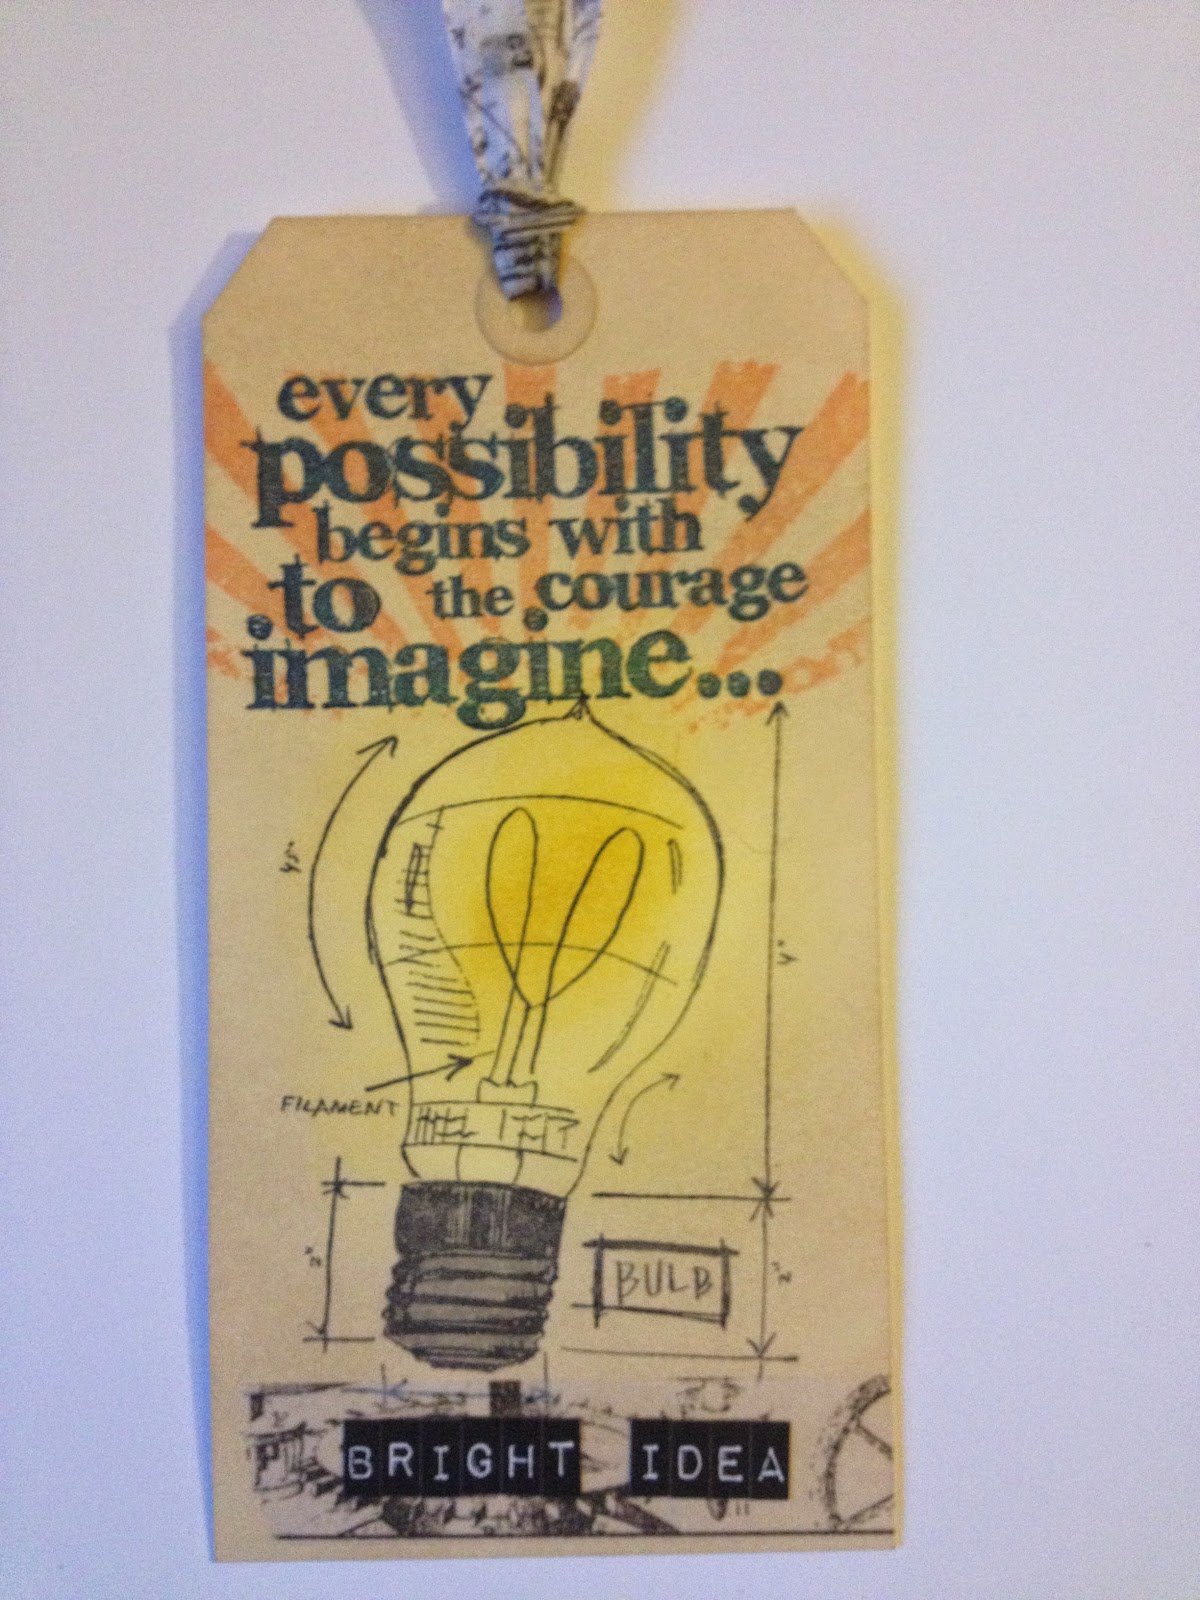
Today's project is one I created for A Vintage Journey's Challenge #2 ("Say It with Words").  (I'll also be submitting it to SimonSaysStamp's Monday Challenge ("Anything Goes").  :-)

Here's my tag:


Materials/tools used:
 - Ranger Inkssentials Manila tags
 - Ranger Distress Ink: Dried Marigold, Mustard Seed, Old Paper, Pumice Stone, Squeezed Lemonade
 - Ranger Archival Ink: Cobalt, Jet Black
 - idea-ology: Label Letters, Tissue Tape (Commute)
 - Ranger Inkssentials Foam Blending Tool
 - Ranger Inkssentials Craft Nib Holder
 - Ranger Inkssentials Craft Nibs
 - Stamps by Tim Holtz for Stampers Anonymous: CMS149, CSS30195, CSS30201

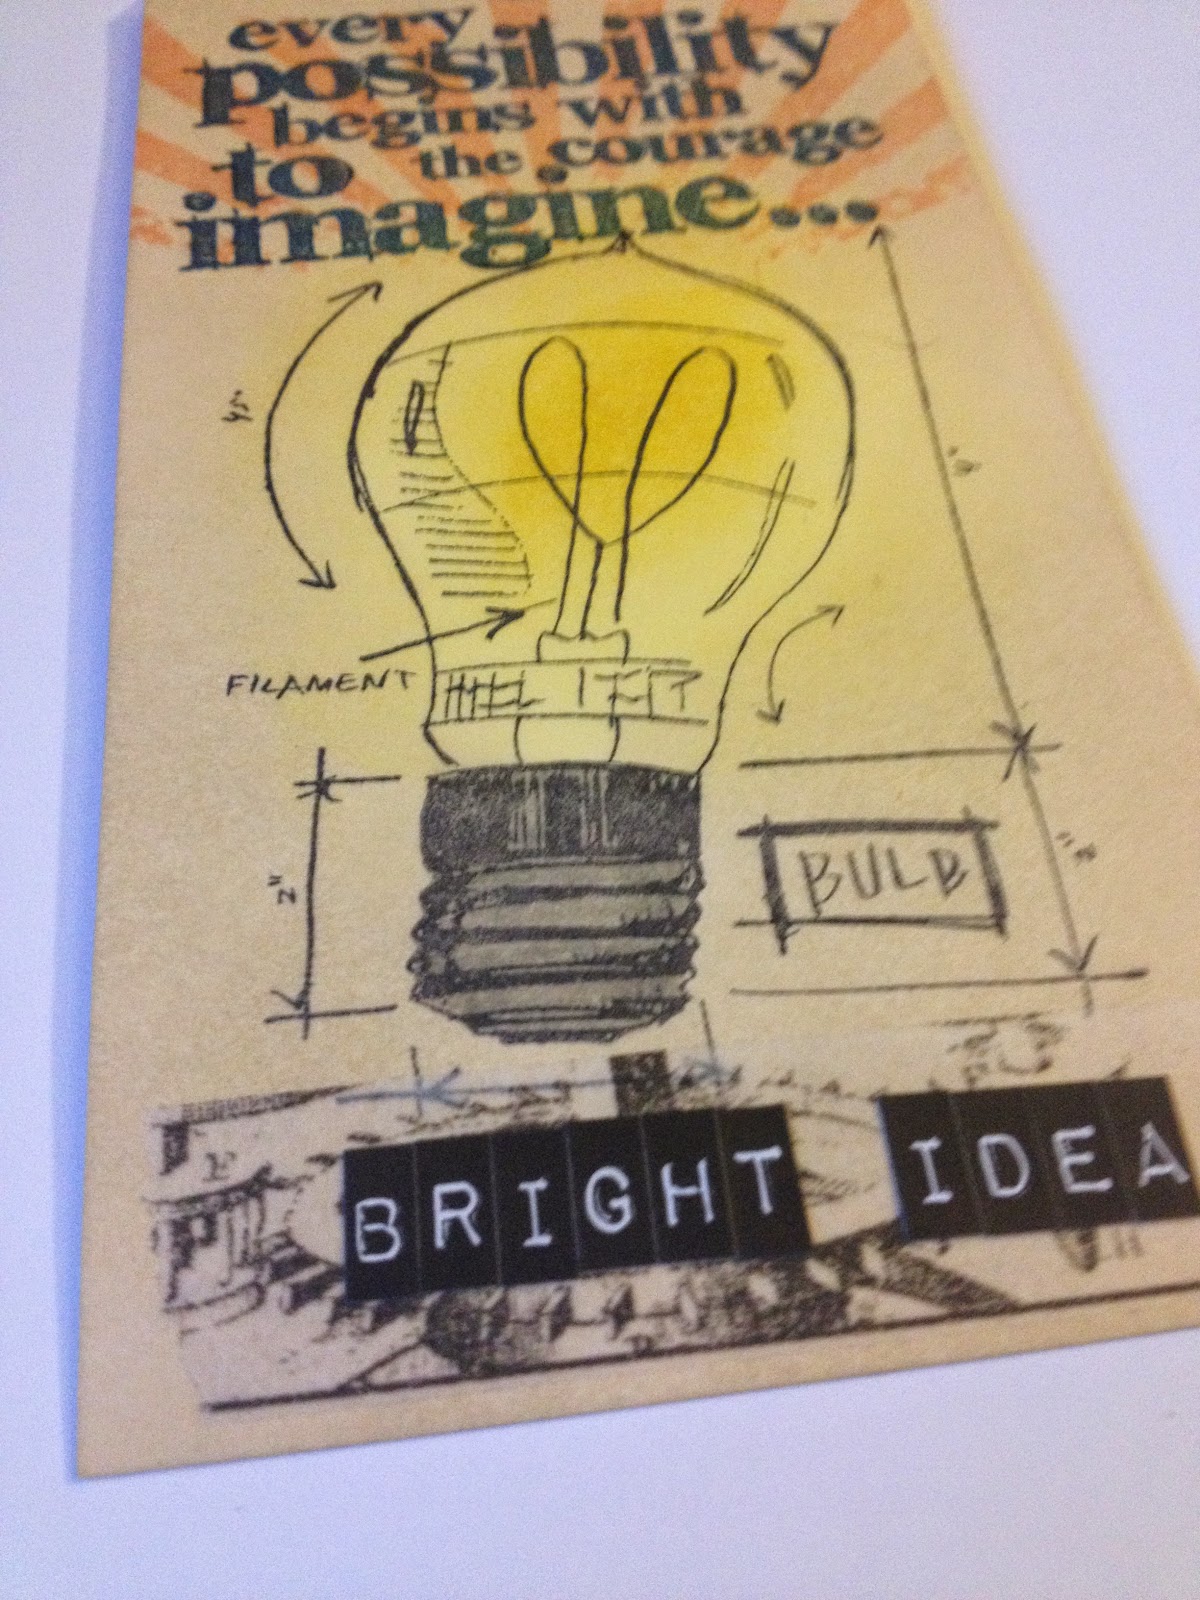
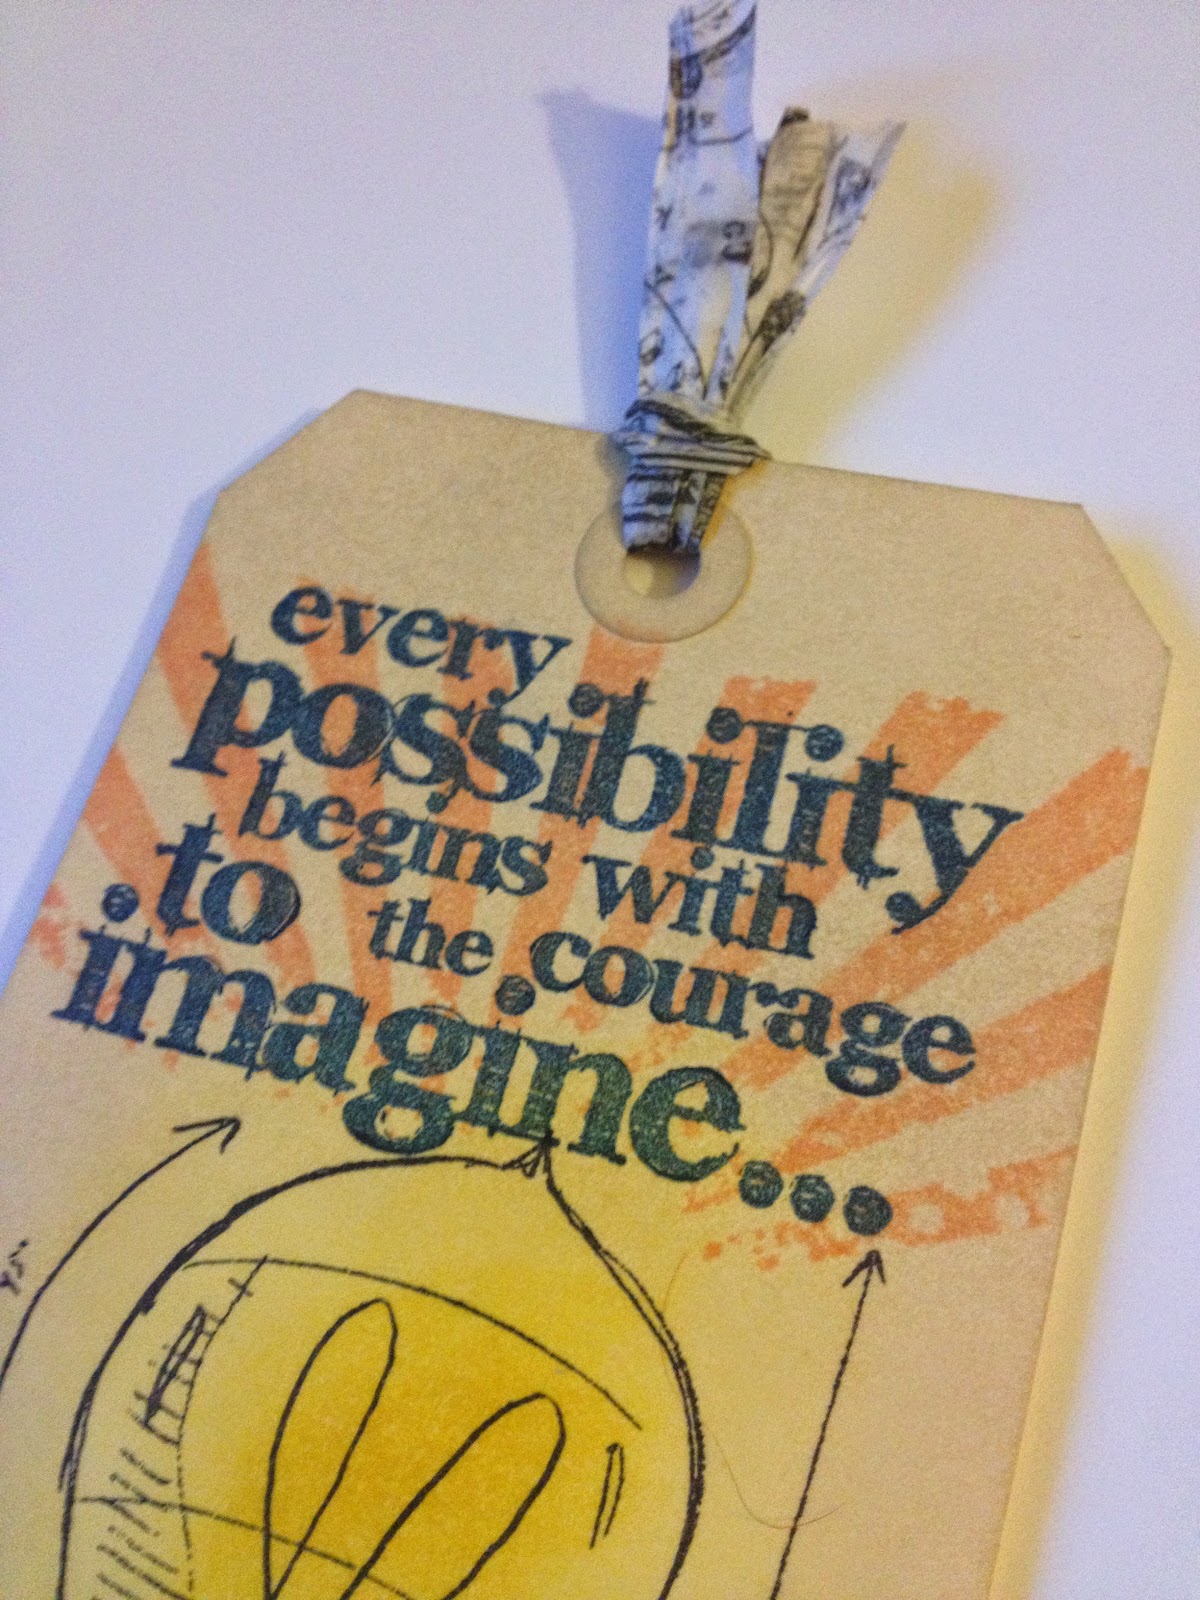
More views:


Tuesday, April 1, 2014

Simon Wednesday Challenge: Anything Goes with Buttons

Hello all!

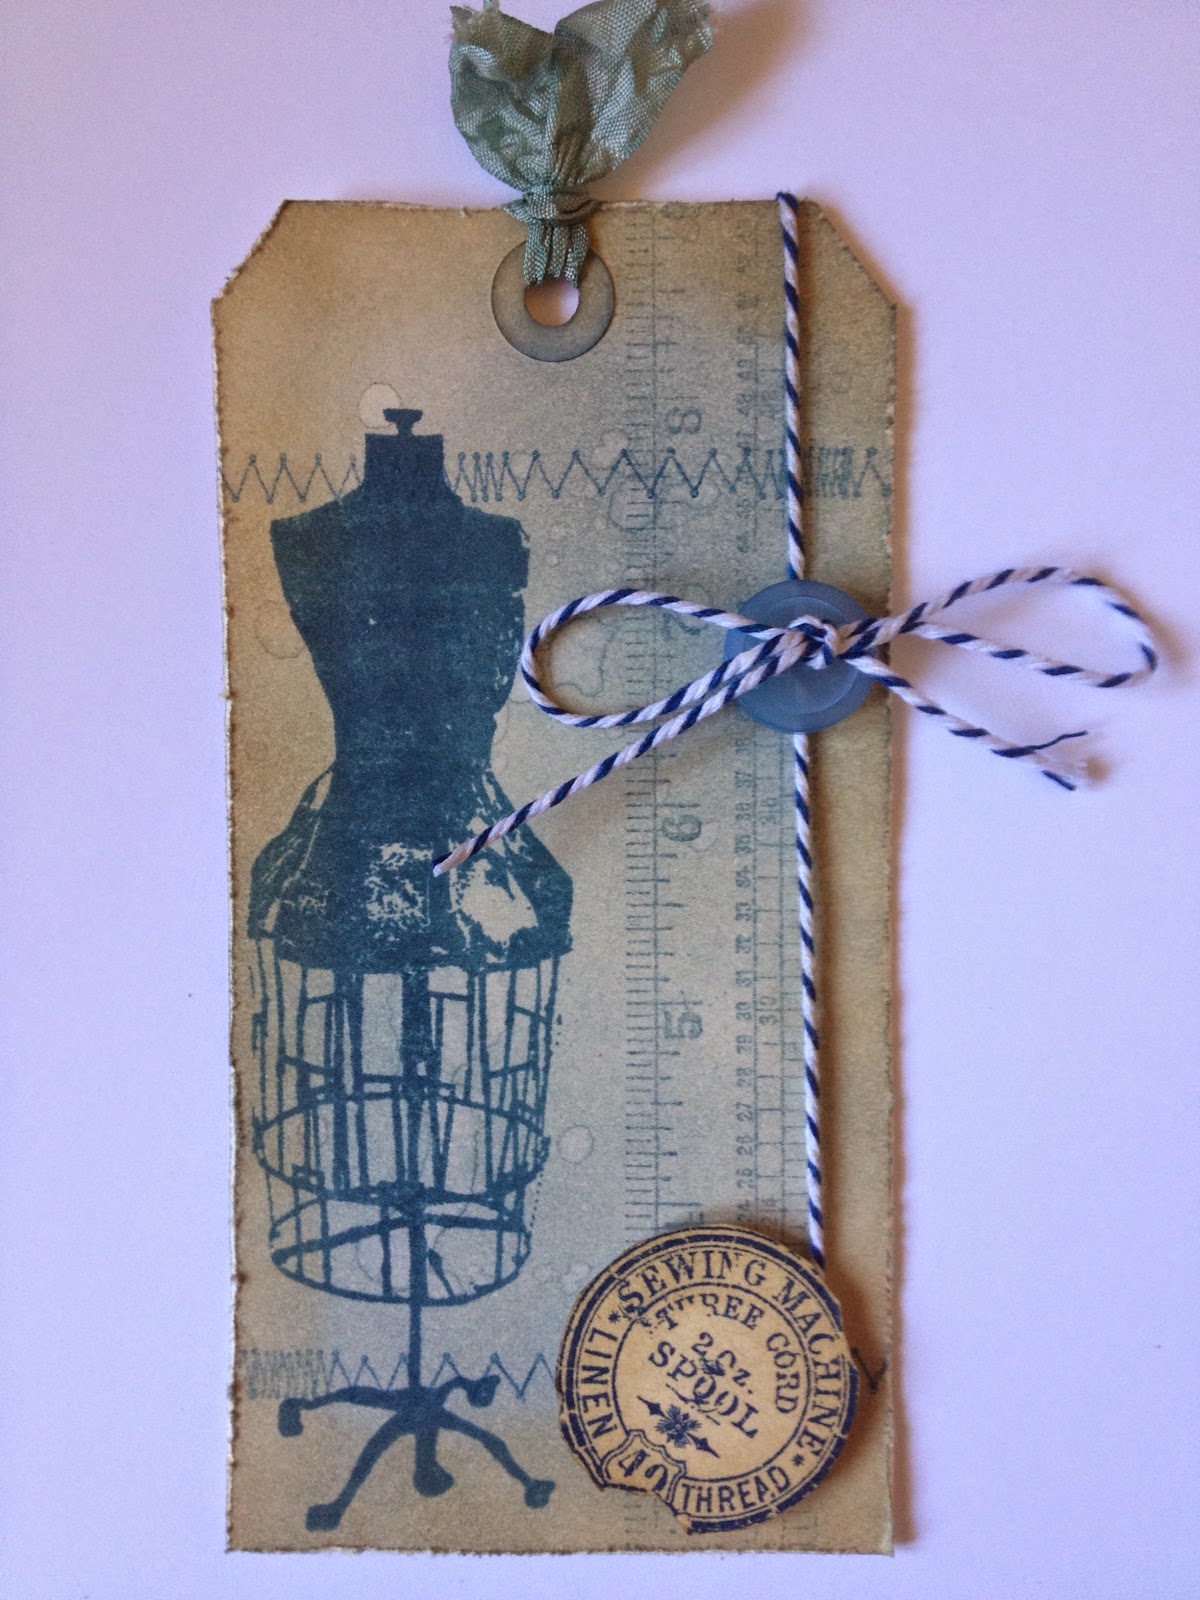
While you were out pranking or being pranked, I took some time today to whip up a quick tag for SimonSaysStamp's Wednesday Challenge!  This week's theme was "Anything Goes with Buttons."  I'm also submitting it to SimonSaysStamp's Monday Challenge ("Anything Goes").

Here's my tag:


Materials/tools used:
 - Ranger Inkssentials Manila tags
 - Ranger Distress Ink: Faded Jeans, Frayed Burlap, Old Paper, Stormy Sky, Weathered Wood
 - Ranger Distress Stain: Weathered Wood
 - Ranger Archival Ink: Cobalt, Cornflower Blue
 - idea-ology: Crinkle Ribbon, Tiny Attacher
 - Maya Road Twine Cording: Blueberry
 - Ranger Heat Tool
 - Ranger Inkssentials Foam Blending Tool
 - Ranger Inkssentials Mister
 - Tonic Studios: Craft Scissors, Paper Distresser
 - Stamps by Tim Holtz for Stampers Anonymous: CSS30225
 - Button, foam dots from my stash

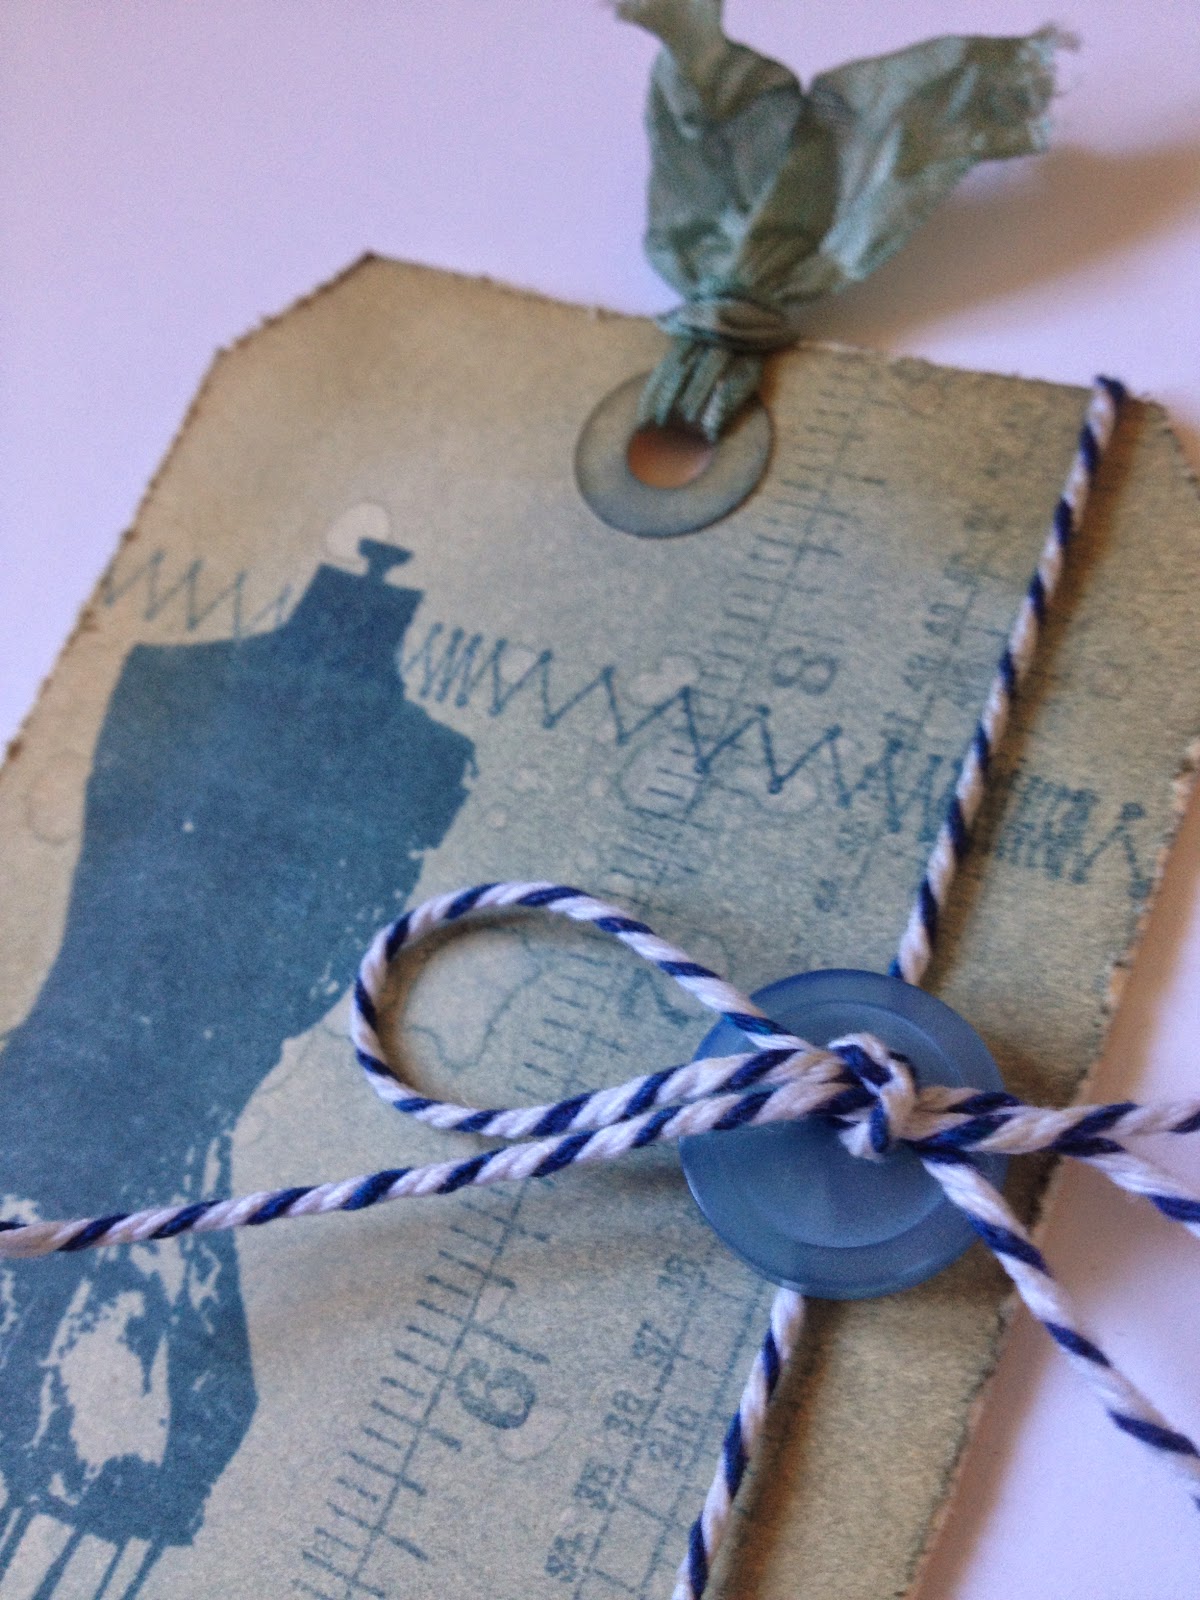
I will admit that while I do have a small stash of buttons, they don't usually make it into my papercrafting, so this was a good challenge for me to join.  :-)  Pretty simple tag, but I like how it came out.

More views:


'Til next time!

BAC
Monday, March 31, 2014

(Bombshell) BINGO!!!

Hello again!

I've been following the challenges on the Bombshell Stamps blog for awhile now, but haven't been able to join in because they usually require use of their stamps (not that I blame them!), and I haven't found room in my budget to acquire any of their sets yet.  (Though they're on my list!)

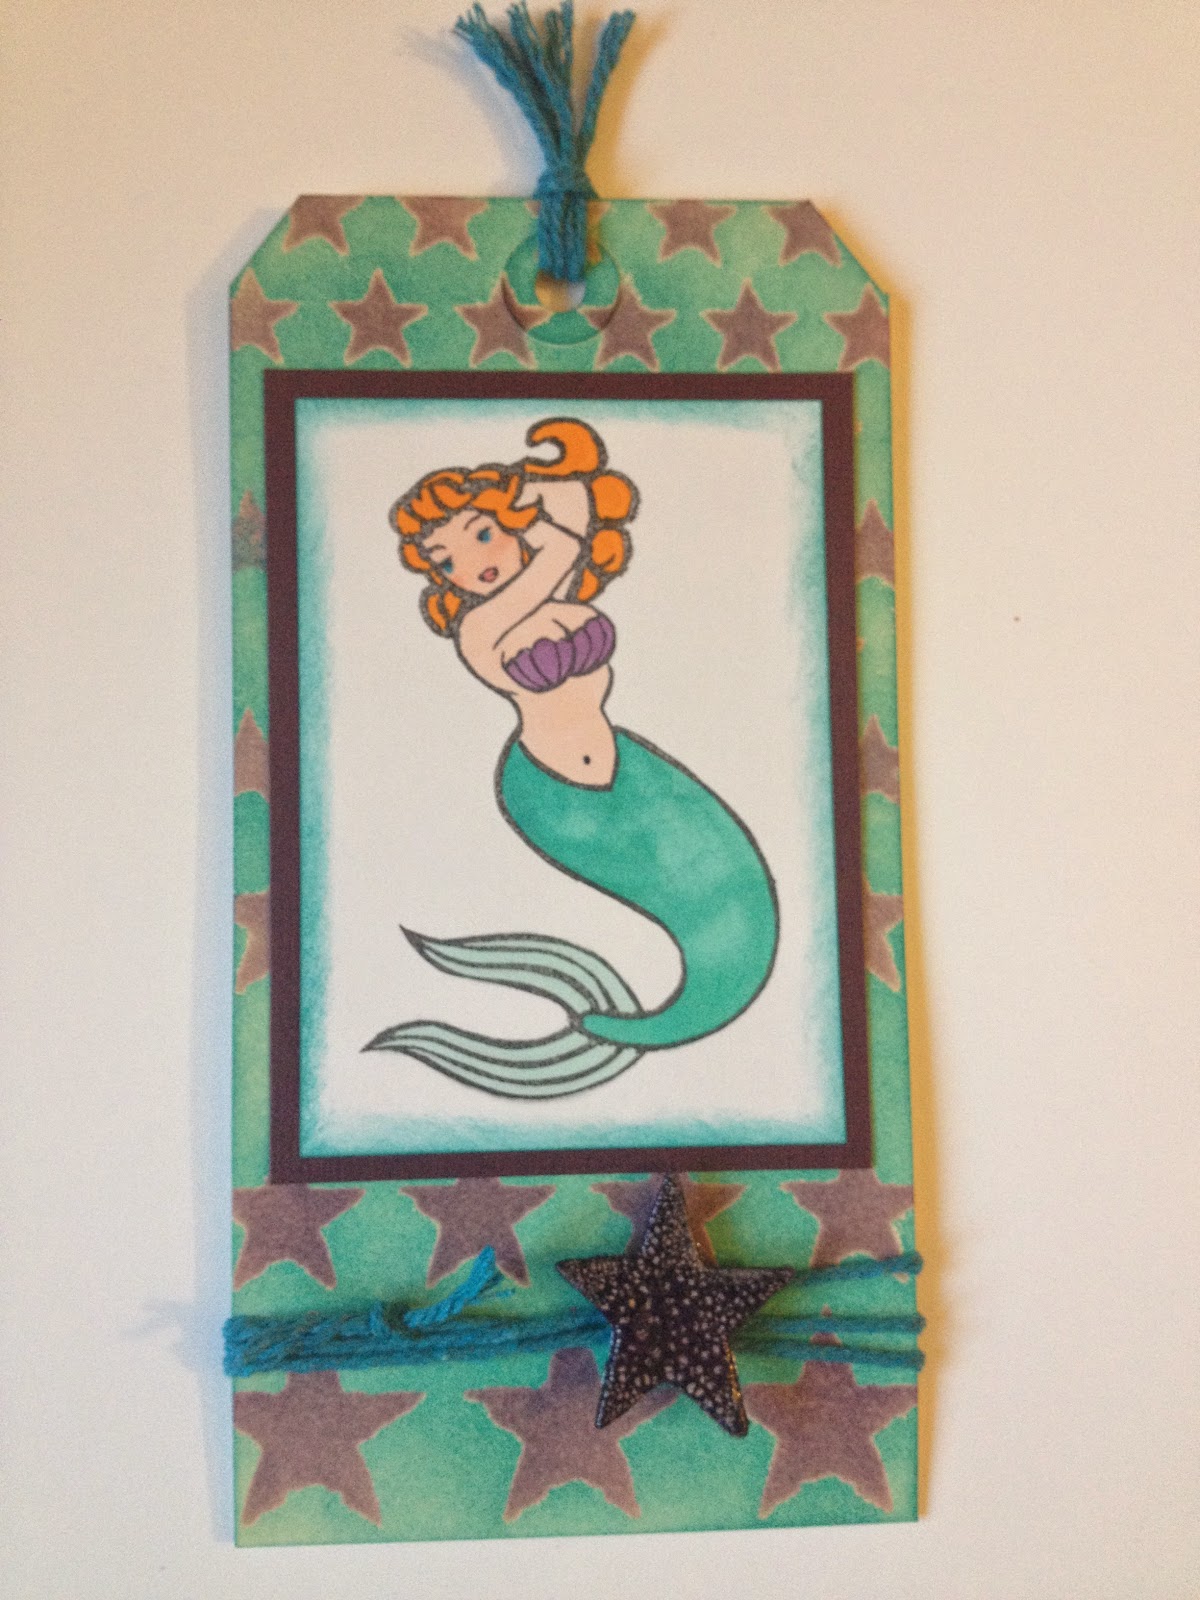
Well, this month I was in luck, since their posted challenge doesn't require using their stamps to participate.  So I gave it a shot with a stamp that I carved a few years ago based on a piece of clip art I found.  I hope I captured the Bombshell spirit!!  ;-)

The theme this month was Bombshell Bingo.  The spaces I chose were: distressing, tattoos, twine, purple and embossing.  I'm also submitting this tag to SimonSaysStamp's Monday Challenge ("Anything Goes"), as well as Simon's Work It Wednesdays ("Spring/Bright Colours").

Here's my tag:


Materials/tools used:
 - Ranger Inkssentials Manila tag
 - Ranger Distress Ink: Dusty Concord, Peacock Feathers
 - Ranger Distress Stain: Dusty Concord
 - Ranger Distress Crackle Paint: Clear Rock Candy
 - Tsukineko Memento dye ink: Tuxedo Black
 - Copic Sketch markers: B04, BG10, BG13, R00, R02, R43, V15, YR16
 - idea-ology Grungeboard Elements
 - Maya Road Twine Cording Solids: Blue Raspberry
 - Core'dinations Tim Holtz Kraft Core: #18
 - Ranger Heat Tool
 - Ranger Inkssentials Foam Blending Tool
 - Tim Holtz for Stampers Anonymous Layering Stencil: Stars
 - Tonic Studios Craft Scissors
 - Paper trimmer
 - Painters tape
 - Stamp carved by me
 - Double-stick tape, foam dots, clear embossing powder, white cardstock from my stash

The purple stars in the background were embossed with clear powder, using the same technique I used on my February tag for 12 Tags.  Once they were cool, I was able to fill in the rest of the background with Peacock Feathers without changing their colour.  The mermaid stamp reminded me a bit of a tattoo you might see on a sailor's arm, so it seemed like a good choice for this project.  I coloured her with my Copics, distressed the edges with a little more of the Peacock Feathers ink for continuity, and layered that card on a piece of purple cardstock before affixing it to my tag.  Some embellishing with twine (love those Maya Road twine colors!!!), and a grungeboard star with a shattered stains treatment, and I was done!  Hope you like her.  ;-)

More views:


That's all I have for you tonight! 'Til next time!

BAC

Sunday, March 30, 2014

Simon Monday Challenge: Transparent

Hello again!

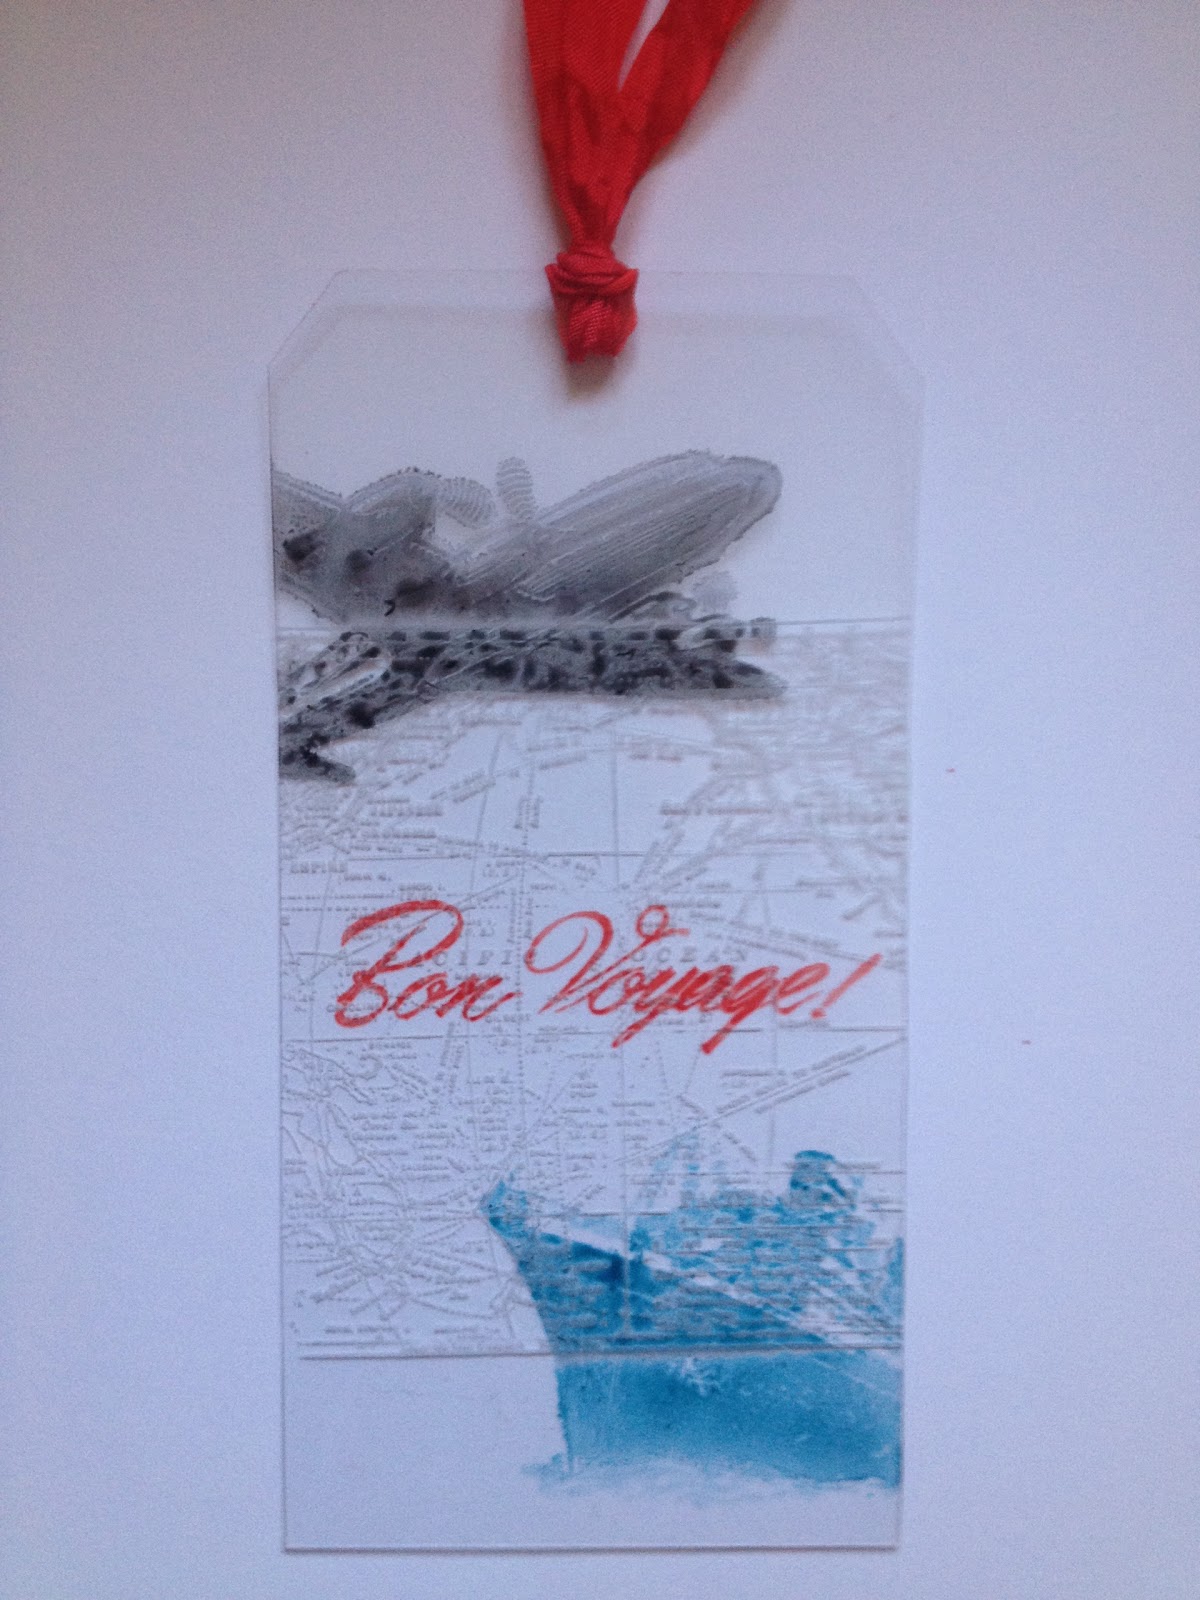
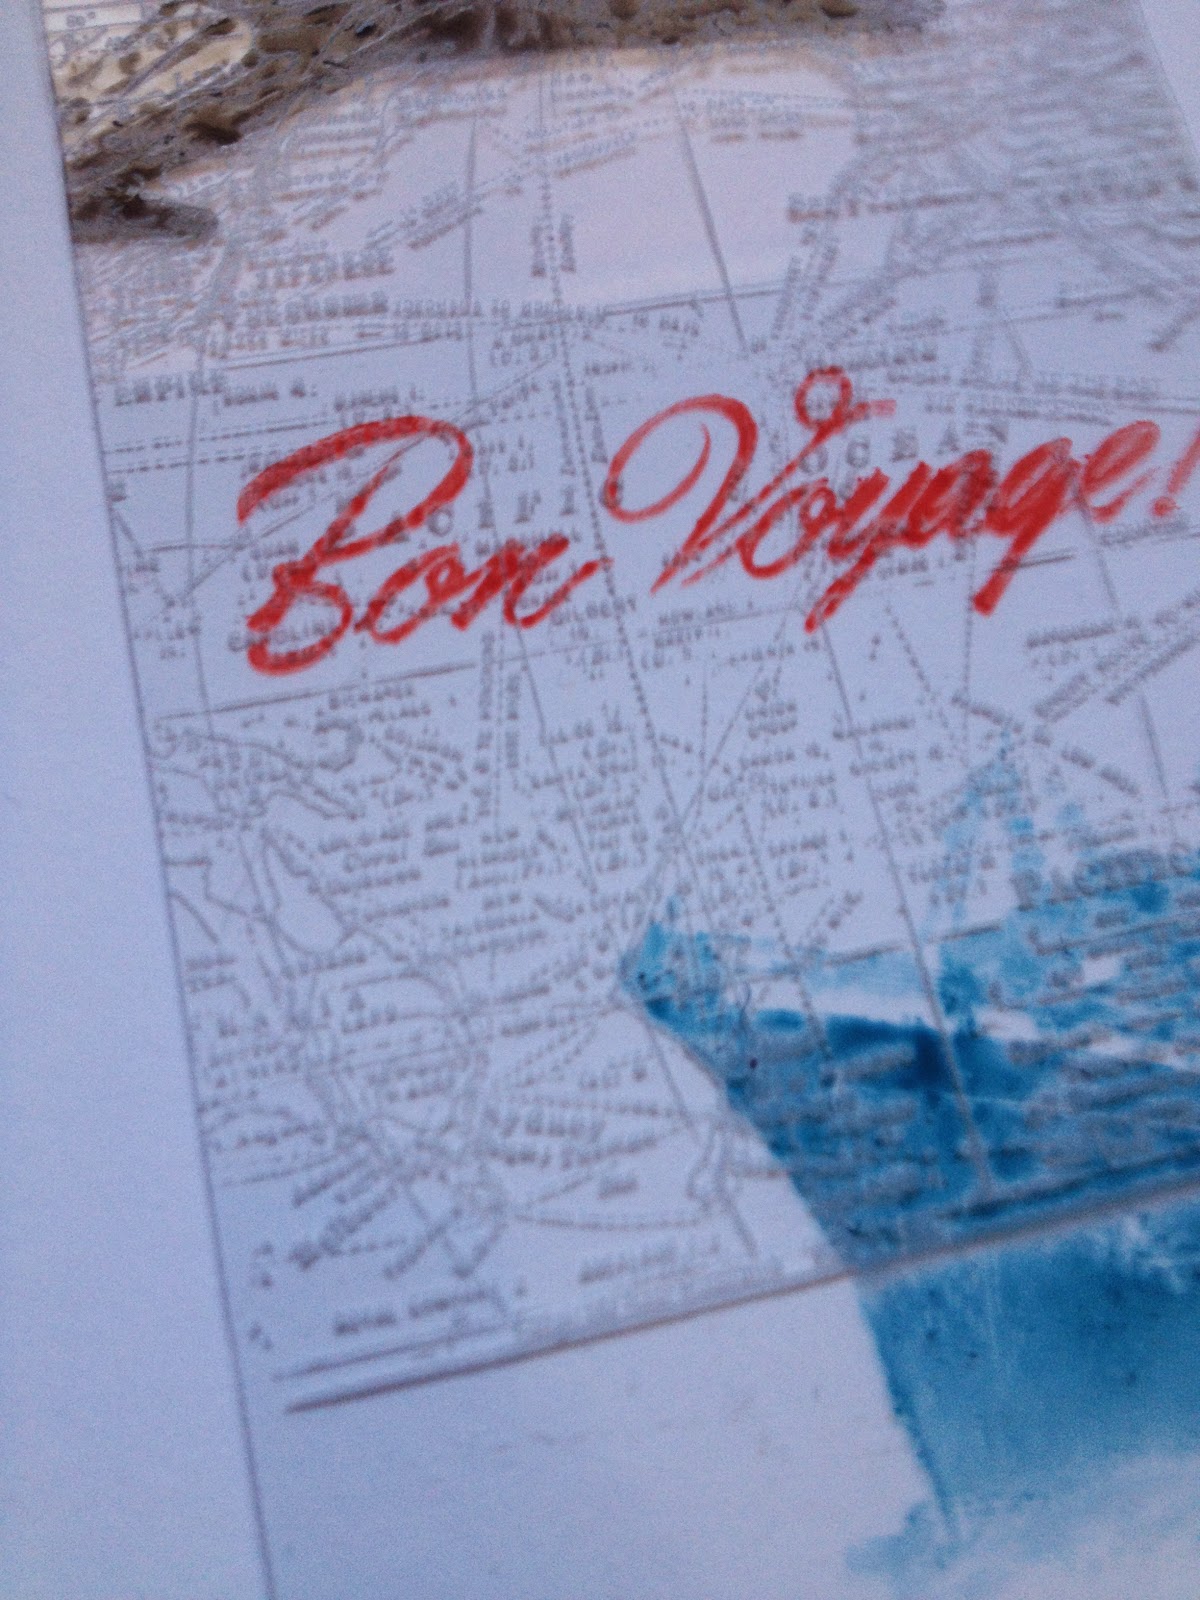
This project is one I created for SimonSaysStamp's Monday Challenge ("Transparent"). I decided to take a stab at creating a transparent tag.

Here's my result:


Materials/tools used:
 - Ranger Archival Ink: Cornflower Blue, Vermillion, Watering Can
 - Ranger Distress Stain: Festive Berries
 - Staz-On Ink: Cotton White
 - Studio 490 Clearly for Art
 - idea-ology Crinkle Ribbon
 - #8 craft tag (to use as pattern)
 - Ranger Heat Tool
 - Tonic Studios Craft Scissors
 - Stamps by Tim Holtz for Stampers Anonymous: CMS102, CMS162
 - Single-hole punch

I don't own the nifty Sizzix die that let's you punch tags out of any material, so I used a regular blank tag as a pattern, and cut out my own tag.  Worked just fine (though I'll admit to coveting the die a bit!).

I definitely learned some stuff about stamping on Clearly for Art with this project. (And while I could have started over with different stamps, I figured the lesson was just as important to share.) Stamps with lots of lines, and very few vast inked expanses definitely seem to work best. If you look at the plane and ship stamps, you can see where the ink puddled a bit, and the details aren't as clear. In contrast, both the map and sentiment stamps stamped beautifully.

I also had to sit on my hands, to keep from pulling out my Heat Tool to speed up the drying of the ink.  I've gotten really used to doing that, but had to remind myself that I wanted dry ink, and not a reshaped tag. ;-)  You'll see the Heat Tool listed above, but I only used it to dry the stain on my ribbon.

More views:


That's it for tonight, but I'll be back tomorrow with a project for a challenge I've never joined before. :-)

'Til then!
BAC

Thursday, March 27, 2014

Inspiration Journal March Challenge: A Splash of Colour!

...and I'm back!  :-)

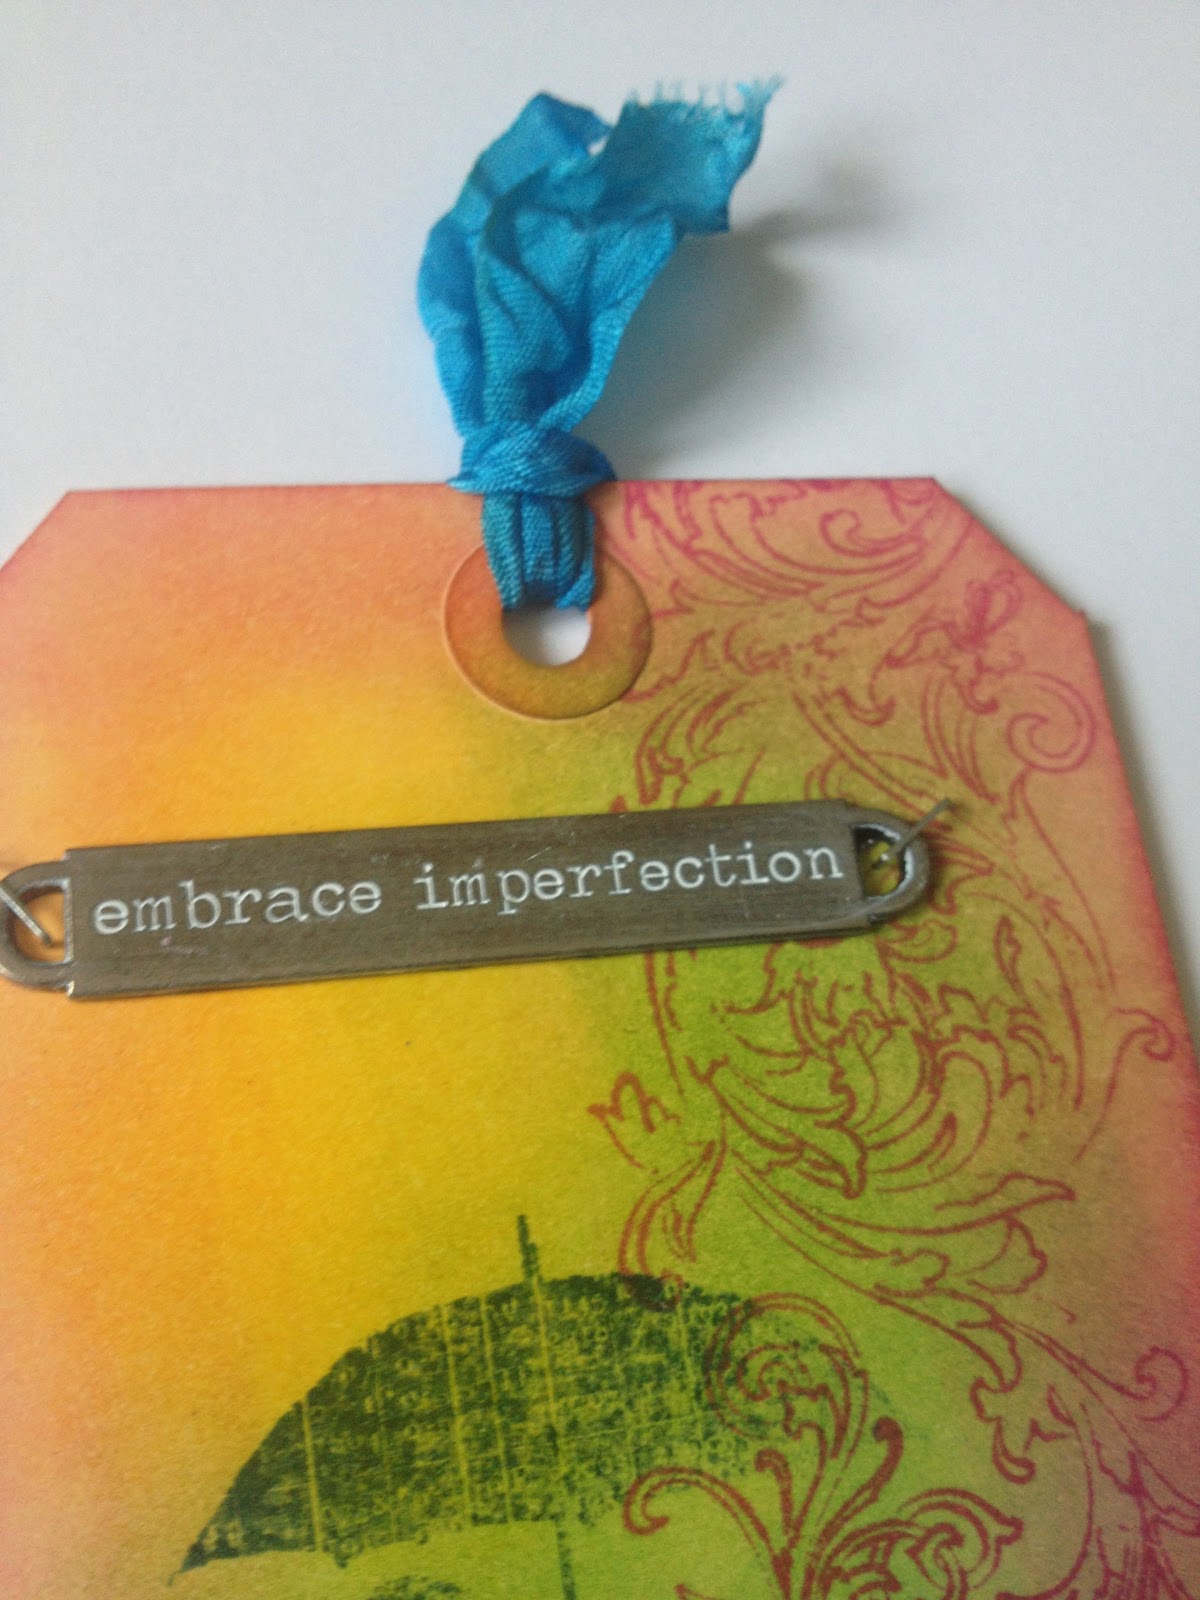
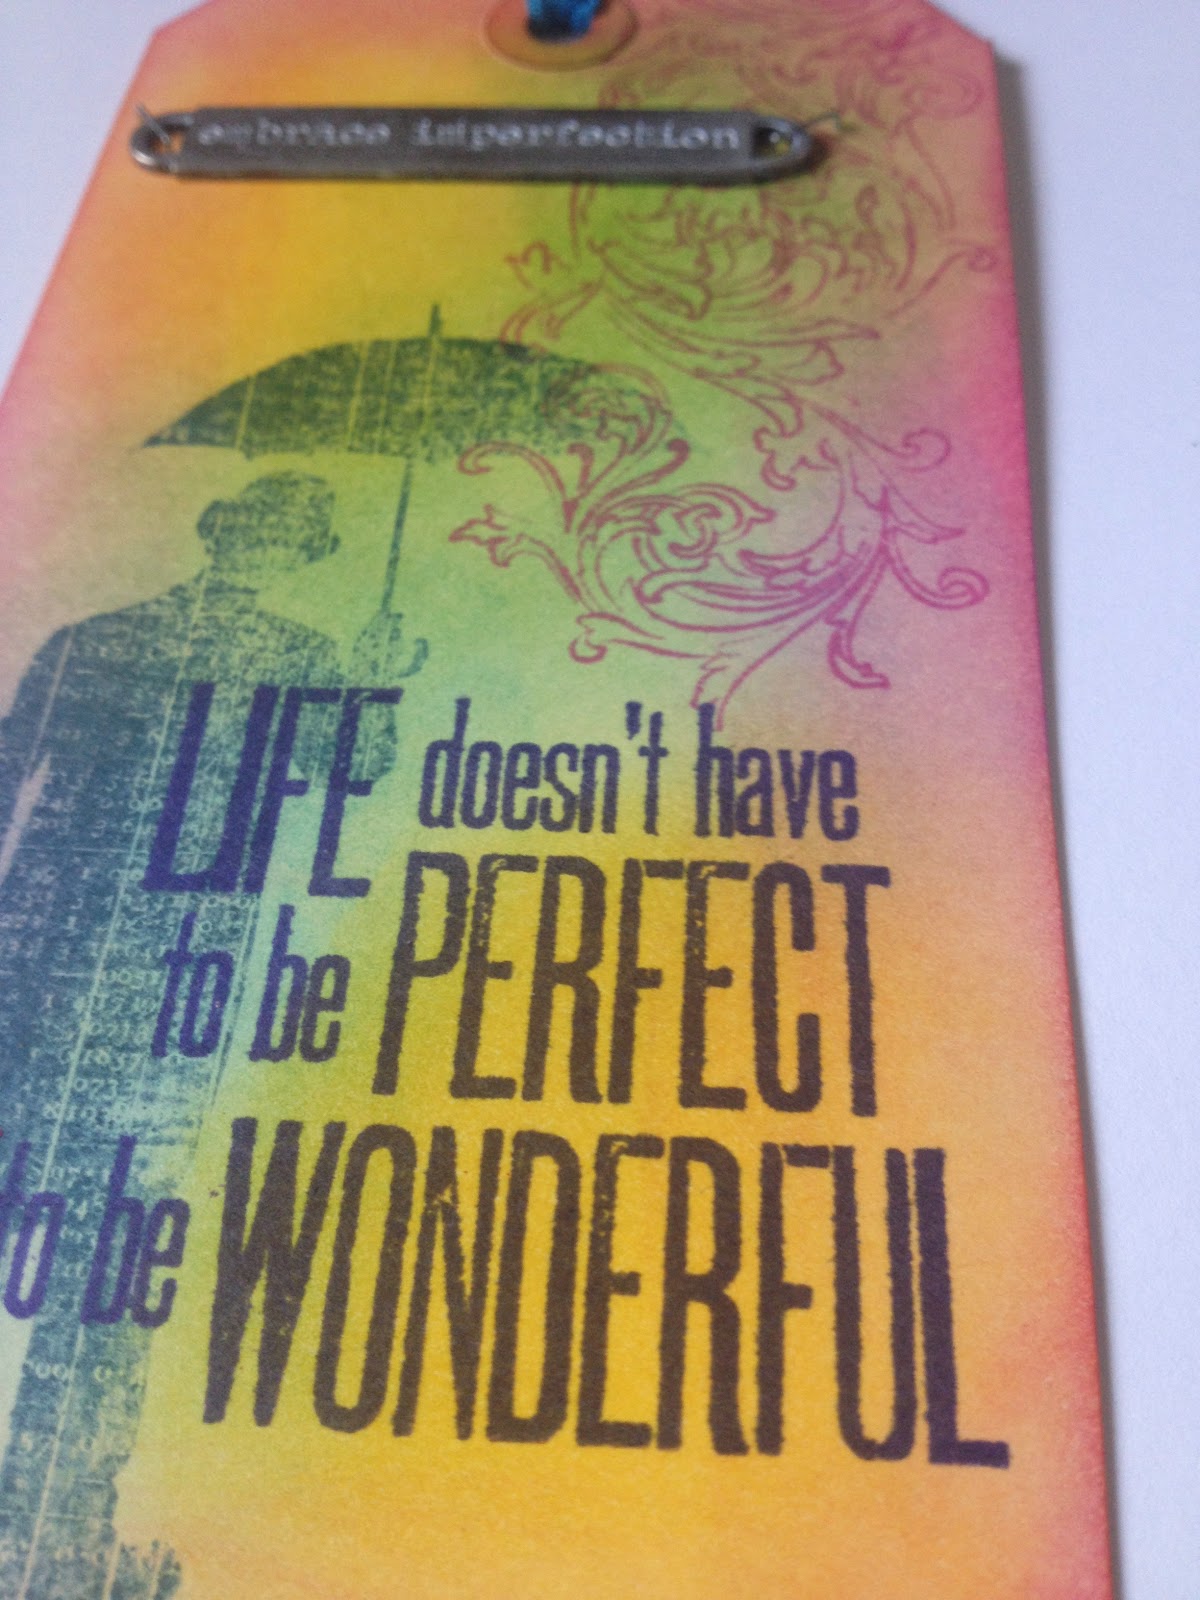
Several of the tags I created this month were submitted to Inspiration Journal's March challenge ("A Splash of Colour"), but I wanted to create something with that challenge specifically in mind.  I'm also submitting it to A Vintage Journey ("Say It with Words"), and to SimonSaysStamp's Work It Wednesdays ("Spring/Bright Colours").

Here's my tag:


Materials/tools used:
 - Ranger Inkssentials Manila tags
 - Ranger Distress Ink: Mowed Lawn, Mustard Seed, Picked Raspberry, Salty Ocean
 - Ranger Distress Stain: Salty Ocean
 - Ranger Distress Paint: Picket Fence
 - Ranger Archival Ink: Cornflower Blue, Deep Purple, Magenta Hue
 - idea-ology: Crinkle Ribbon, Tiny Attacher, Word Bands
 - Ranger Heat Tool
 - Ranger Inkssentials Blending Foam
 - Tonic Craft Scissors
 - Stamps by Tim Holtz for Stampers Anonymous: CMS165, CSS25870, CSS30188

This was a simple and fun project, that came out exactly like I wanted it to!  :-)  Not much I want to say about it, other than yay!

More views:


I have a couple more projects that I'm trying to wrap up by the end of March, so I should be back with more within the next few days!

'Til next time!
BAC


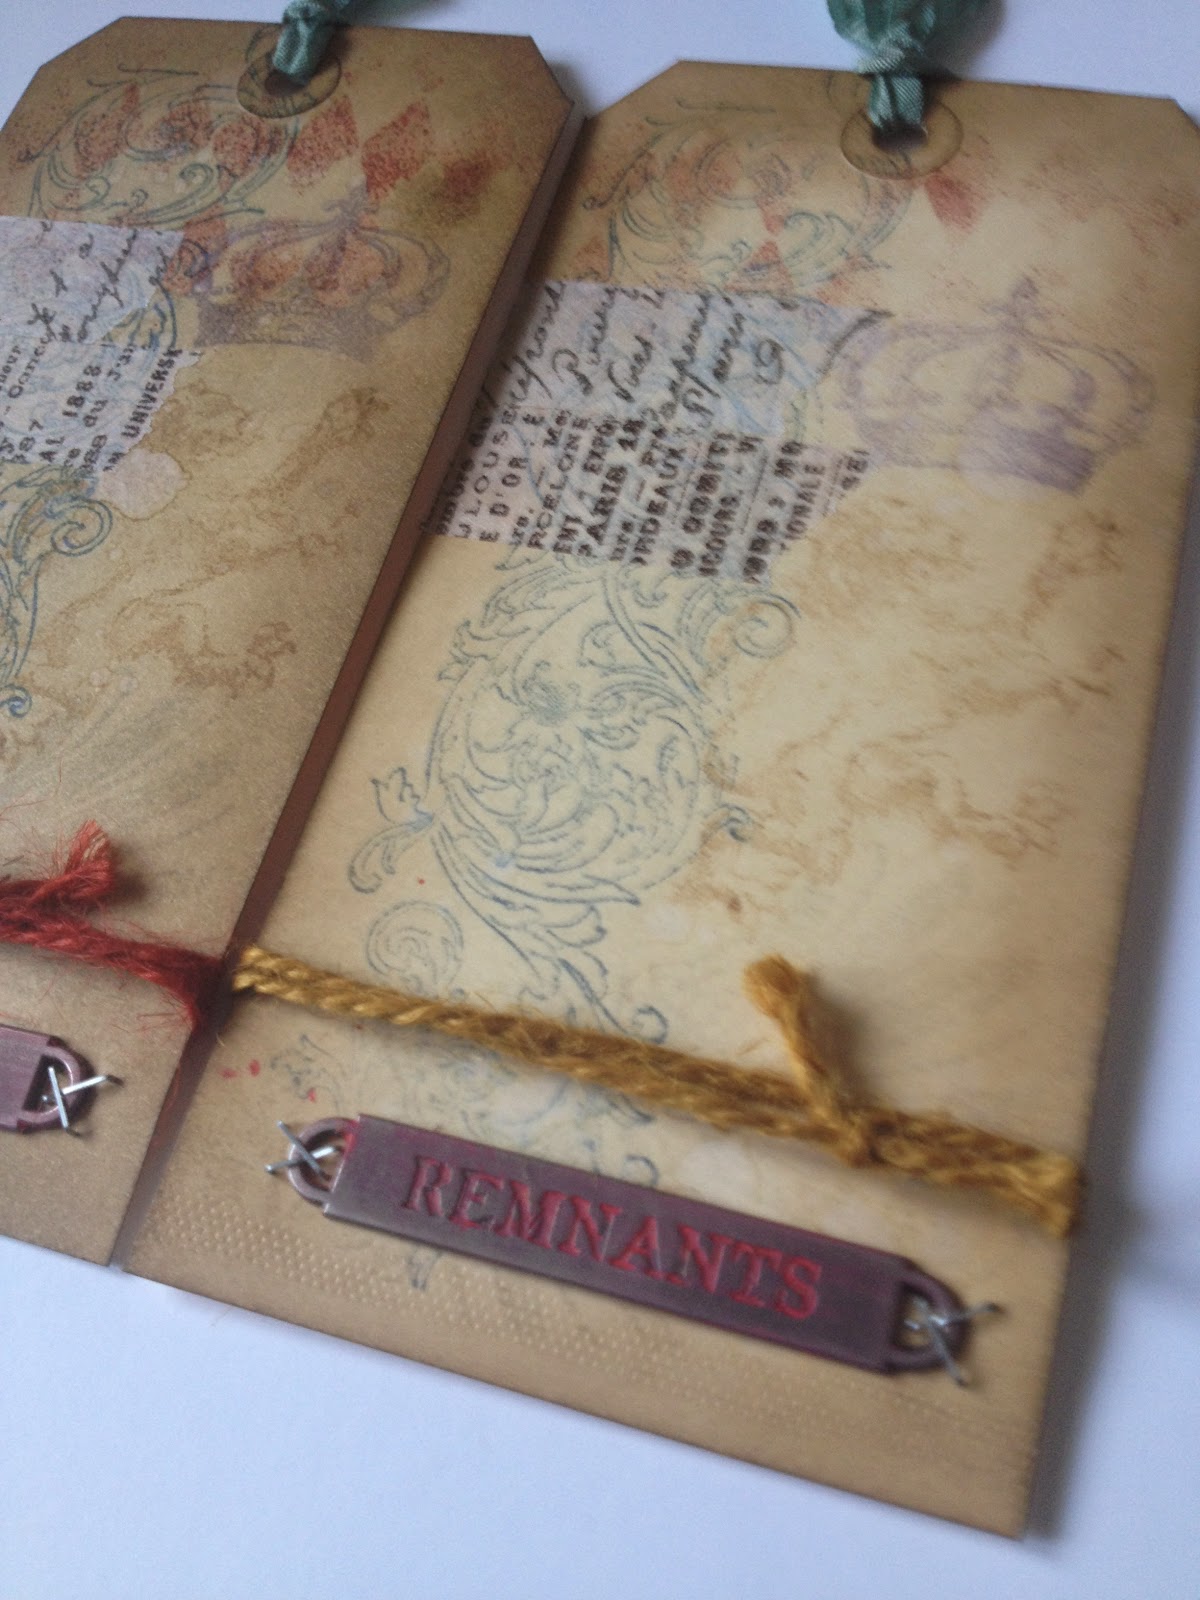
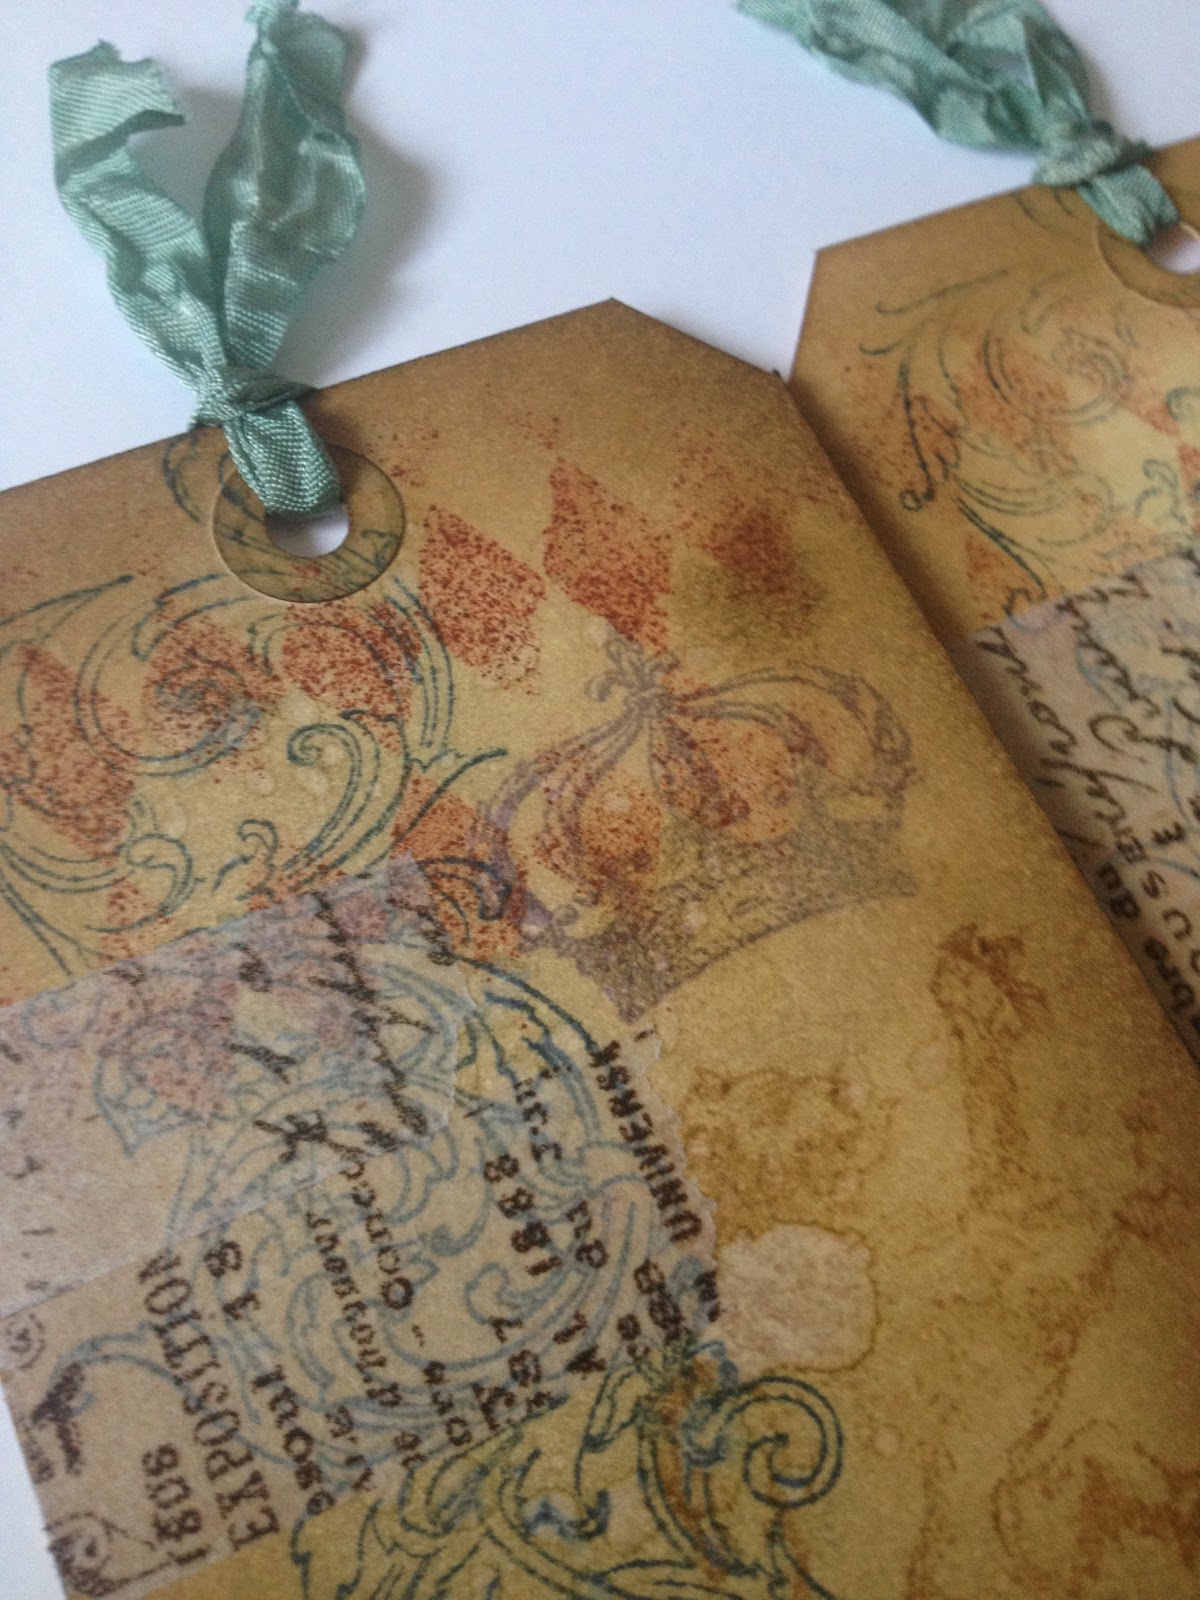
March tag!

Hello all!

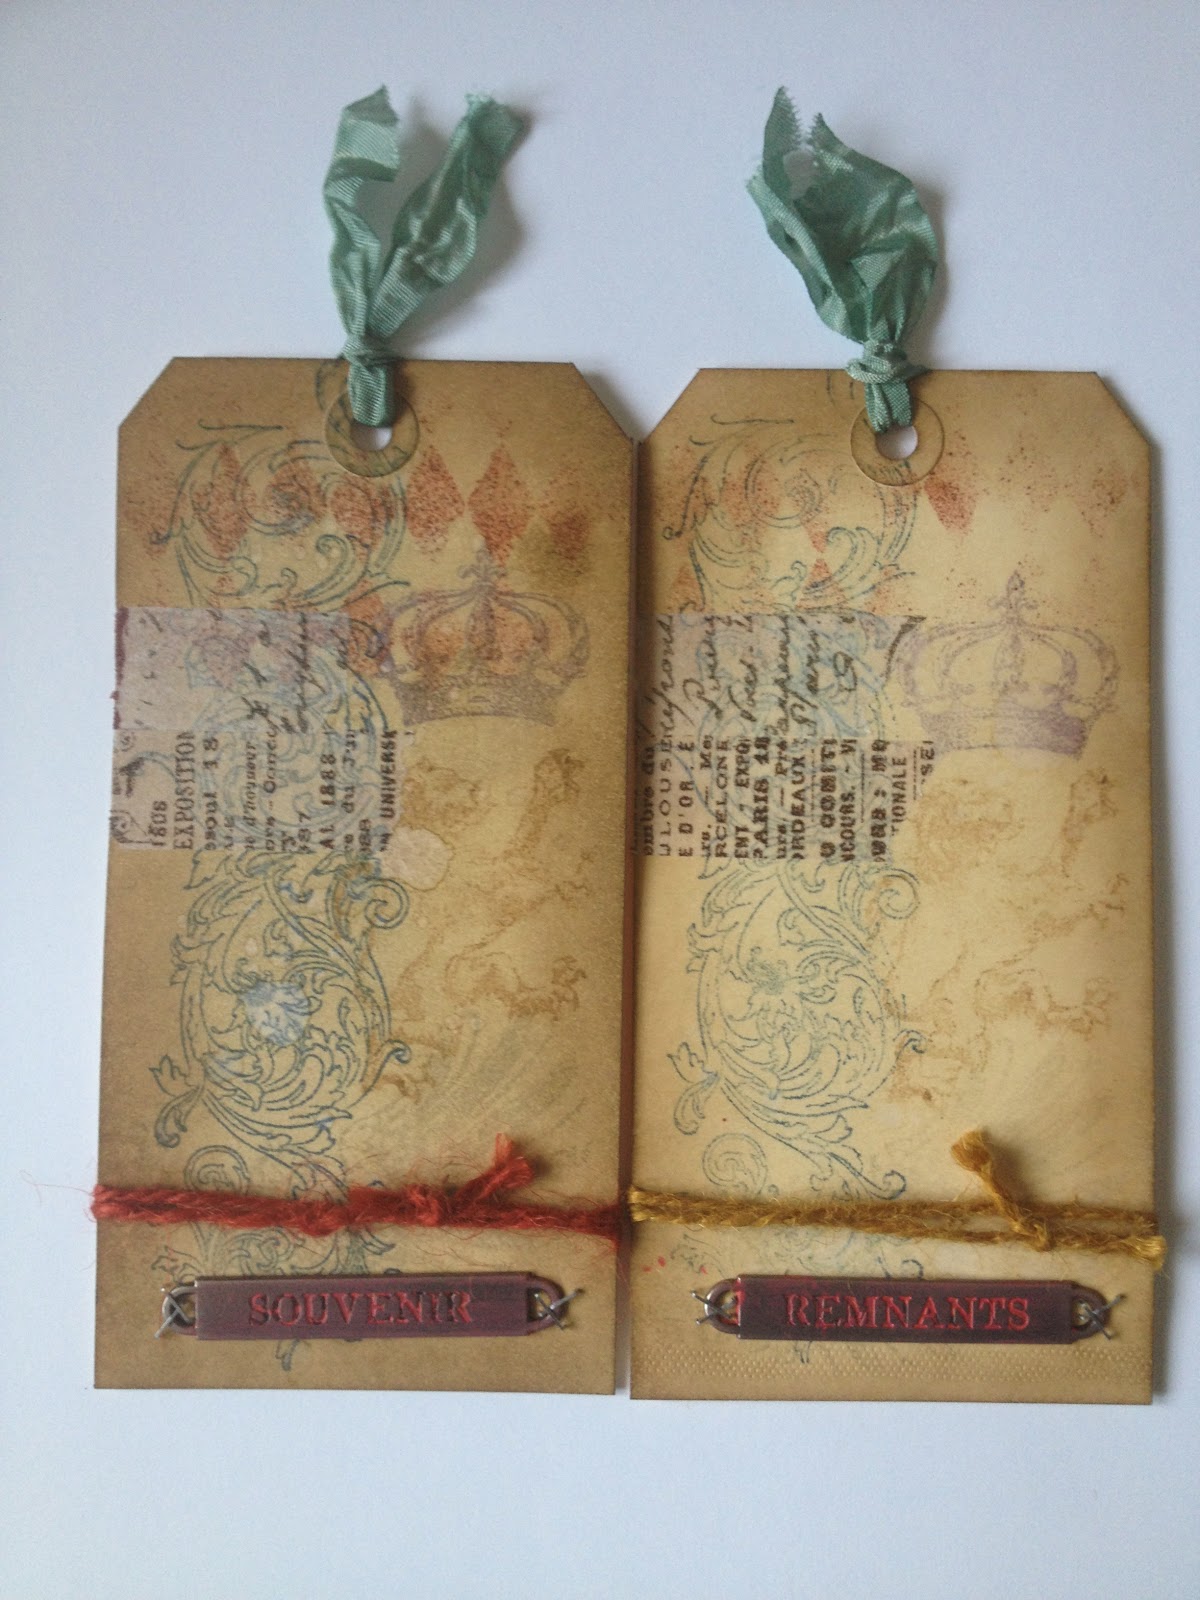
I have 2 posts for you today, and the first is my March tag(s) for 12 Tags of 2014!  It's actually 2 tags, created at the same time, using Tim's suggestion of huffing the stamp after stamping the first time, for a second generation print.

Here are my tags:


Materials/tools used:
 - Ranger Inkssentials Manila tags
 - Ranger Distress Ink: Antique Linen, Chipped Sapphire, Dusty Concord, Frayed Burlap, Pumice Stone, Vintage Photo, Walnut Stain
 - Ranger Distress Marker: Fired Brick
 - Ranger Distress Paint: Barn Door
 - Ranger Distress Stain: Weathered Wood
 - idea-ology: Crinkle Ribbon, Jute String, Tiny Attacher, Tissue Tape (Nostalgic), Word Bands (Observations)
 - Ranger Heat Tool
 - Ranger Distress Marker Spritzer
 - Ranger Inkssentials Mister
 - Ranger Inkssentials Blending Foam
 - Tonic Studios Craft Scissors
 - Tim Holtz for Stampers Anonymous Layering Stencil: Harlequin
 - Stamps by Tim Holtz for Stampers Anonymous: CSS25894, CSS30188

I won't lie; these are not my favourite tags out of all the ones I've done for 12 Tags over the last 15 months.  If I did them over, I'd probably choose some brighter ink colours that would pop more against the background.  But the technique is solid.  (And any letterboxers reading this know that we've been huffing our stamps for more impressions long before Tim Holtz started telling papercrafters to!)  ;-)

I'm a bit frustrated with the Marker Spritzer.  When I first tested it out, I used a new marker with it, and got great, dark results.  The colour I used on this project is one I've had for over a year, and while it still colours beautifully, I had a lot of trouble getting it to work with the Spritzer.  :-/  Maybe it only works with very new juicy markers?

More views:


I'll be back in a little bit with my next post, so grab a cup of coffee (tea/water/etc.), kick your feet up, and hang out.

'Til then!
BAC