Friday, January 31, 2014

One last project for January... (IE Monthly Challenge: Dieing for 2014)

Hello again!

Turns out I had one last project in me for January!  This one is for Inspiration Emporium's Monthly Challenge.  The January theme is "Dieing for 2014", so lots of diecuts and punched pieces.  :-)

Here's my tag:
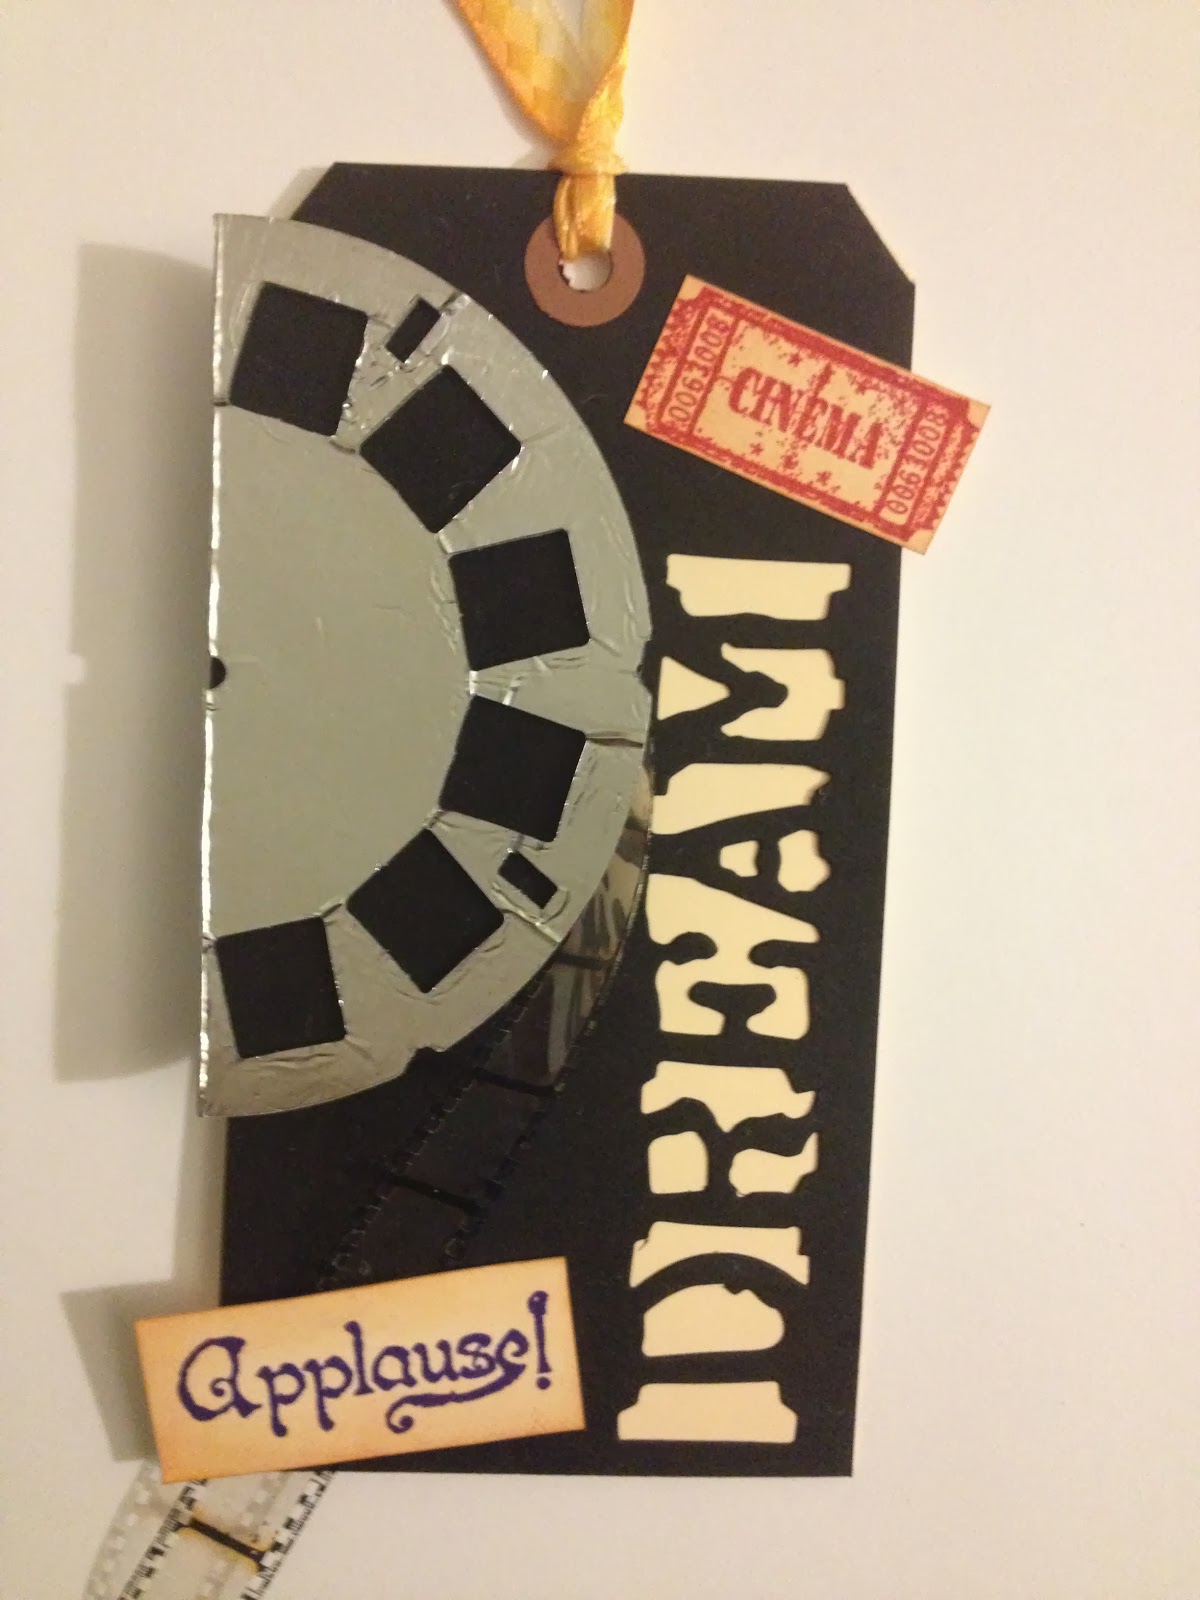

Materials/tools used:
 - Ranger Inkssentials Manila Craft Tags
 - Ranger Inkssentials Black Craft Tags
 - Ranger Distress Ink: Tea Dye
 - Ranger Archival Ink: Deep Purple, Vermillion
 - Ranger Glossy Accents
 - Ranger Metal Foil Tape
 - idea-ology: Film Strip Ribbon, Grungeboard, Tiny Attacher
 - Ranger Inkssentials Blending Foam
 - Tonic Studios Craft Scissors
 - Sizzix Big Shot
 - Sizzix dies: Dream, Picture Wheel
 - Stamps by Hampton Arts: Graphic 45 Curtain Call 1
 - Double-stick tape, foam dots, ribbon from my stash

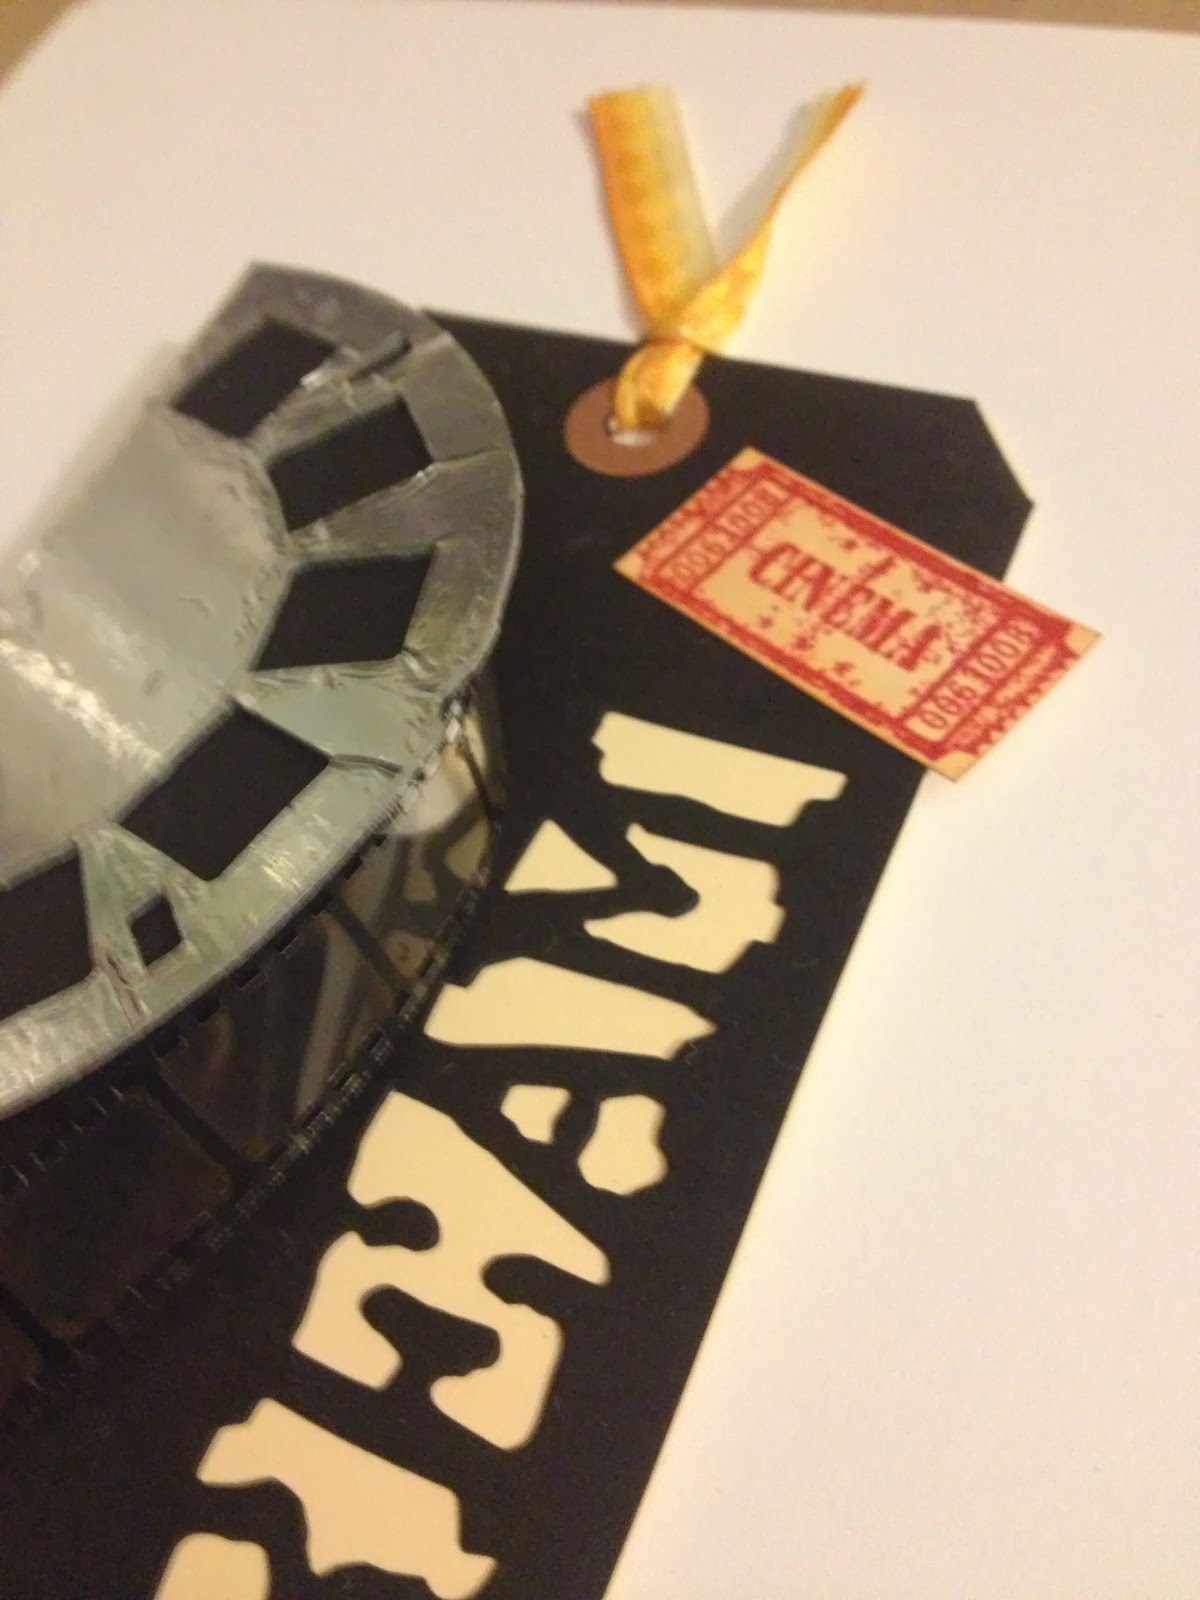
After I posted my January Tim tag yesterday, someone commented to me privately that the foil-tape covered picture wheel had reminded him of a film reel.  So I decided to embrace that idea and see where it took me.  :-)

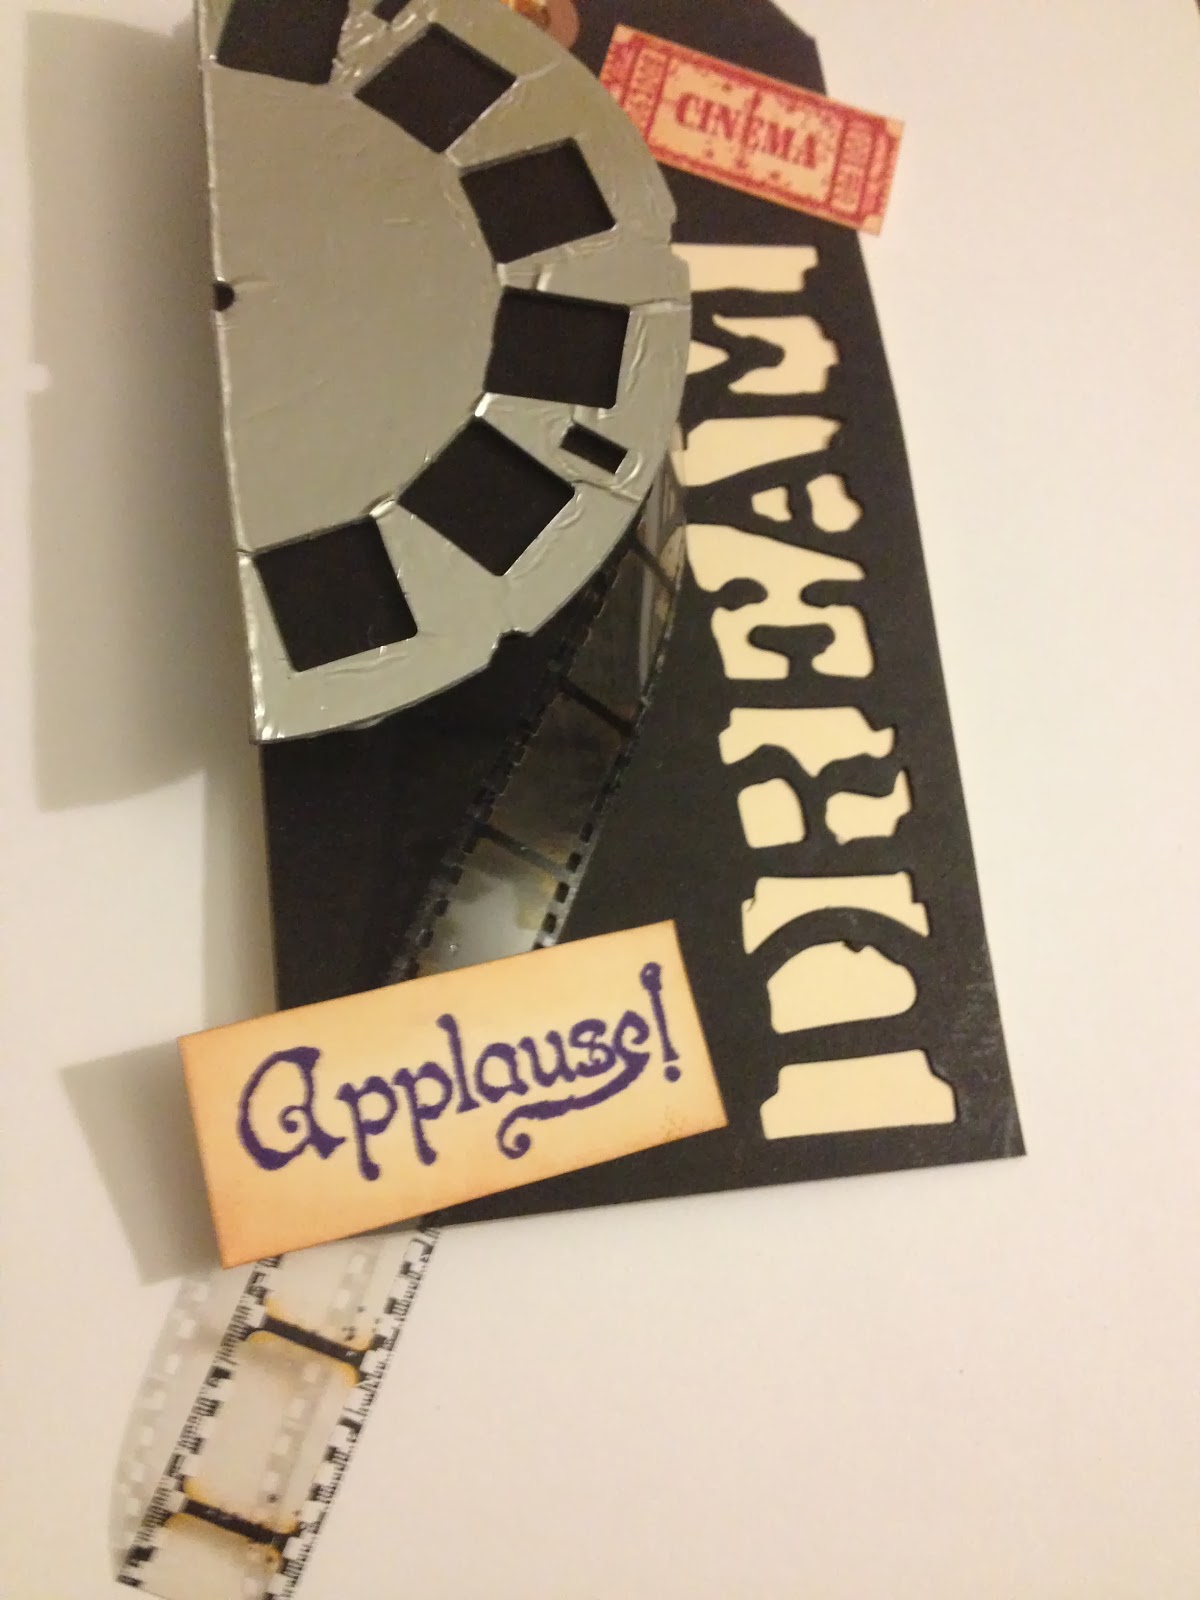
The most challenging bit of constructing this tag was definitely getting the filmstrip ribbon to do something approximating the idea I had in my head.  ;-)  I wound up using 4 layers of foam dots to get the picture wheel to the right height above the rest of the tag.  That let me keep the film strip ribbon sideways, as if it were actually coming off a reel.  I have to say, film strip ribbon is a lot of fun to play with, and from time to time, I size down little pictures to pair with it on ATCs.  (See my Thumper card for an example.)

Additional views:


Well, that's my last project for January 2014 - promise!  ;-)

'Til next time!
BAC

Thursday, January 30, 2014

Beginning a New Year: January tag

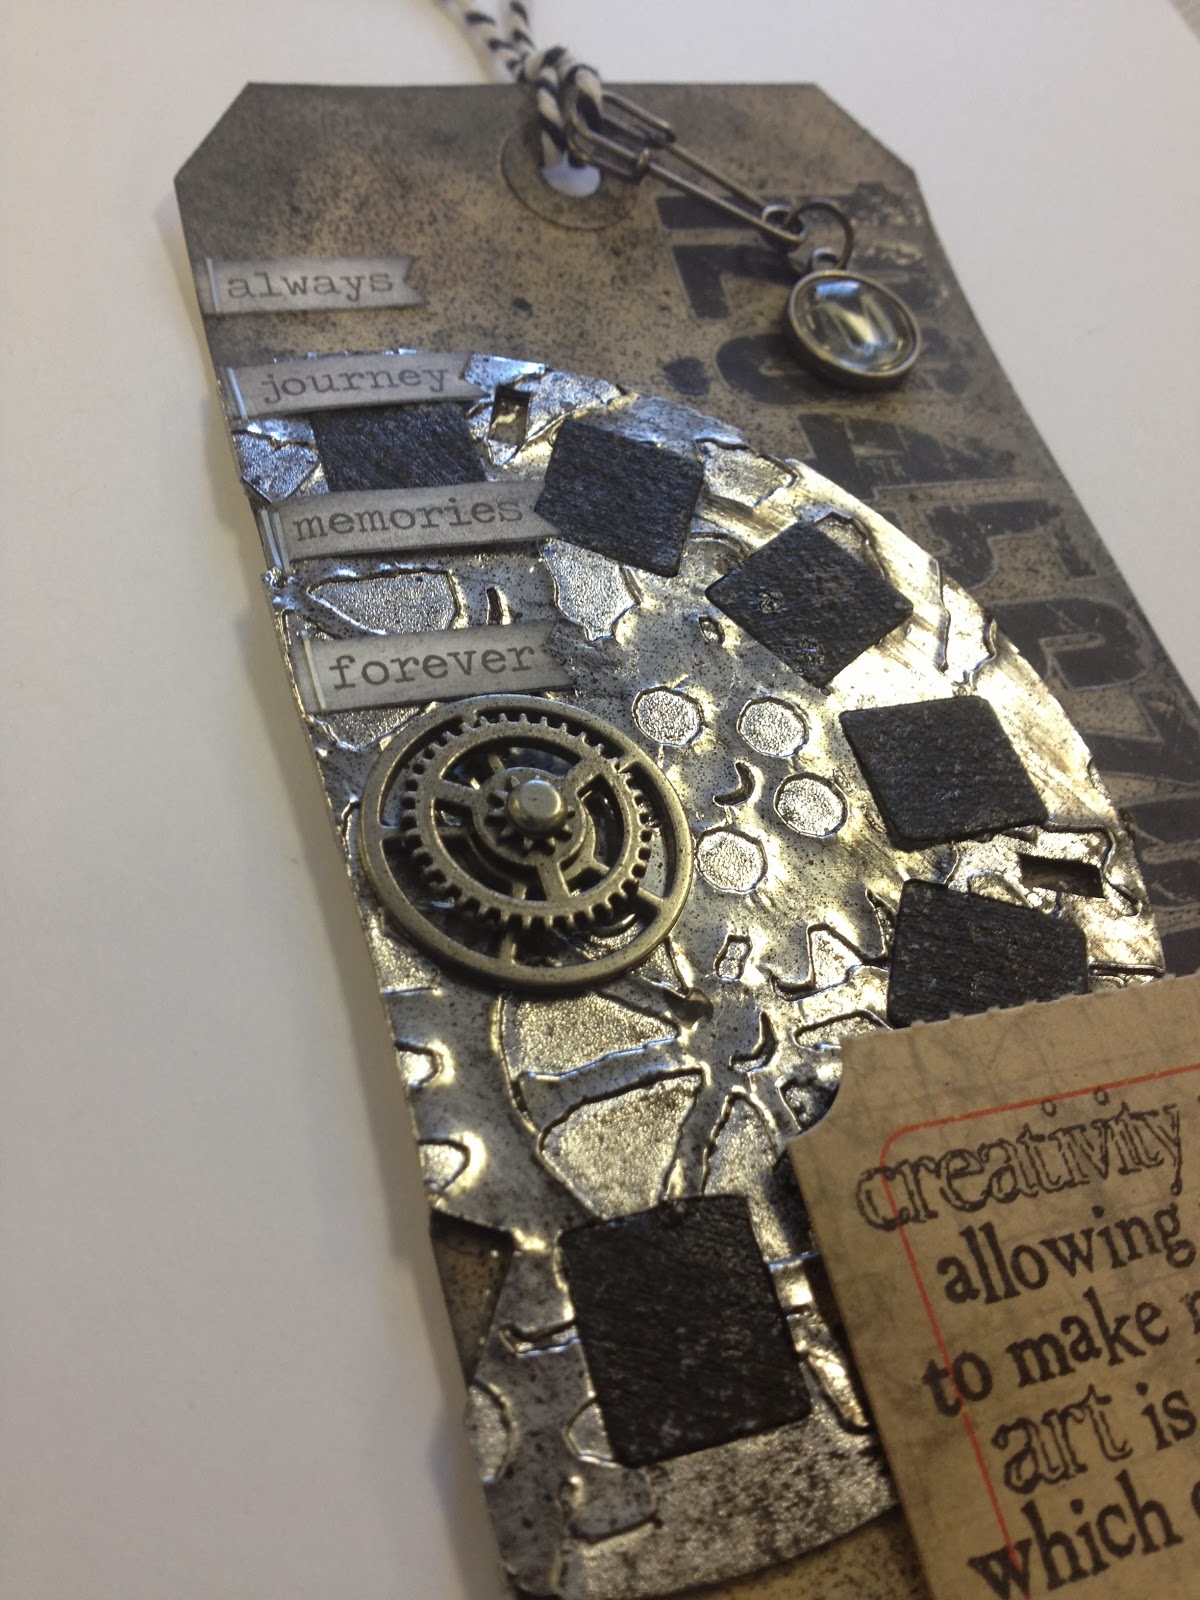
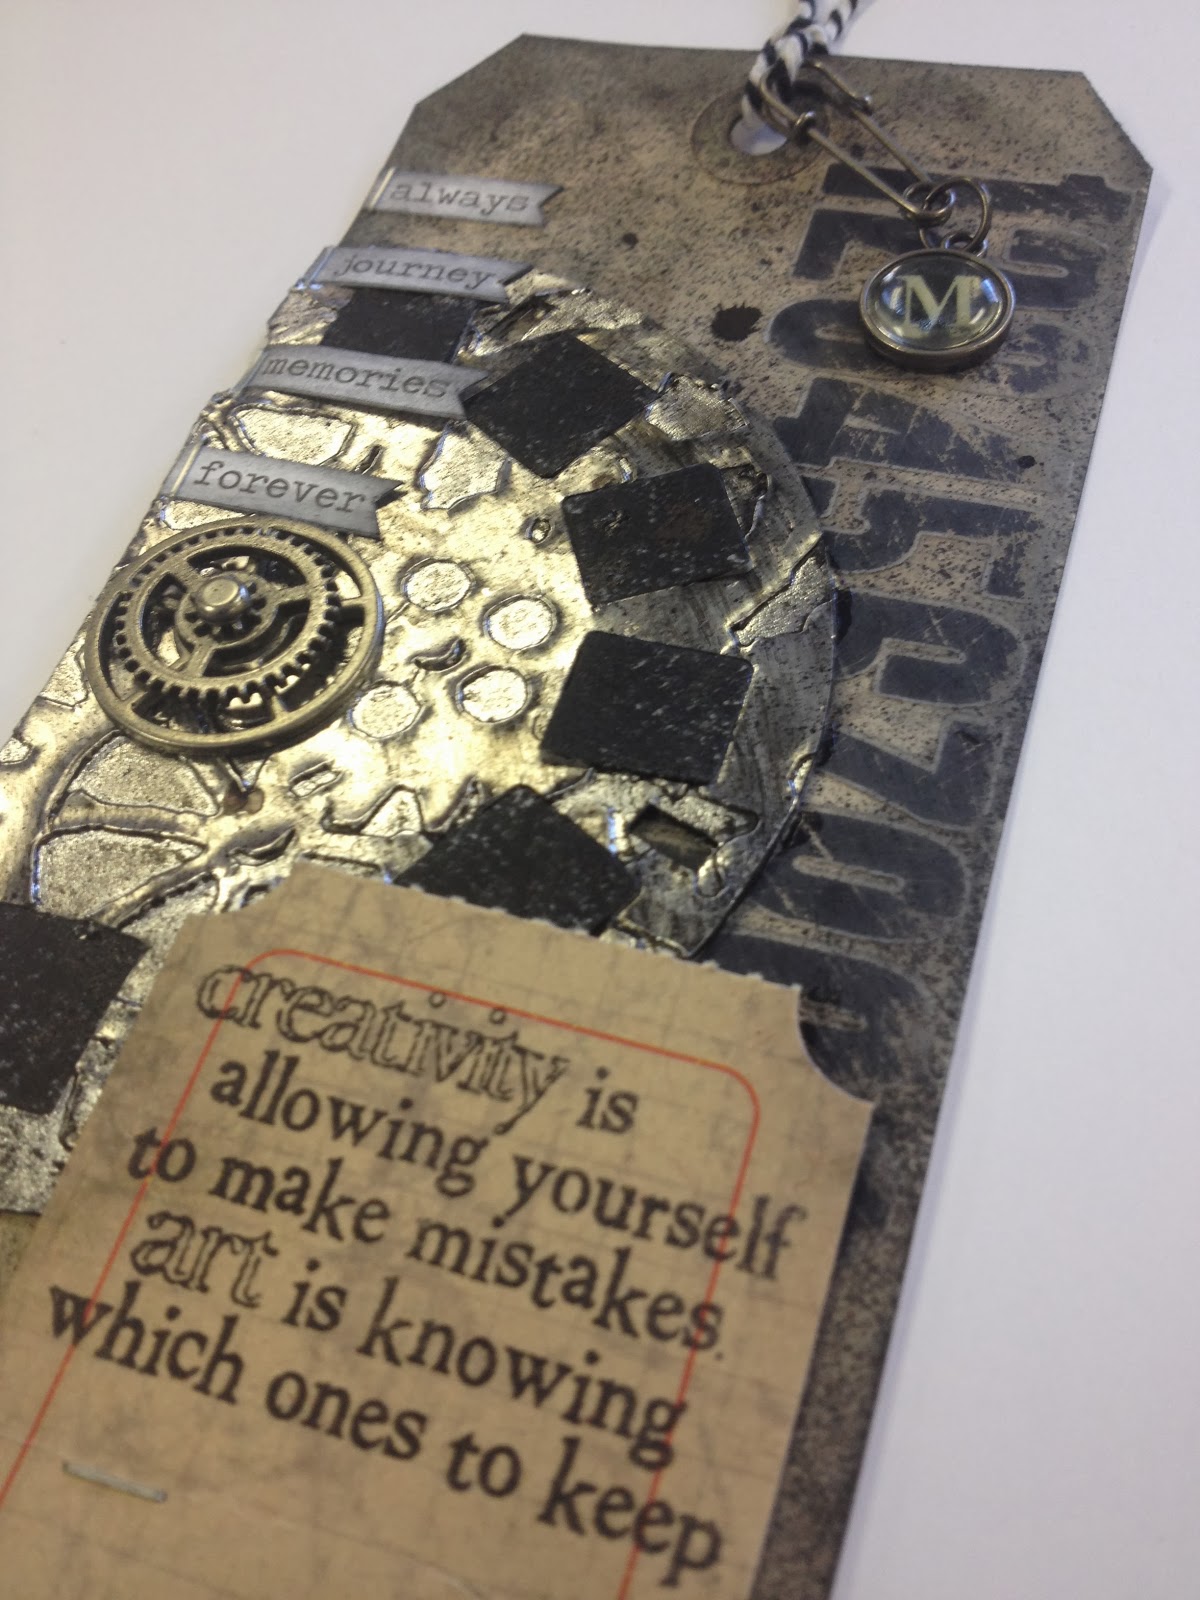
Well, I successfully made it through all 12 tags last year, and I'm looking to repeat that again this year.  So, without further ado, my January tag:


Materials/tools used:
 - Ranger Inkssentials Manila Craft Tags
 - Ranger Distress Inks: Black Soot, Pumice Stone
 - Ranger Distress Paint: Black Soot
 - Ranger Distress Stain: Pumice Stone
 - Ranger Archival Ink: Jet Black
 - Ranger Dylusions Spray Ink: Black Marble
 - Ranger Glossy Accents
 - Ranger Metal Foil Tape
 - idea-ology: Chit Chat, Grunge Board, Journaling Tickets, Jump Rings, Long Fasteners, Mini Gears, Remnant Rubs - Numbers, Sanding Grip, Sprocket Gears, Tiny Attacher, Type Charms, Wire Pins
 - Maya Road Twine Cording: Blackberry
 - Ranger Heat Tool
 - Ranger Inkssentials Mister
 - Ranger Inkssentials Blending Foam
 - Tonic Studios: Craft Pick, Craft Scissors
 - Sizzix Big Shot
 - Sizzix Bigz Die: Picture Wheel
 - Sizzix Texture Fades: Steampunk
 - Stamp by Tim Holtz for Stampers Anonymous: CSS27911
 - Tim Holtz for Stampers Anonymous Layering Stencil: Clockwork

Notes:
 - This month I went out of my way to use tools/dies etc. that I already had.  So my tag looks quite a bit different from Tim's example.  That said, I love the picture wheel die!  So much fun!
 - Still lacking that splatter brush, so once again, I used Dylusions ink spray to get my splatter effect.  Worked pretty well!
 - Went with a basic type charms rather than creating one with remnant rubs, since it seems I don't have a 1/2" round punch (yet!).  That one'll be on the list quite soon!
 - Overall, though, I like how my tag turned out!  :-)

Additional views:


That's it for now!  Time to get back to getting over my cold.  

'Til next time!
BAC
Wednesday, January 29, 2014

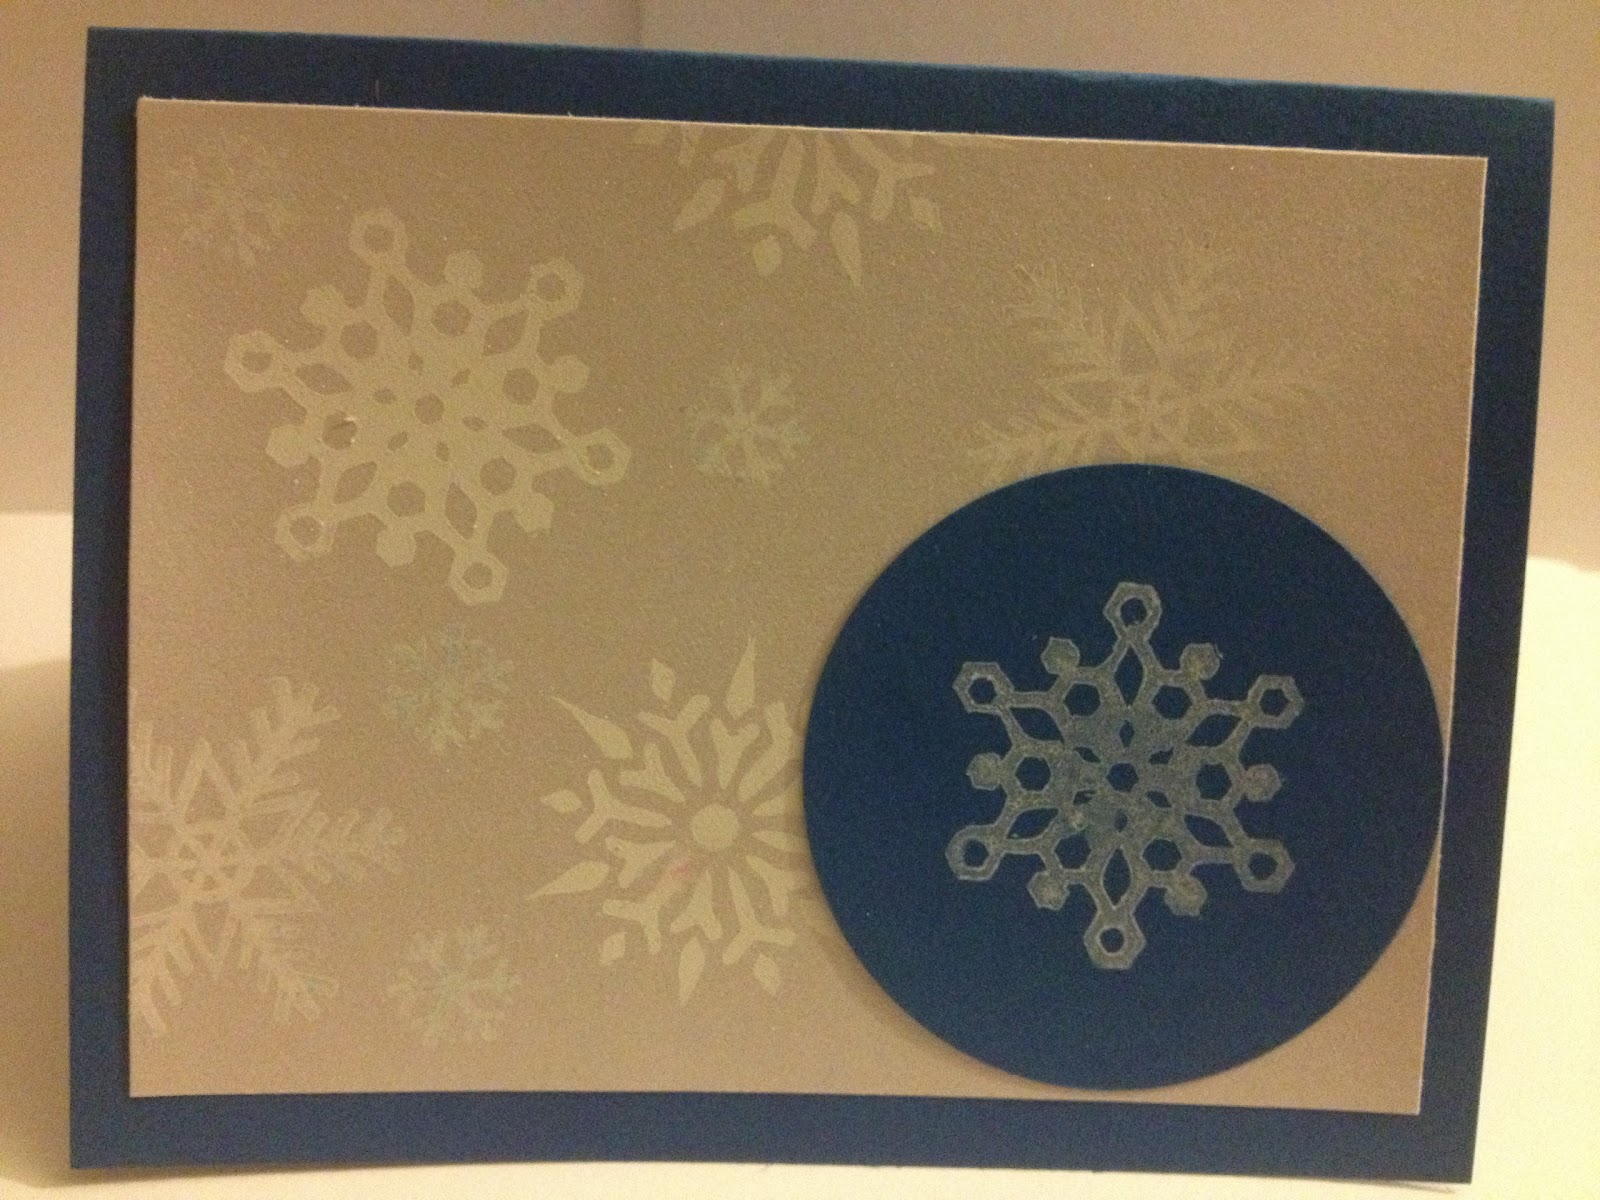
Challenge: "Let It Snow"

Hey all,

I know, I've been quiet again for a few weeks.  I've been super busy, both at work and outside of it, and most recently, I've been sick.  :-(  So my crafting time has suffered somewhat.  But deadlines approach, and thus I rally!

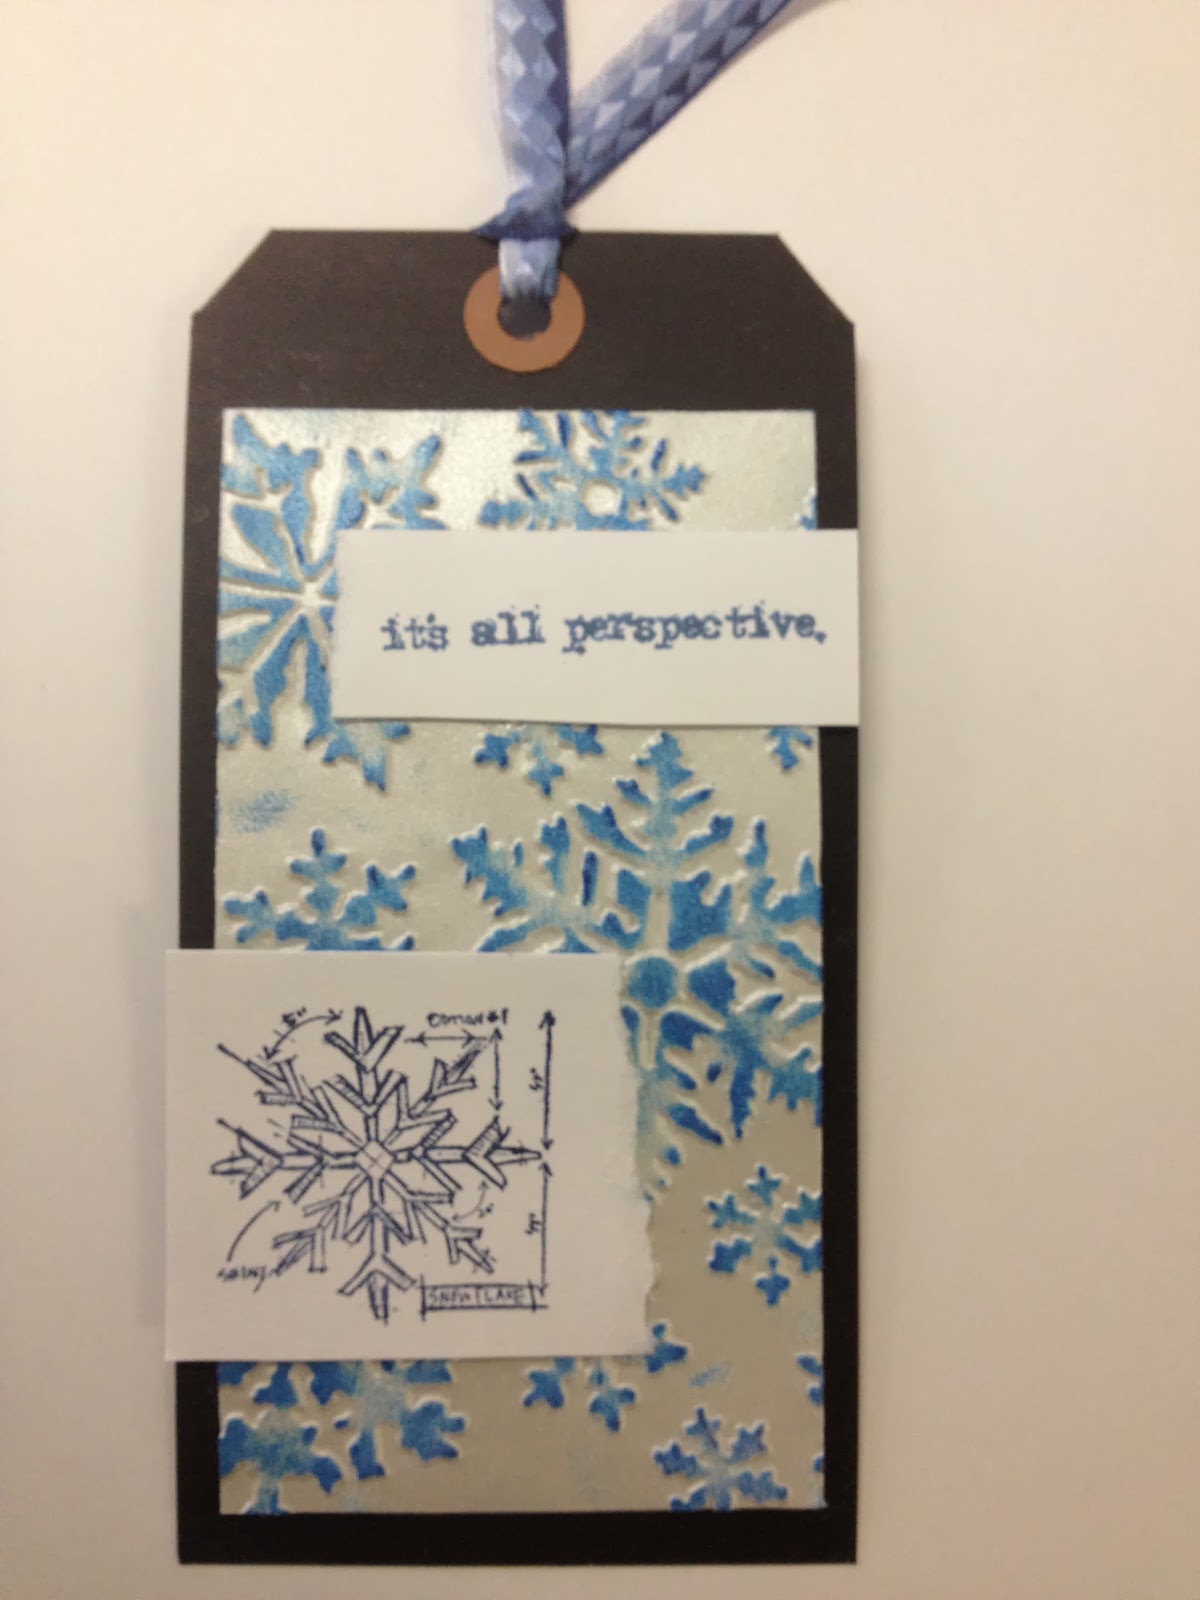
This tag was created for a challenge within a private group.  The theme was "Let It Snow".  Here's my tag:


Materials/tools used:
 - Ranger Inkssentials Black Tags
 - Ranger Distress Ink: Salty Ocean
 - Ranger Archival Ink: Cobalt, Cornflower Blue
 - Ranger Embossing Antiquities powder: Frosted Crystal
 - Ranger Heat Tool
 - Tonic Craft Scissors
 - Sizzix Big Shot
 - Sizzix Tim Holtz Texture Fades: Snow Flurries
 - Stamps by Tim Holtz for Stampers Anonymous: CMS136, CSS27911
 - Silver cardstock, white cardstock, blue ribbon, double-stick tape from my stash

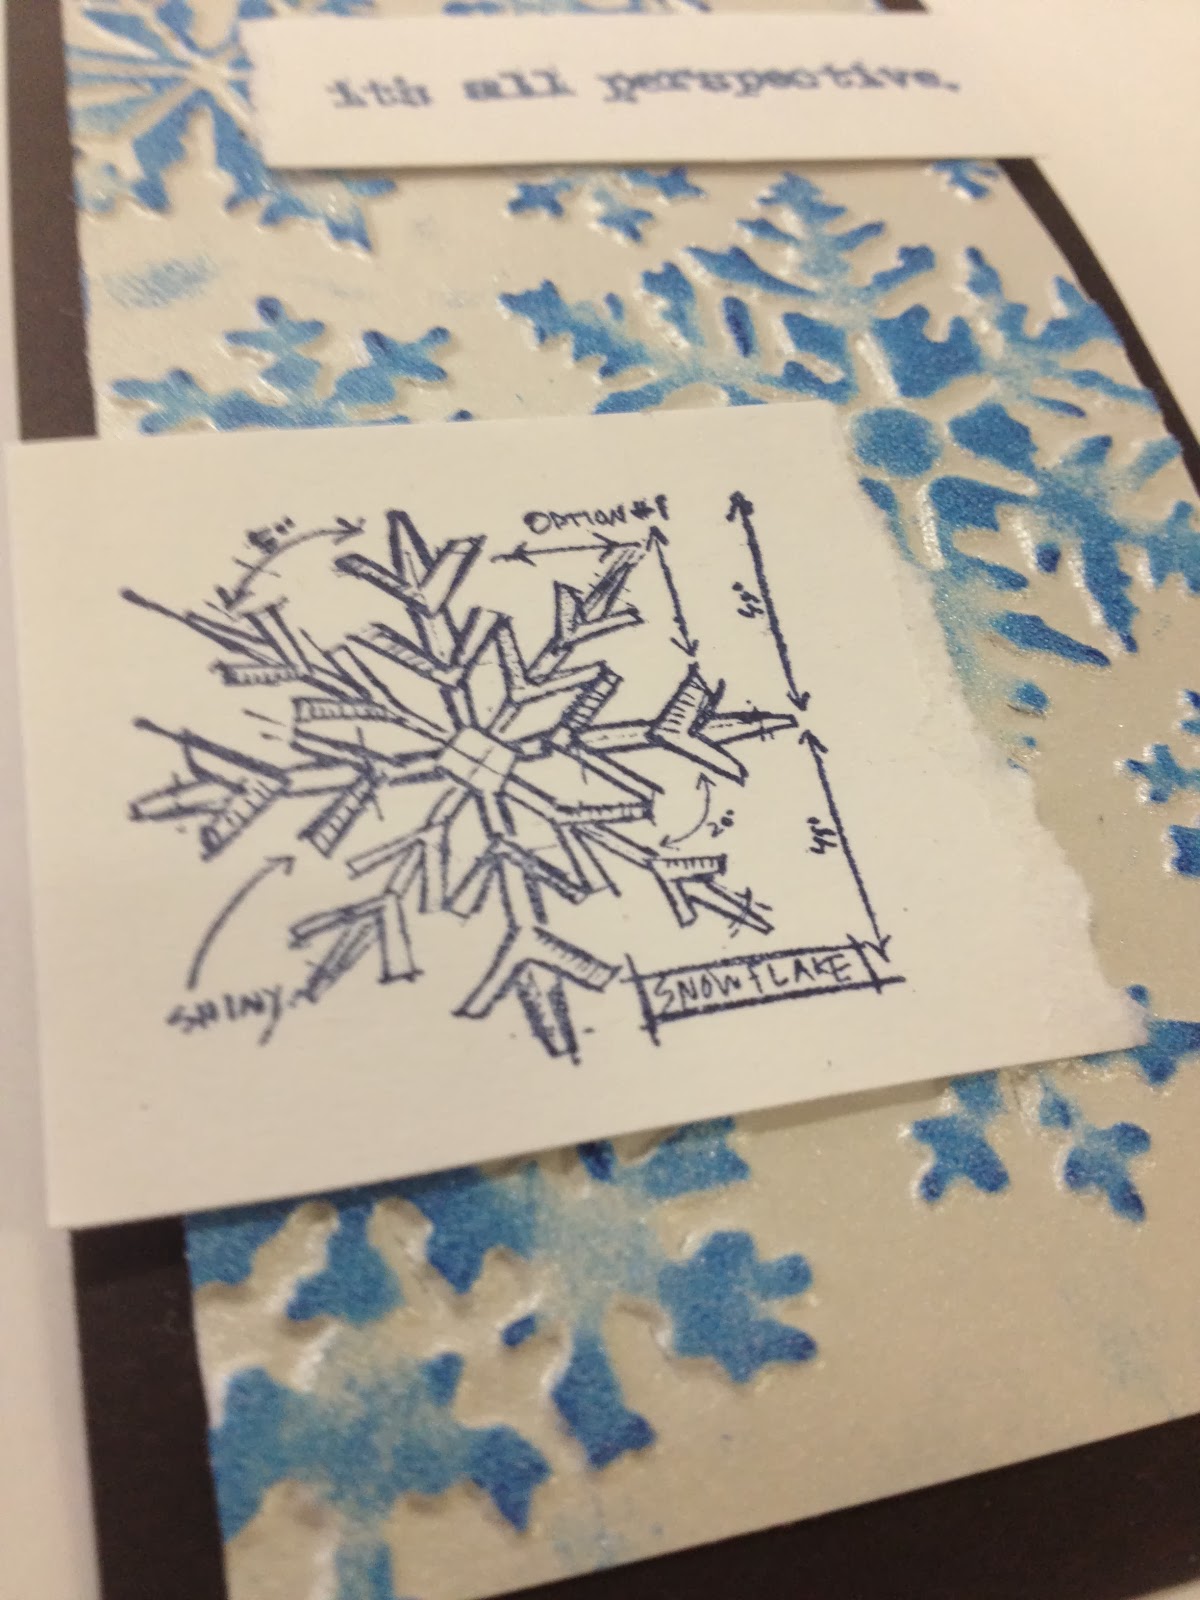
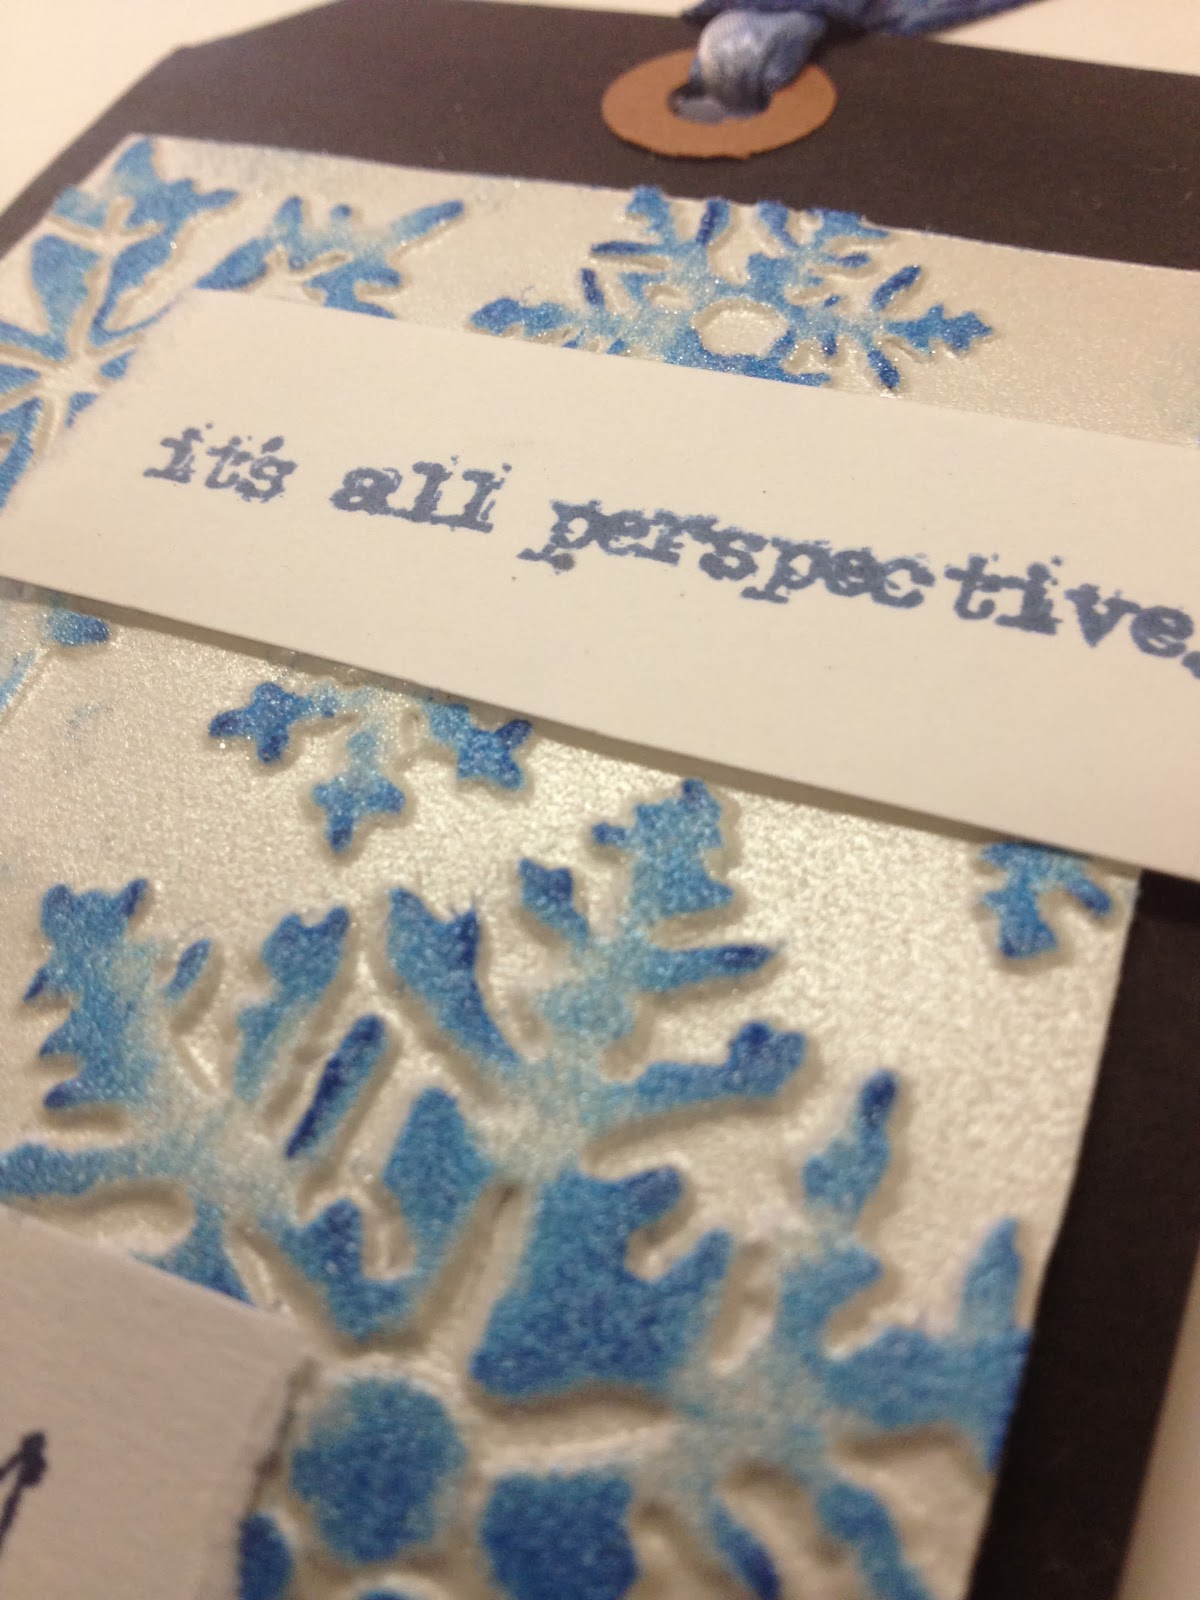
As I started my tag, I was thinking about the fact that our winter here has been rough so far.  Lots of snow, very cold temperatures, and lots of snow days for the local school districts.  I'm completely over winter, and I know there's a lot more still to come!  But I know that even though I might greet more snow with dread, others (mostly kids with lots of time to play!) greet it with joy and wonder.  Hence the idea of "it's all perspective".  :-)

I made the snowflakes in the background by embossing my silver cardstock, rubbing Distress ink over the raised areas, and embossing with the Frosted Crystal powder (remember that Distress ink stays wet longer than other dye inks, so you can emboss with any colour!).  It was a bit of an experiment for me, but I really liked how it turned out!  I'm really super-duper LOVING the Frosted Crystal powder!  I'm seeing lots of future uses for it.

More views:


That's it for now, but expect the first of my 12 Tags of 2014 within the next couple of days!  :-)

'Til then,
BAC

Tuesday, December 31, 2013

...and December makes 12!

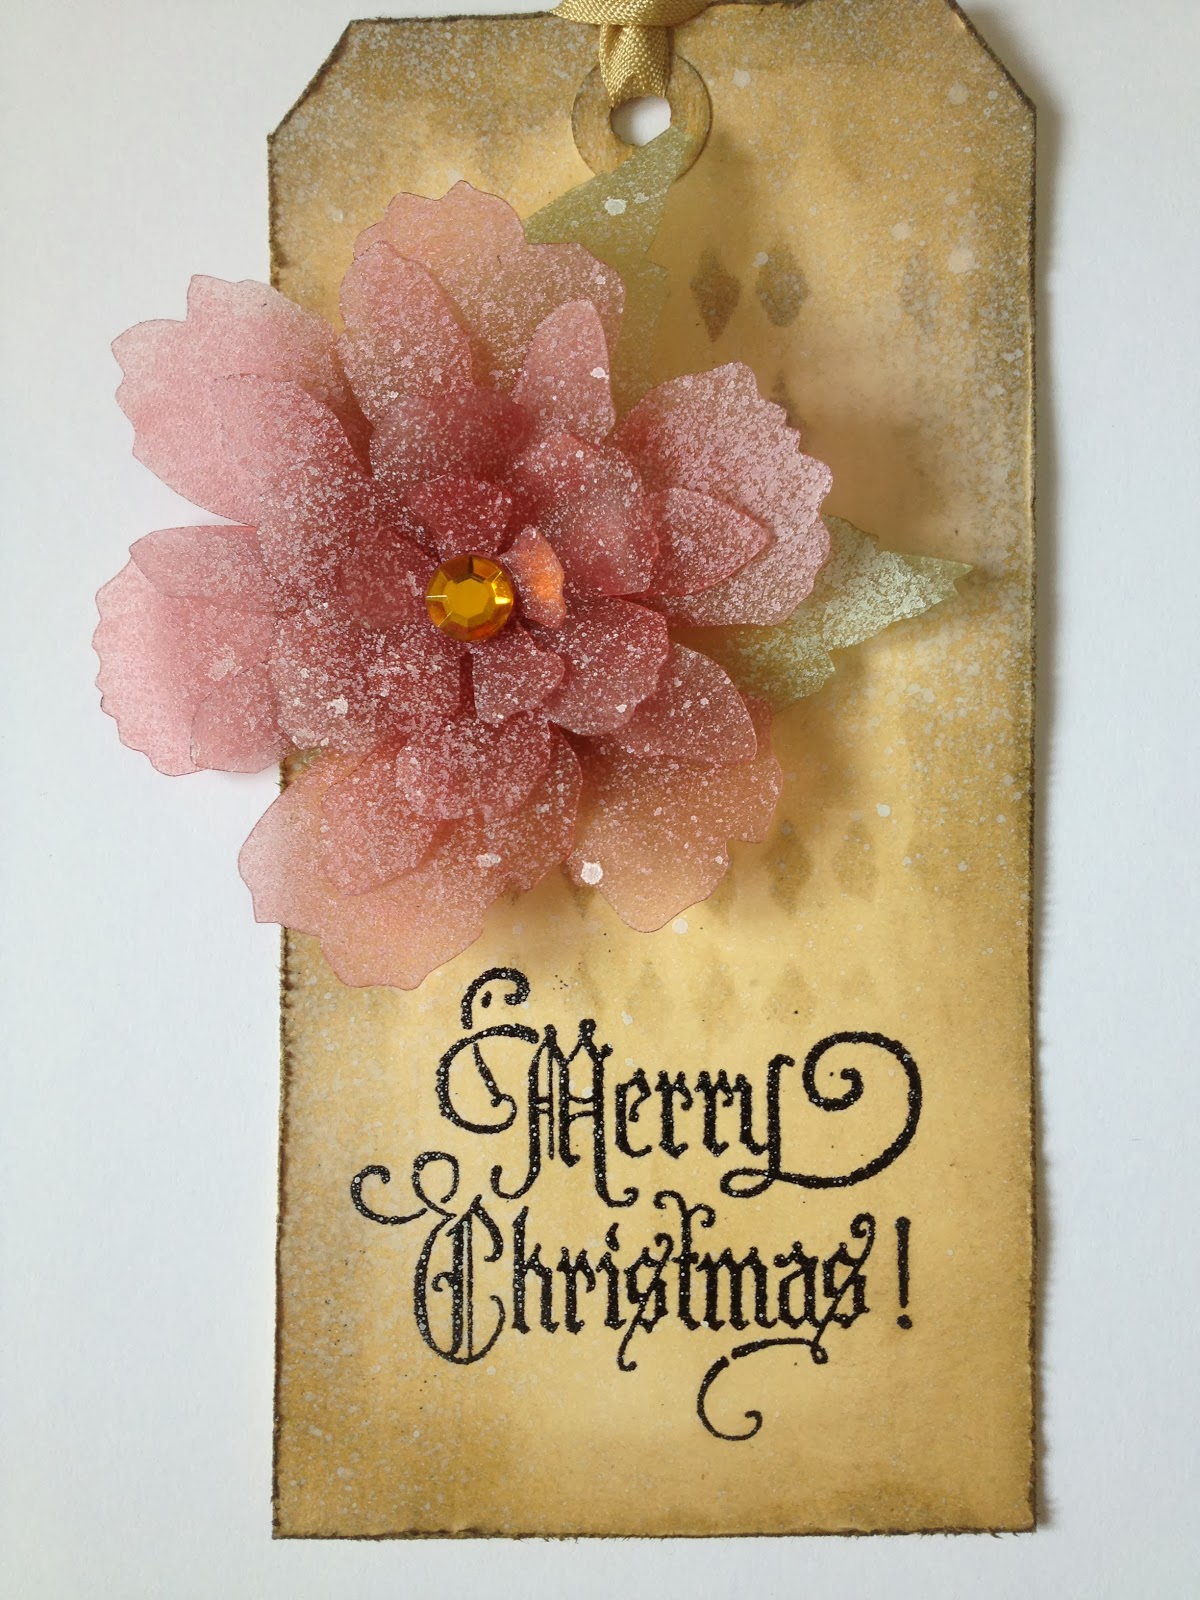
I'm getting it in just under the wire, but I've completed 12 Tags of 2013!  :-)  Without further ado, here's my December tag!


Materials/tools used:
 - Ranger Inkssentials Manila Craft Tags
 - Ranger Distress Ink: Frayed Burlap
 - Ranger Distress Stain: Antique Linen
 - Ranger Dylusions Spray Ink: White Linen
 - Ranger Archival Ink: Fern Green, Vermillion
 - Ranger Perfect Medium
 - Ranger Glossy Accents
 - Studio 490 Clearly for Art
 - idea-ology: Frosted Film, Long Fasteners
 - Stamp by Tim Holtz for Stampers Anonymous: CMS175
 - Dylusions Stencil: Diamond of a Border
 - Ranger Craft Scraper
 - Ranger Heat Tool
 - Ranger Inkssentials Mister
 - Ranger Inkssentials Foam Blending Tool
 - Sizzix Big Shot
 - Sizzix Bigz Dies: Tattered Florals, Tattered Leaves
 - Tonic Studios: Craft Scissors, Craft Pick, Paper Distresser
 - Paper trimmer
 - Self-healing cutting mat
 - Black embossing powder, yellow gem, ribbon from my stash

There were a few items Tim used on his tag that I either don't have, or couldn't find when I was making my tag.  (Oops!  Let's make organizing the craft room again a resolution for 2014!)  I don't own the Tattered Poinsettia die, but I substituted a couple other dies for a similar effect.  The splatter brush Tim used for the snow effect looks nifty, and I now have one on my list, but since I don't have it yet, I used white Dylusions instead of white Distress paint.  Still came out looking quite cool, I think.

Getting the frosted film onto the Clearly for Art was quite the challenge, even using a craft scraper to smooth as you go.  I suspect it's one of those things that just takes some practice, but I'm not quite there yet.

The other thing that mystified me a bit was how Tim's flower retained such vivid colours even after heating and shaping.  I found that the shaping process left ink on my fingers, and less on the flower.  Maybe he added more ink after he was finished shaping?  Don't know, but I see more experimentation in my future.  :-)

More views:


Overall, 2013 has been a fun, inky, creative journey for me, and I can't wait to see what 2014 has in store!  I have a feeling it's going to be a great year!  :-)

Happy New Year!

BAC

Thursday, November 28, 2013

Product Spotlight: Xyron Create-a-Sticker

Hello again!

I'll be headed out soon for Thanksgiving dinner, but first, I had a quick product spotlight for you.  Like the craft scrubbie, this is another tool that I wasn't really sure I needed until I had one, and now I find it indispensible!

Without further ado:

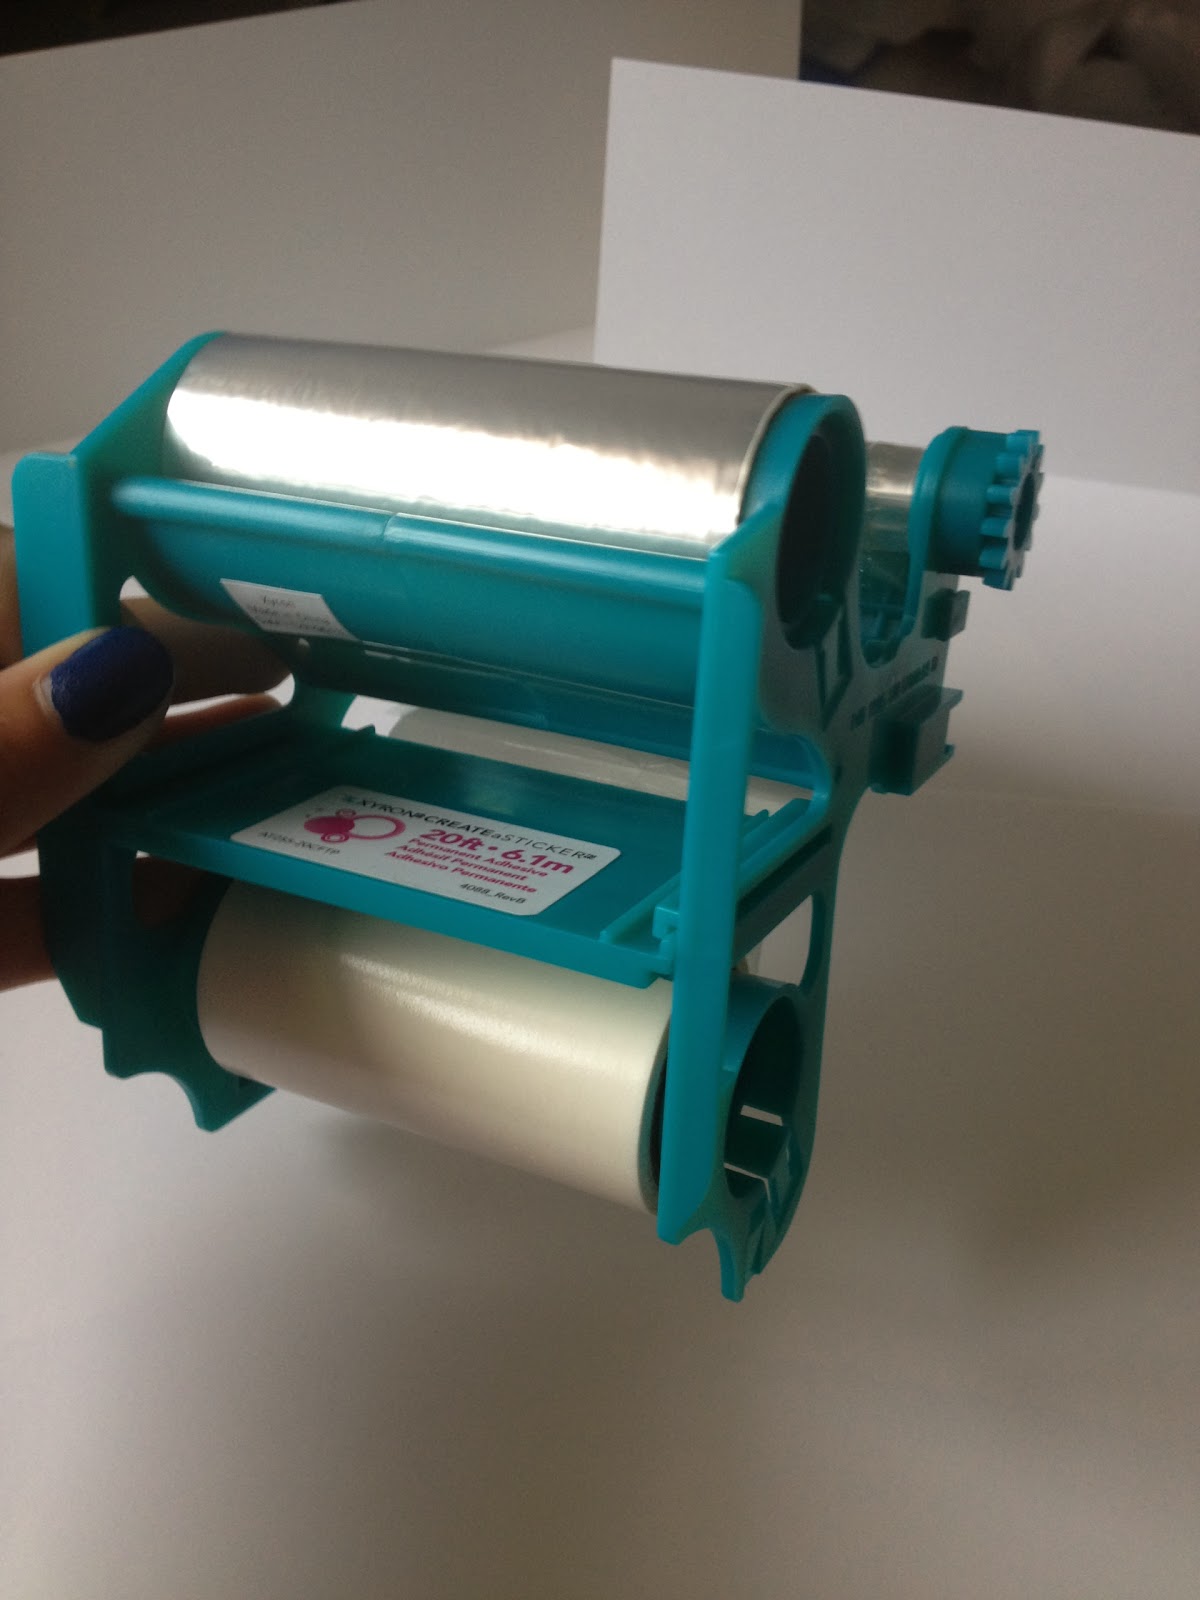
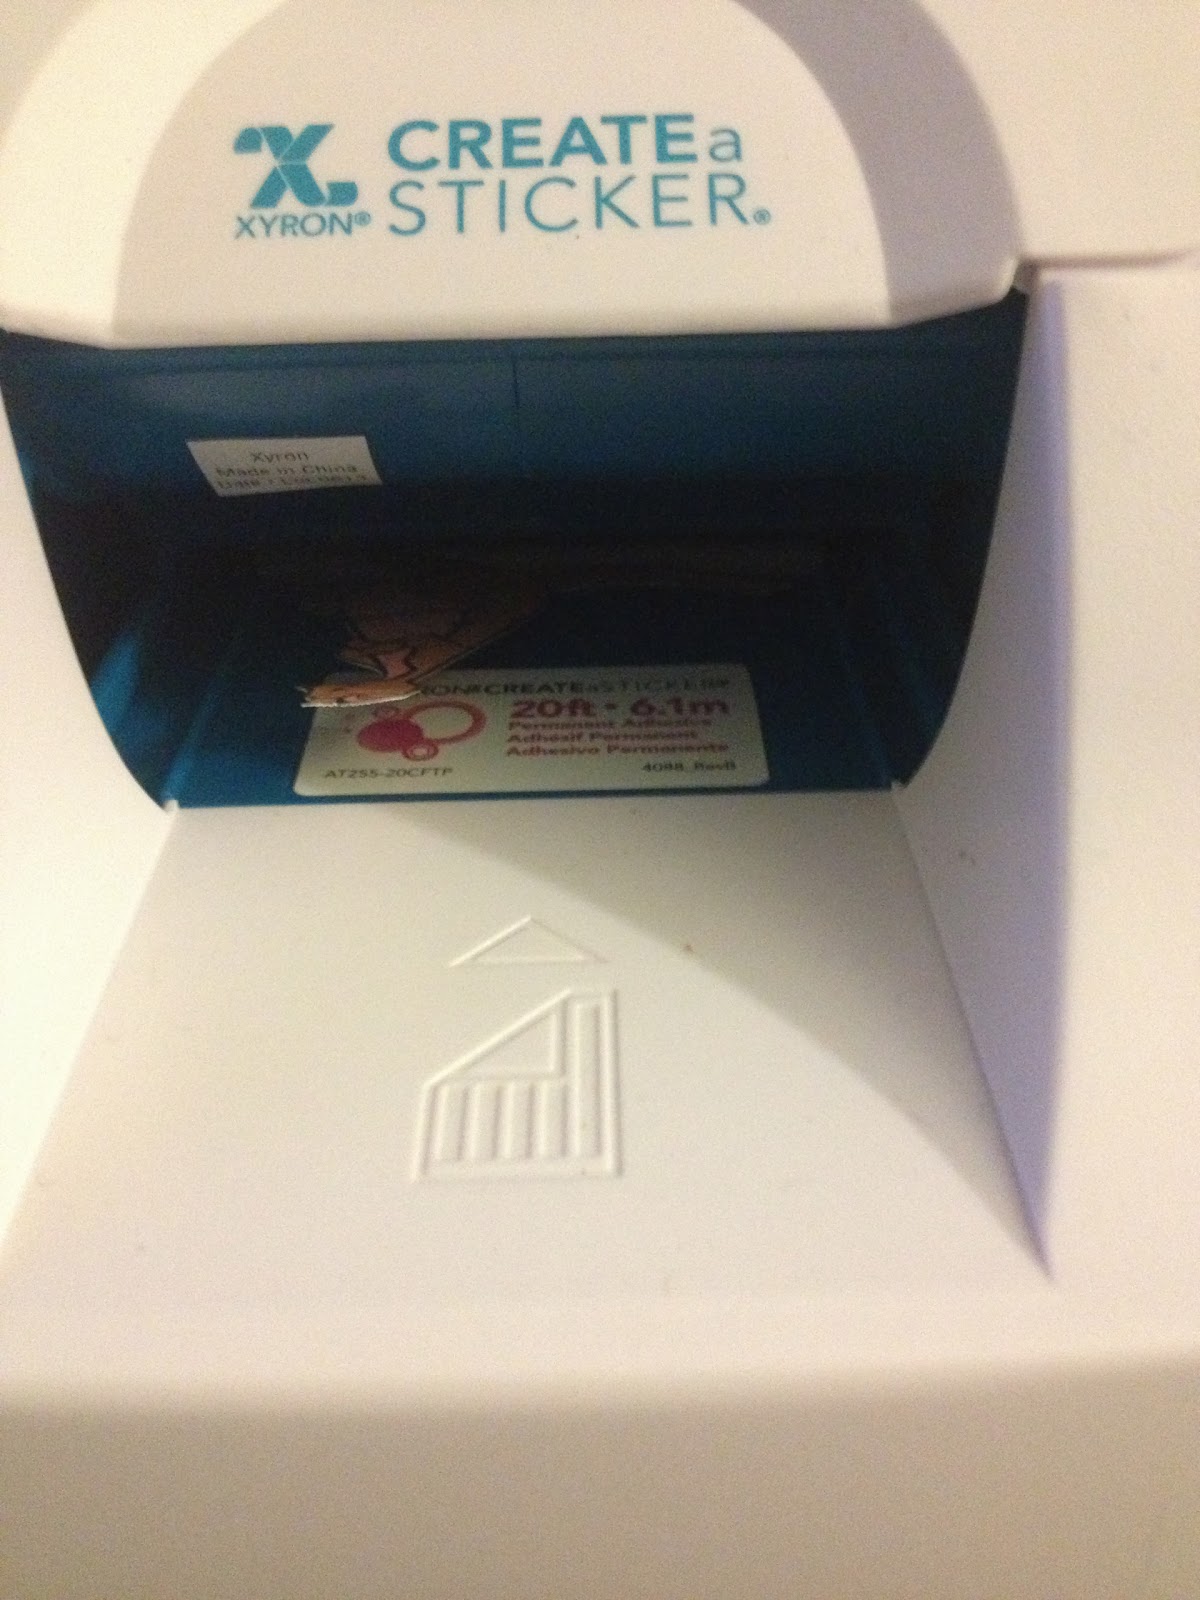
My Xyron Create-a-Sticker!

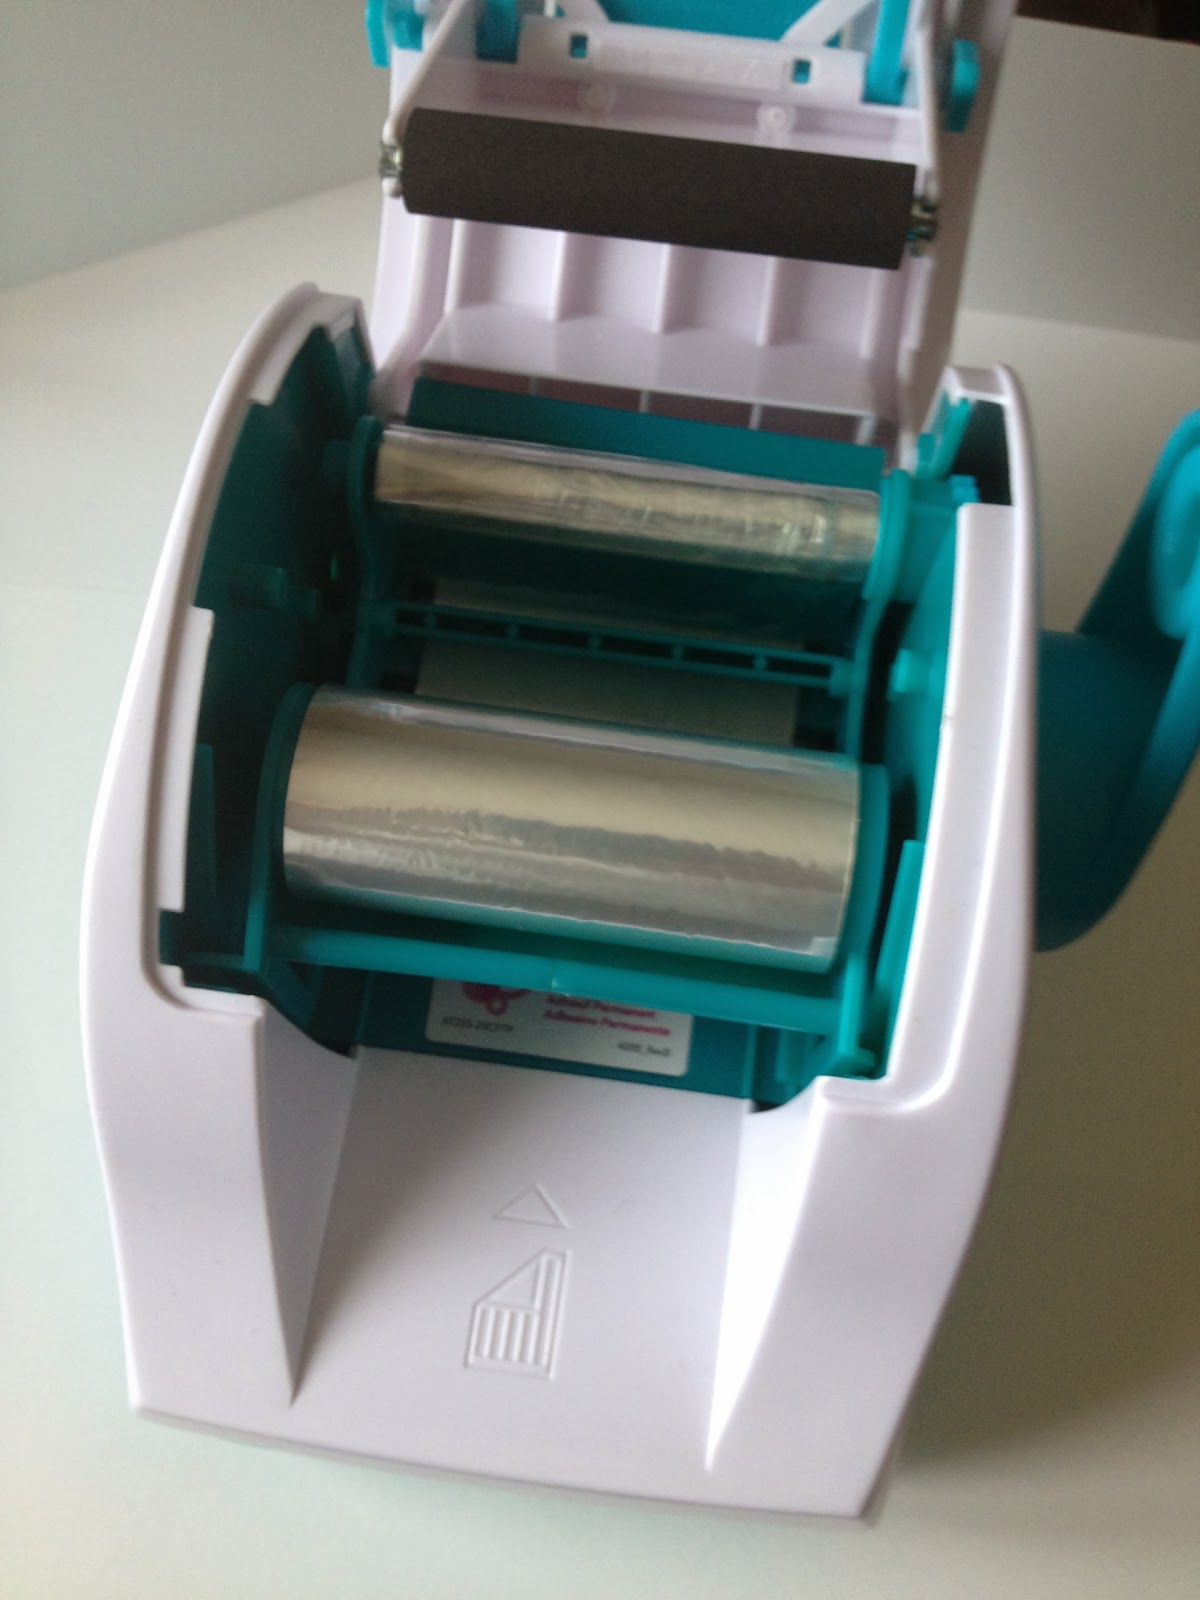
Xyron makes these machines in various sizes, ranging from the Mini (1-inch wide), to 5 inches wide.  Mine is 2.5", which seemed to make the most sense, given that I primarily work on ATCs.  All of the models except the mini are refillable, and use cartridges.  (The mini is disposable.)  Both permanent and removable adhesives are available, and you can switch from one cartridge to another easily.  (I've only used permanent adhesive, but what can I say?  I do crosswords in pen, too.)  ;-)  Each refill cartridge is 20 feel long, and they usually run about $15 at the big box craft stores.  With a 40-50% off coupon, they're pretty reasonable.


So what is it good for?  It is the perfect tool for adding adhesive to small or oddly shaped items.  I purchased it a while back when I was creating wedding invitations for a friend.  I was using small die-cut letters on the front cover, and needed something better to stick them on with than gluestick.  I remembered having seen the Create-a-Sticker at the craft store, and it turned out to be just what I needed!  Now I use it for securing oddly shaped fussy-cut and die-cut pieces, as well as pieces too small for double-stick tape.

Using it is incredibly easy: place the item that you want to turn into a sticker inside face-up, turn the knob on the side, and it comes out the back on a piece of sticker backing sheet.


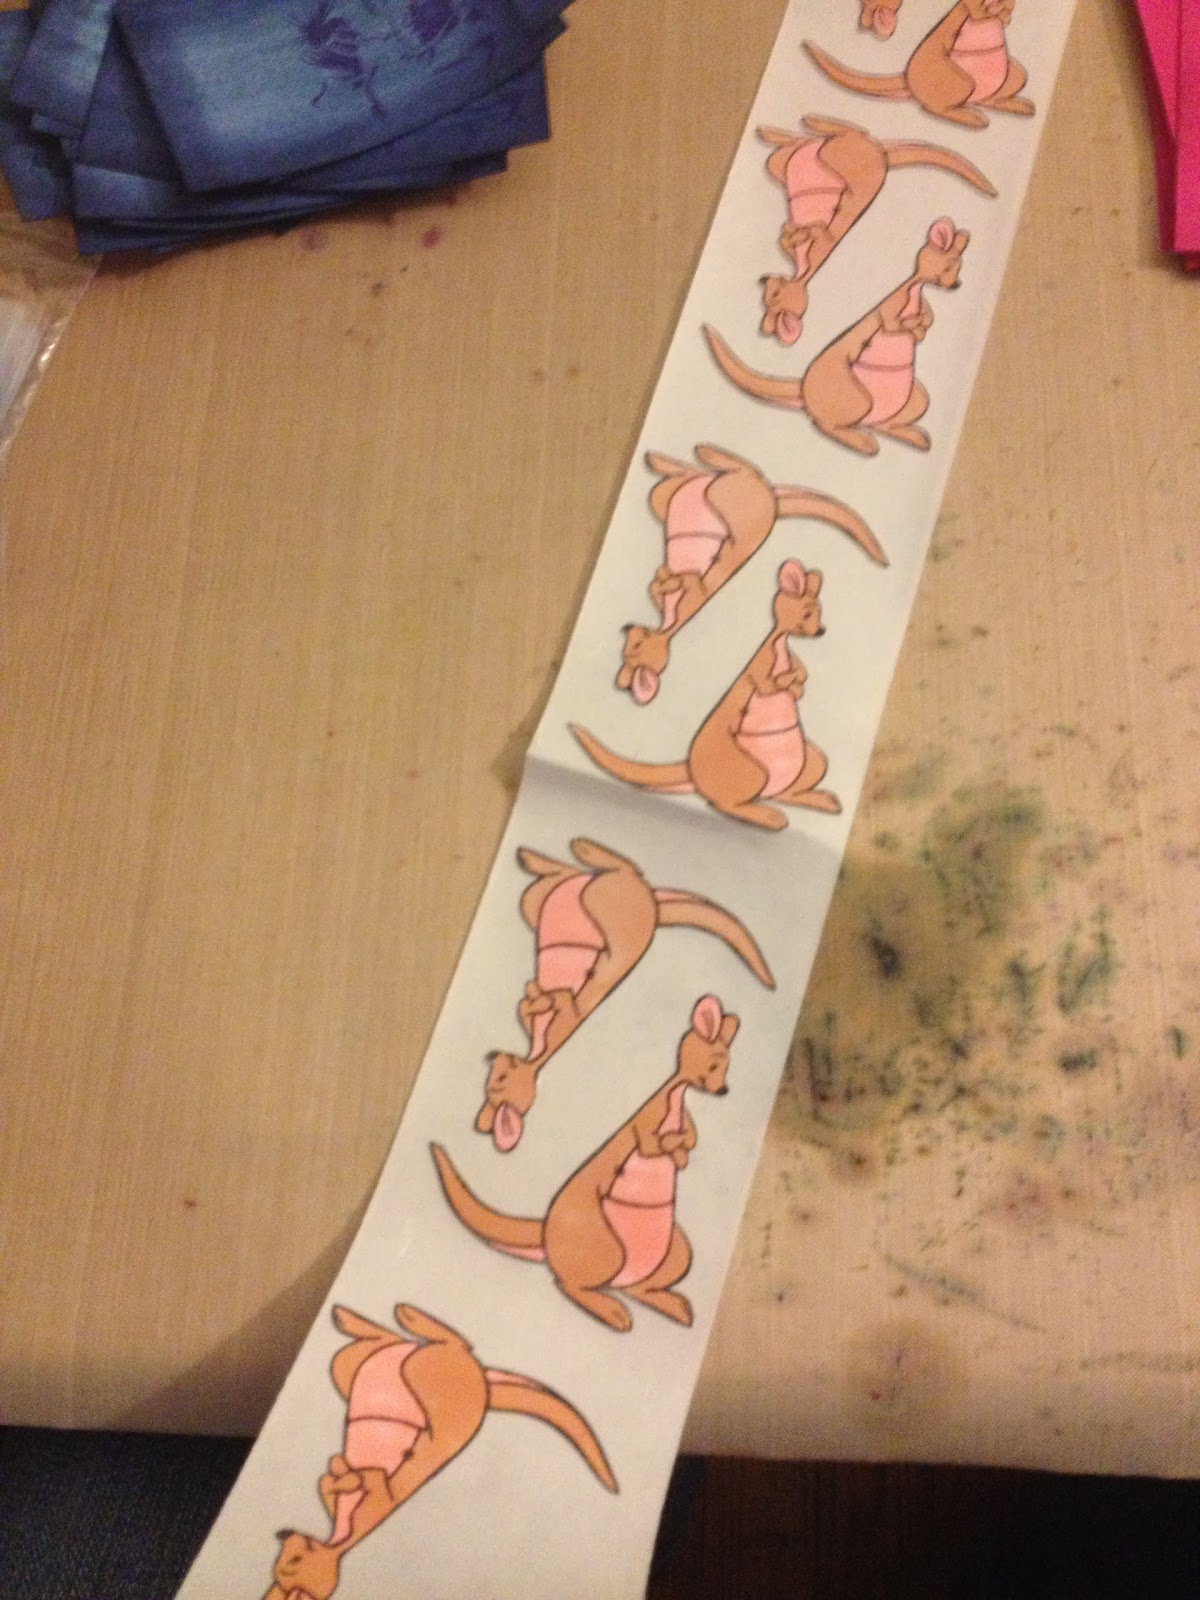
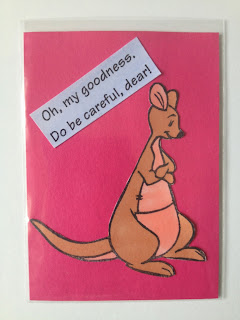
One minor thing to keep in mind, if there are holes in the middle of whatever you put through (die-cut gears come to mind), you may find some stray adhesive visible within those holes.  Same with some uneven edges on fussy-cut pieces (this occurred in the space between Kanga's feet on the above example).  While this can be a little annoying, it's easily removed with a craft pick, but do it BEFORE you apply it to the surface of your project.

Otherwise, I love it, and it's become an invaluable part of my craft setup!  Are there tools in your craft room that you never thought you'd need, until you did?

Well, dinner is calling, and I can't be late!

'Til next time,
BAC

Wednesday, November 27, 2013

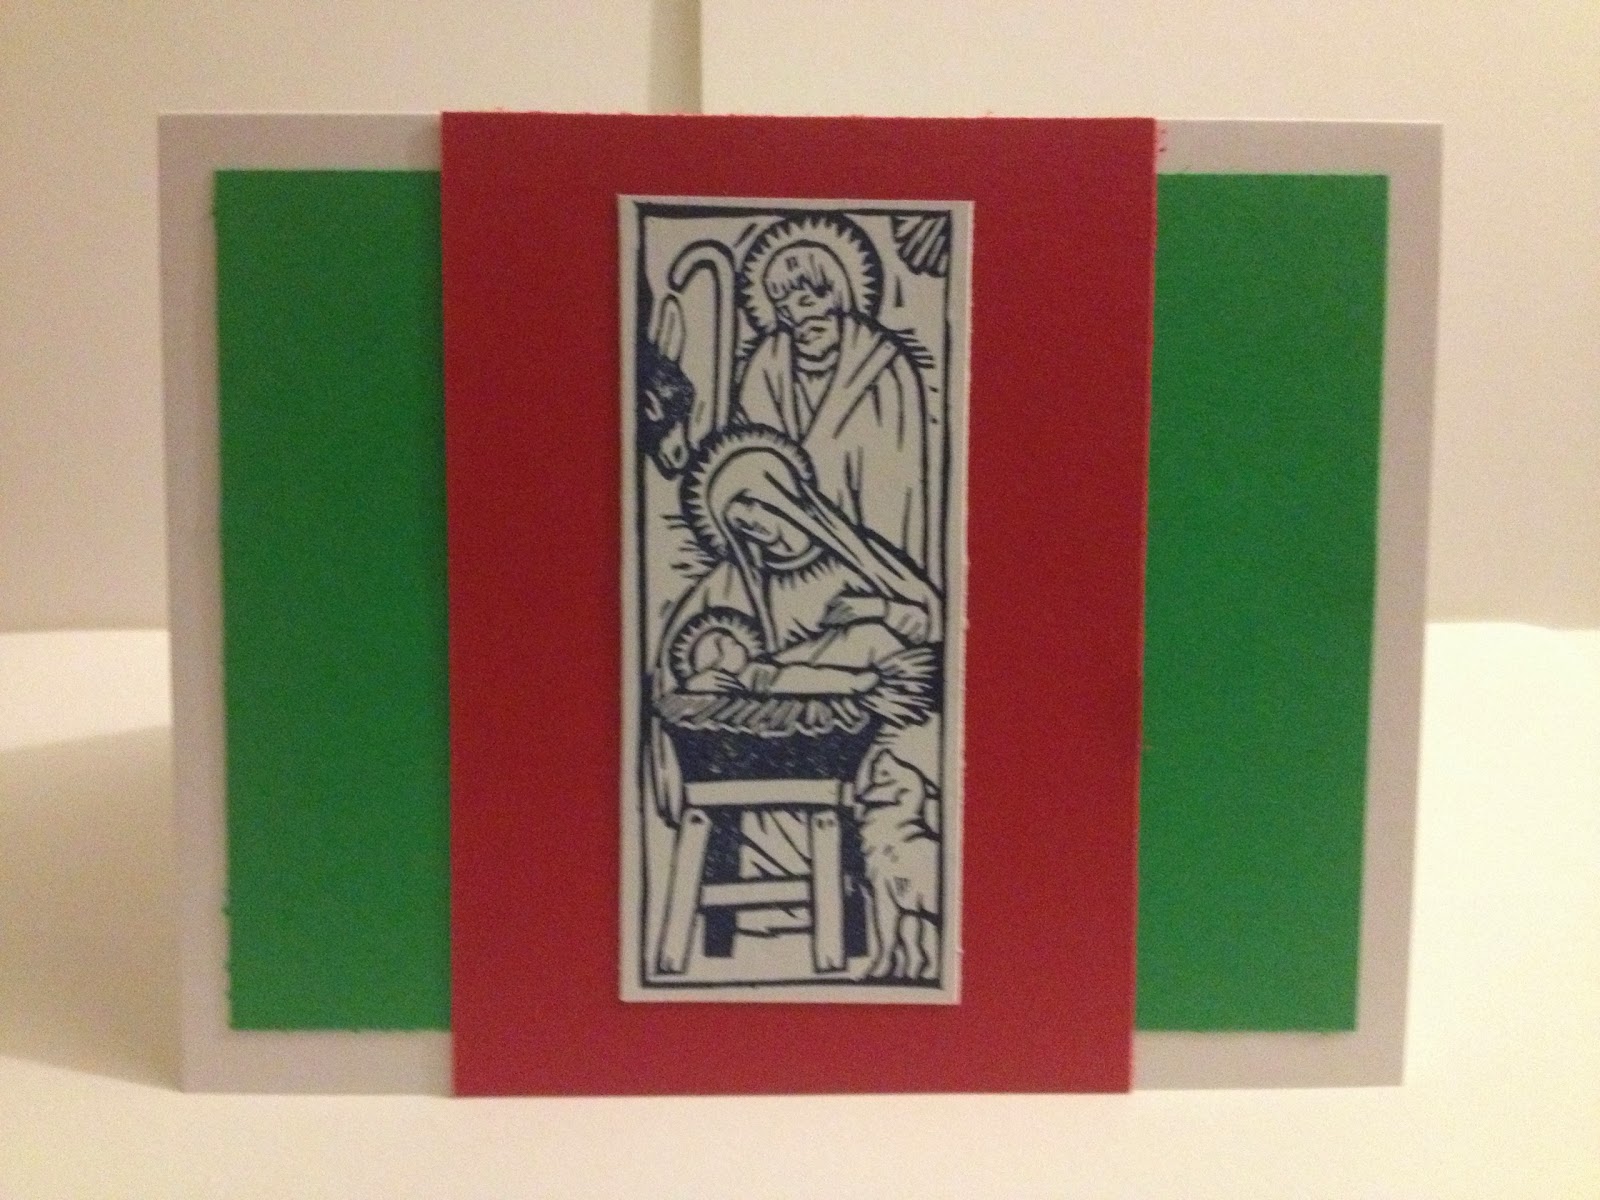
Blitsy Holiday Card Challenge

Hi everybody!

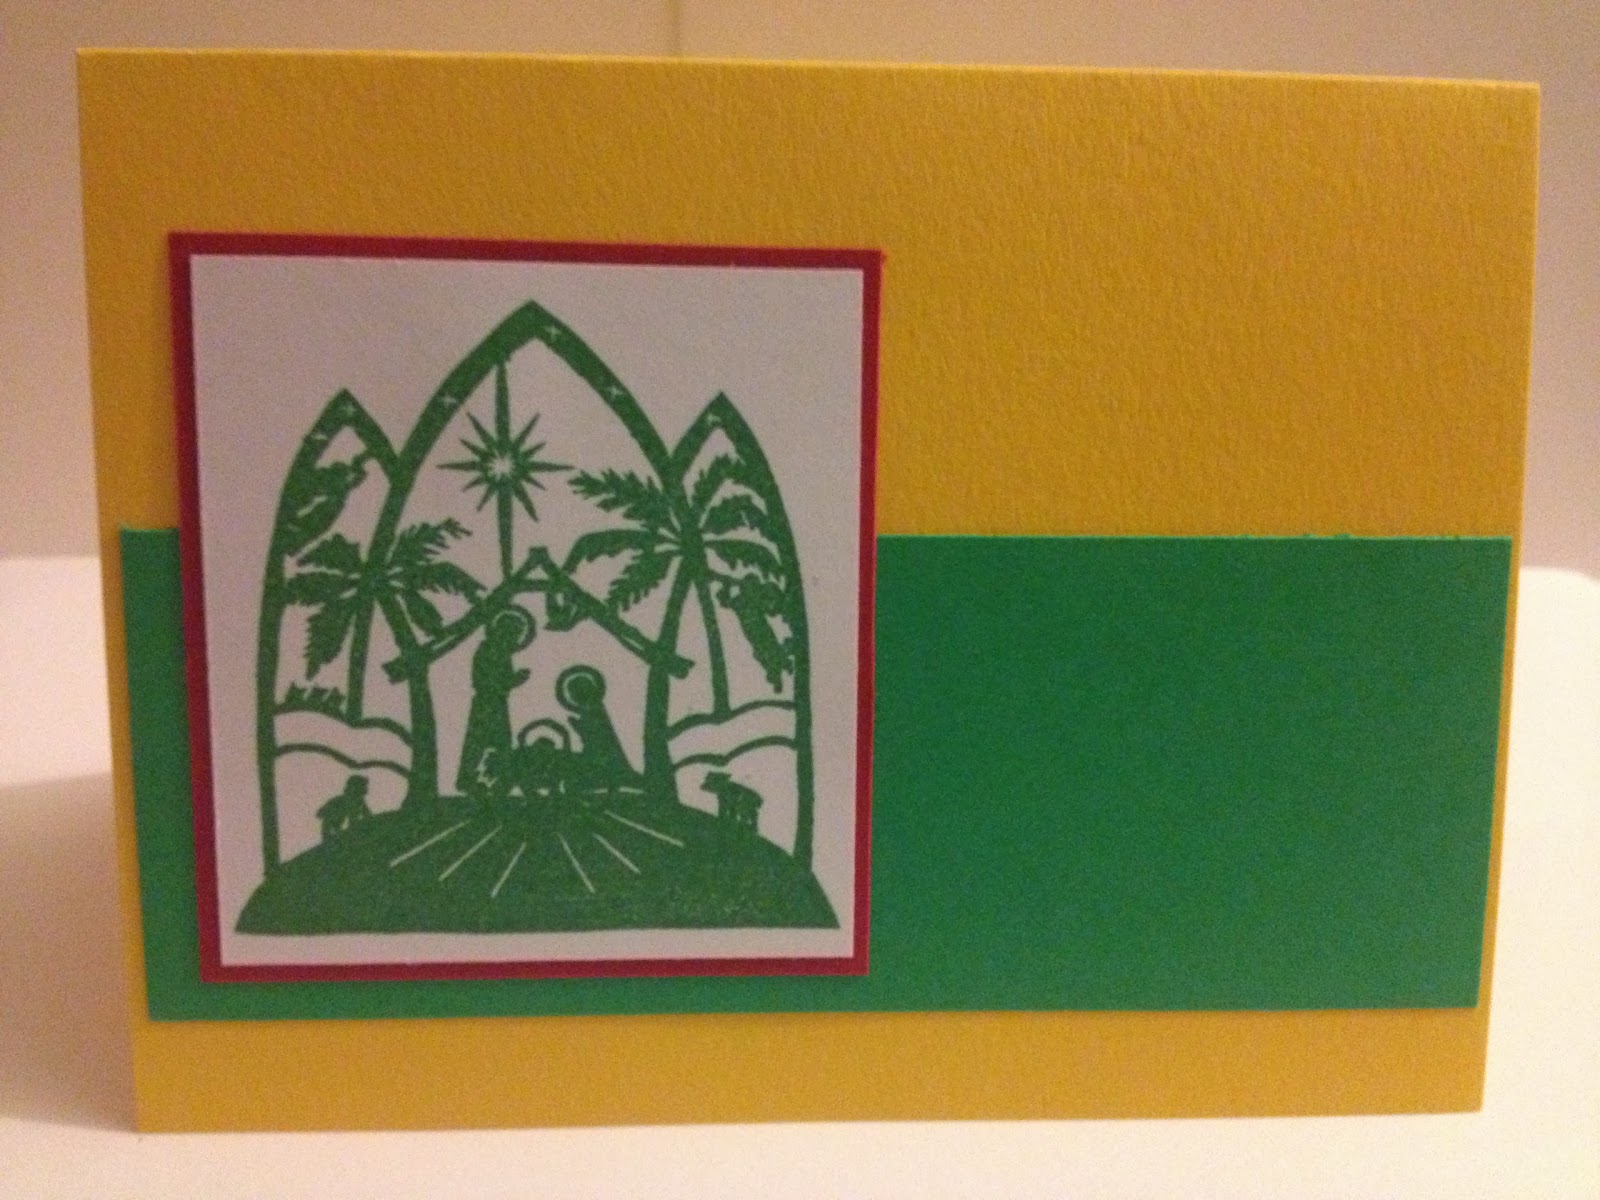
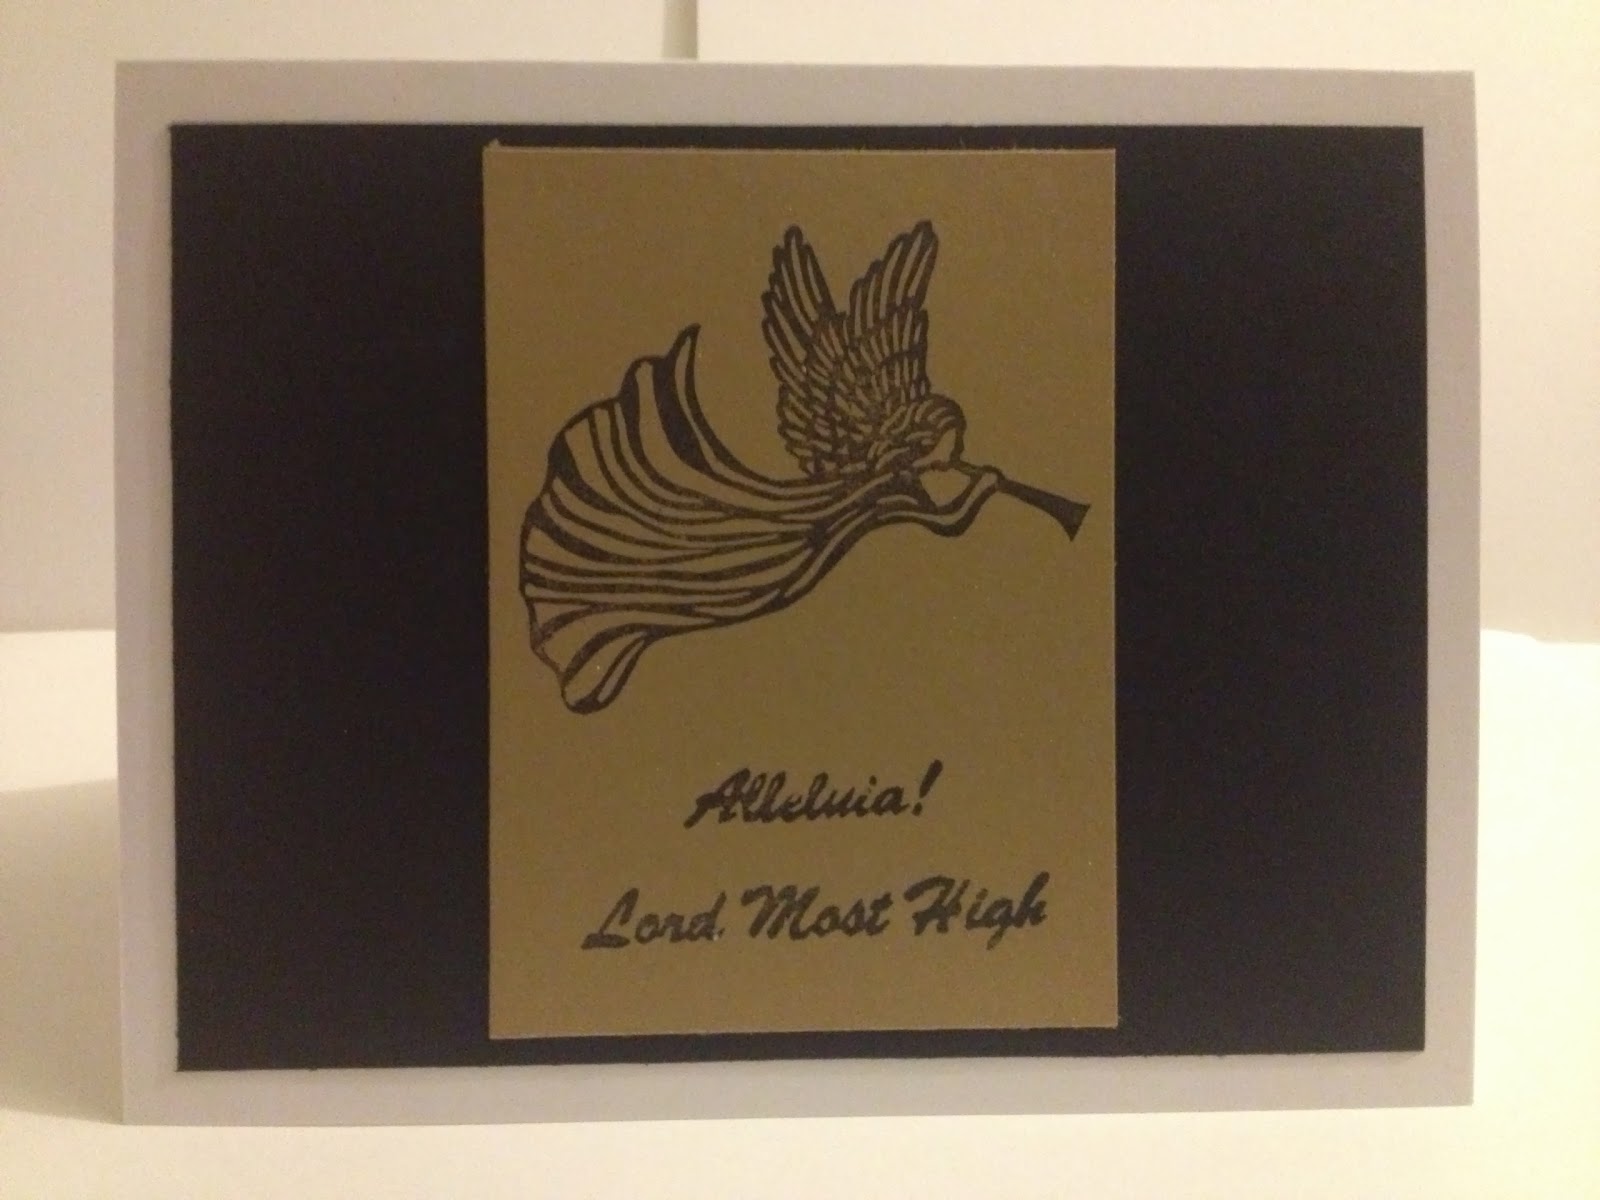
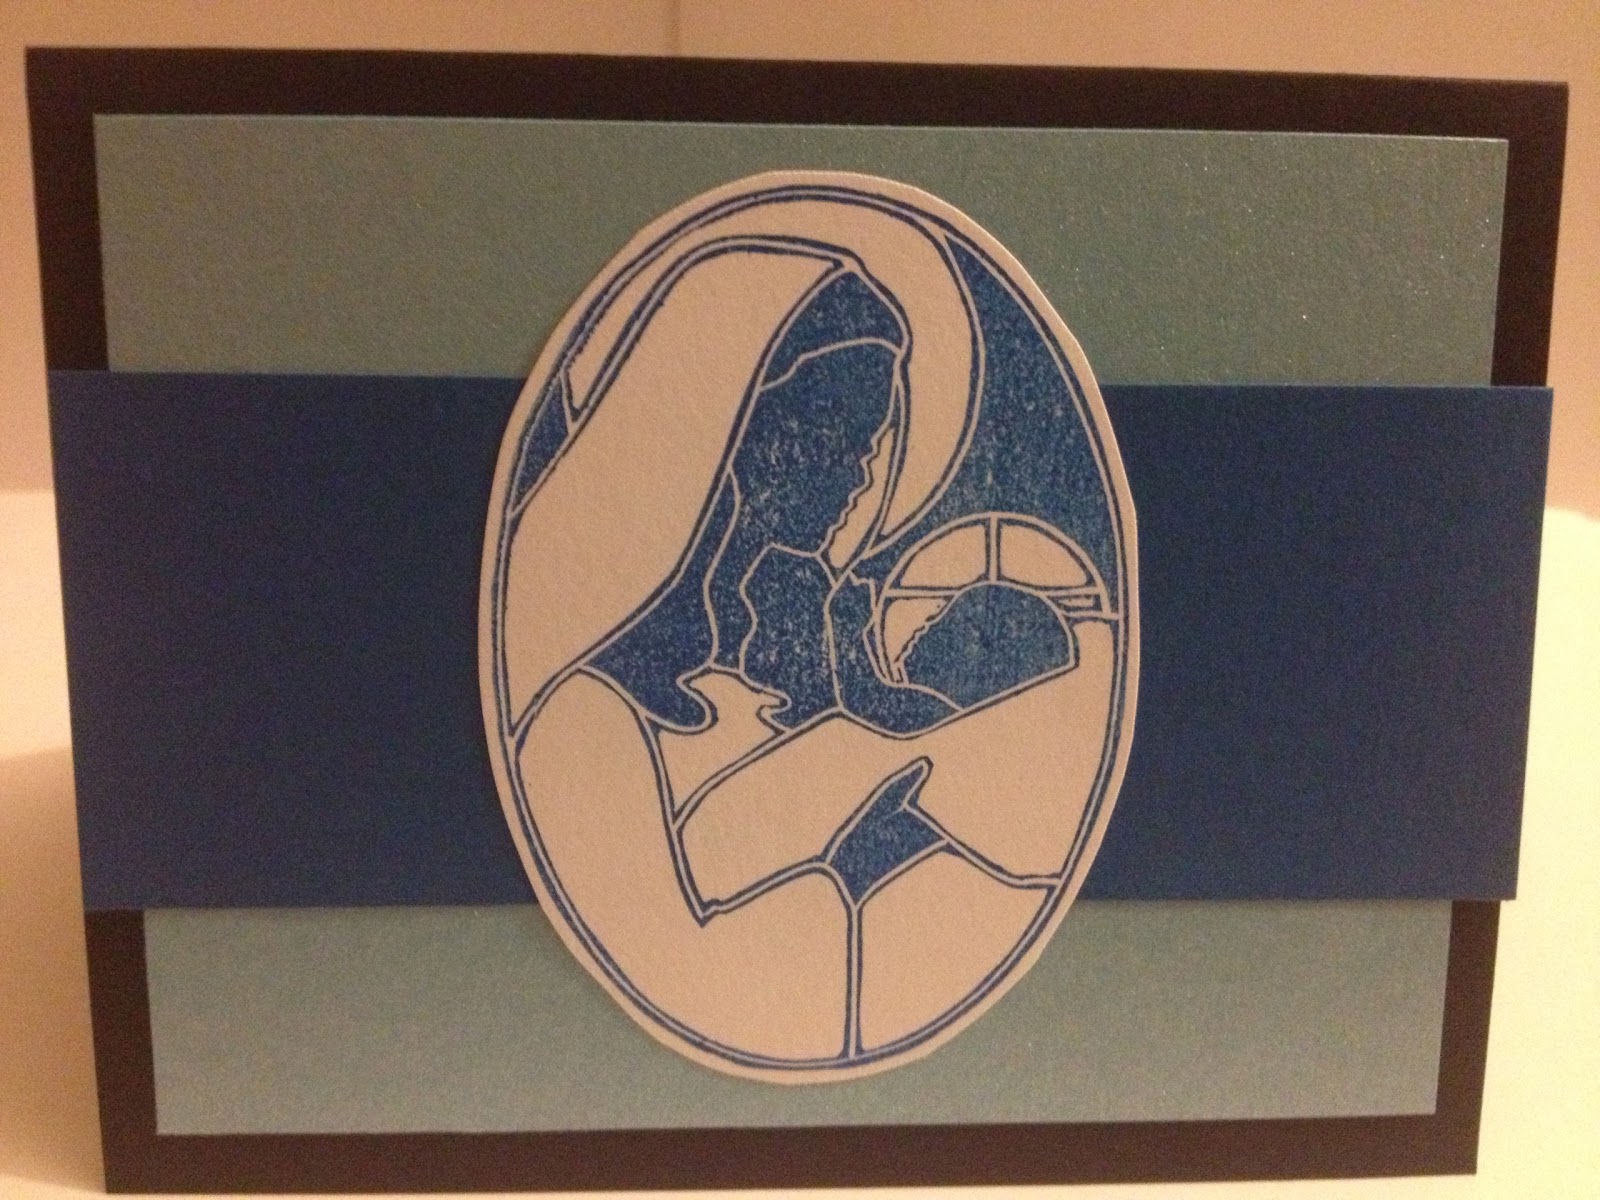
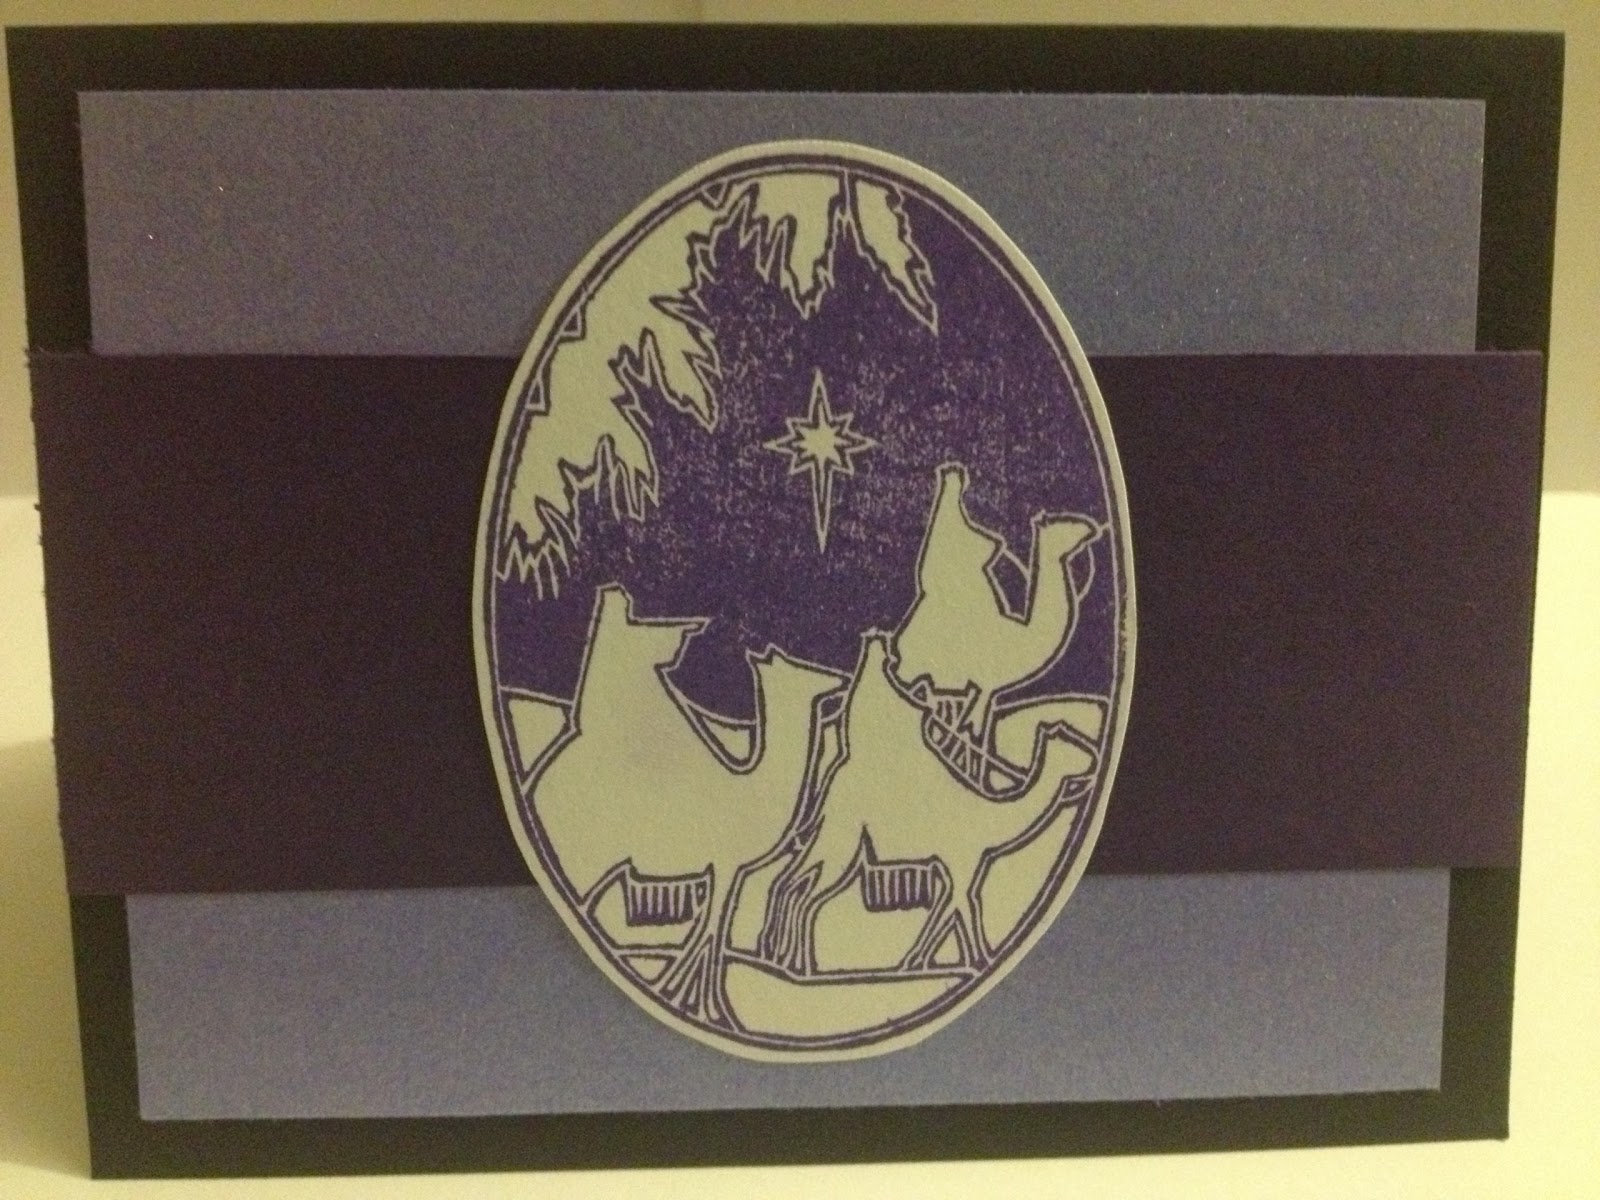
Well, my long weekend officially started earlier this afternoon, and so far, I'm pretty much been spending it in my studio.  :-)  Today's project?  Cards for Blitsy's Holiday Card Challenge!

If you're not familiar with Blitsy, give them a look!  They're a little bit like woot! for craft supplies, but their sales last a few days rather than one (or until they sell out!), and they sell more than one product at a time. They sell all kinds of stuff from almost all the major craft companies, and they also have a blog where they share project ideas, make product announcements, and hold challenges.  :-)

When I got home today, I started pulling out my various holiday papers, and stamps, and embossing folders, and trimmings, but then I put it all away again.  Rather than creating a project that would look like anyone else's, working with the same stuff, I decided to do something a little more "me".  I went instead to my stash of hand-carved holiday stamps, and challenged myself to create with only those, and basic solid and metallic cardstock from my stash.  (Okay, I did pull out the label maker again at one point!)  :-)

What I came up with was rather simple, but I really like how they came out.  And the great thing?  They're super easy and fast to put together, so these are some ideas you can use if you're actually making cards in significant quantity.  :-)


Inks used:
Ranger Archival: Cobalt, Deep Purple, Vermillion
Tsukineko Memento: Cottage Ivy
Tsukineko Staz-on: Azure, Cotton White, Forest Green, Jet Black, Silver

I have to admit, I rarely showcase projects using my hand-carved stamps on this blog, so I was happy this project gave me a reason!

'Til next time!

BAC

Tuesday, November 26, 2013

November tag!

I can't believe this year is almost over!!  One more tag to go in 2013!

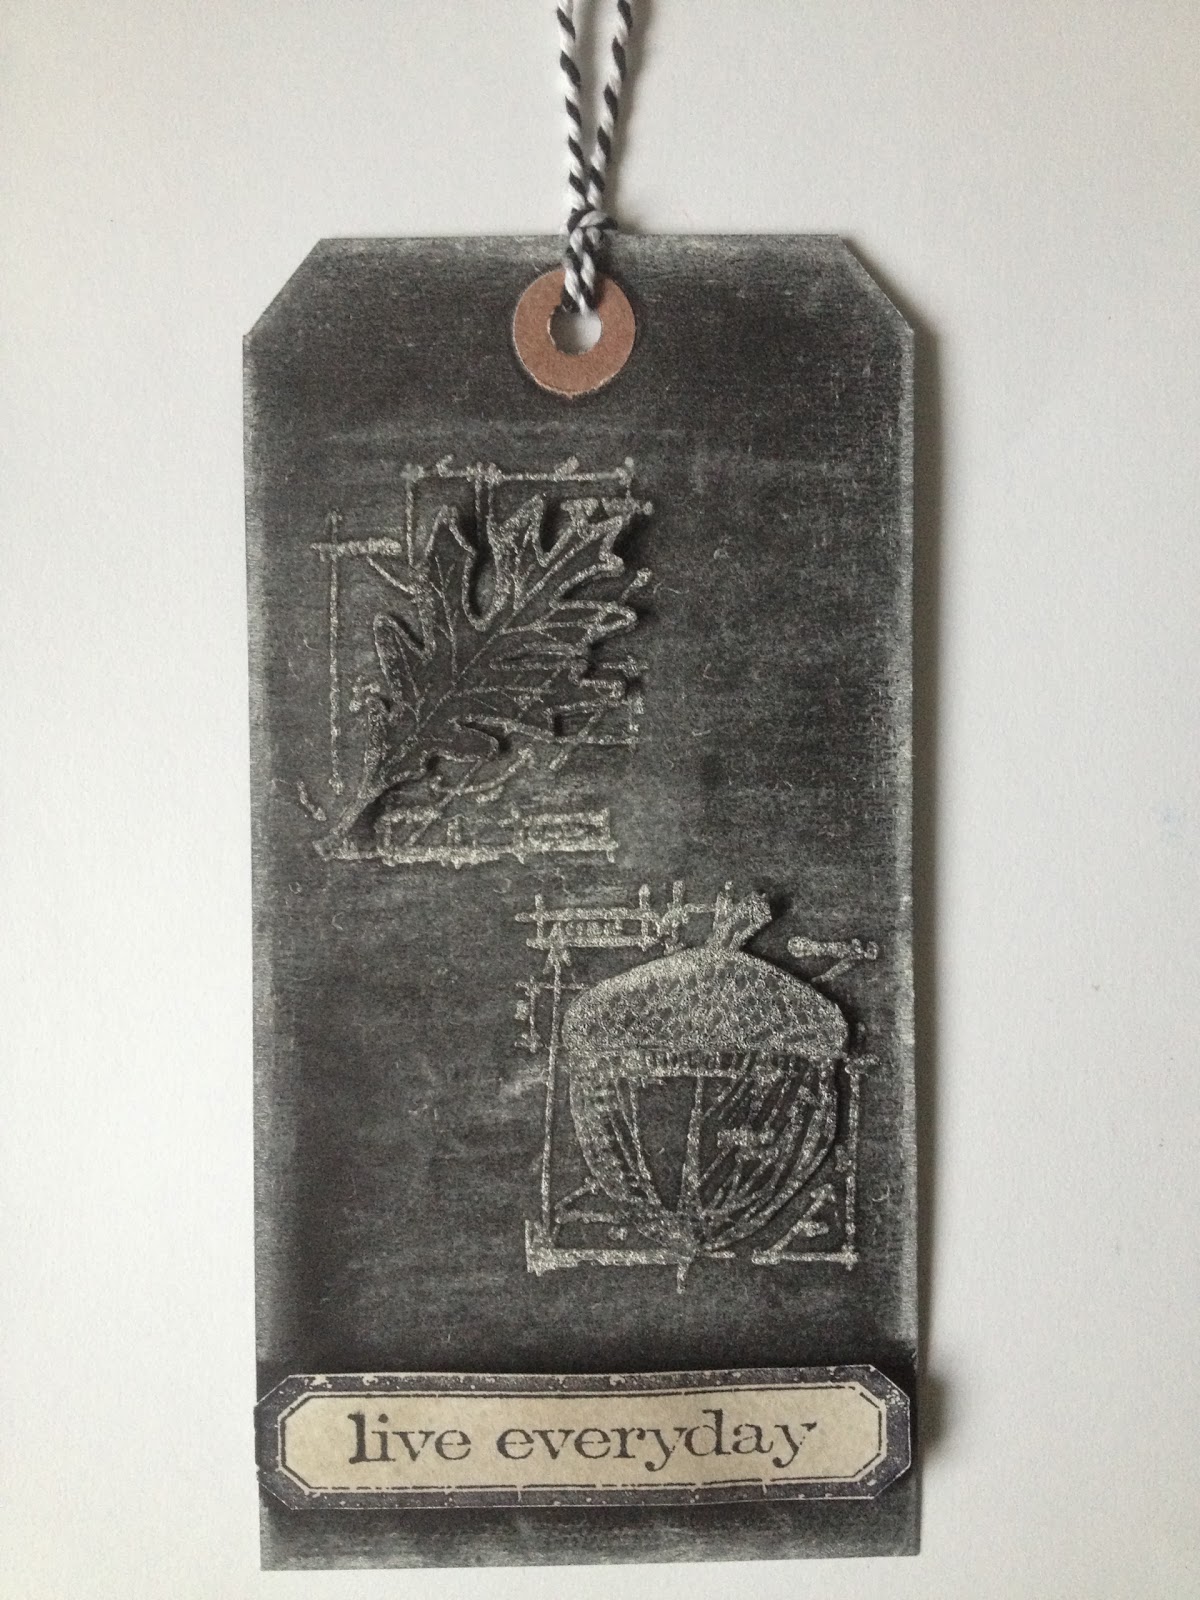
But first, here's my November tag:


Materials/tools used:
 - Ranger Inkssentials Black Craft Tags
 - Ranger Distress Ink: Pumice Stone
 - Ranger Distress Embossing Ink
 - Ranger Archival Ink: Jet Black
 - Ranger Embossing Antiquities powder: Frosted Crystal
 - Maya Road Twine Cording: Blackberry
 - Ranger Heat Tool
 - Ranger Inkssentials Mister
 - Ranger Inkssentials Foam Blending Tool
 - Tonic Craft Scissors
 - Stamps by Tim Holtz for Stampers Anonymous: CMS136, CMS155
 - White cardstock, white chalk, glue dots, foam tape from my stash

Notes: 
 - This was my first time trying out the chalkboard technique, and while I think it's a lot of fun, and looks awesome, it does take some practice.  Just getting the embossing powder cured in all the places, without being overcured in some of them, takes a lot of practice!  But I'll be continuing to work with this one, and eager to see what results I get with coloured chalk as well.
 - I noticed that the white of my chalk didn't look as bright as Tim's example, but I was using the no-name teacher chalk I found at the office supply store.  I'll likely try again with RoseArt or Crayola and see if that makes a difference.  :-)
 - As much as I am intrigued by Tim's new stamp & die collections, they haven't found their way into my budget yet, so in the meantime, I used some blueprint stamps I already owned, and fussy cut them.  Same effect, a little more work.  But totally doable without laying out for new stamp/die combos, and the magnetic platform.  :-)

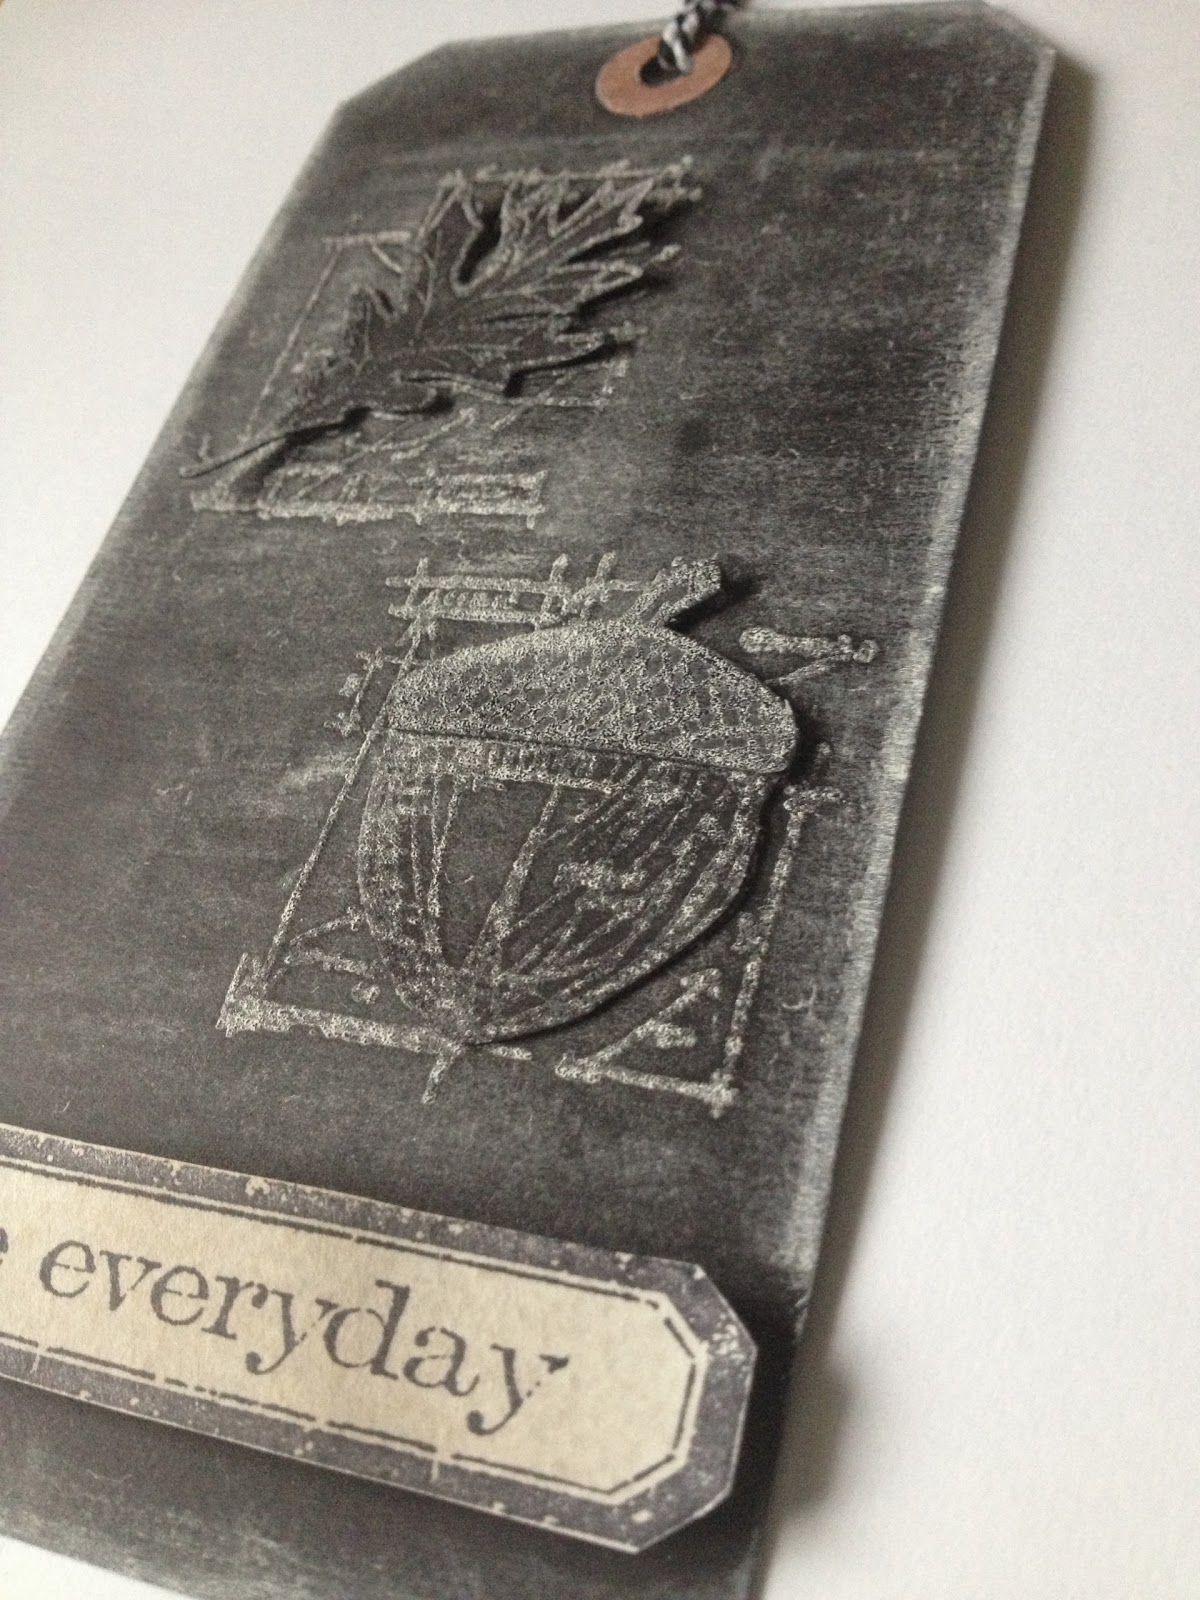
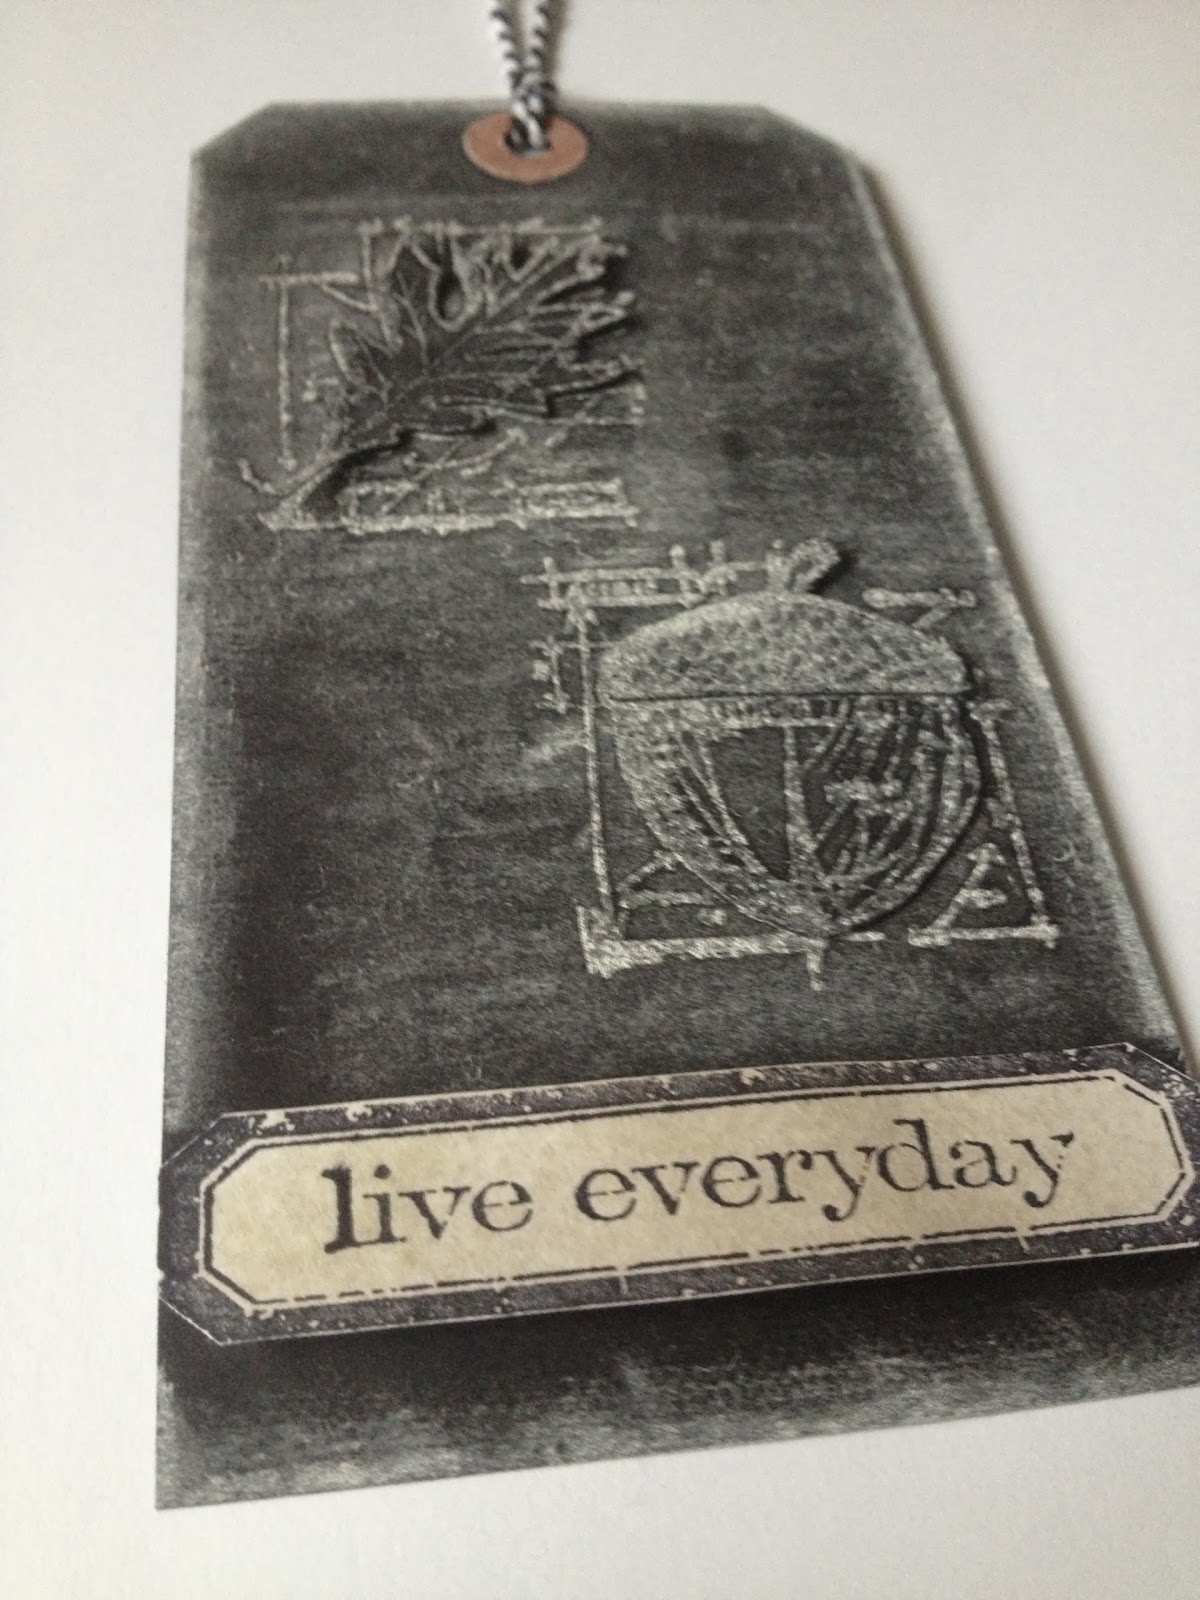
More views:


I'm looking forward to a nice long weekend (I'm off work beginning at noon on Wednesday, and continuing through the weekend), and spending a lot of it in my studio.  Still have a couple more posts planned in November.  What are your creative plans for the holiday?  :-)

BAC