For a long time, crafters who wanted to work with walnut ink would start with walnut ink crystals, and would have to prepare them in a solution before they could craft. More recently, pre-mixed solutions have become available, that allow you to get the same results without worrying about mixing ahead of time. Tsukineko's line of solutions come in 8 colours:
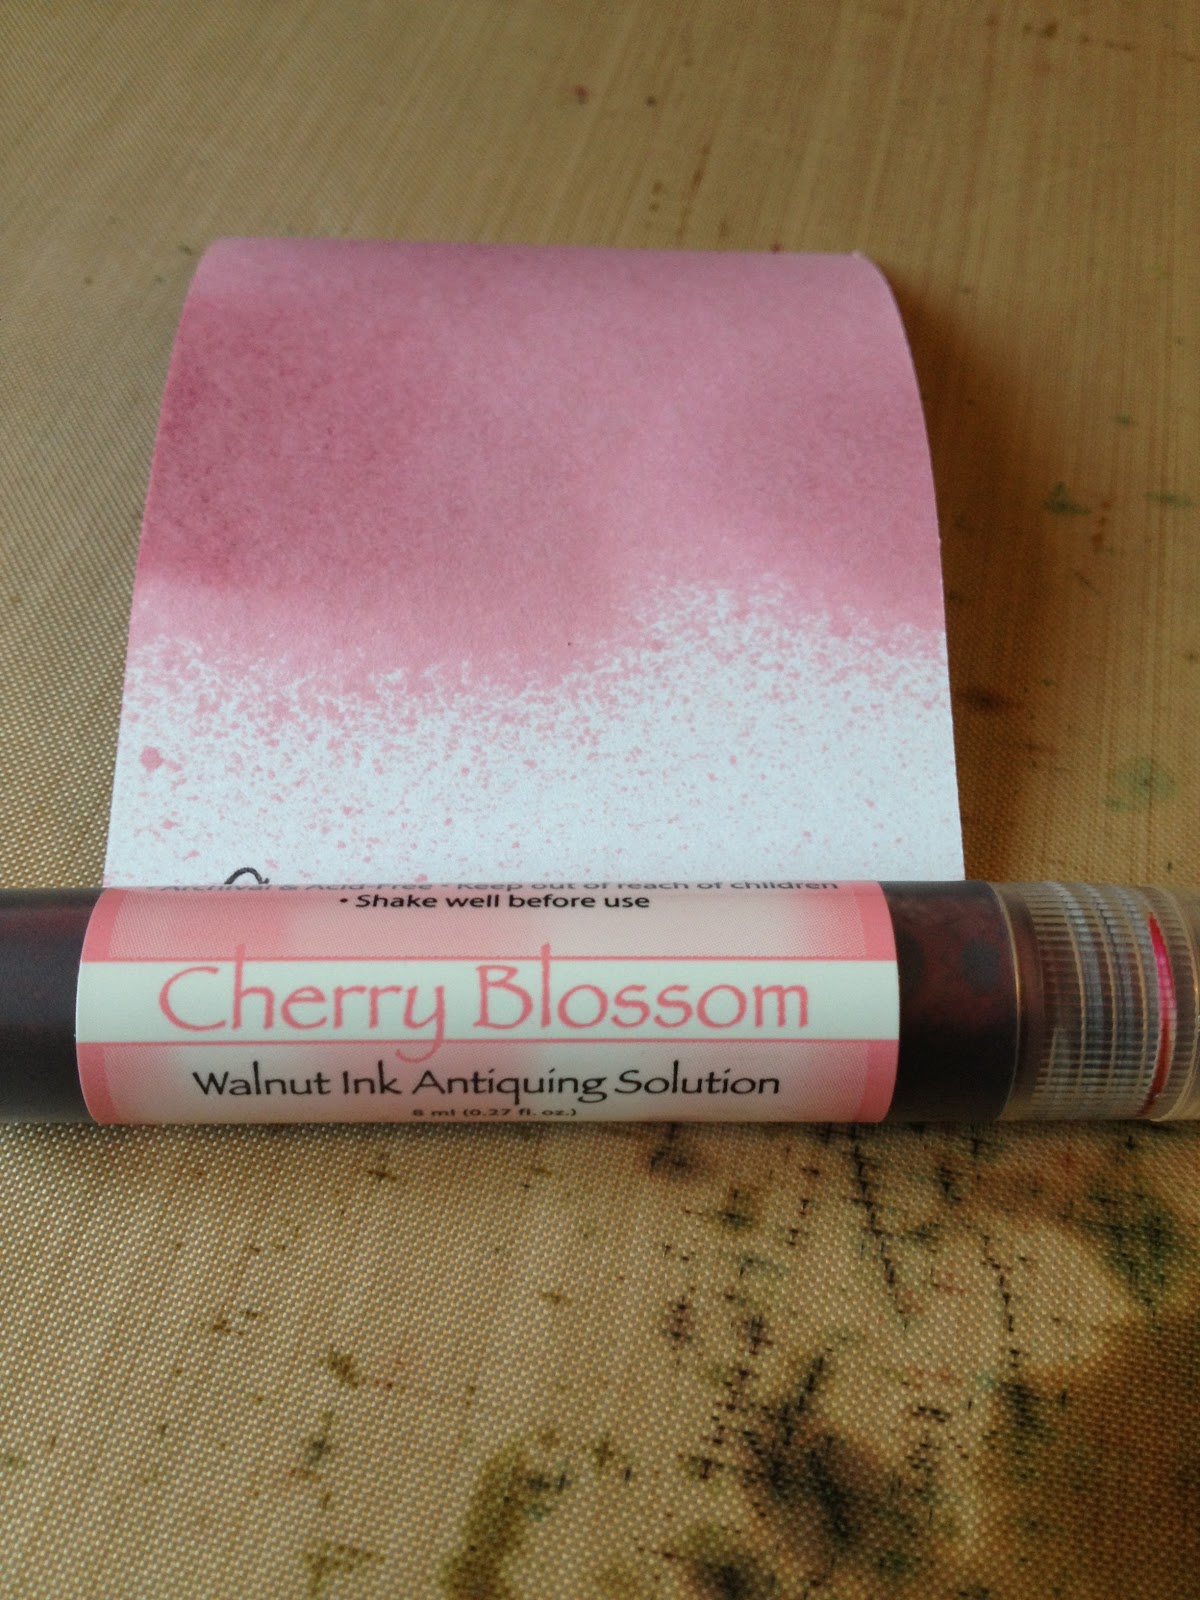
Cherry Blossom
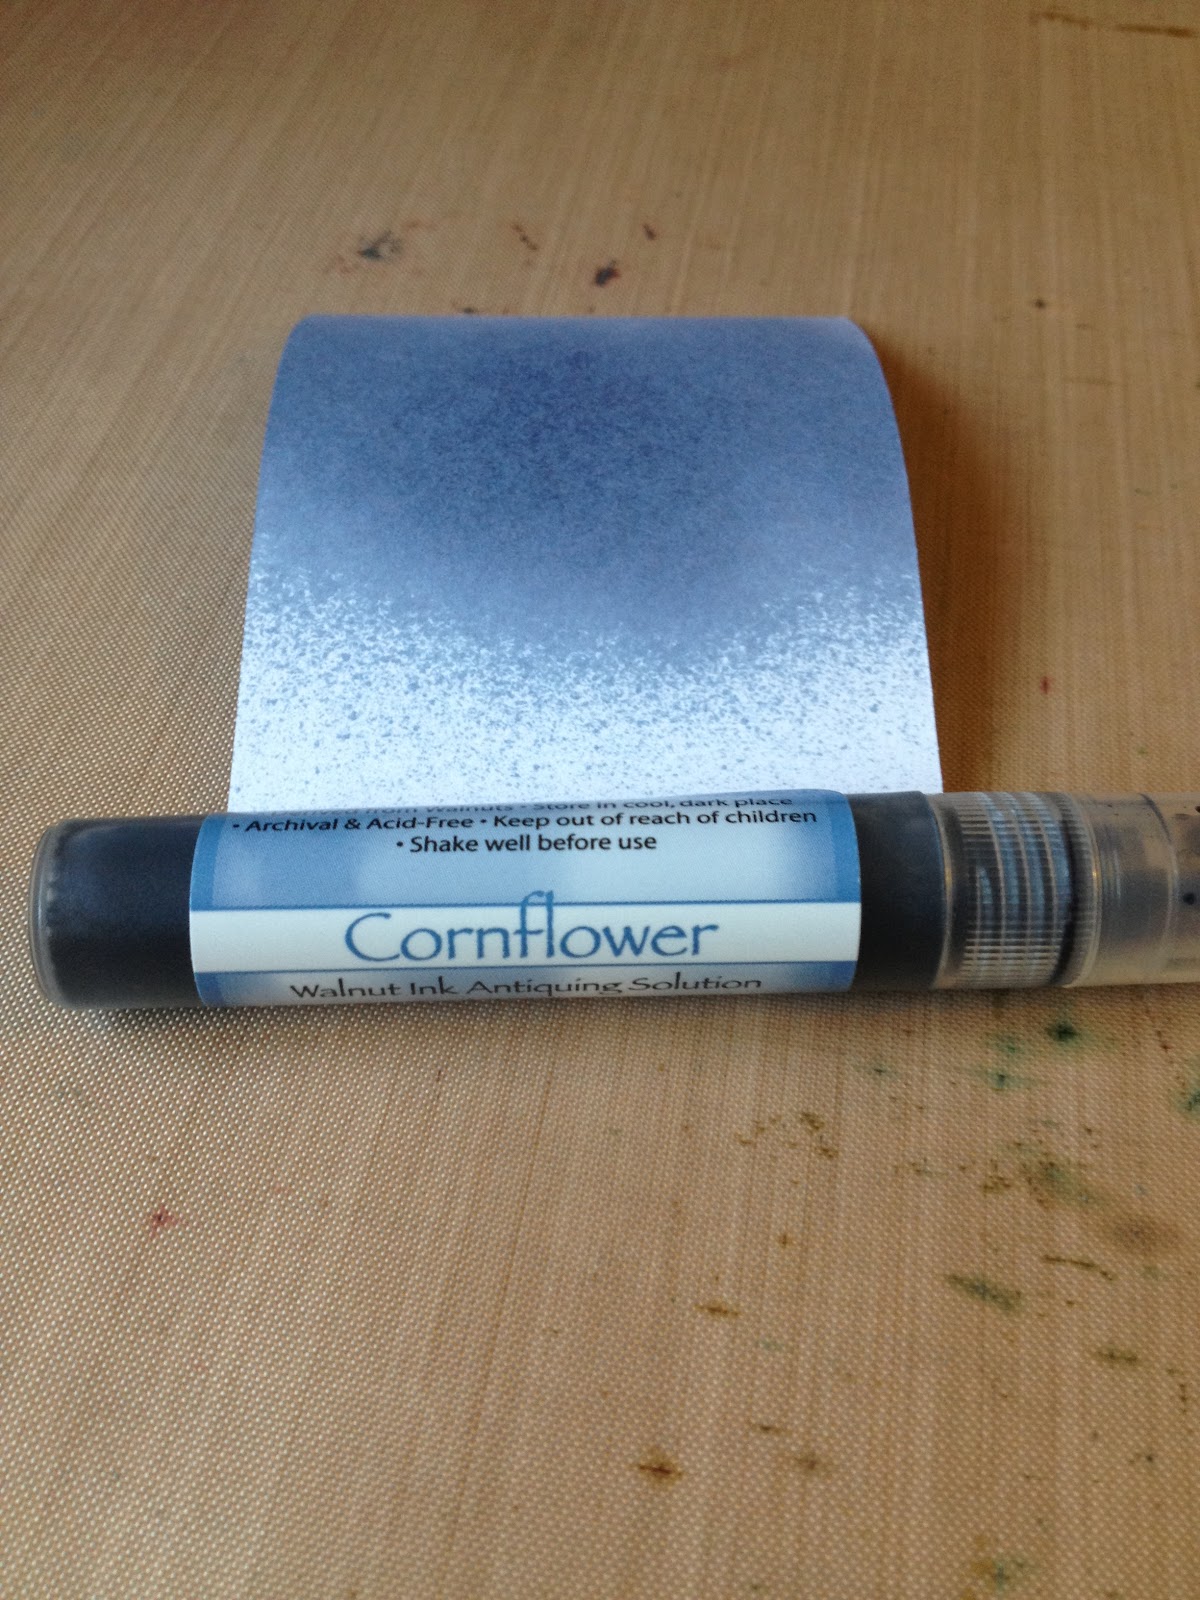
Cornflower

Eucalyptus
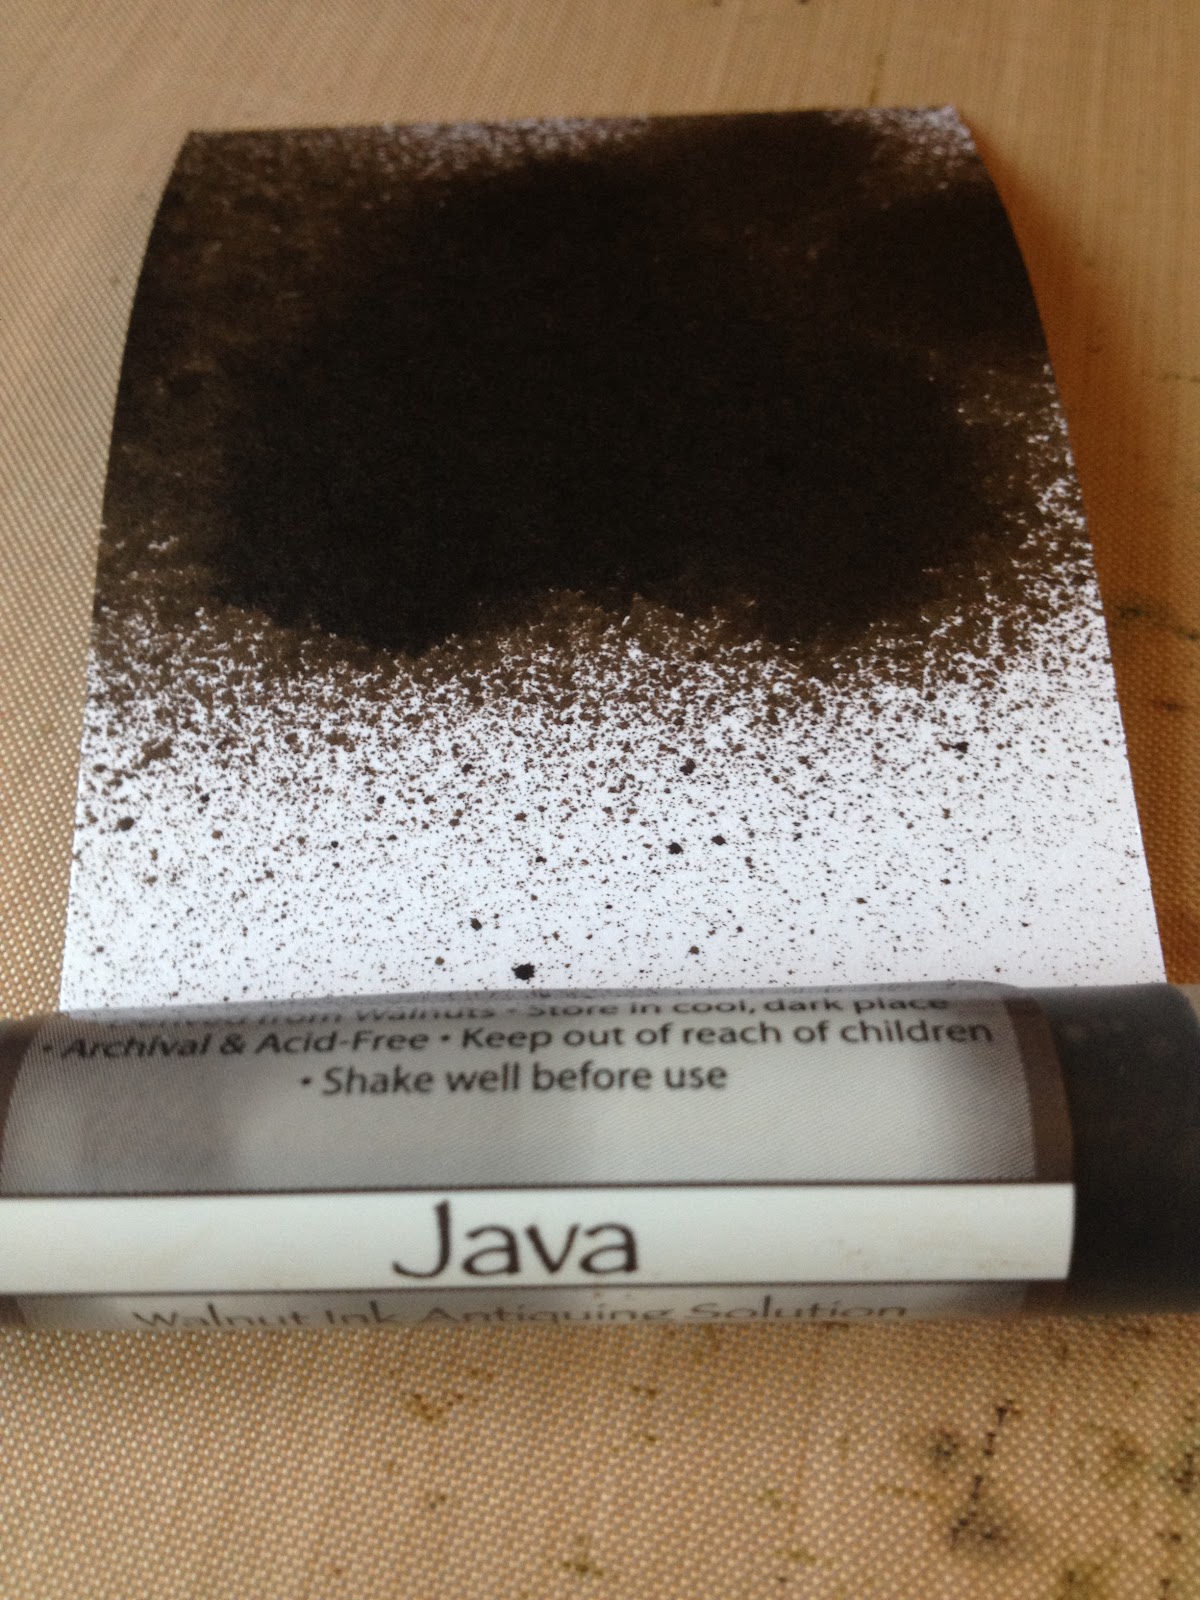
Java

Lilac
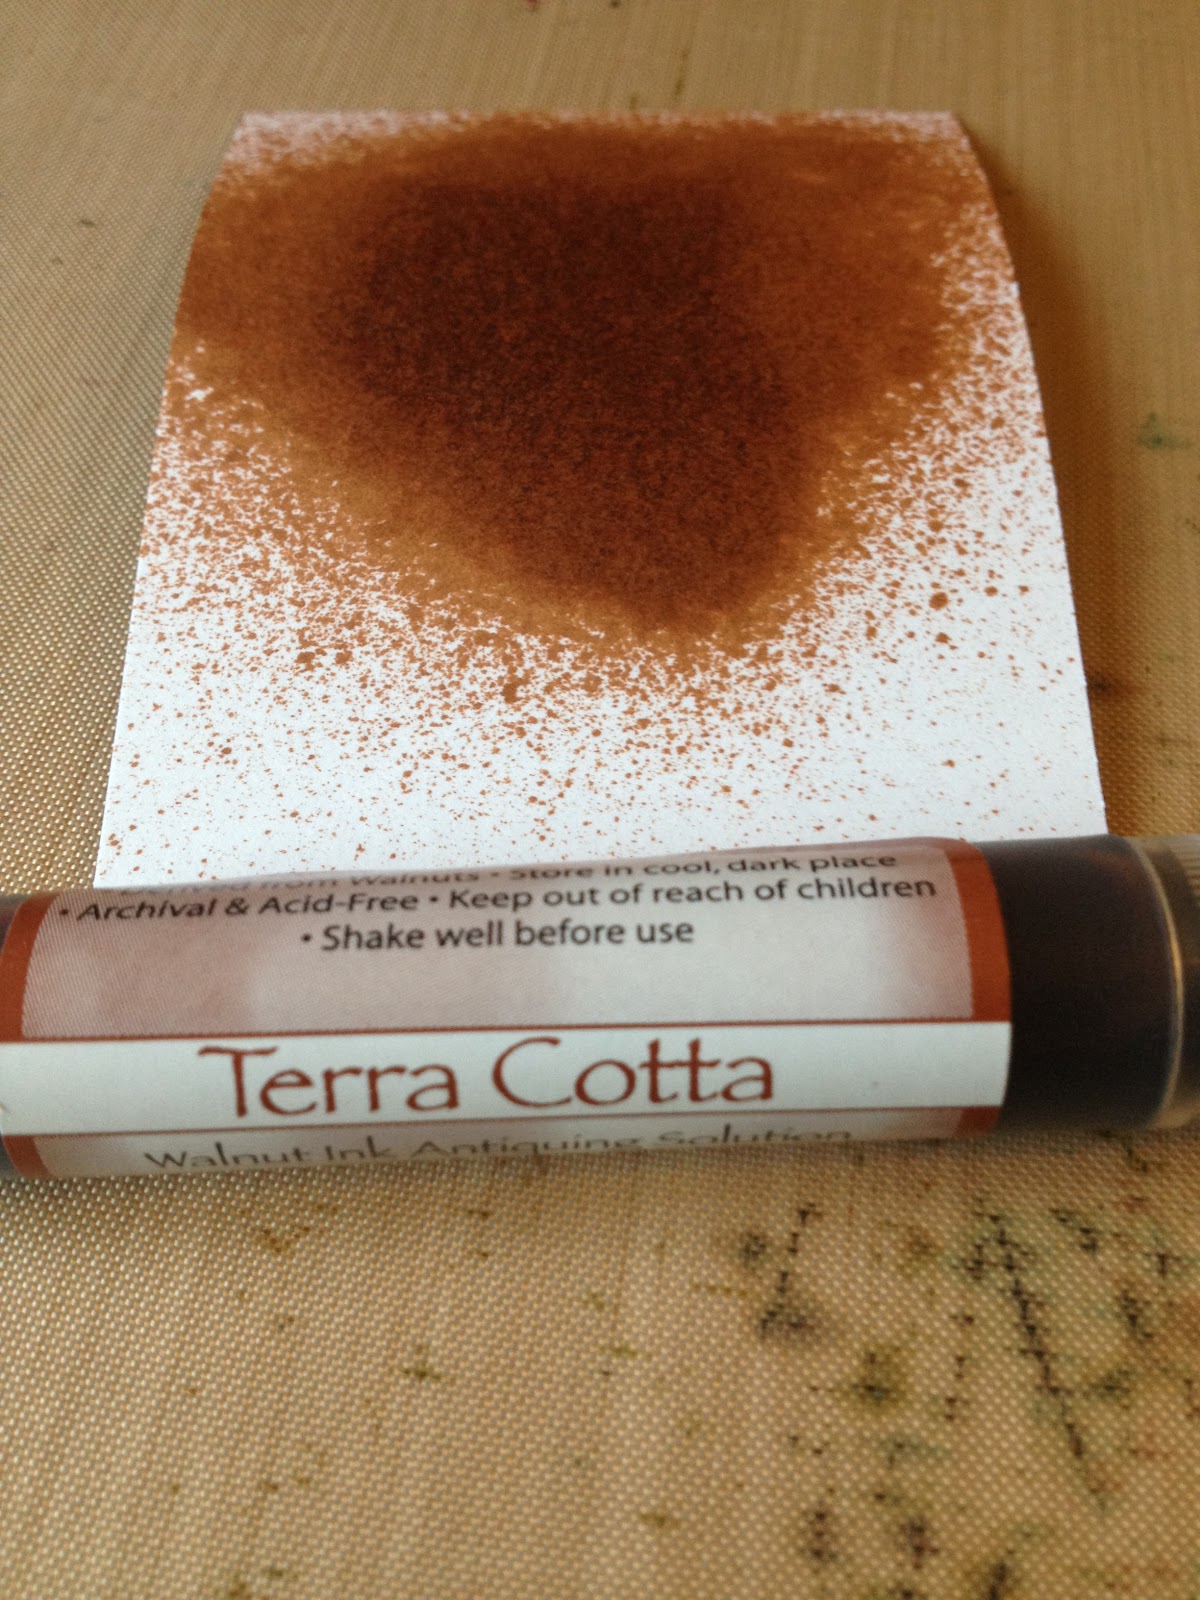
Terra Cotta
Walnut

Willow
They are available in 2 oz. pump bottles, and 8 ml spritzers (pictured). I have the smaller spritzers because they're easier to find at local craft stores, but when I use them up, I'll likely replace them with the larger bottles. The nozzles on the spritzers are a tad...erratic. They're workable, but occasionally frustrating.
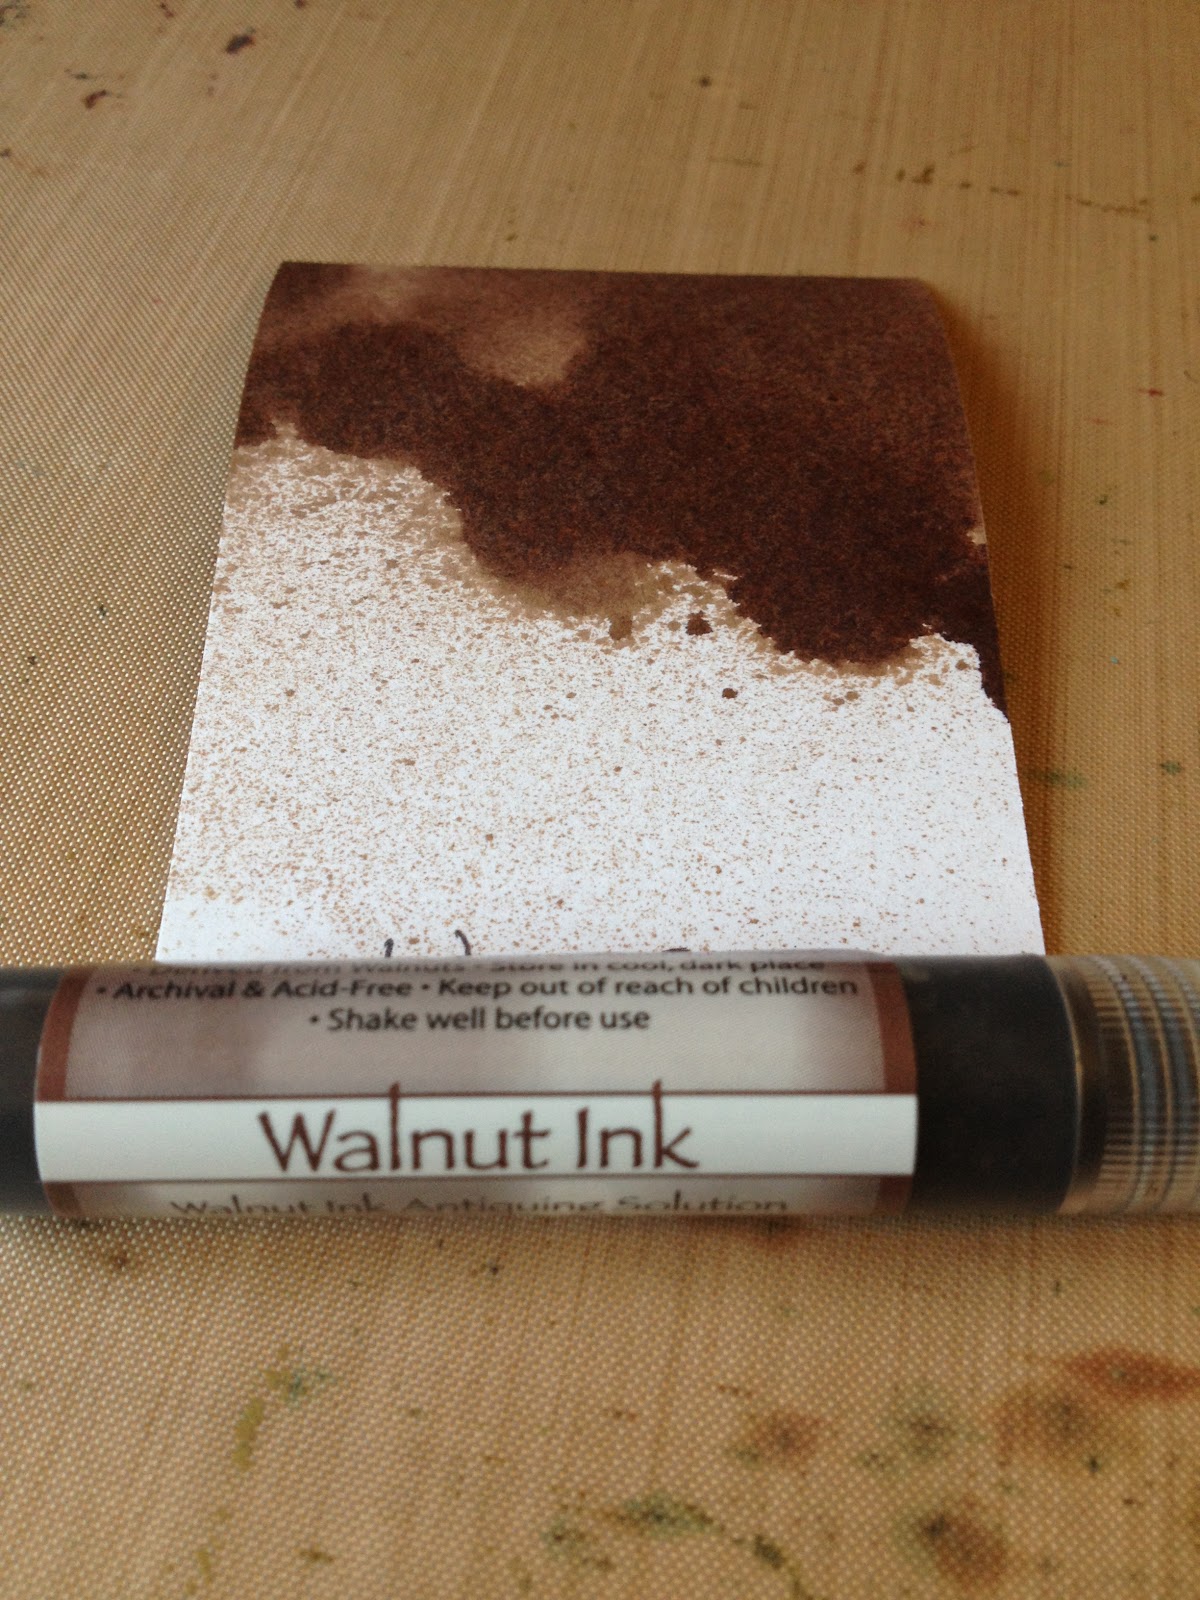
So how do they work? Well, there are a few things to know. The solution is a dye ink, and it's going to layer over whatever you spray it on, while remaining translucent. So they're going to work really well when you spray them on light colours, but I wouldn't recommend spraying them on black or dark colours, as they won't really be visible, and you'll just be wasting ink. You can spray them over a printed surface, and the words will still show through (though they'll be hard to read if you use Java, which is a brown so dark it's almost black).

As a quick demo, I sprayed Eucalyptus (the darker of the 2 green shades) over pen on cardstock.
They're water-reactive, but not in the same way that Distress products are. As soon as you spray them onto a dry surface like paper or cardstock, the ink will soak in almost immediately. It'll be dry to the touch within about 30 seconds (though the core of the cardstock will take a little longer to dry). When you spray it, you can actually see it soak into the surface in front of your eyes. Hitting it with water at that point won't accomplish anything - it has virtually no open time. However, if you spritz your surface with water BEFORE you spray the solution on, then when you do, you'll see it move and wick in all the fascinating ways that Distress does.
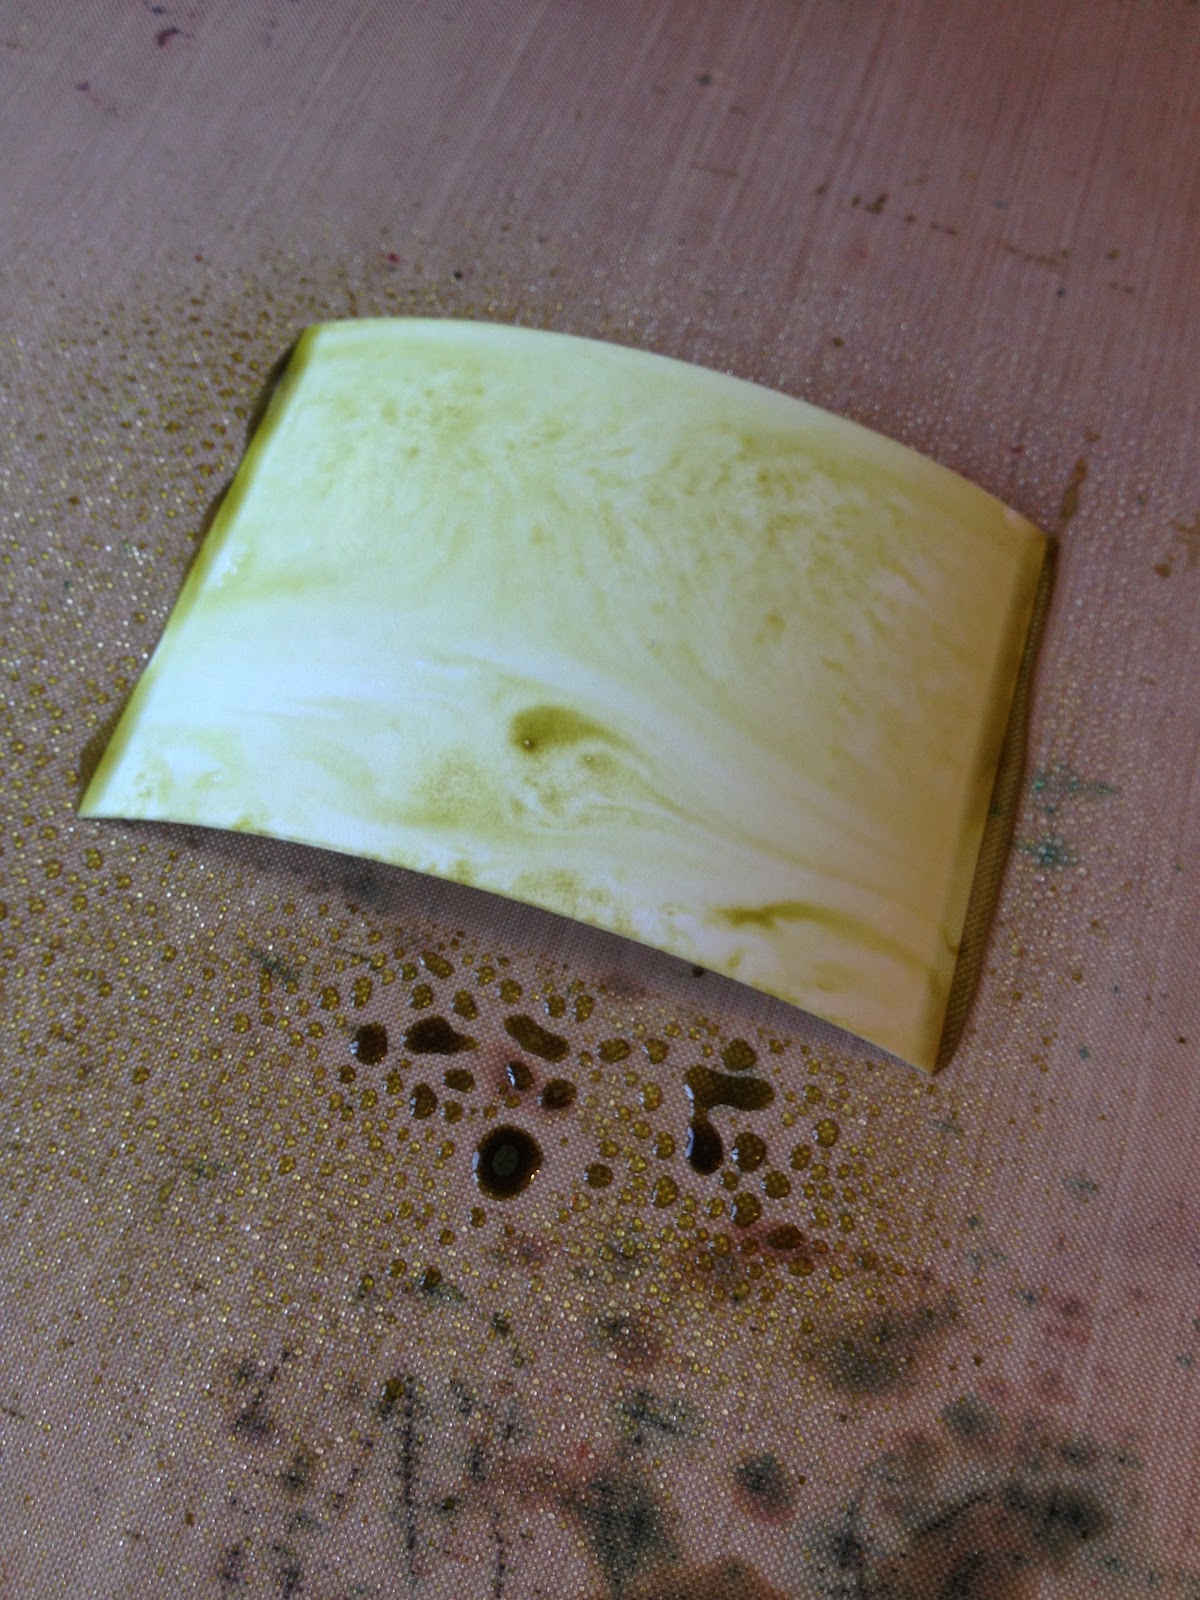
Where this gets particularly fun is when you're working with more than one colour. If I lay down one colour on dry cardstock, and then lay a different colour over it, I'll see both of them, but they won't mix.

Here, I sprayed Willow first, and then followed it up with Cornflower.
You can see the blue, but the green shows through as well.
When I wet my cardstock first, and add the Willow, it will immediately begin to move and spread.
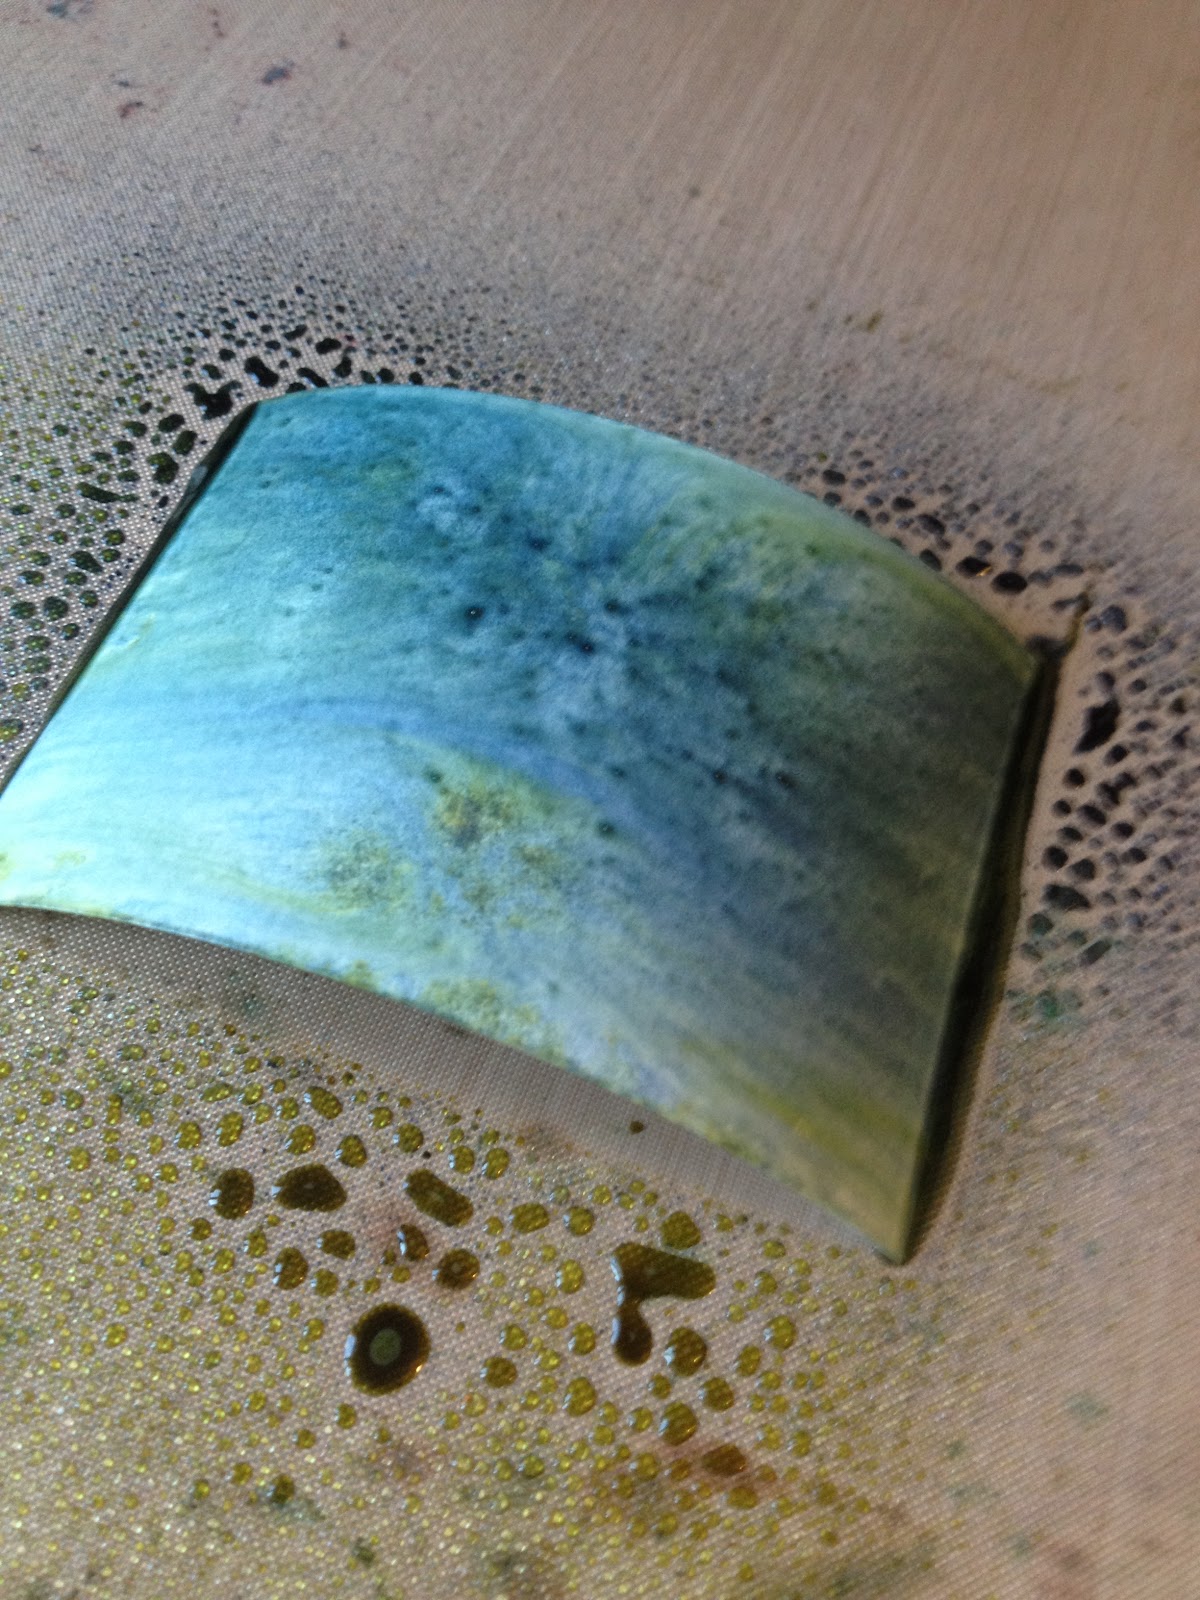
Next, I add my Cornflower. I can see the colours mixing together.
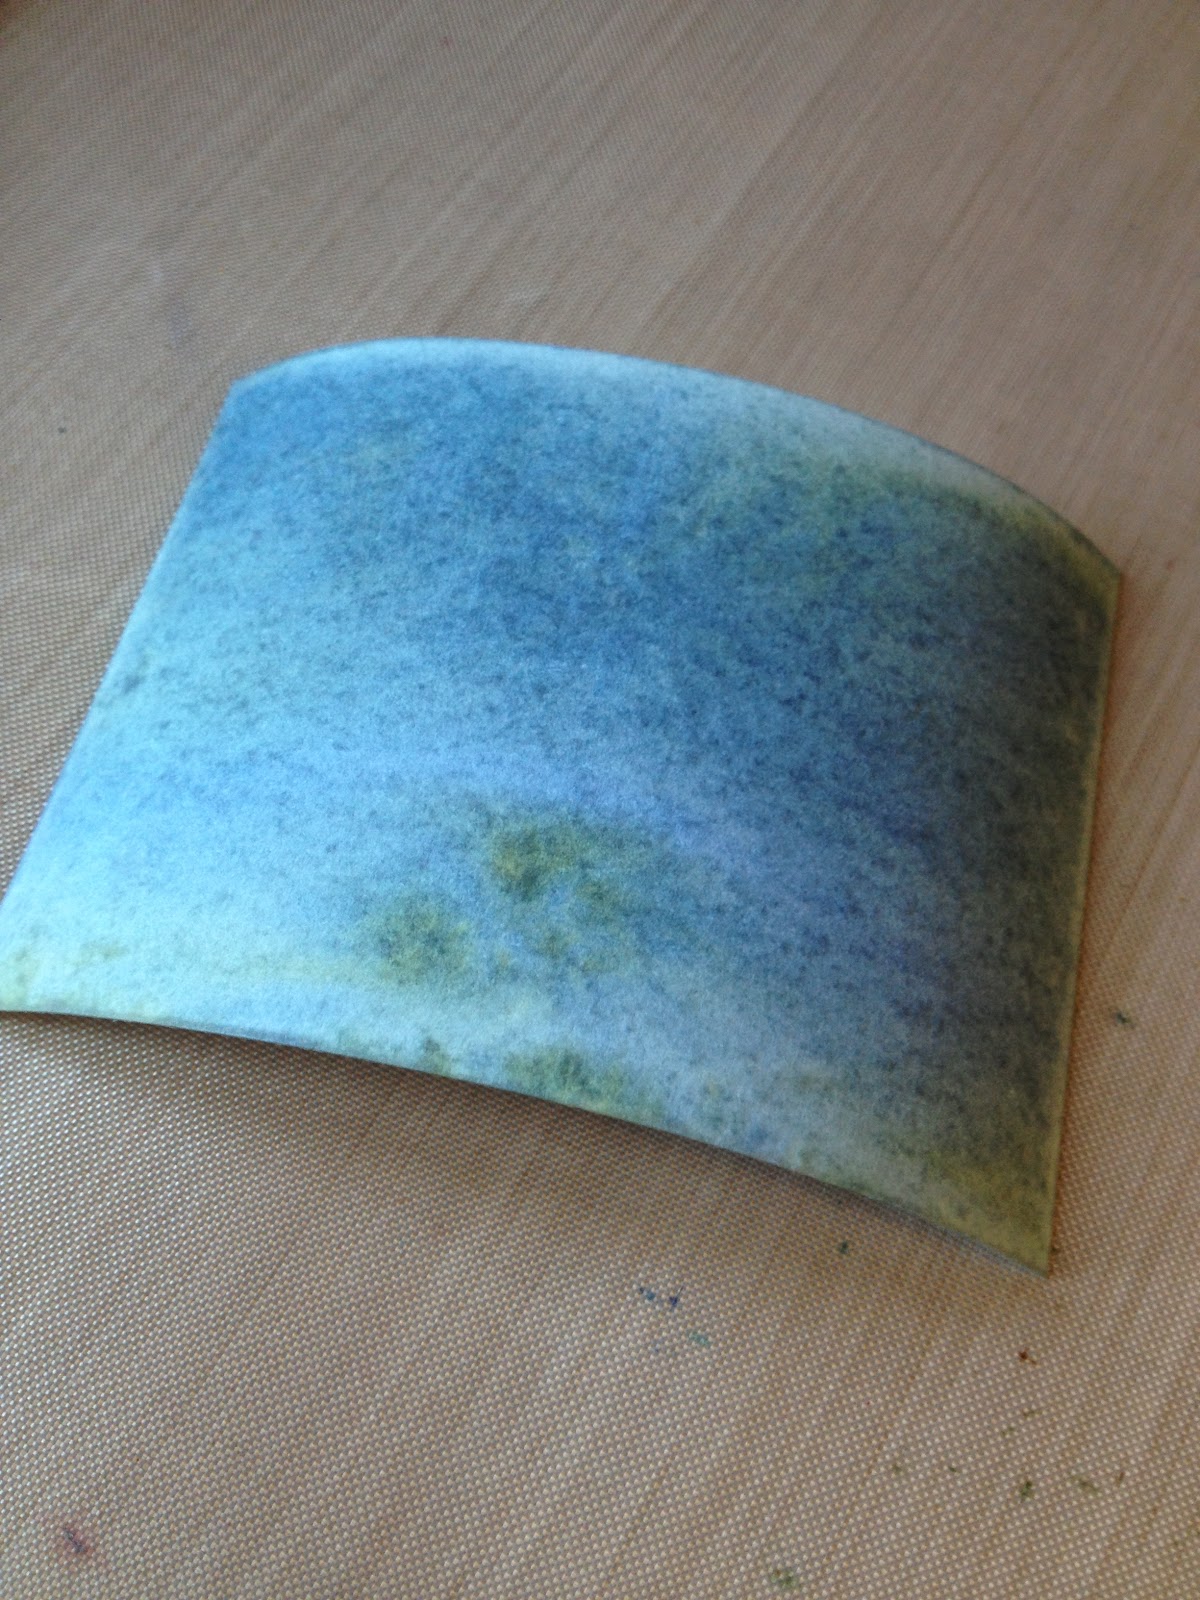
After a little time off to the side to dry, this is the result.

Sometimes, I don't want even colour all over the surface. You can control both how concentrated the colour is, and the area it covers by how far away you spray from. Here, I sprayed Cherry Blossom, Eucalyptus, and Terra Cotta. The picture was taken immediately after I sprayed the Terra Cotta, and you can already see how much has soaked into the cardstock.

The same card after a little drying time.
So how might you use this in a project? Glad you asked! I whipped up a quick tag to demonstrate. I started with a #5 manila tag, spritzed it evenly with water, and sprayed on Cherry Blossom, Cornflower, Lilac, and Willow, doing my best to only hit certain areas of the tag, and counting on the wet surface to help spread the colours. Because I'm impatient, I pulled out my heat tool to speed-dry the tag.

I inked around the edges quickly with a little Distress ink (Brushed Corduroy), and stamped it up! (Inks used were Archival: Cobalt, Deep Purple, Magenta Hue. Stamps by Tim Holtz for Stampers Anonymous: CSS27911, CSS30201.) Added a little string to the top (Maya Road Twine Cording: Celery Green), et voila!


The Walnut Inks make for a very pretty background! Kinda like the effect I'd get by inking with a bunch of Distress inks or stains, but with a little less time, and a bit more permanence.
Some caveats:
- There are only 8 colours, so if you have all the Distress shades, you might not feel these are worth it.
- The sprays are a bit hard to control, at least on the little spritzers. Tsukineko makes screw-on applicator caps that fit the larger bottles, essentially turning them into dabbers, but they're a bit hard to find. None of the "big box" craft stores seem to carry them. Joann's has them for sale online only, but they're only sold there as a 25 pack. Be prepared to do a little Internet shopping if you're after them.
Additional notes:
- Shake them every time you use them, to make sure the solution is fully mixed.
- Clean up with these was nice and easy. I was working on my non-stick craft sheet, and the excess ink wiped right up with a paper towel, leaving a nice clean surface. (The stains you see on the craft sheet in some of the pictures are from old projects!) :-)
- Tsukineko does also sell the crystals in the original walnut ink brown colour only, if you're really keen to try mixing your own solution. Again, be prepared to shop online for those, as it's unlikely you'll find them locally.
All in all, these are a fun product for colouring pages and creating backgrounds, but if you already have a ton of Distress stuff, you might not feel these are worth the purchase. However, if you perhaps already have them sitting in some dusty corner of your craft room, and you've never been sure just what to do with them (I can't be the only one who does this, right?), I hope I've given you some ideas!
I think that's everything I had to share, but if you have further questions, by all means add them to the comments!
'Til next time,
BAC
Thanks so much. Now I have more things to do with them besides just spritzing the paper. Great job!!!
ReplyDeleteJust made so LTC' s with this technique and loved how the background came out. Thanks
ReplyDelete