Tuesday, December 31, 2013

...and December makes 12!

I'm getting it in just under the wire, but I've completed 12 Tags of 2013!  :-)  Without further ado, here's my December tag!


Materials/tools used:
 - Ranger Inkssentials Manila Craft Tags
 - Ranger Distress Ink: Frayed Burlap
 - Ranger Distress Stain: Antique Linen
 - Ranger Dylusions Spray Ink: White Linen
 - Ranger Archival Ink: Fern Green, Vermillion
 - Ranger Perfect Medium
 - Ranger Glossy Accents
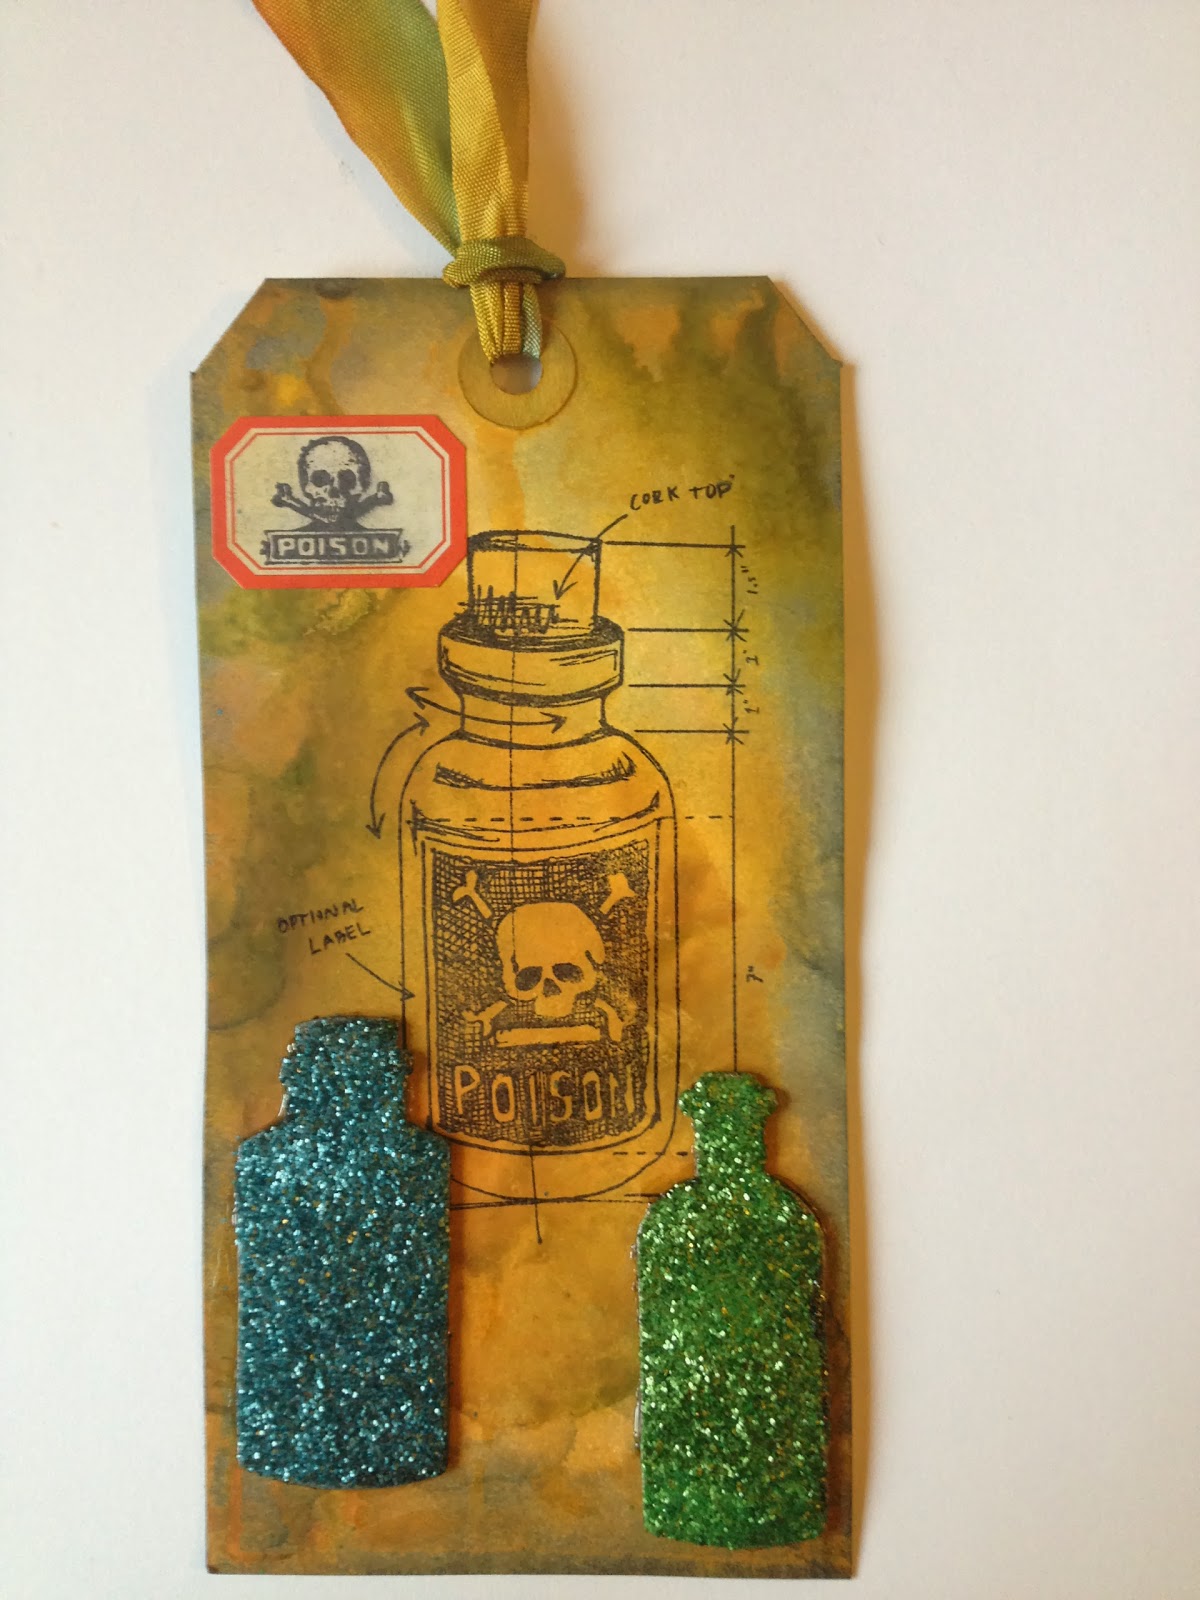
 - Studio 490 Clearly for Art
 - idea-ology: Frosted Film, Long Fasteners
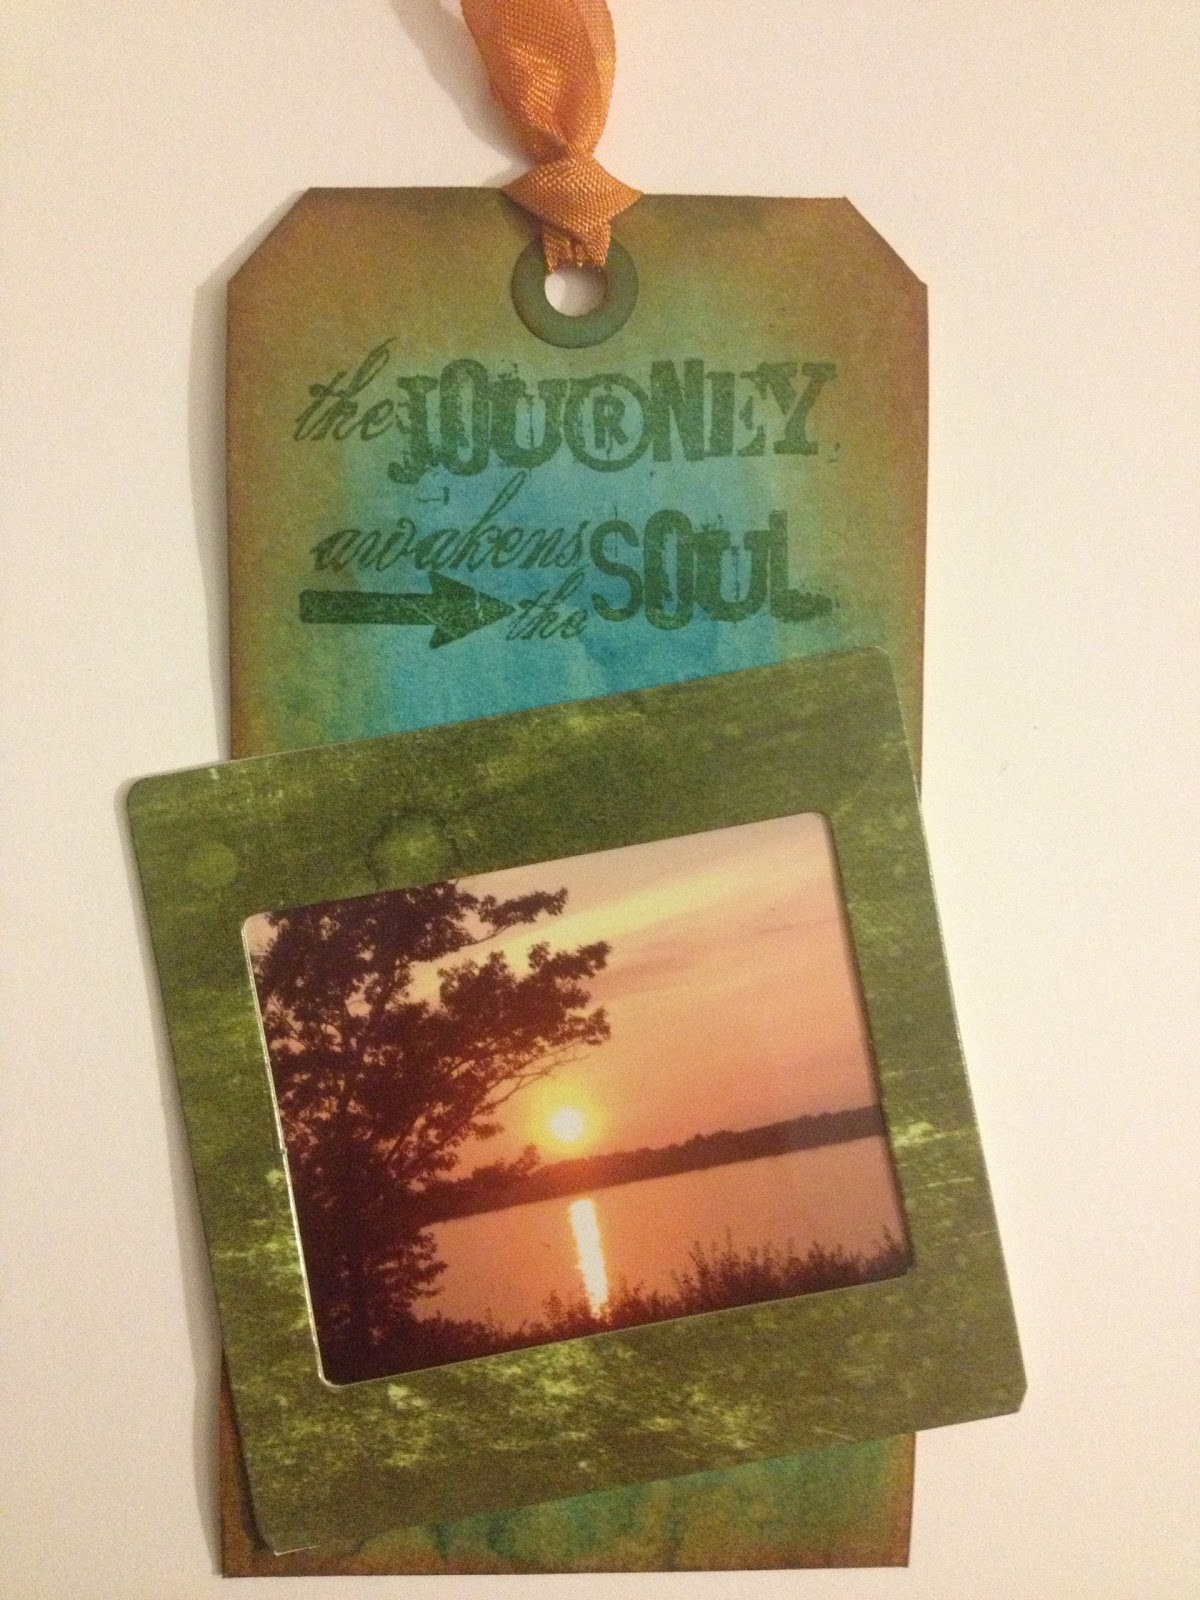
 - Stamp by Tim Holtz for Stampers Anonymous: CMS175
 - Dylusions Stencil: Diamond of a Border
 - Ranger Craft Scraper
 - Ranger Heat Tool
 - Ranger Inkssentials Mister
 - Ranger Inkssentials Foam Blending Tool
 - Sizzix Big Shot
 - Sizzix Bigz Dies: Tattered Florals, Tattered Leaves
 - Tonic Studios: Craft Scissors, Craft Pick, Paper Distresser
 - Paper trimmer
 - Self-healing cutting mat
 - Black embossing powder, yellow gem, ribbon from my stash

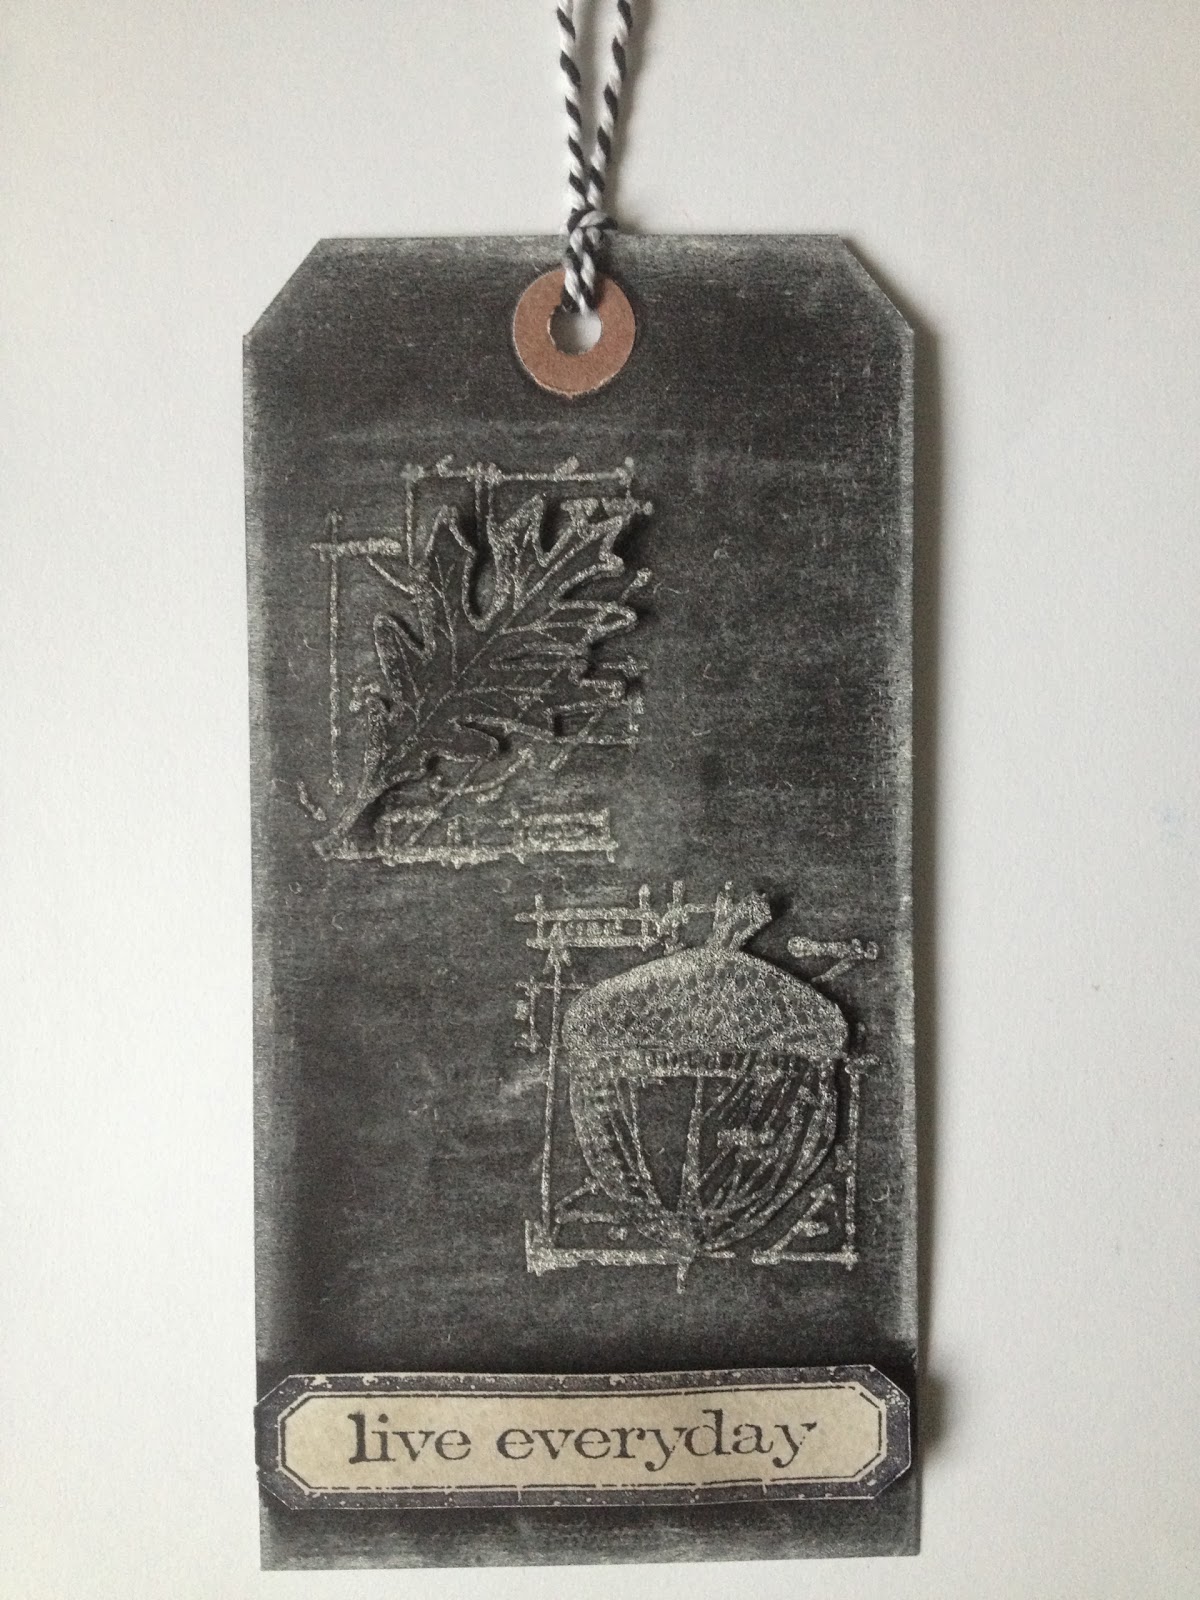
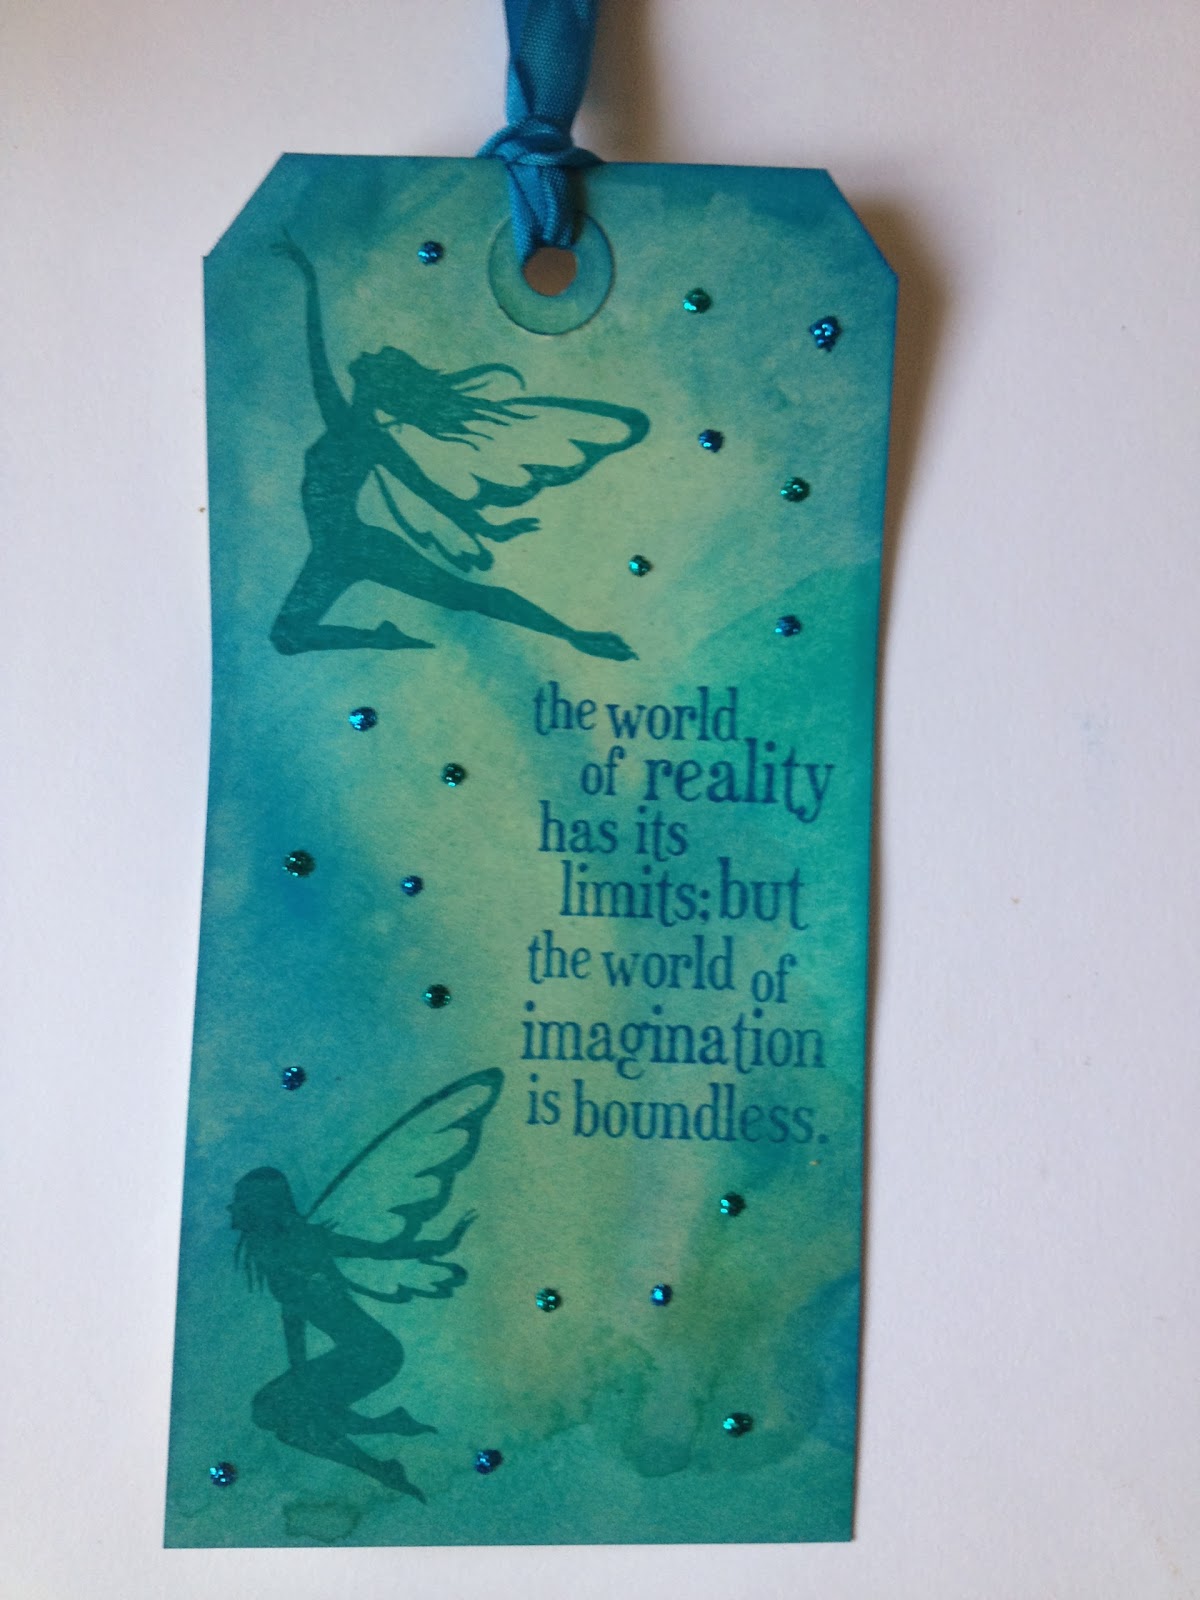
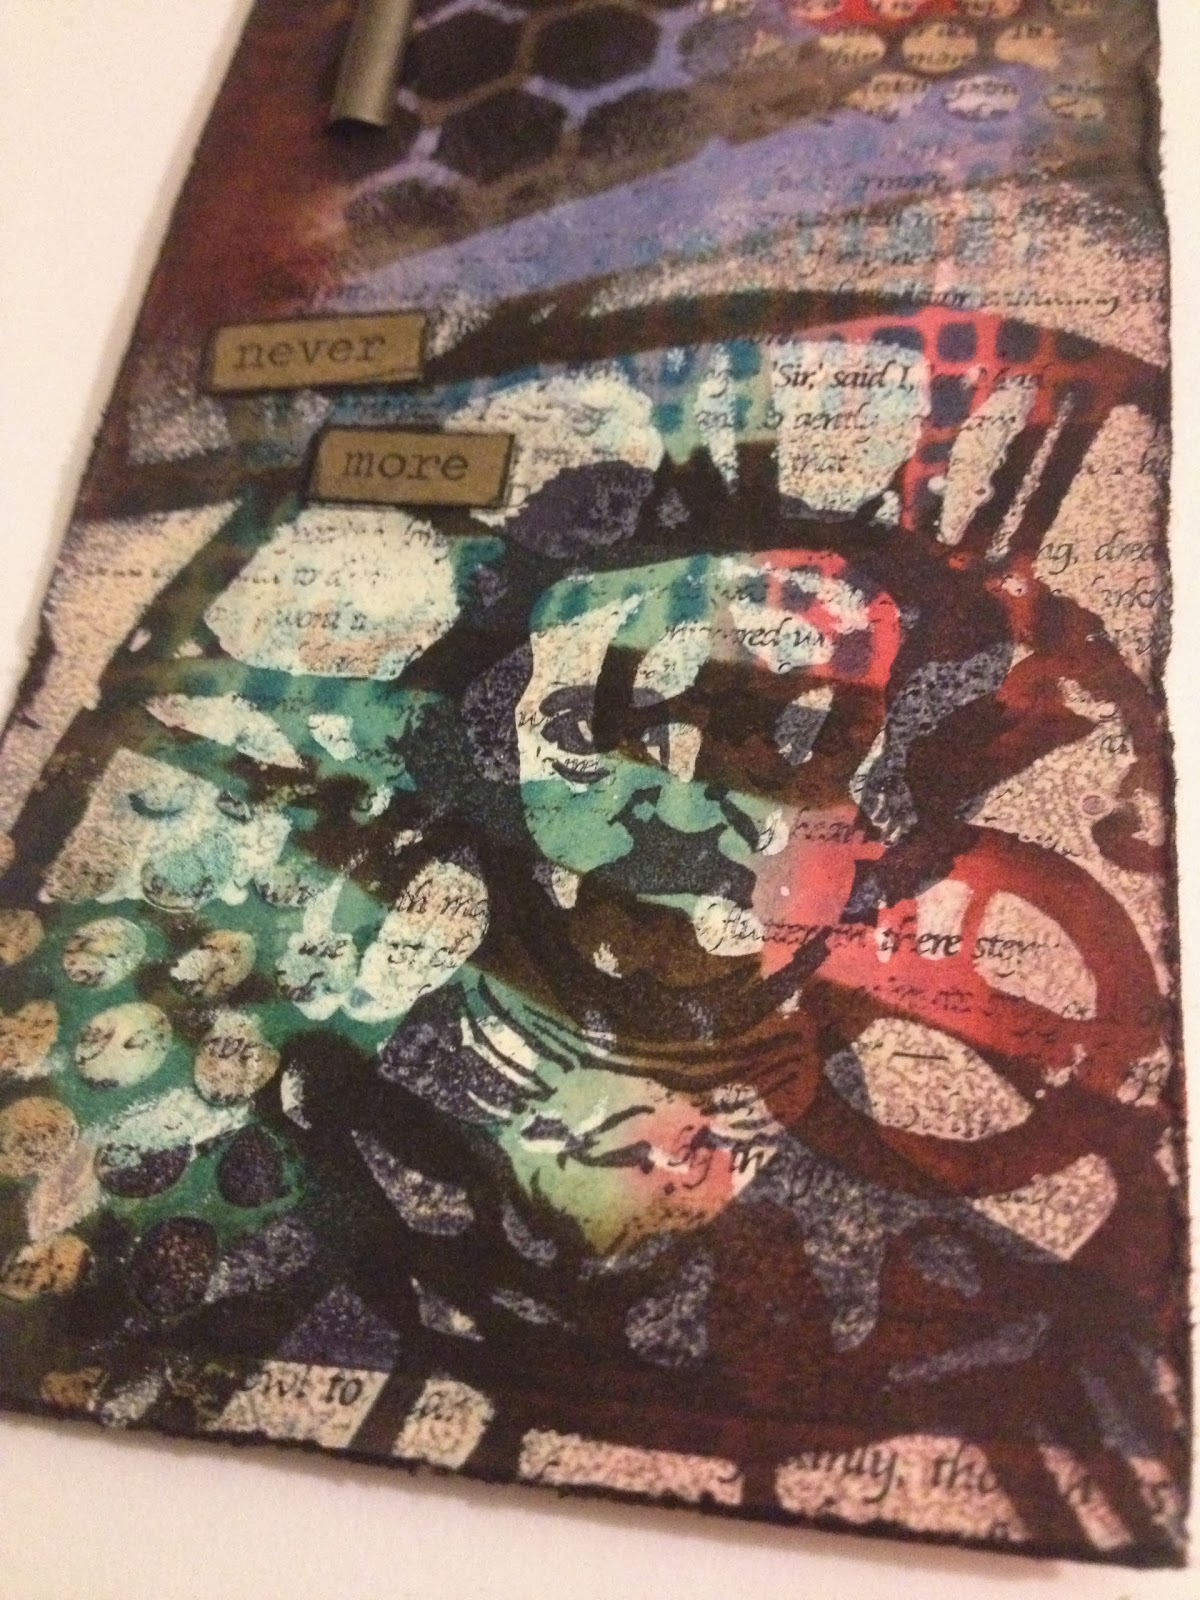
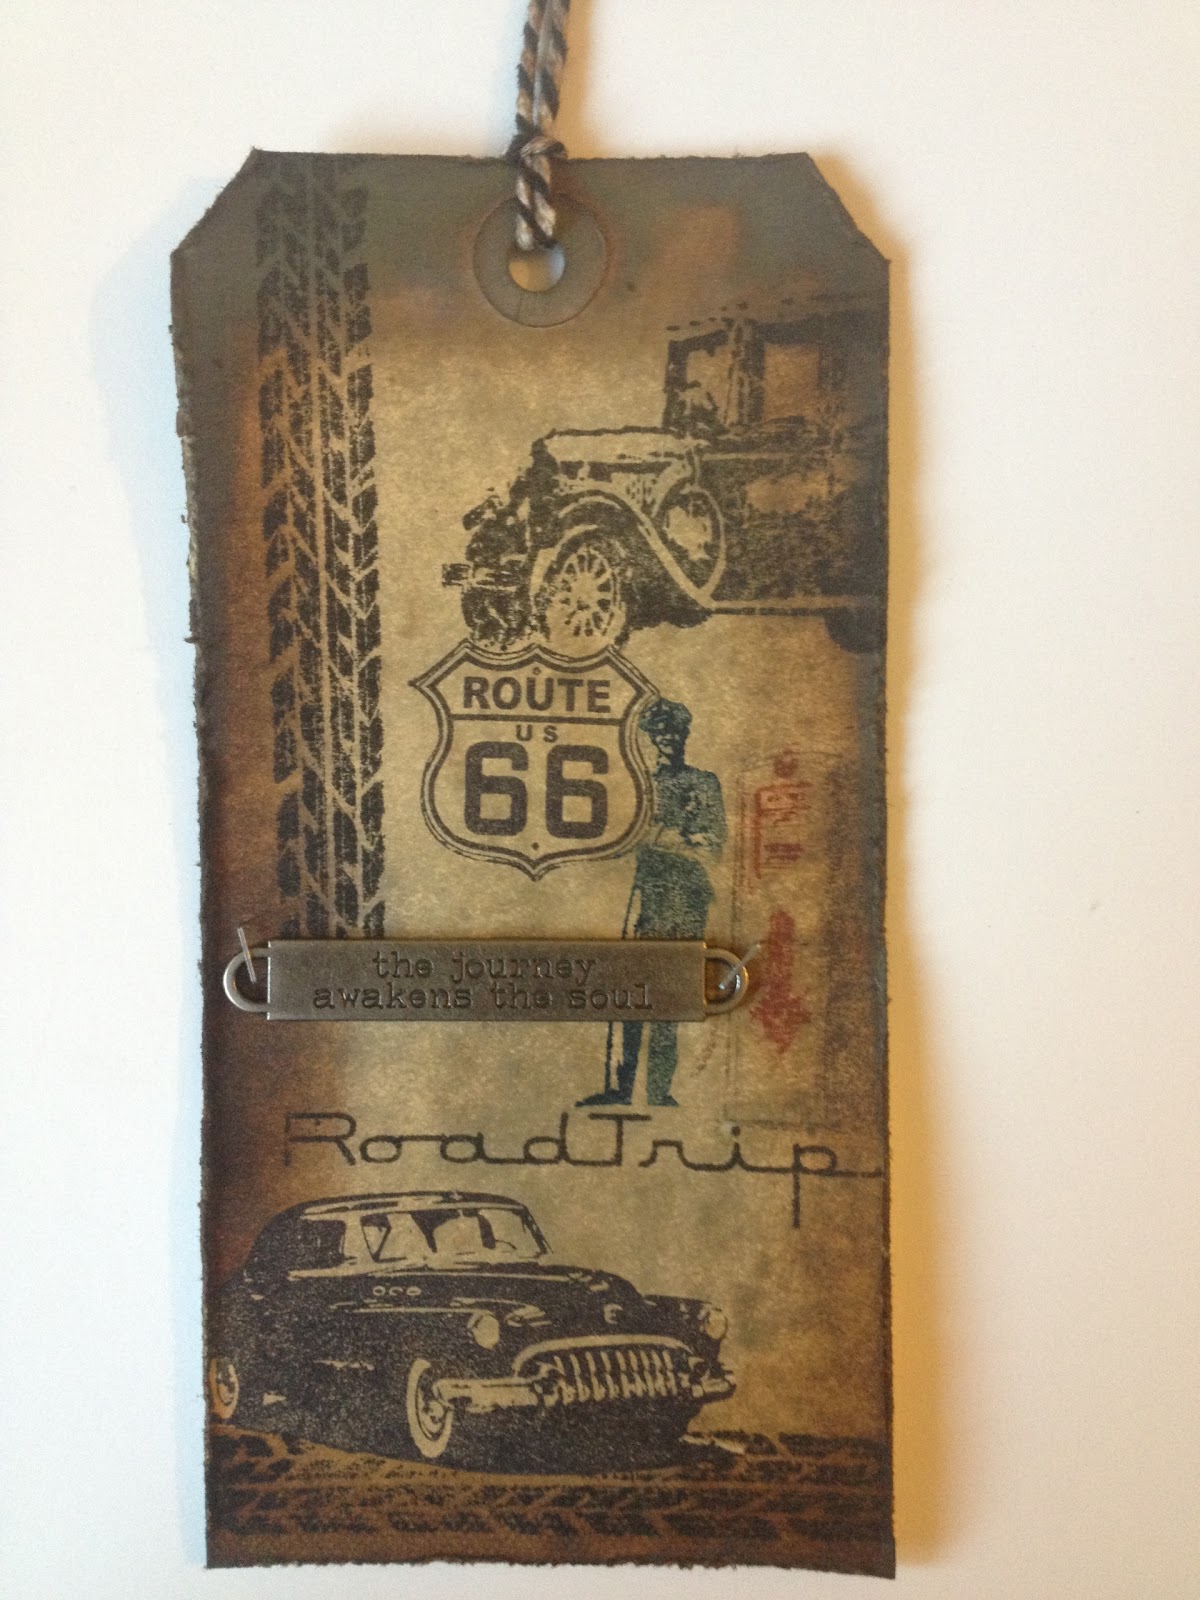
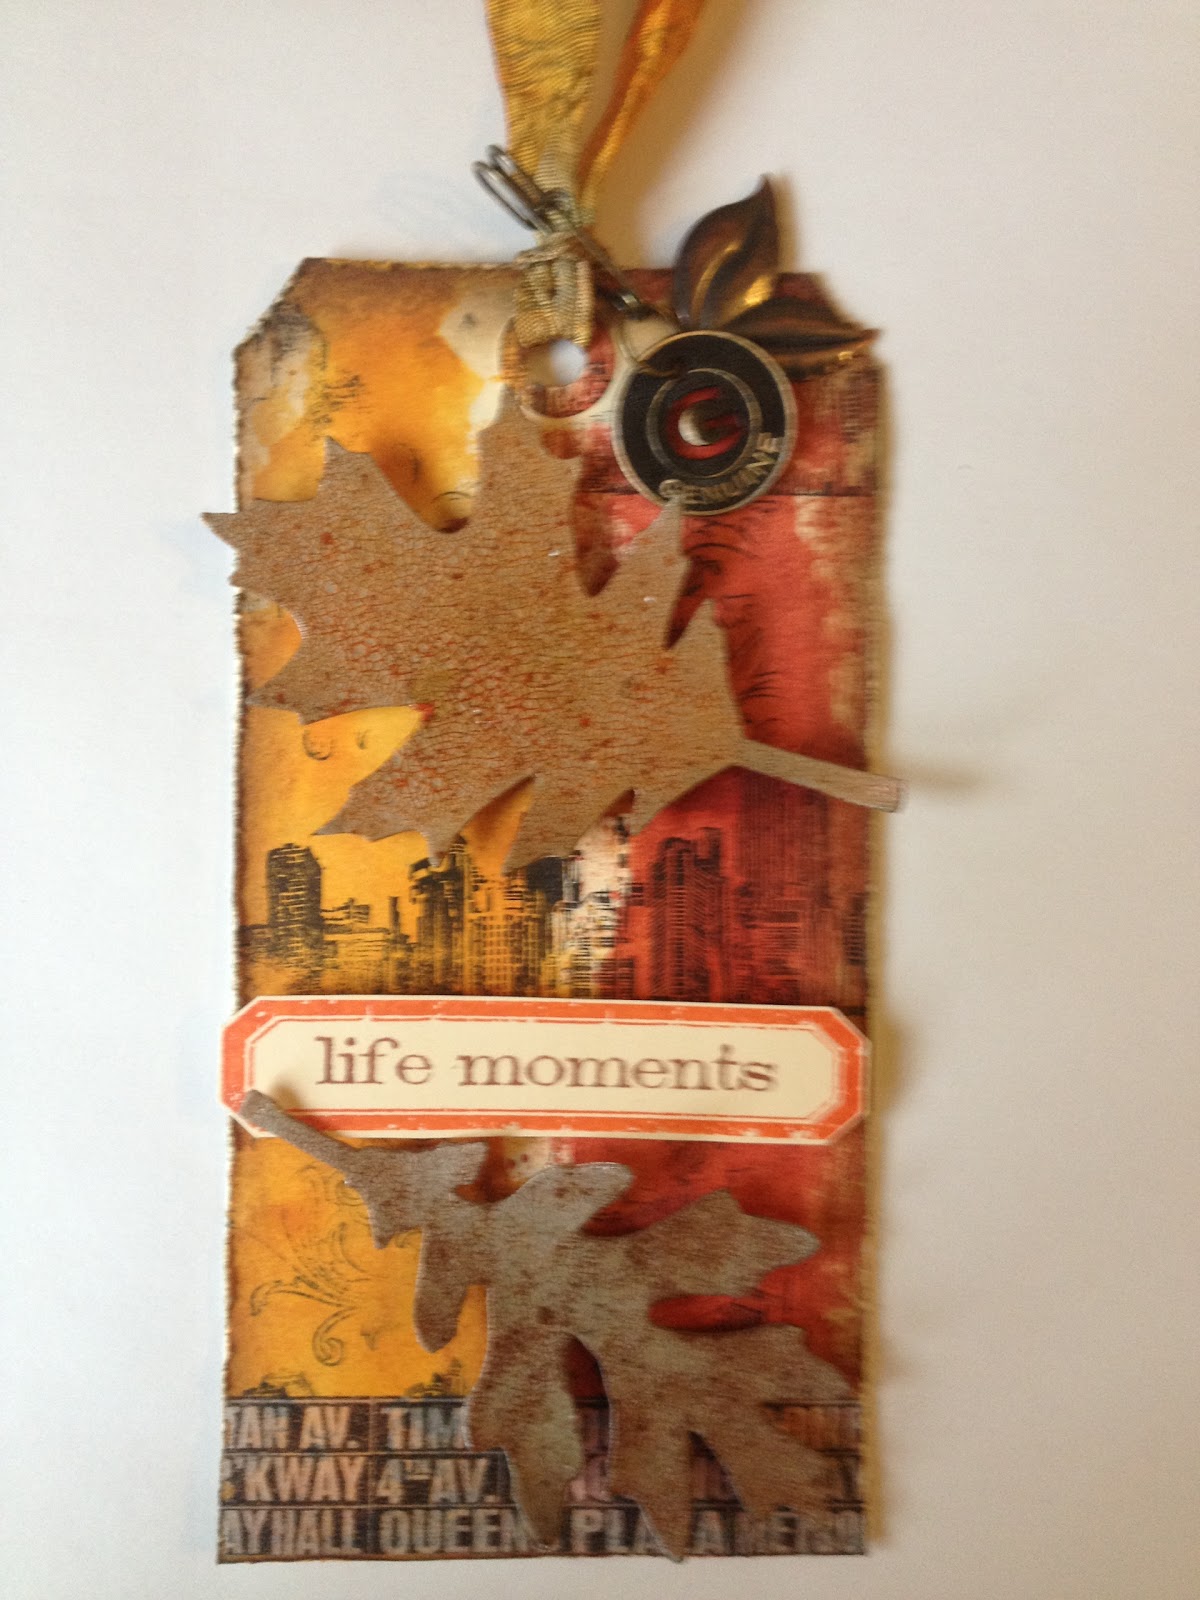
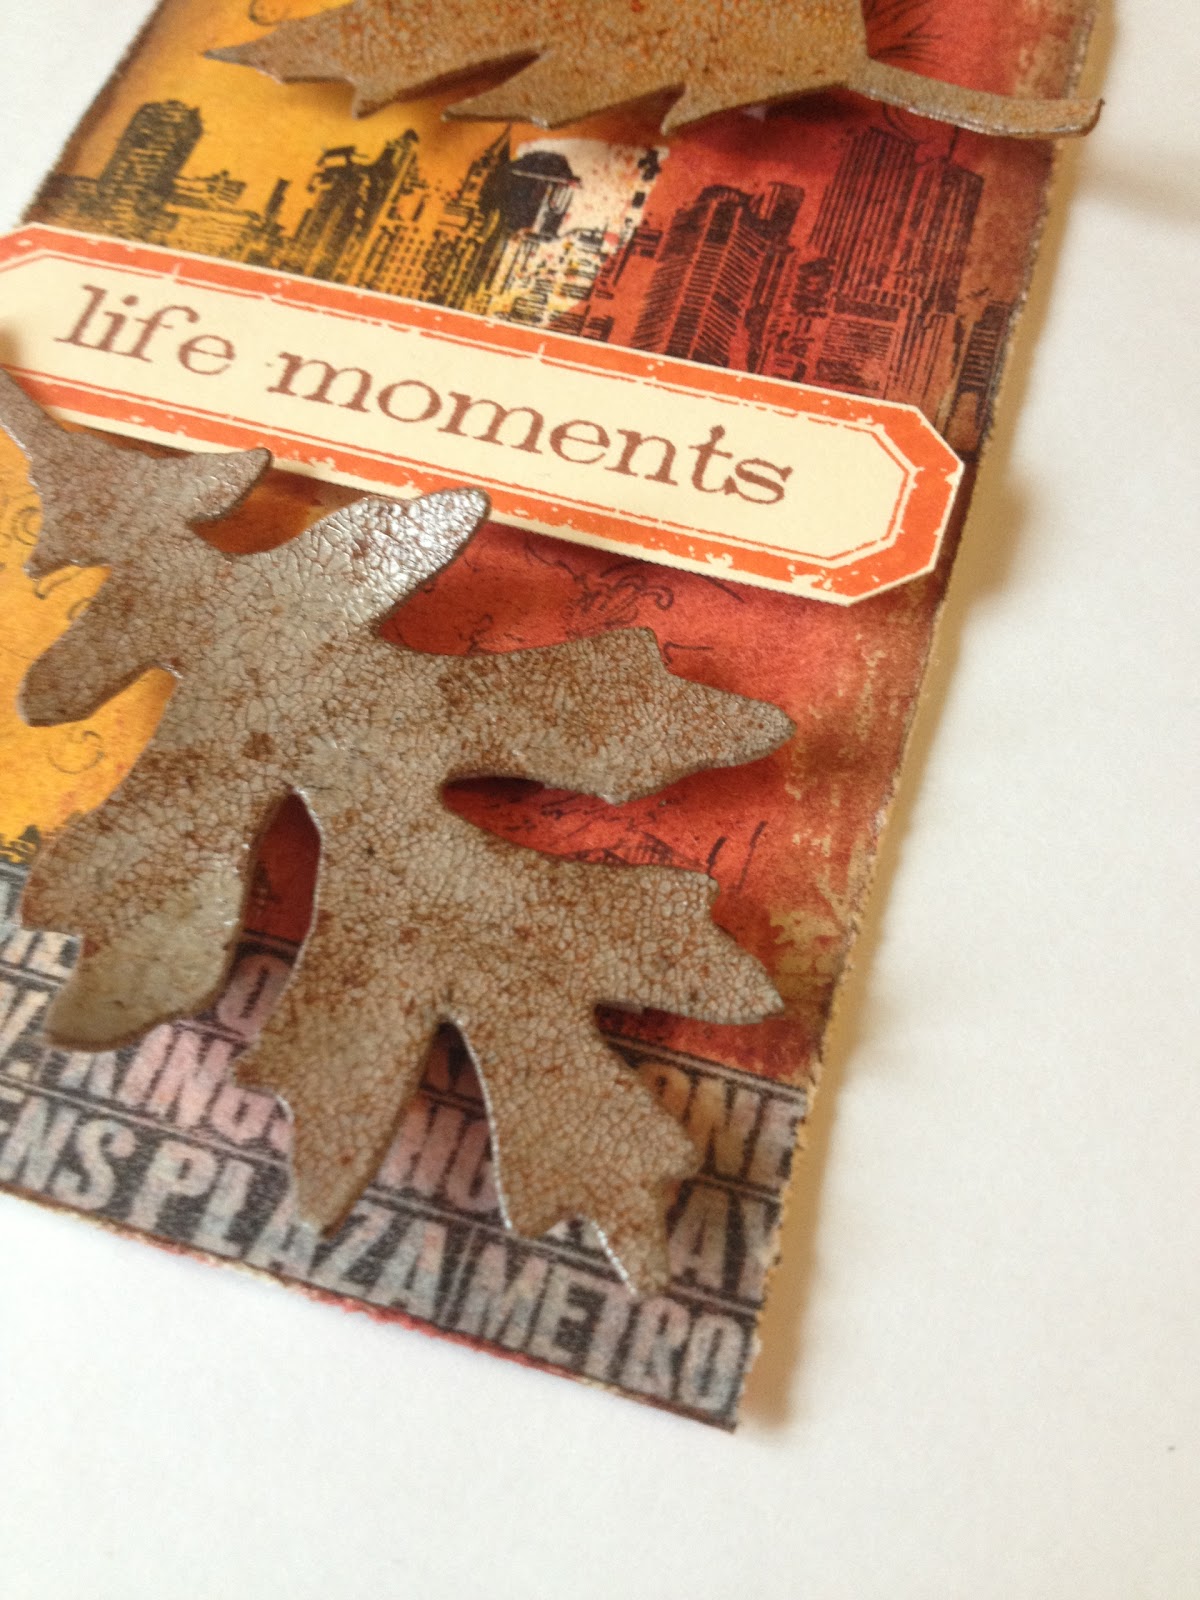
There were a few items Tim used on his tag that I either don't have, or couldn't find when I was making my tag.  (Oops!  Let's make organizing the craft room again a resolution for 2014!)  I don't own the Tattered Poinsettia die, but I substituted a couple other dies for a similar effect.  The splatter brush Tim used for the snow effect looks nifty, and I now have one on my list, but since I don't have it yet, I used white Dylusions instead of white Distress paint.  Still came out looking quite cool, I think.

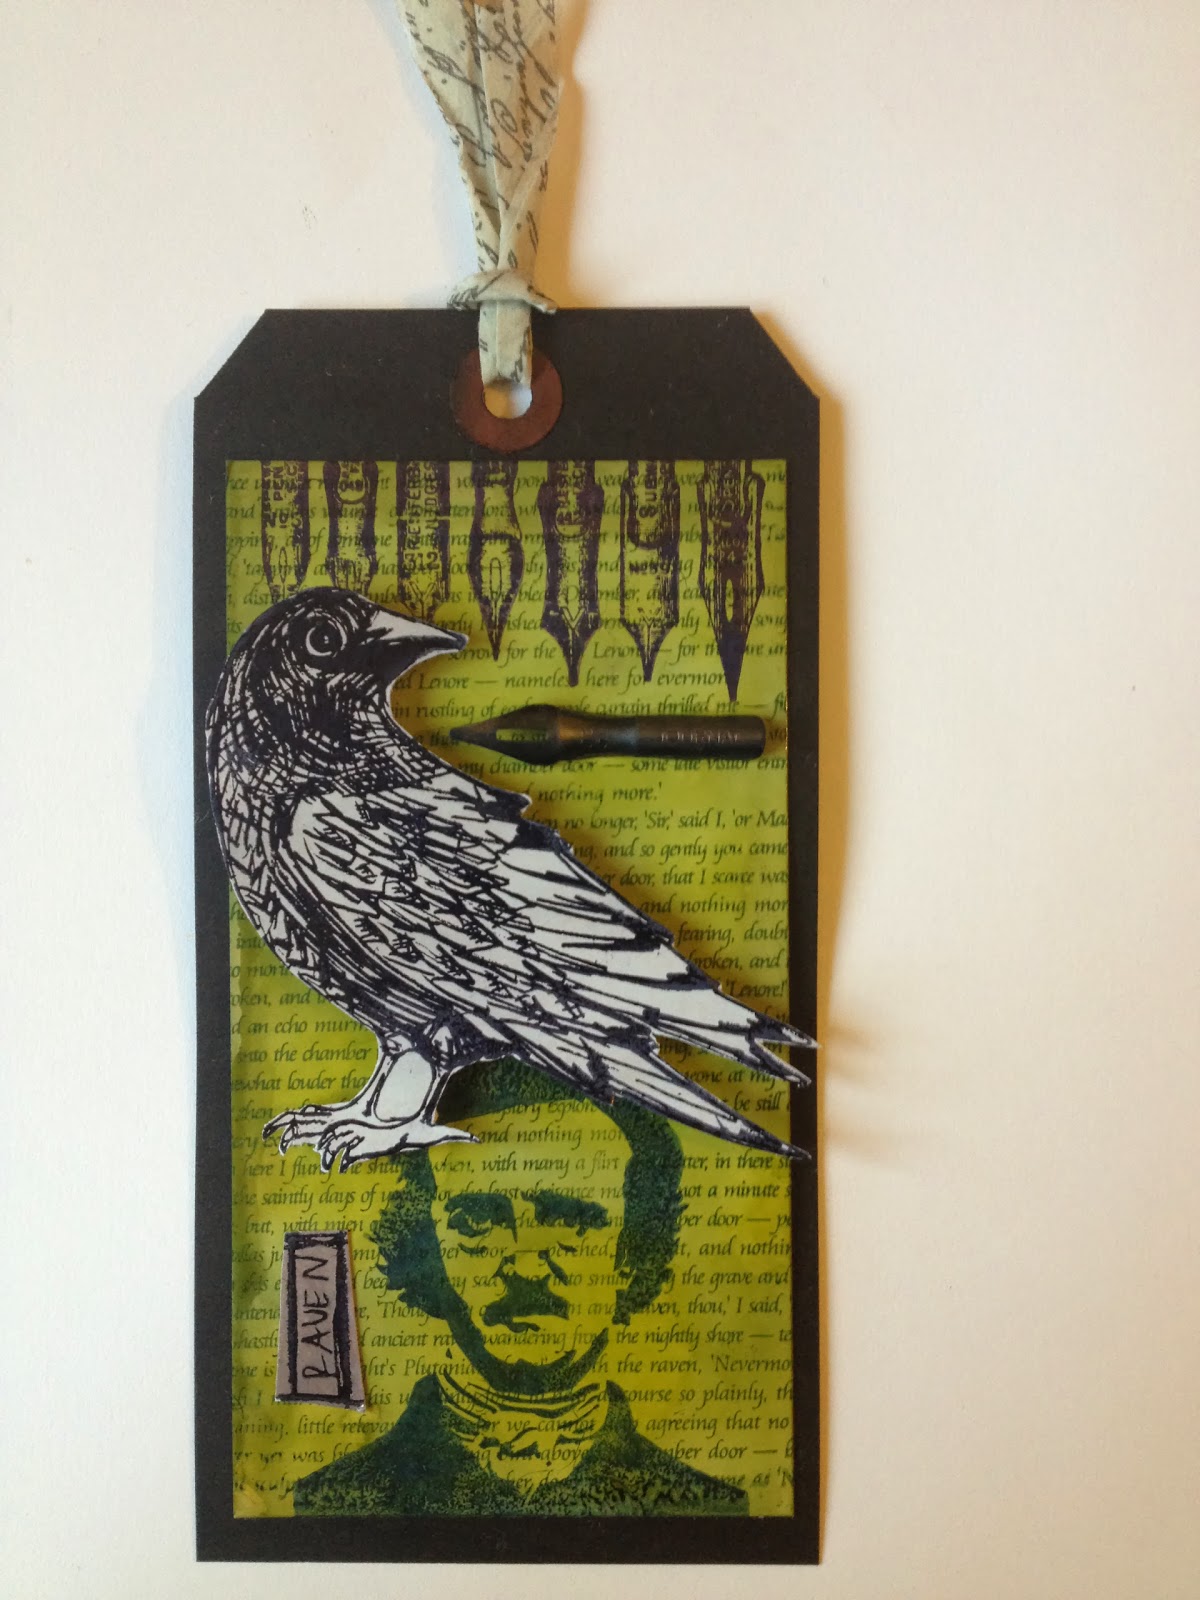
Getting the frosted film onto the Clearly for Art was quite the challenge, even using a craft scraper to smooth as you go.  I suspect it's one of those things that just takes some practice, but I'm not quite there yet.

The other thing that mystified me a bit was how Tim's flower retained such vivid colours even after heating and shaping.  I found that the shaping process left ink on my fingers, and less on the flower.  Maybe he added more ink after he was finished shaping?  Don't know, but I see more experimentation in my future.  :-)
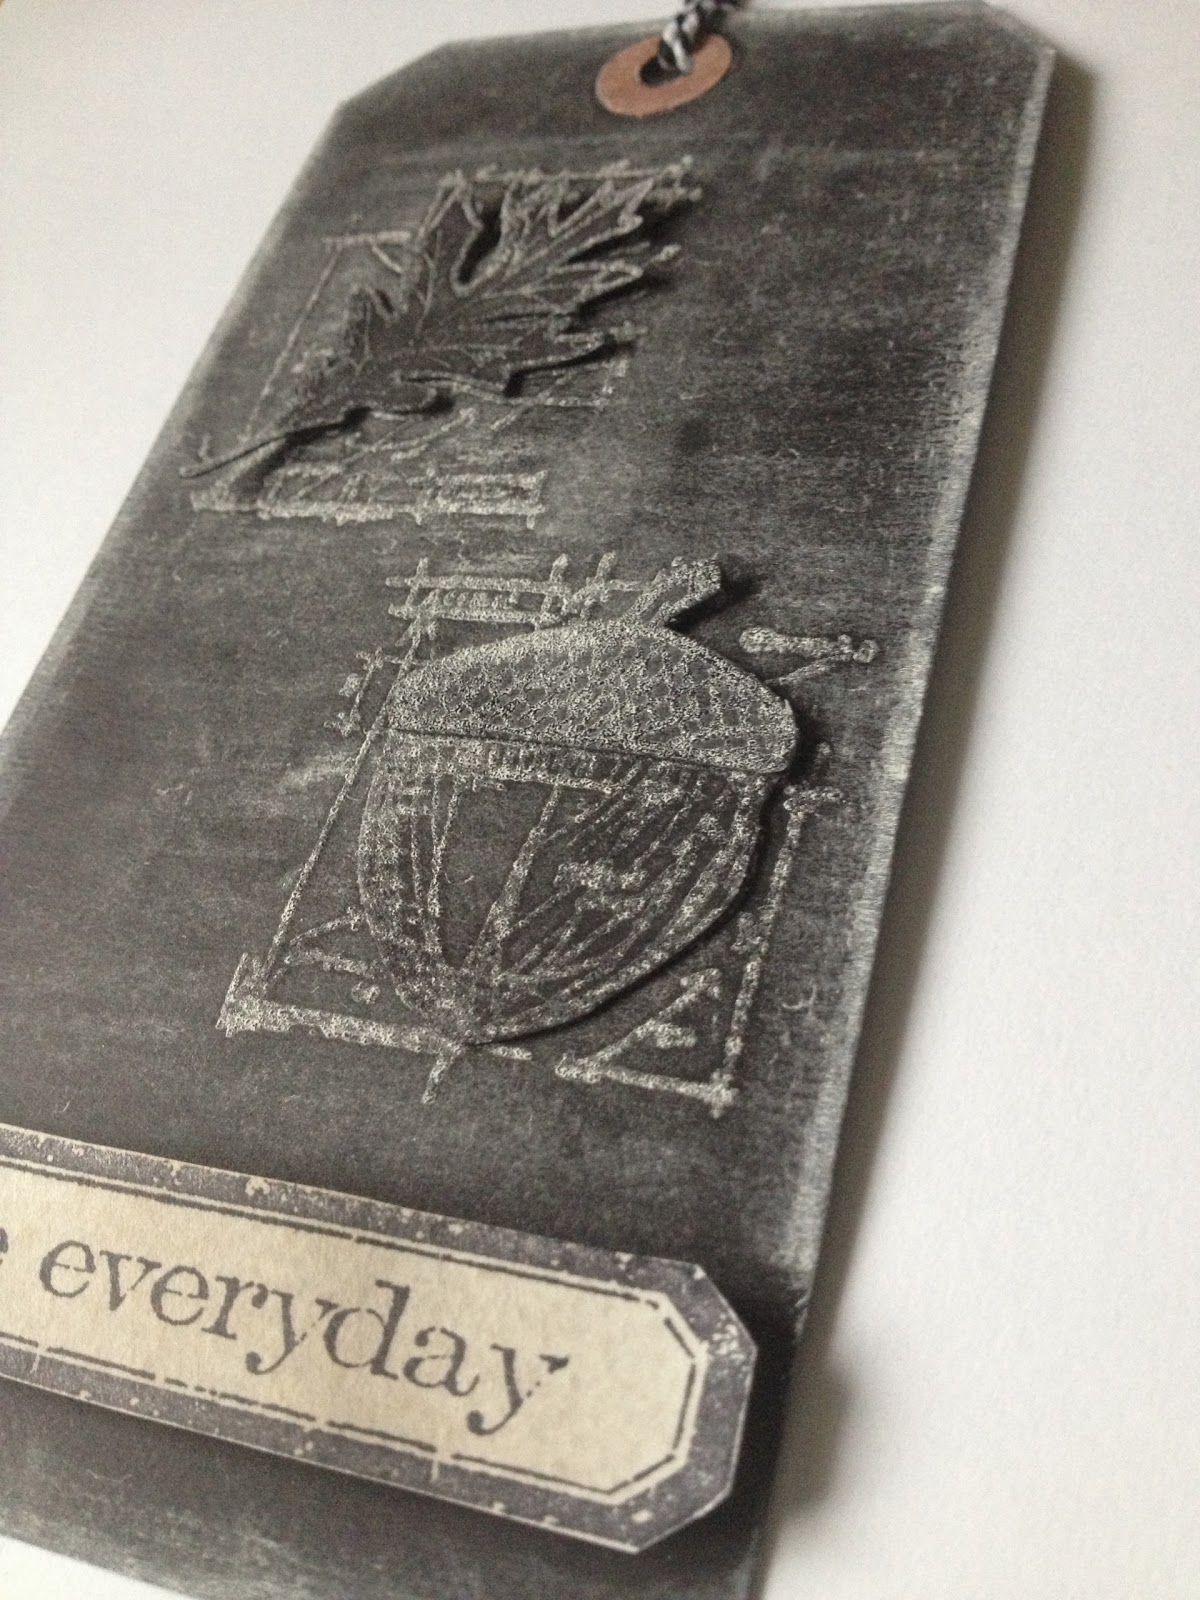
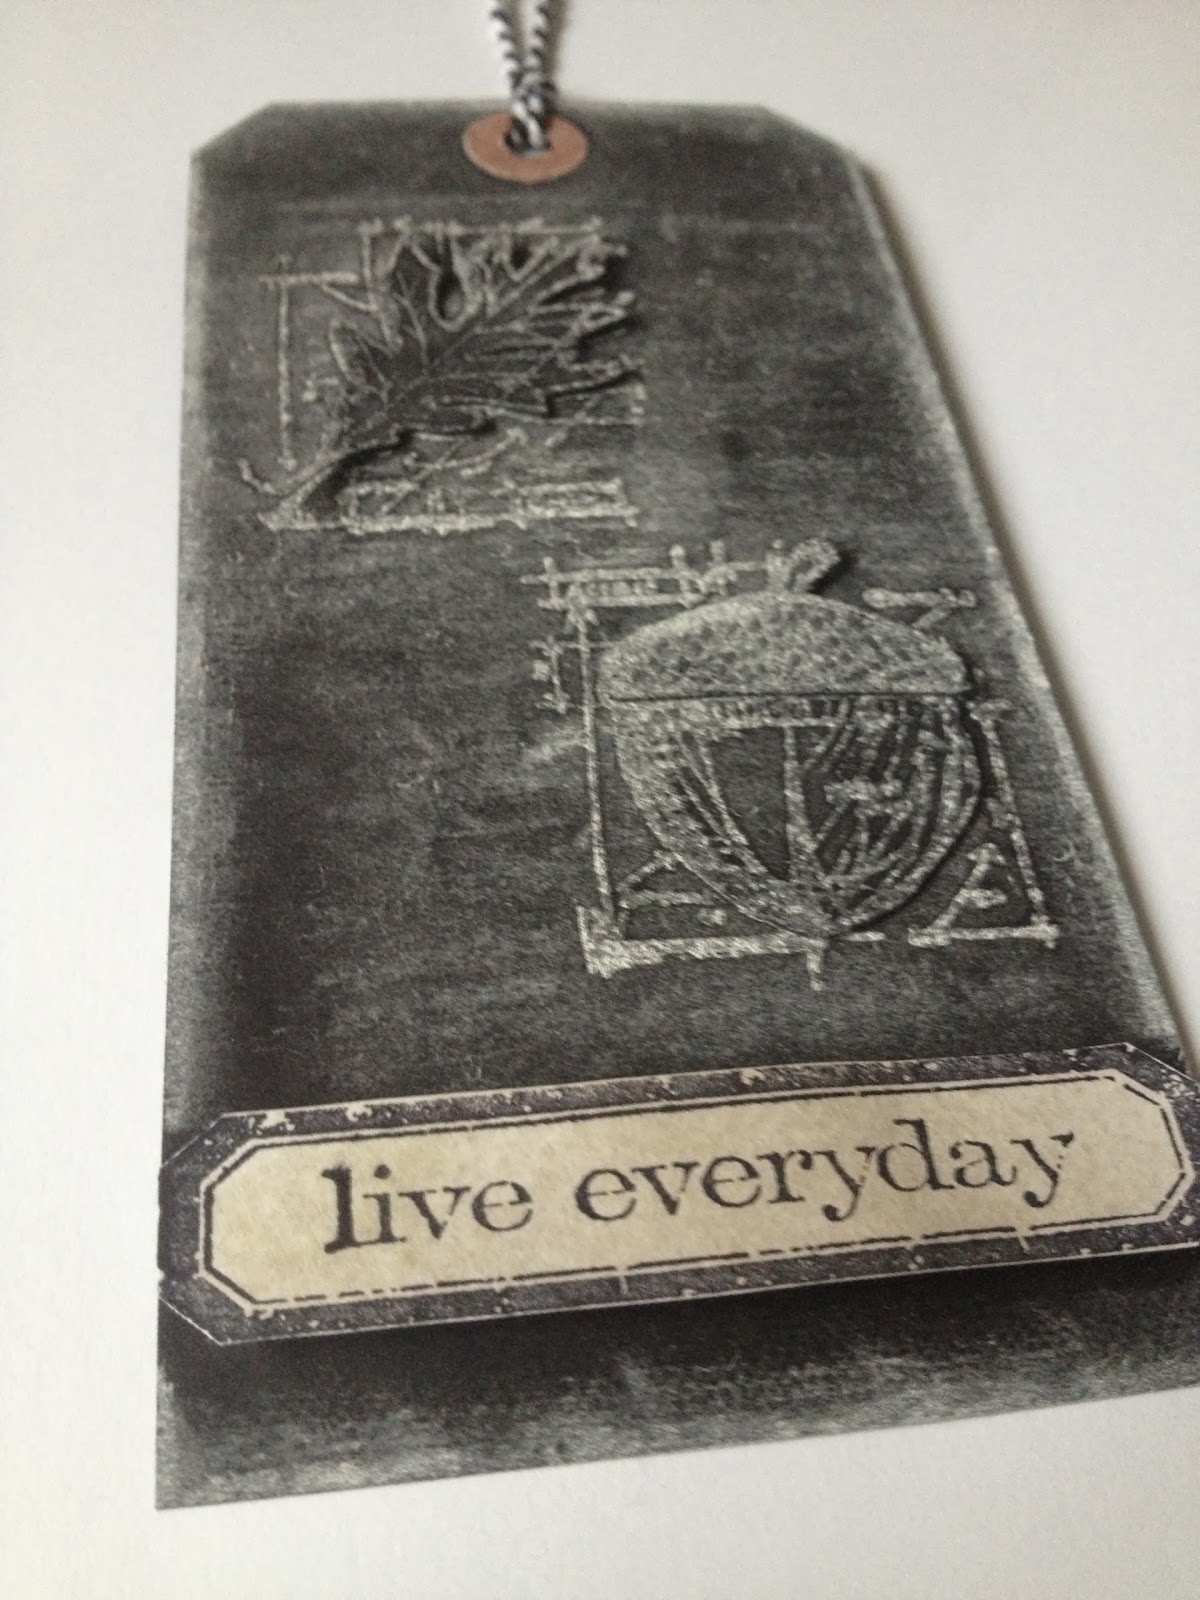
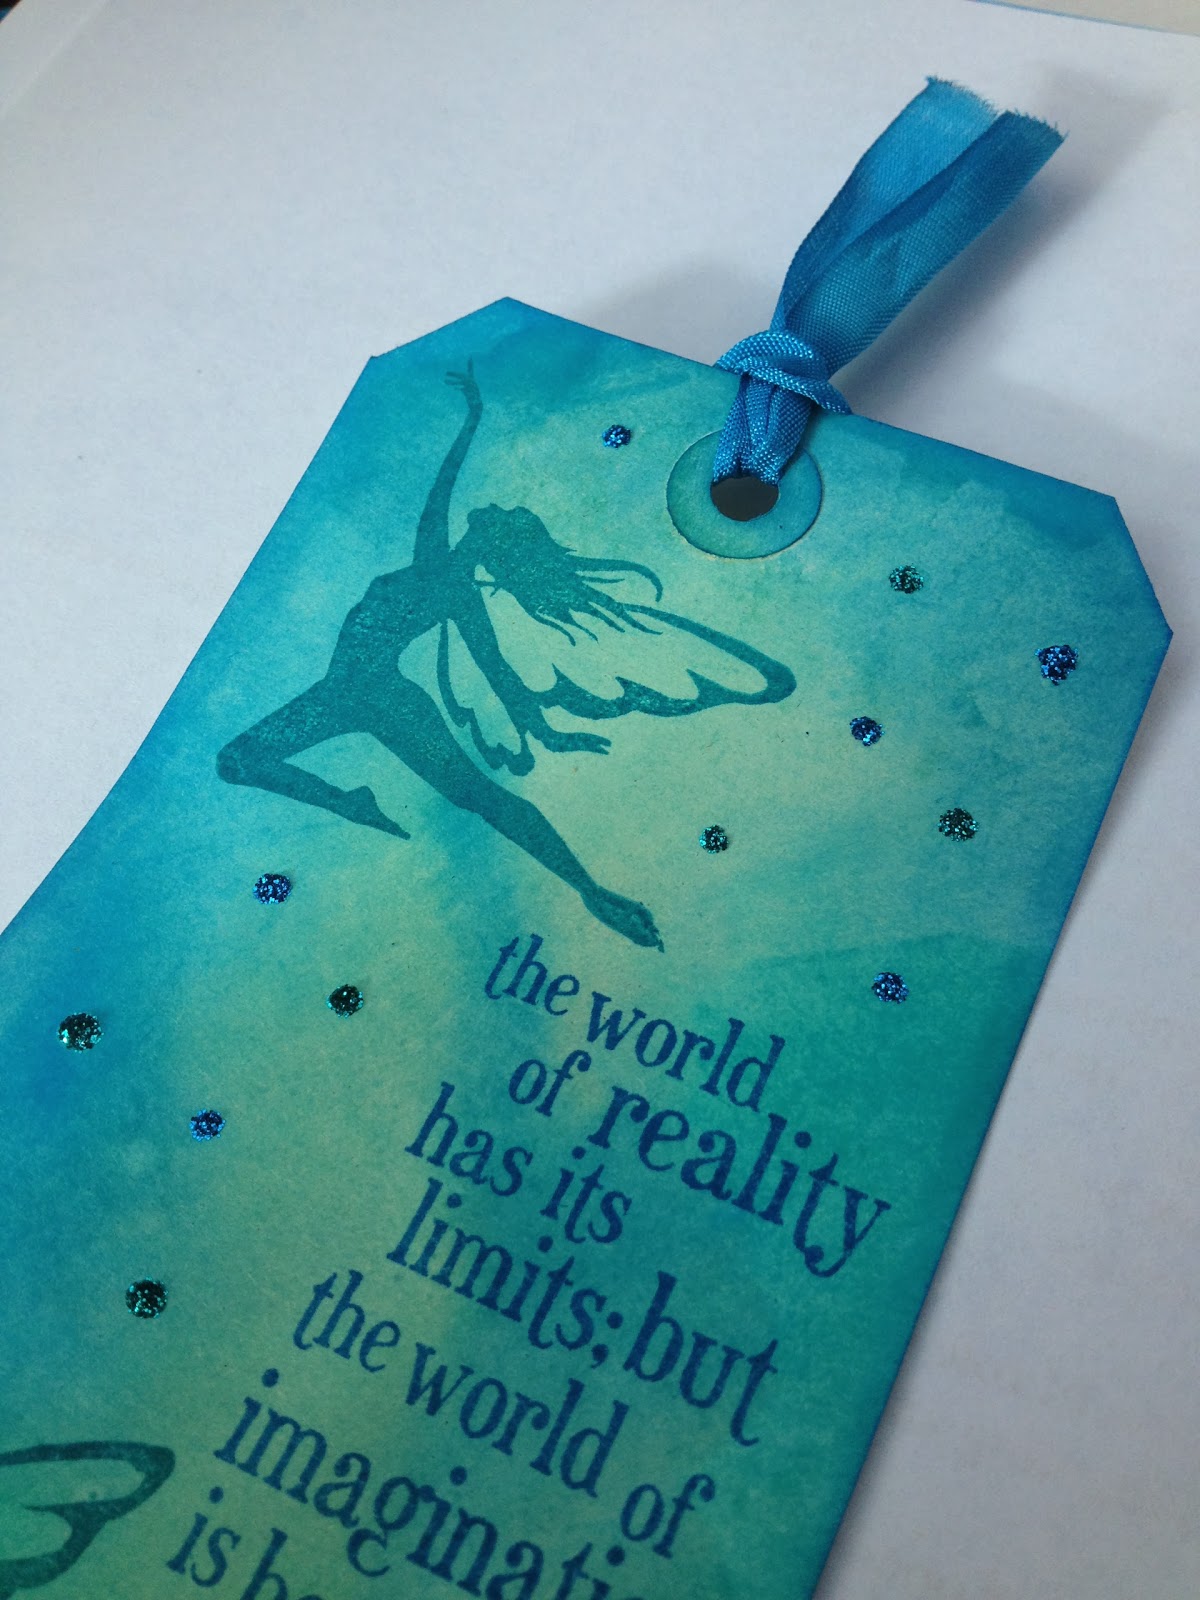
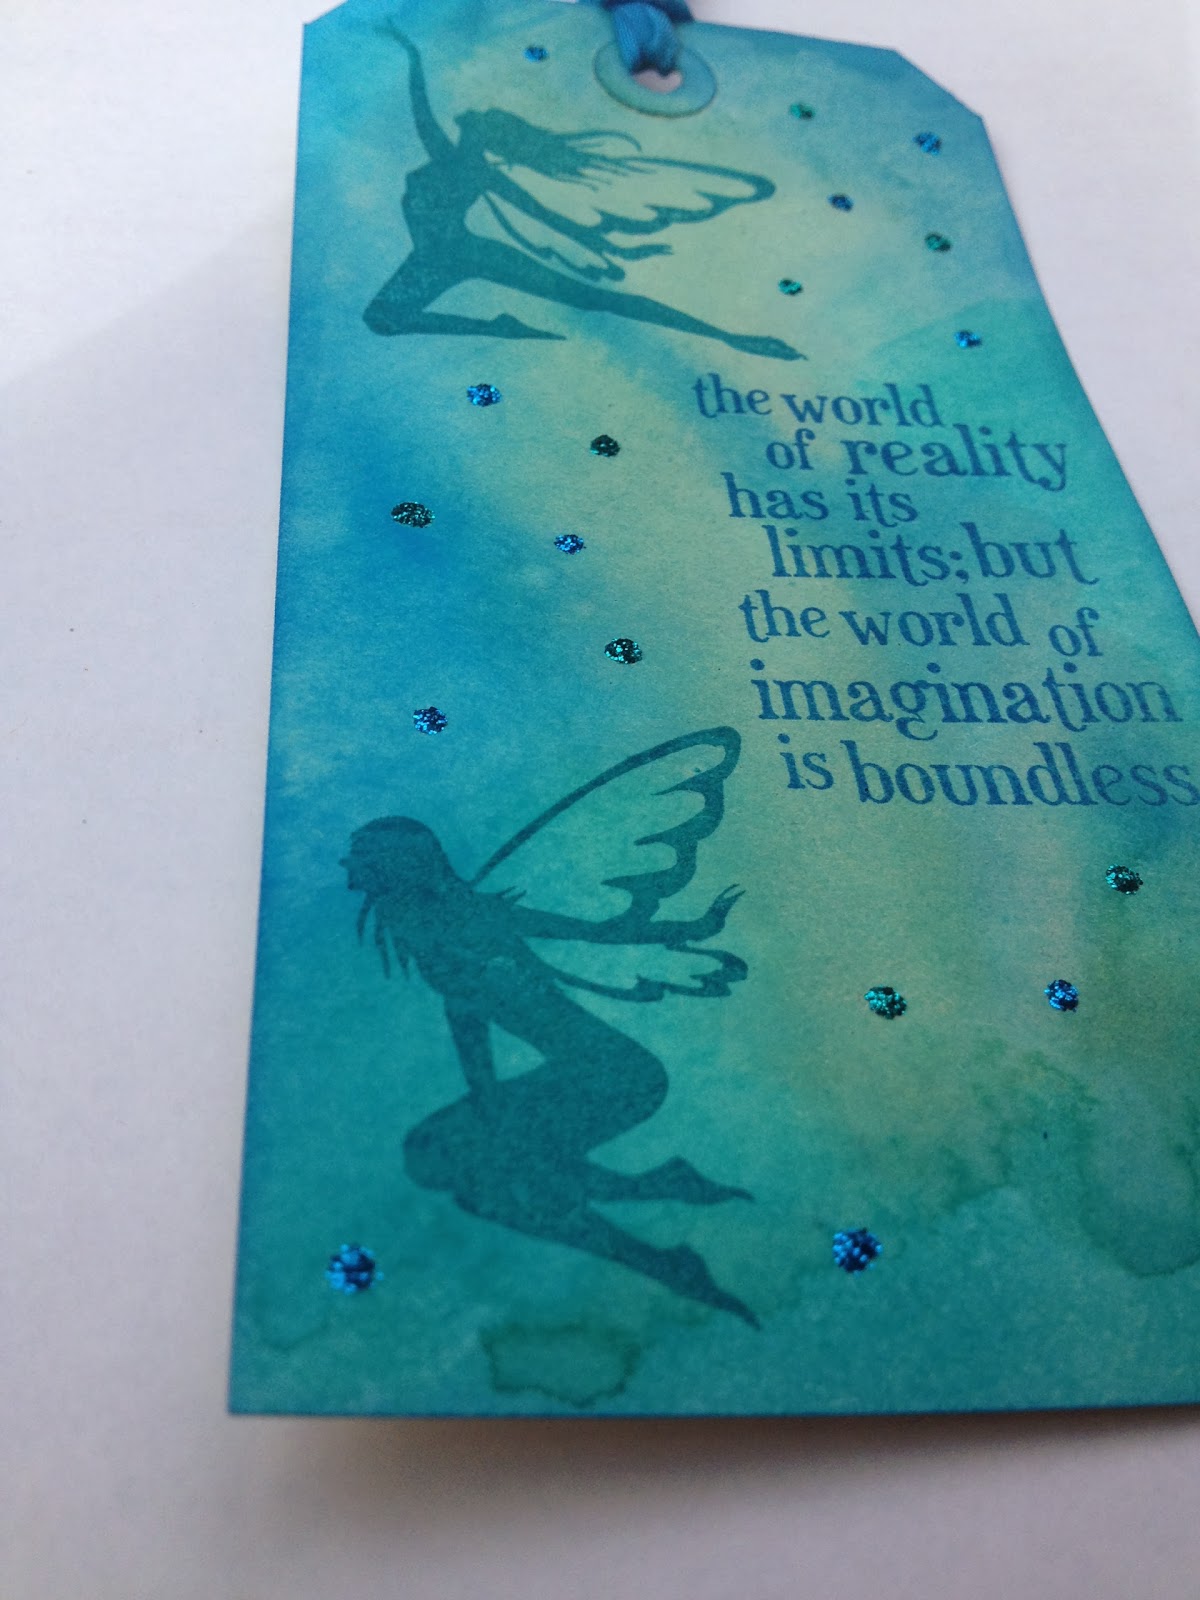
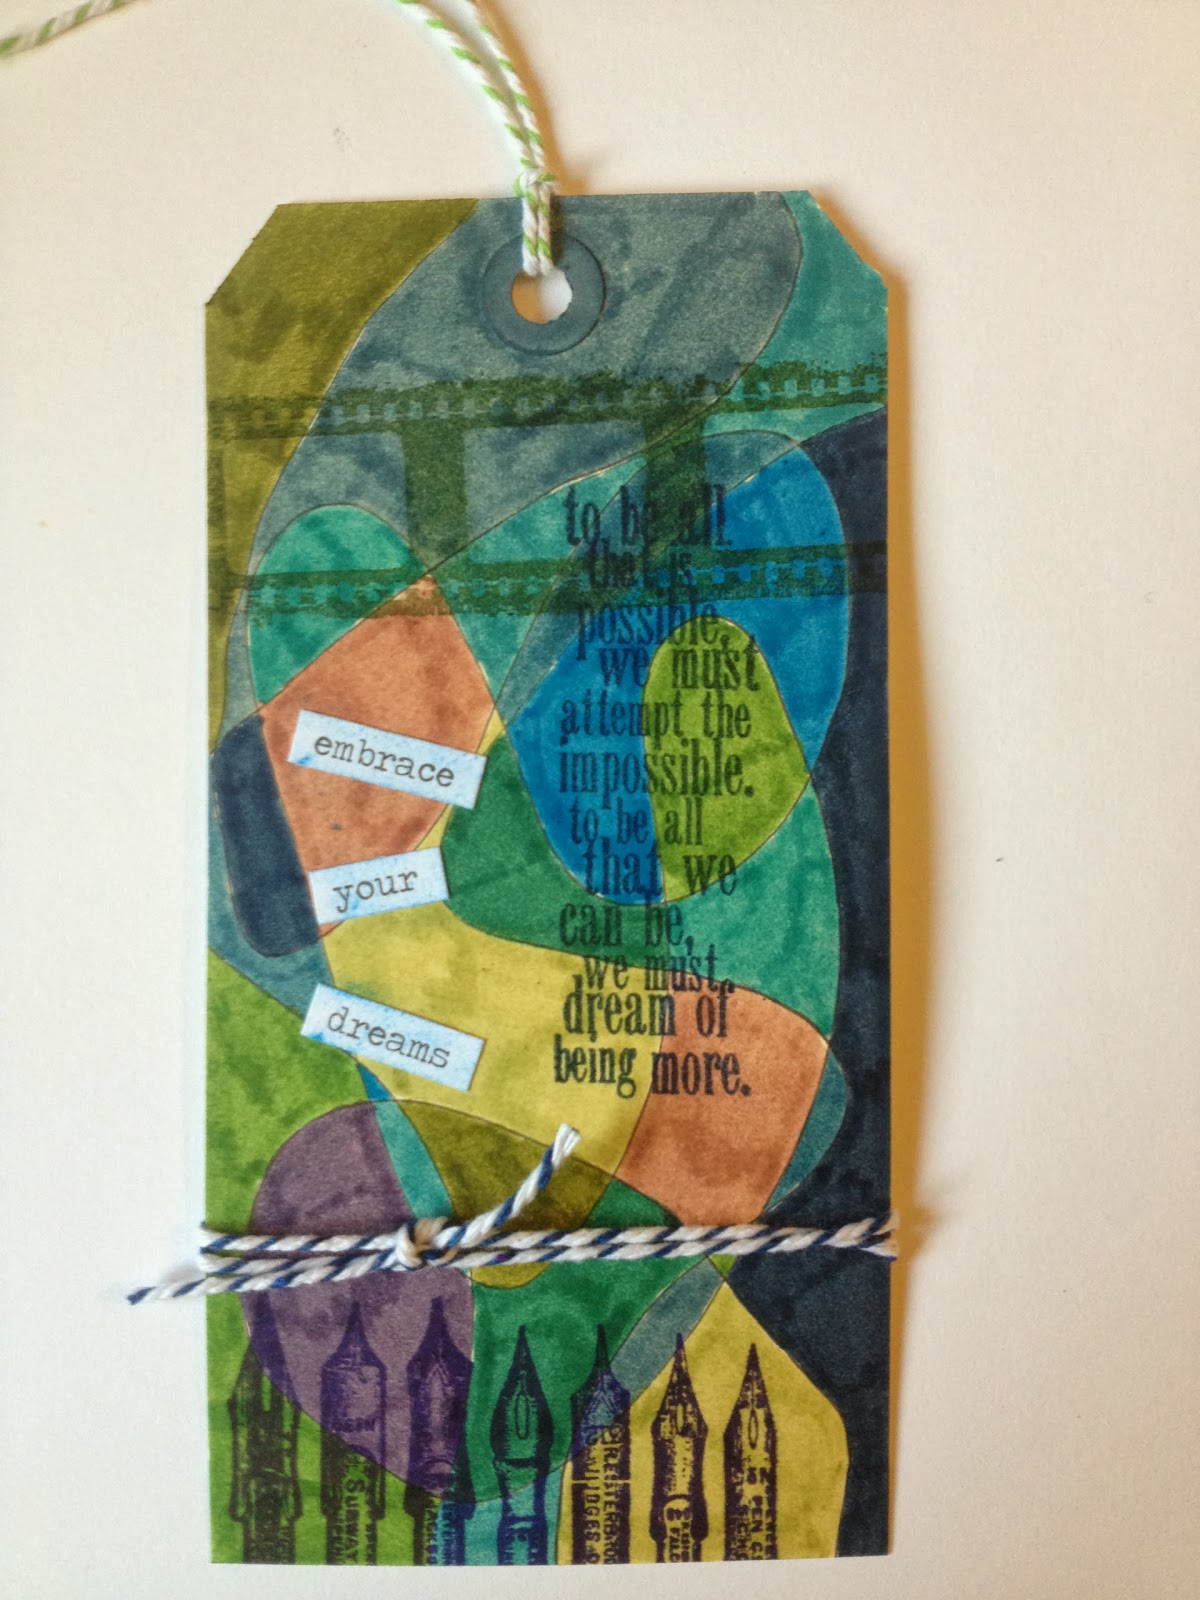
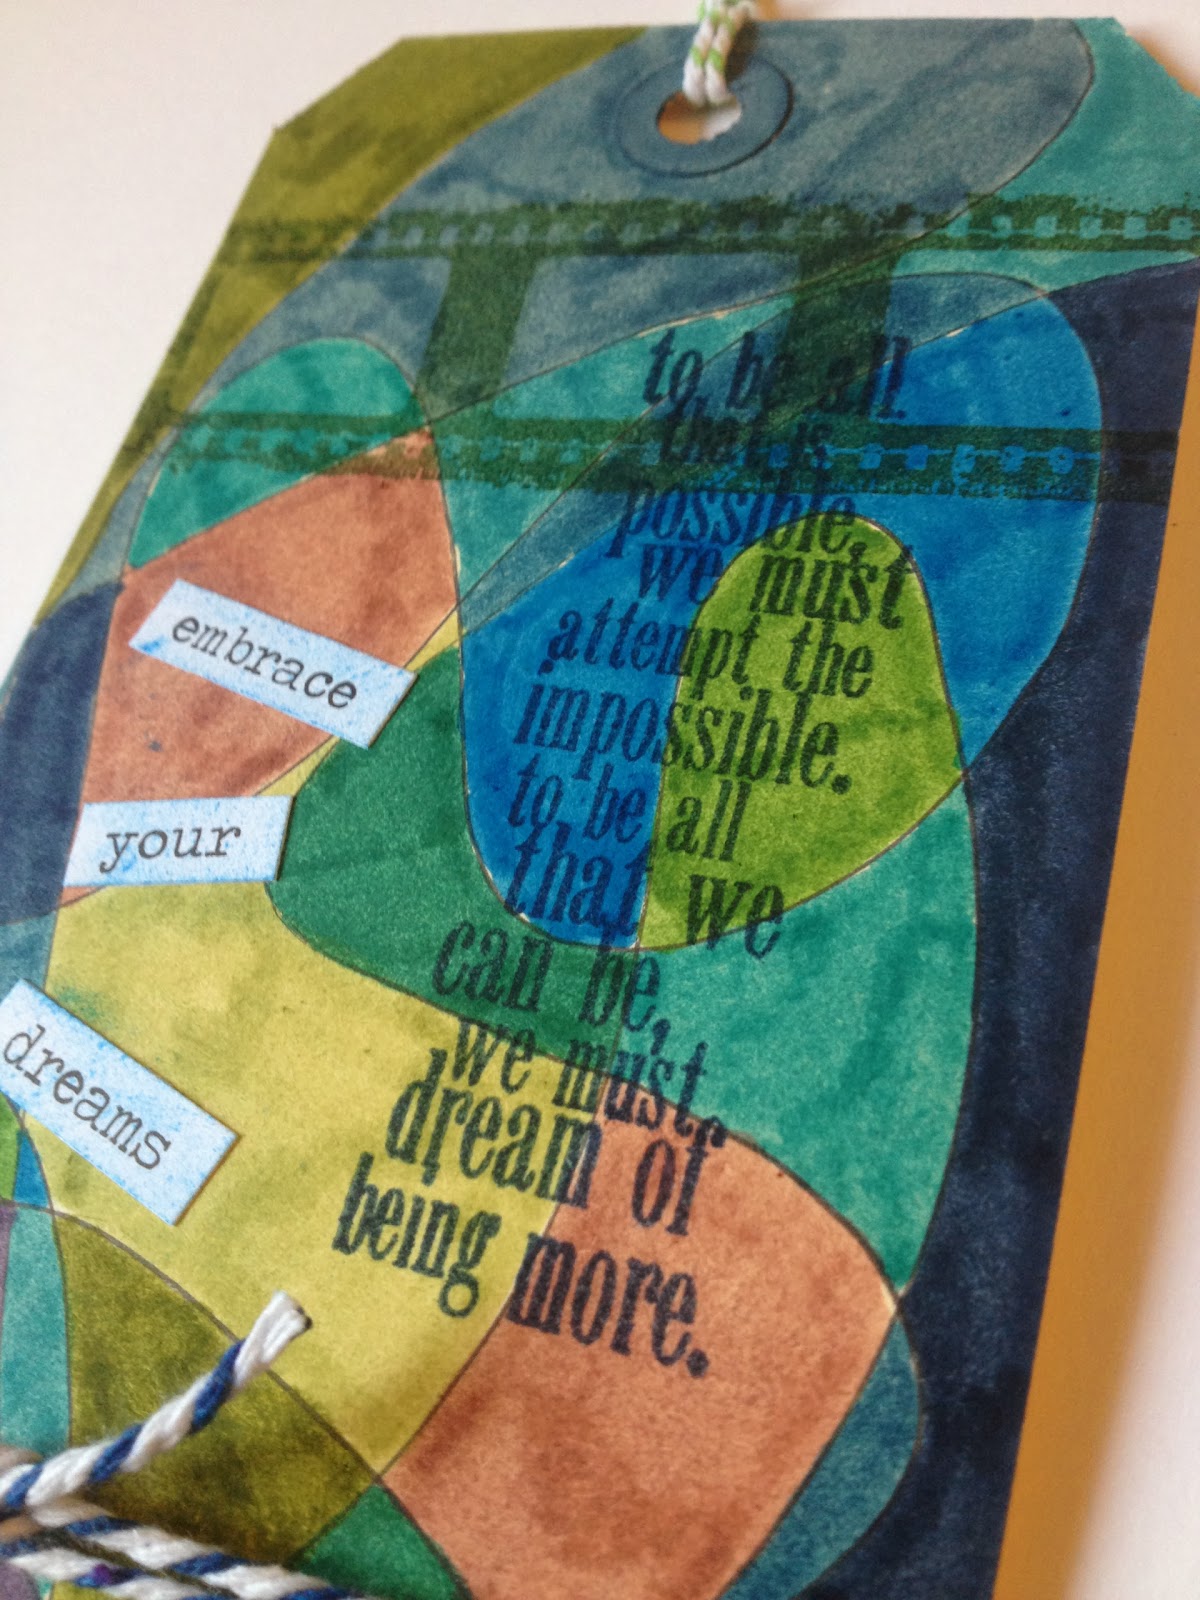
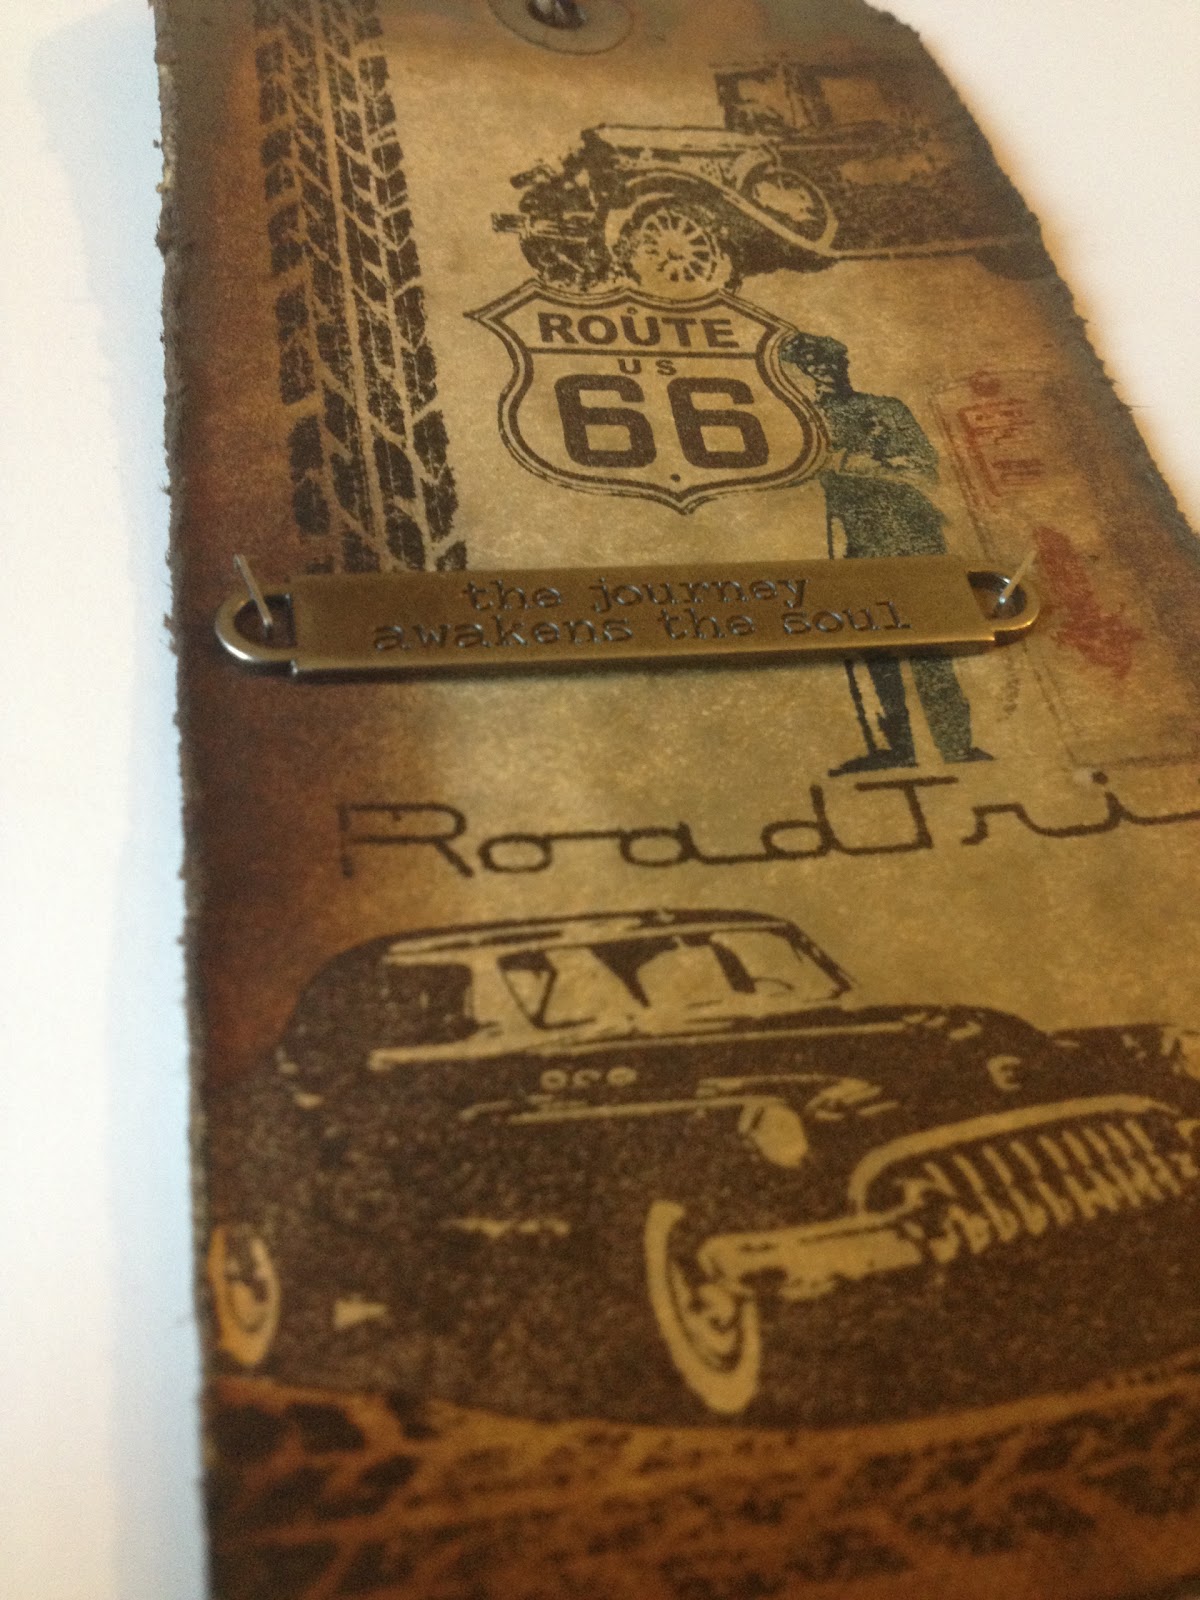
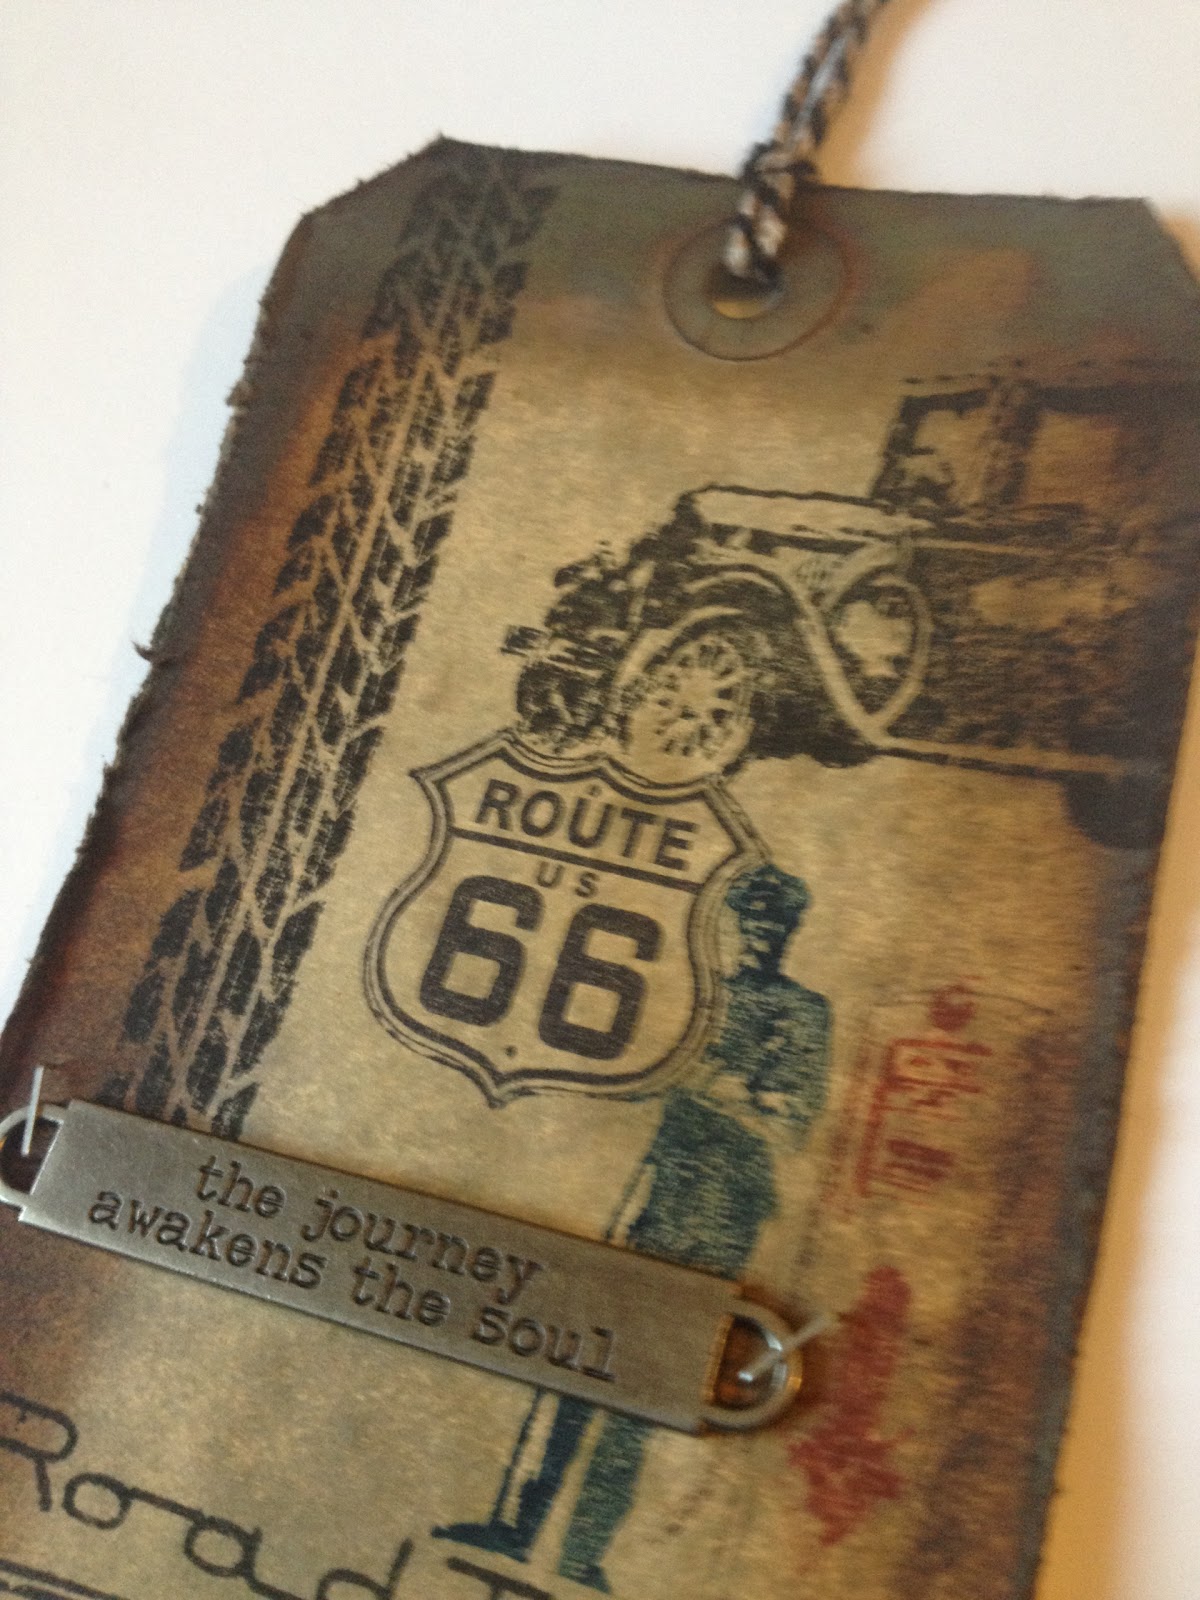
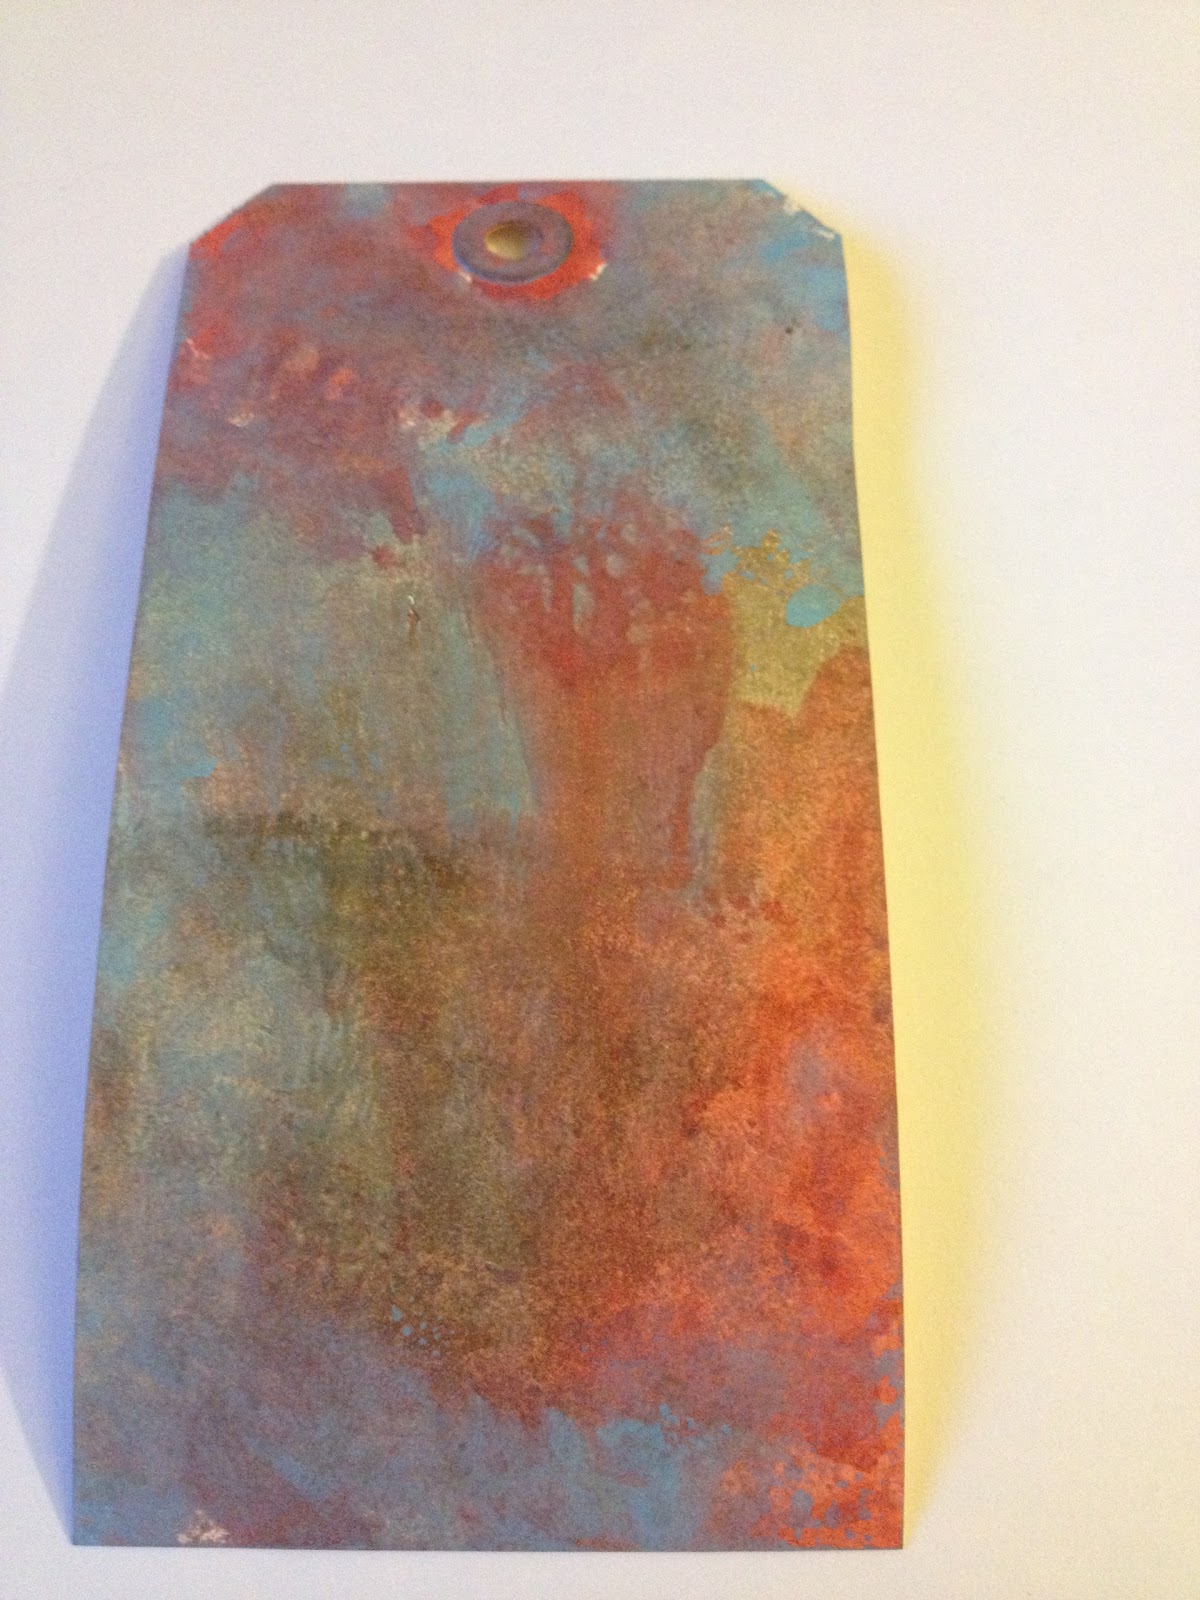
More views:


Overall, 2013 has been a fun, inky, creative journey for me, and I can't wait to see what 2014 has in store!  I have a feeling it's going to be a great year!  :-)

Happy New Year!

BAC

Thursday, November 28, 2013

Product Spotlight: Xyron Create-a-Sticker

Hello again!

I'll be headed out soon for Thanksgiving dinner, but first, I had a quick product spotlight for you.  Like the craft scrubbie, this is another tool that I wasn't really sure I needed until I had one, and now I find it indispensible!

Without further ado:

My Xyron Create-a-Sticker!

Xyron makes these machines in various sizes, ranging from the Mini (1-inch wide), to 5 inches wide.  Mine is 2.5", which seemed to make the most sense, given that I primarily work on ATCs.  All of the models except the mini are refillable, and use cartridges.  (The mini is disposable.)  Both permanent and removable adhesives are available, and you can switch from one cartridge to another easily.  (I've only used permanent adhesive, but what can I say?  I do crosswords in pen, too.)  ;-)  Each refill cartridge is 20 feel long, and they usually run about $15 at the big box craft stores.  With a 40-50% off coupon, they're pretty reasonable.


So what is it good for?  It is the perfect tool for adding adhesive to small or oddly shaped items.  I purchased it a while back when I was creating wedding invitations for a friend.  I was using small die-cut letters on the front cover, and needed something better to stick them on with than gluestick.  I remembered having seen the Create-a-Sticker at the craft store, and it turned out to be just what I needed!  Now I use it for securing oddly shaped fussy-cut and die-cut pieces, as well as pieces too small for double-stick tape.

Using it is incredibly easy: place the item that you want to turn into a sticker inside face-up, turn the knob on the side, and it comes out the back on a piece of sticker backing sheet.


One minor thing to keep in mind, if there are holes in the middle of whatever you put through (die-cut gears come to mind), you may find some stray adhesive visible within those holes.  Same with some uneven edges on fussy-cut pieces (this occurred in the space between Kanga's feet on the above example).  While this can be a little annoying, it's easily removed with a craft pick, but do it BEFORE you apply it to the surface of your project.

Otherwise, I love it, and it's become an invaluable part of my craft setup!  Are there tools in your craft room that you never thought you'd need, until you did?

Well, dinner is calling, and I can't be late!

'Til next time,
BAC

Wednesday, November 27, 2013

Blitsy Holiday Card Challenge

Hi everybody!

Well, my long weekend officially started earlier this afternoon, and so far, I'm pretty much been spending it in my studio.  :-)  Today's project?  Cards for Blitsy's Holiday Card Challenge!

If you're not familiar with Blitsy, give them a look!  They're a little bit like woot! for craft supplies, but their sales last a few days rather than one (or until they sell out!), and they sell more than one product at a time. They sell all kinds of stuff from almost all the major craft companies, and they also have a blog where they share project ideas, make product announcements, and hold challenges.  :-)

When I got home today, I started pulling out my various holiday papers, and stamps, and embossing folders, and trimmings, but then I put it all away again.  Rather than creating a project that would look like anyone else's, working with the same stuff, I decided to do something a little more "me".  I went instead to my stash of hand-carved holiday stamps, and challenged myself to create with only those, and basic solid and metallic cardstock from my stash.  (Okay, I did pull out the label maker again at one point!)  :-)

What I came up with was rather simple, but I really like how they came out.  And the great thing?  They're super easy and fast to put together, so these are some ideas you can use if you're actually making cards in significant quantity.  :-)


Inks used:
Ranger Archival: Cobalt, Deep Purple, Vermillion
Tsukineko Memento: Cottage Ivy
Tsukineko Staz-on: Azure, Cotton White, Forest Green, Jet Black, Silver

I have to admit, I rarely showcase projects using my hand-carved stamps on this blog, so I was happy this project gave me a reason!

'Til next time!

BAC

Tuesday, November 26, 2013

November tag!

I can't believe this year is almost over!!  One more tag to go in 2013!

But first, here's my November tag:


Materials/tools used:
 - Ranger Inkssentials Black Craft Tags
 - Ranger Distress Ink: Pumice Stone
 - Ranger Distress Embossing Ink
 - Ranger Archival Ink: Jet Black
 - Ranger Embossing Antiquities powder: Frosted Crystal
 - Maya Road Twine Cording: Blackberry
 - Ranger Heat Tool
 - Ranger Inkssentials Mister
 - Ranger Inkssentials Foam Blending Tool
 - Tonic Craft Scissors
 - Stamps by Tim Holtz for Stampers Anonymous: CMS136, CMS155
 - White cardstock, white chalk, glue dots, foam tape from my stash

Notes: 
 - This was my first time trying out the chalkboard technique, and while I think it's a lot of fun, and looks awesome, it does take some practice.  Just getting the embossing powder cured in all the places, without being overcured in some of them, takes a lot of practice!  But I'll be continuing to work with this one, and eager to see what results I get with coloured chalk as well.
 - I noticed that the white of my chalk didn't look as bright as Tim's example, but I was using the no-name teacher chalk I found at the office supply store.  I'll likely try again with RoseArt or Crayola and see if that makes a difference.  :-)
 - As much as I am intrigued by Tim's new stamp & die collections, they haven't found their way into my budget yet, so in the meantime, I used some blueprint stamps I already owned, and fussy cut them.  Same effect, a little more work.  But totally doable without laying out for new stamp/die combos, and the magnetic platform.  :-)

More views:


I'm looking forward to a nice long weekend (I'm off work beginning at noon on Wednesday, and continuing through the weekend), and spending a lot of it in my studio.  Still have a couple more posts planned in November.  What are your creative plans for the holiday?  :-)

BAC

Sunday, November 24, 2013

A quick pick-me-up for a Fairy Princess...

A certain young letterboxer I know recently underwent a rather unpleasant oral surgery procedure, so I decided to make her something pretty to cheer her up.  :-)

She loves fairies, and her dad mentioned that her favourite colours are blue and aqua (girl after my own heart!), so this is what I came up with:


Materials/tools used:
 - Ranger Inkssentials Manila Craft Tags
 - Ranger Distress Ink: Salty Ocean
 - Ranger Distress Stain: Broken China, Evergreen Bough, Peacock Feathers, Salty Ocean
 - Ranger Stickles: Lagoon, True Blue
 - Tsukineko Staz-on Ink: Azure, Teal Blue
 - idea-ology Crinkle Ribbon
 - Ranger Heat Tool
 - Ranger Inkssentials Mister
 - Ranger Inkssentials Foam Blending Tool
 - Sentiment stamp by Tim Holtz for Stampers Anonymous: CSS30188
 - Fairy stamps carved by me

More views:


I can't wait to hear how she likes it!  :-)

Friday, November 22, 2013

A quick challenge! (7gypsies: A Very Vintage Christmas)

So, this morning when I woke up, I checked my Facebook feed, and noticed an update from 7gypsies: "LAST DAY to enter the Very Vintage Christmas challenge on the 7G blog!"  I had missed the original challenge announcement (I blame my RSS reader, which has been wonky lately!), but I decided I'd give it a try anyway!

Here's the challenge (for me, at least!):  My local stores carry some 7gypsies products (indeed, I own some of their papers and stamp sets), but I didn't have any of their Christmas papers, and I wasn't sure if I'd find any.  After work today, I went out on the hunt, and managed to find a few sheets at Joann!  Success!  That, and a well-chosen gypsy pack, led to:


Materials/tools used:
 - Ranger Inkssentials Manila Craft Tags
 - 7gypsies Gypsy Pack: Vintage Market
 - 7gypsies Calender Tickets
 - 7gypsies Santa's Journey Collection: Santa's Trunk
 - Maya Road Twine Cording: Tomato Red
 - Dymo label maker
 - Tonic Craft Scissors
 - Single-hole punch
 - Double-stick tape from my stash

It felt really weird for me to create a tag without any stamps on it anywhere, but I have to say, once I figured how my layout, it sure came together fast!  Hope you like it!

'Til next time!

BAC

Thursday, October 31, 2013

Challenge: "Alcohol Inks"

Back again with another project I completed within a private challenge group.  This challenge was a fun one, using alcohol inks (which I fully admit I underutilize, given how many I own!).

Here's my finished tag:


Materials/tools used:
 - Ranger Inkssentials Black Tags
 - Ranger Alcohol Inks: Citrus, Denim, Meadow, Slate
 - Ranger Archival Inks: Cobalt, Deep Purple, Jet Black, Olive
 - Ranger Glossy Accents
 - Ranger Alcohol Ink Blending Solution
 - idea-ology: Tissue Tape (Hobgoblin), Pen Nibs
 - Ranger Heat Tool
 - Ranger Alcohol Ink Applicator
 - Tonic Craft Scissors
 - Xyron 2.5" sticker maker
 - White glossy paper, double-stick tape, foam dots from my stash
 - "The Raven" text stamp by Impression Obsession
 - Pen Nib & Bird stamps by Tim Holtz for Stampers Anonymous: CMS167, CSS30195
 - Poe stamp carved by me

You had to know I'd do another Poe tag this year, right?  :-)  Overall, I had a LOT of fun doing this tag, and like it a whole lot better than the other tag I did this month.  Not sure there's anything at all I'd change about it.  I enjoyed challenging myself to use the alcohol inks on the various elements of the tag, from the text background, to the raven cutout.  Even the pen nib got some treatment with the Denim alcohol inks before I glued it on.

A couple more views:


Overall, this tag was a fun reminder of why I need to use my alcohol inks more frequently!  :-)

It looks like November will be a slightly calmer month for me than September and October were.  I'm looking forward to being able to show you more projects than just the monthly tags!  We're overdue for a Product Spotlight, too, so I think that'll be next!  

*hint* The next Product Spotlight is a product I used on this tag!

'Til then!
BAC

Wednesday, October 30, 2013

October tag...

Hello all!

It's been a crazy month, but I did have a little time yesterday evening to hit my studio and catch up on some projects, including my October tag!


Materials/tools used:
 - Ranger Inkssentials Manila Tags
 - Ranger Distress Ink: Black Soot, Brushed Corduroy, Peeled Paint, Stormy Sky, Walnut Stain
 - Ranger Distress Glitter: Broken China, Mowed Lawn
 - Ranger Distress Paint: Broken China, Mustard Seed, Peeled Paint, Picket Fence, Spiced Marmalade
 - Ranger Archival Ink: Jet Black
 - Ranger Glossy Accents
 - idea-ology: Crinkle Ribbon, Grunge Board, Vial Labels
 - Ranger Heat Tool
 - Ranger Inkssentials Mister
 - Ranger Inkssentials Foam Blending Tool
 - Stamps by Tim Holtz for Stampers Anonymous: CMS120, CMS167
 - Sizzix Movers & Shapers Dies: Mini Apothecary Bottles
 - Sizzix Big Shot

This month's technique was really about familiarizing yourself with the Distress Glitter.  I have to admit, I'm not really a "glitter" person.  I get too easily frustrated by the way it sticks to everything, and you continue finding little pieces of it in various places months later.  When I need sparkly, I usually use Stickles.  Consequently, I only own 4 colours of Distress Glitter so far, so my options for the tag were a little limited.  If I had it to do over, I'd probably choose some different colours, but at least I spent some time playing with them.  I DO have to say that cleaning up after this glitter wasn't that difficult.  It wiped up easily, and washed off my hands easily, so that was cool.  I was a bit frustrated though, when trying to ink over the top of the glittered pieces, that I wound up with glitter sticking to my blending foam and ink pad.  It's an interesting technique, but probably not one I'll use on a regular basis.

But it's good to try new things, right?  :-)

I'll have another Challenge project to share, either later today or tomorrow morning.  

'Til then,
BAC

Monday, September 30, 2013

September tag!

Two posts in one day! Either I've been really busy the past few days, or I'm a procrastinator! (It's possible that both are true.) :-)

Here's my September tag:


Materials/tools used:
- Ranger Inkssentials Manila Tags
- Ranger Distress Ink: Black Soot, Salty Ocean, Walnut Stain
- Ranger Distress Marker: Black Soot
- Ranger Distress Paint: Picket Fence
- Ranger Distress Stain: Evergreen Bough, Festive Berries, Shaded Lilac
- Ranger Archival Ink: Jet Black
- Ranger Glossy Accents
- Studio 490 Embossing Paste: White
- idea-ology: Halloween Muse Tokens, Wire Pins, Jump Rings, Crinkle Ribbon, Chit Chat, Pen Nibs
- Tim Holtz for Stampers Anonymous Layering Stencils: Bubble, Burlap, Clockwork, Honeycomb, Rays
- Ranger Heat Tool
- Ranger Inkssentials Mister
- Ranger Inkssentials Foam Blending Tool
- Tonic Paper Distresser
- Plastic Palette Knife
- "The Raven" text stamp by Impression Obsession
- Poe stamp carved by me

This month was all about playing with layers, and Tim's fun new layering stencils. I picked up the awesome Raven stamp at my local stamping shop a few weeks ago, and it'll be getting a lot of use in the coming weeks (including on some projects that show the text itself better). It includes the full text of the poem on it, and matches perfectly with the Poe bust I carved for an ATC a few months back. (Have you figured out yet that autumn is my favourite season, and Halloween is my favourite holiday?) :-)

This was my first time playing with Studio 490’s embossing paste, and it was a lot of fun! Easy to use, and dried quickly to a very unusual texture. I'm excited to play with it again, and even more excited to experiment with the jar of clear embossing paste that I ordered at the same time!

More views:


Well, that's it for now!  Have fun and get inky!  :-)

BAC

Challenge: "Color Pattern Blocking/Patchwork"

Hi everybody!

This project was for another challenge in a private group. The theme this month was "Color Pattern Blocking", and Patchwork backgrounds a la Dyan Reaveley.

Here's my tag:


Materials/tools used:
 - Ranger Inkssentials Manila Craft Tags
 - Ranger Distress Ink: Salty Ocean
 - Ranger Distress Markers: Broken China, Chipped Sapphire, Dusty Concord, Faded Jeans, Mowed Lawn, Peacock Feathers, Peeled Paint, Pine Needles, Salty Ocean, Shabby Shutters, Stormy Sky, Victorian Velvet
 - Ranger Archival Ink: Cobalt, Deep Purple, Olive
 - Ranger Inkssentials Foam Blending Tool
 - idea-ology Chit Chat
 - Maya Road Twine Cording: Blueberry, Celery Green
 - Sharpie pen: Black
 - Stamps by Tim Holtz for Stampers Anonymous: CSS25870, CSS25887, CSS30195

I started out by making big swirly doodles on my tag, and colouring them in with my Distress markers in various shades of green, blue, and purple (aka Liz colours :-) ).

Well, actually, I started with a much more complicated doodle, that I was colouring in with Dylusions in a waterbrush.  Got about halfway finished, and accidentally spilled an open bottle of Dylusions over it. :-( Decided it was time for a new gameplan.

But I liked the background I got with the Distress markers, and it's a new background I've never tried before, so that's cool! :-)

More views:


And just for a good measure, a pic of my previous doodle, before I started adding colour:


I'll likely do a similar one again soon, but didn't quite have the heart right after spilling Lime Green Dylusions all over the first.  :-/

Wednesday, August 28, 2013

August tag!!

Hello again!

In just a few hours, I'll be on my way out the door for a fun long weekend in Massachusetts!  But first, here's my tag!  :-)


Materials used:
 - Ranger Inkssentials Manila Craft Tags
 - Ranger Distress Inks: Black Soot, Walnut Stain
 - Ranger Distress Markers: Chipped Sapphire, Fired Brick, Pumice Stone
 - Ranger Distress Stain: Brushed Corduroy, Pumice Stone
 - Ranger Archival Ink: Jet Black
 - Tsukineko Staz-on Ink: Jet Black
 - idea-ology Word Bands
 - Inkadinkadoo Stamping Mask Paper
 - Stamps by Tim Holtz for Stampers Anonymous: CMS162
 - Maya Road Twine Cording: Blackberry

Tools used:
 - Ranger Heat Tool
 - Ranger Inkssentials Mister
 - Ranger Inkssentials Foam Blending Tool
 - Tonic Craft Scissors
 - Tonic Paper Distresser
 - idea-ology Tiny Attacher

Notes:
 - With a good bit of travel behind me this summer, and one last road trip approaching quick, I was LOVING Tim's travel theme this month!  I went with (what else?) ROAD TRIP!!!  Tim's full-size Travel cling mount sets are definitely on my wishlist, but what I had was the Travel Ways sets, so I made do with some smaller stamps.  I still like how it turned out!
 - What I was less crazy about, though, was the behaviour I got from my manila tags!  I've been keeping my tags standing up in a tray on my craft table for easy access.  I'm not sure if it's due to the high humidity here these past few days, or the recent rains (they ARE kinda close to an open window), but the upper edges of my tags would not dry completely for anything.  They sucked up the stain colours, and even after a few minutes with the heat tool, were only sort of dry along those edges.  If you look at the pictures, you'll see what I mean: the edges of the tag are much darker on the top half than the bottom.  (I had the same problem yesterday with the tags for the challenge, but was able to disguise it pretty well.)  Maybe time to rethink where I keep those!  :-/
 - I knew I had blank mask material in the studio, and I thought it was the clear idea-ology stuff, but when I checked that drawer, it was the Inkadinkadoo (I think I found it on clearance at Joann's awhile back).  Worked pretty much the same, but because it's white rather than clear, lining it up to cover the image below was a little more of a pain.  And it was decidedly one-time use, unlike the idea-ology mask material.  I'll be giving that stuff a try quite soon, I think.  :-)

More views:


Well, that's it for me, for now.  Hope you have fun plans for this last weekend of summer!  :-)  

Talk to you soon!

BAC

Tuesday, August 27, 2013

Challenge: "Summer Memories Anything Goes"

Yikes!  I haven't been here much at all this summer!  Time I usually spend in the studio has instead been spent mostly outside enjoying awesome weather.  :-)

I was super-psyched at the beginning of this month, however, to see my name as one of the winners for Tim's July Tag of the Month!!  I jumped around my studio for a good minute or so!  SOOO grateful to be picked, and receive a gift certificate to SimonSaysStamp!  Thank you!!!

On to the challenge:

This challenge was to create something that conveyed the idea of "Summer Memories".  After thinking on it a bit, I wound up creating 2 tags, both centering on the same general idea, and that's all the hiking and journeying I've been doing this summer.  :-)

The first:


Materials used:
 - Ranger Inkssentials Manila Craft Tags
 - Ranger Distress Ink: Rusty Hinge
 - Ranger Distress Stain: Broken China
 - Ranger Archival Ink: Olive
 - Design Originals Tim Holtz Mounts & Tags: Brick & Green
 - Stamp by Tim Holtz for Stampers Anonymous: CSS25887
 - Ribbon, double-stick tape from my stash
 - Photo taken by me

And the second:


Materials used:
 - Ranger Inkssentials Manila Craft Tags
 - Ranger Distress Ink: Dusty Concord
 - Ranger Distress Markers: Dusty Concord, Mowed Lawn, Mustard Seed, Peeled Paint, Pumice Stone, Shabby Shutters, Tattered Rose, Victorian Velvet, Weathered Wood
 - Distress Paint: Mustard Seed
 - Ranger Distress Stain: Mowed Lawn
 - Ranger Archival Ink: Jet Black
 - Core'dinations Tim Holtz Kraft Core: #2
 - "Enjoy the Journey" stamp by Tim Holtz for Stampers Anonymous: CSS30232
 - Landscape stamp carved by me
 - Cold-press Watercolour paper
 - Gold ribbon, foam dots, double-stick tape from my stash

Tools used (both/either tag):
 - Ranger Heat Tool
 - Ranger Inkssentials Foam Blending Tool
 - Ranger Inkssentials Mister
 - Tonic Craft Scissors
 - Zig BrusH2O: Detailer tip

A few notes:
 - I picked up the package of Mounts & Tags a month or two ago at a local store.  Pretty sure they're discontinued, though, so you might have to do some Googling to locate them online.
 - The photo I used on the first tag was one I took recently while hiking.
 - The second tag used a lot of the same marker and waterbrush techniques as Tim's June tag.  (What can I say?  They were fun!)  :-) 
 - The landscape stamp is indeed one I carved myself a few years ago, based on a piece of clipart I found online.

Close up of landscape stamp:


Well, that's it for now.  Back tomorrow with this month's Tim tag! :-)

'Til then!
BAC

Monday, July 29, 2013

July tag!

You knew this was coming any day now, right?  ;-)  Well, here it is!


Materials used:
 - Ranger Inkssentials Manila Craft Tags
 - Ranger Distress Ink: Walnut Stain
 - Ranger Distress Stain: Fired Brick, Spiced Marmalade, Tea Dye, Wild Honey
 - Ranger Distress Crackle Paint: Clear Rock Candy
 - Ranger Archival Ink: Coffee, Jet Black
 - Tsukineko Staz-on Ink: Pumpkin
 - idea-ology Grungepaper
 - idea-ology Tissue Tape: Commute
 - idea-ology Crinkle Ribbon
 - idea-ology Foliage
 - idea-ology Muse Tokens
 - idea-ology Jump Rings
 - idea-ology Wire Pins
 - Sizzix Bigz Die: Tattered Leaves
 - Stamps by Tim Holtz for Stampers Anonymous: CMS155, CSS27911, CMS30188
 - Foam dots from my stash

Tools used:
 - Sizzix Big Shot
 - Ranger Heat Tool
 - Ranger Inkssentials Small Inky Roller
 - Tonic Craft Scissors
 - Tonic Paper Distresser
 - idea-ology Sanding Grip

I know, I know, I'm jumping the gun a bit on autumn (it IS my favourite season!), but when I was looking over materials and tools, what came to mind was autumn in the city.  So that's what I ran with.

I do so love the baked stains technique; I think it worked perfectly on my leaves!  Using the brayer to create the background with stain was an awesome idea, and I can't wait to try it on other projects!  I should also note that on this project (along with another one I worked on this past weekend) the tissue tape I worked with was easy to pull off the roll, and didn't shred at all, so I'm thinking perhaps my previous experience was due to a bad batch or something.  This is awesome, since I love all the various tissue tape designs that keep coming out!

More views:


That's it for now, but look for another Product Spotlight post before the end of this week!  :-)

'Til then,
BAC


Sunday, July 28, 2013

Challenge: "Patriotic Anything Goes"

Hi everybody!

Back finally with another project!  :-)  (I feel like I've been away forever!)  This one was for another private challenge, and the theme was "Patriotic Anything Goes".  That is, to create something with a patriotic theme with "whatever we have lying around".

This seemed like a perfect opportunity to use:

Remember me from last month?

That's right, that background that didn't quite go right because I forgot to add water before swiping my tag.  I knew I'd find a use for it!!

Here's the finished project:


Materials used:
 - Ranger Inkssentials Manila Craft Tags
 - Ranger Distress Ink: Faded Jeans, Frayed Burlap, Walnut Stain
 - Ranger Distress Paint: Broken China
 - Ranger Distress Stain: Brushed Pewter, Faded Jeans, Fired Brick
 - Ranger Distress Crackle Paint: Clear Rock Candy
 - Ranger Archival Ink: Olive
 - idea-ology Grungepaper
 - idea-ology Seasonal Chit Chat
 - Sizzix Bigz Die: Old Glory
 - Stamp by Tim Holtz for Stampers Anonymous: CMS145
 - Maya Road Twine Cording: Blueberry, Tomato Red
 - Foam dots from my stash

I'll be posting my July tag in the next day or two, but when you see it, you'll see I deviated from Tim's flag theme.  (Since I spent so much time on that theme last month for the Colour Challenge.)  But I LOVED what he did with the flag cutout, the crackle paint, and the Distress stain.  Had to include that!

Other than that, this was a fairly simple one, but I really liked how it came out!  :-)

That's it for now!  Talk to you soon!
BAC

Wednesday, July 10, 2013

Thank You, Ranger!!!

Hey everybody!

I know I've been pretty quiet for the last couple of weeks!  I've been travelling a bit, and spending as much time away from home, as at home (or at least it feels that way!).  I'm headed out of town again this evening, but you can expect me to resume normal posting next week.  :-)

In the meantime, I did want to give a big THANK YOU!!! to Ranger Ink for selecting me as one of the winners for the June Colour Challenge!  They sent me a package of everything you see pictured below.  Yay, more craft supplies!!!  :-)

Thank you, Ranger!!!

We now return you to your regularly scheduled summer fun.  :-)  Talk to you soon!

BAC

P.S.  Am I the only one who's obnoxiously psyched about this???