Tuesday, February 25, 2014

February tags...times 2!

That's right, I did 2 tags using Tim's inspiration this month!

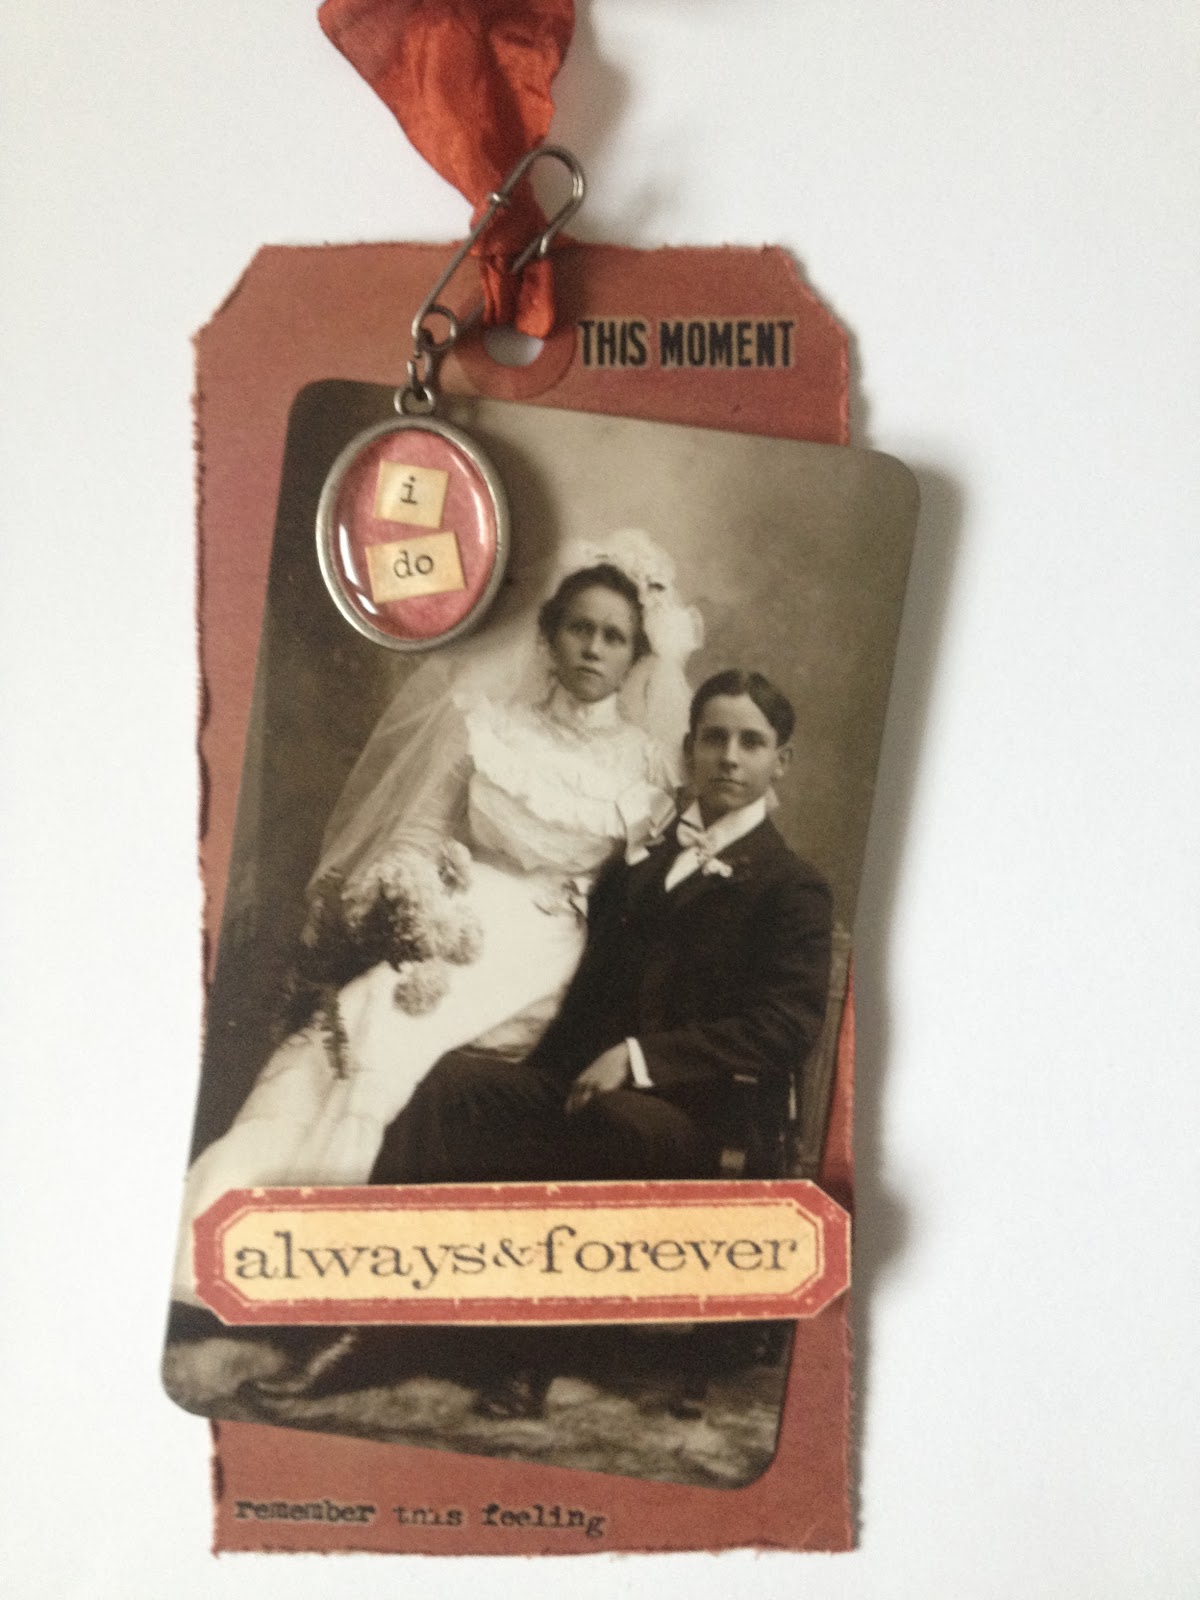
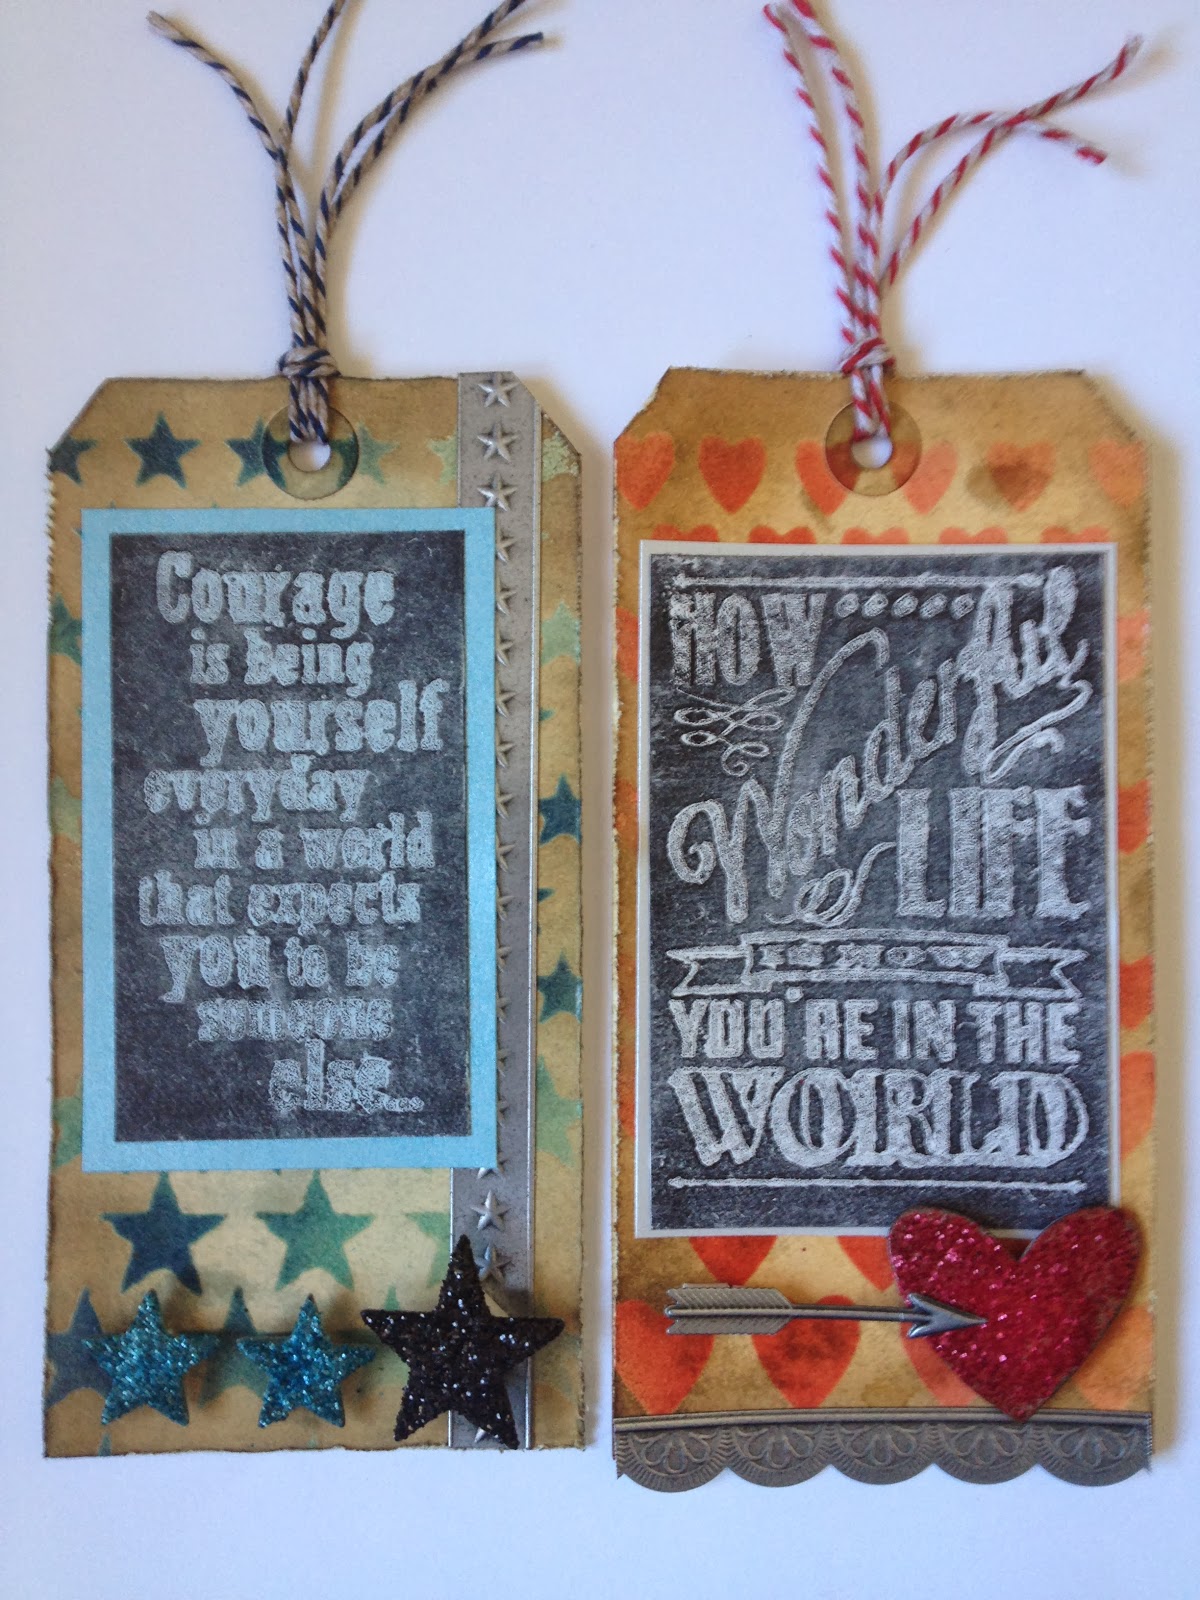
If you've been reading this blog for a bit, then you know that if I don't have a certain stamp or die featured in Tim's post from month to month, I'll substitute something else in.  Other times I completely change colours (usually into "Liz palette" - blues and greens).  And I've gotten to the point where it kinda bugs me to completely copy Tim's tag.  This month, however, I just had to - it was so lovely!  (And I *love* the quote stamp he chose!)  So in addition to creating a tag that turned out pretty much like his (I did swap a stain colour for one I don't have yet), I created another tag of my own design to share with you.

Here they both are:


Materials/tools used on both tags:
 - Ranger Inkssentials Manila tags
 - Ranger Inkssentials Black tags
 - Ranger Distress Ink: Walnut Stain
 - Ranger Distress Embossing Ink
 - Ranger Distress Stain: Pumice Stone
 - Ranger Glossy Accents
 - Ranger Embossing Antiquities Powder: Frosted Crystal
 - idea-ology Industrious Stickers - Borders
 - Ranger Heat Tool
 - Ranger Inkssentials Mister
 - Ranger Inkssentials Blending Foam
 - Tonic Studios: Craft Scissors, Paper Distresser
 - Paper Trimmer
 - Painters Tape
 - Double-stick tape, foam dots, clear embossing powder from my stash


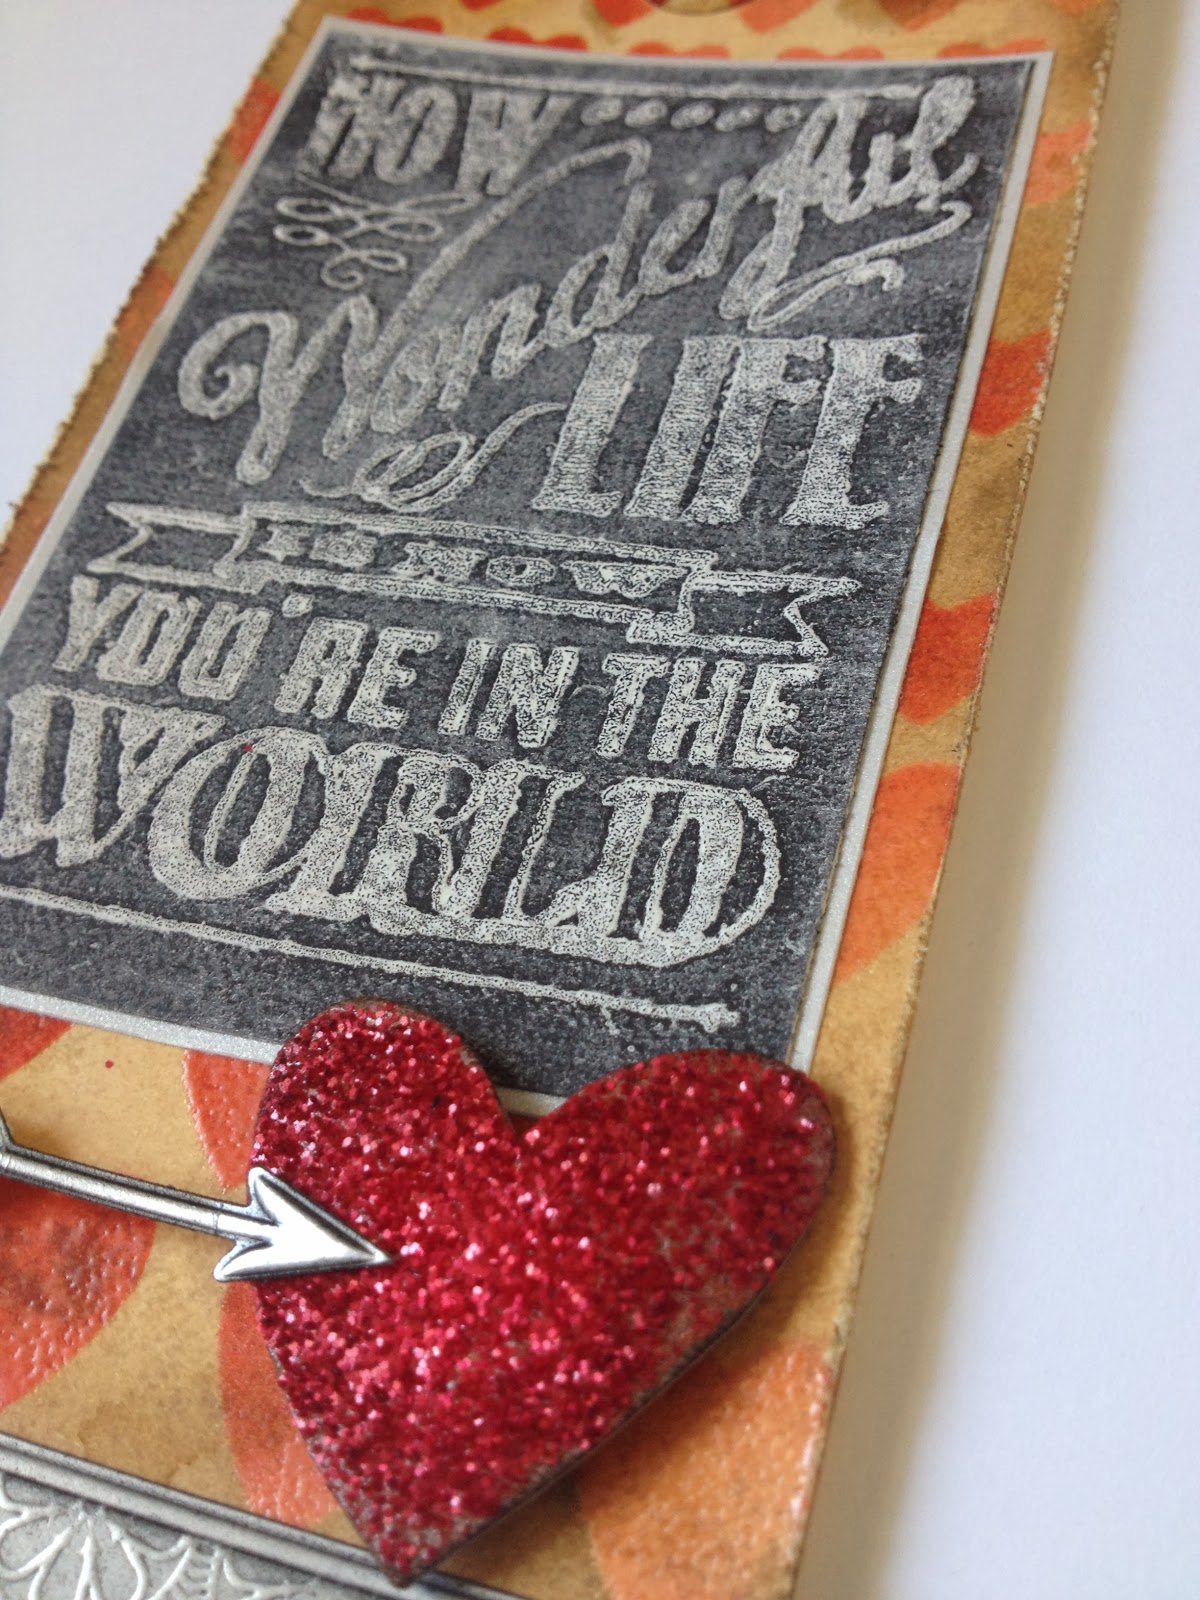
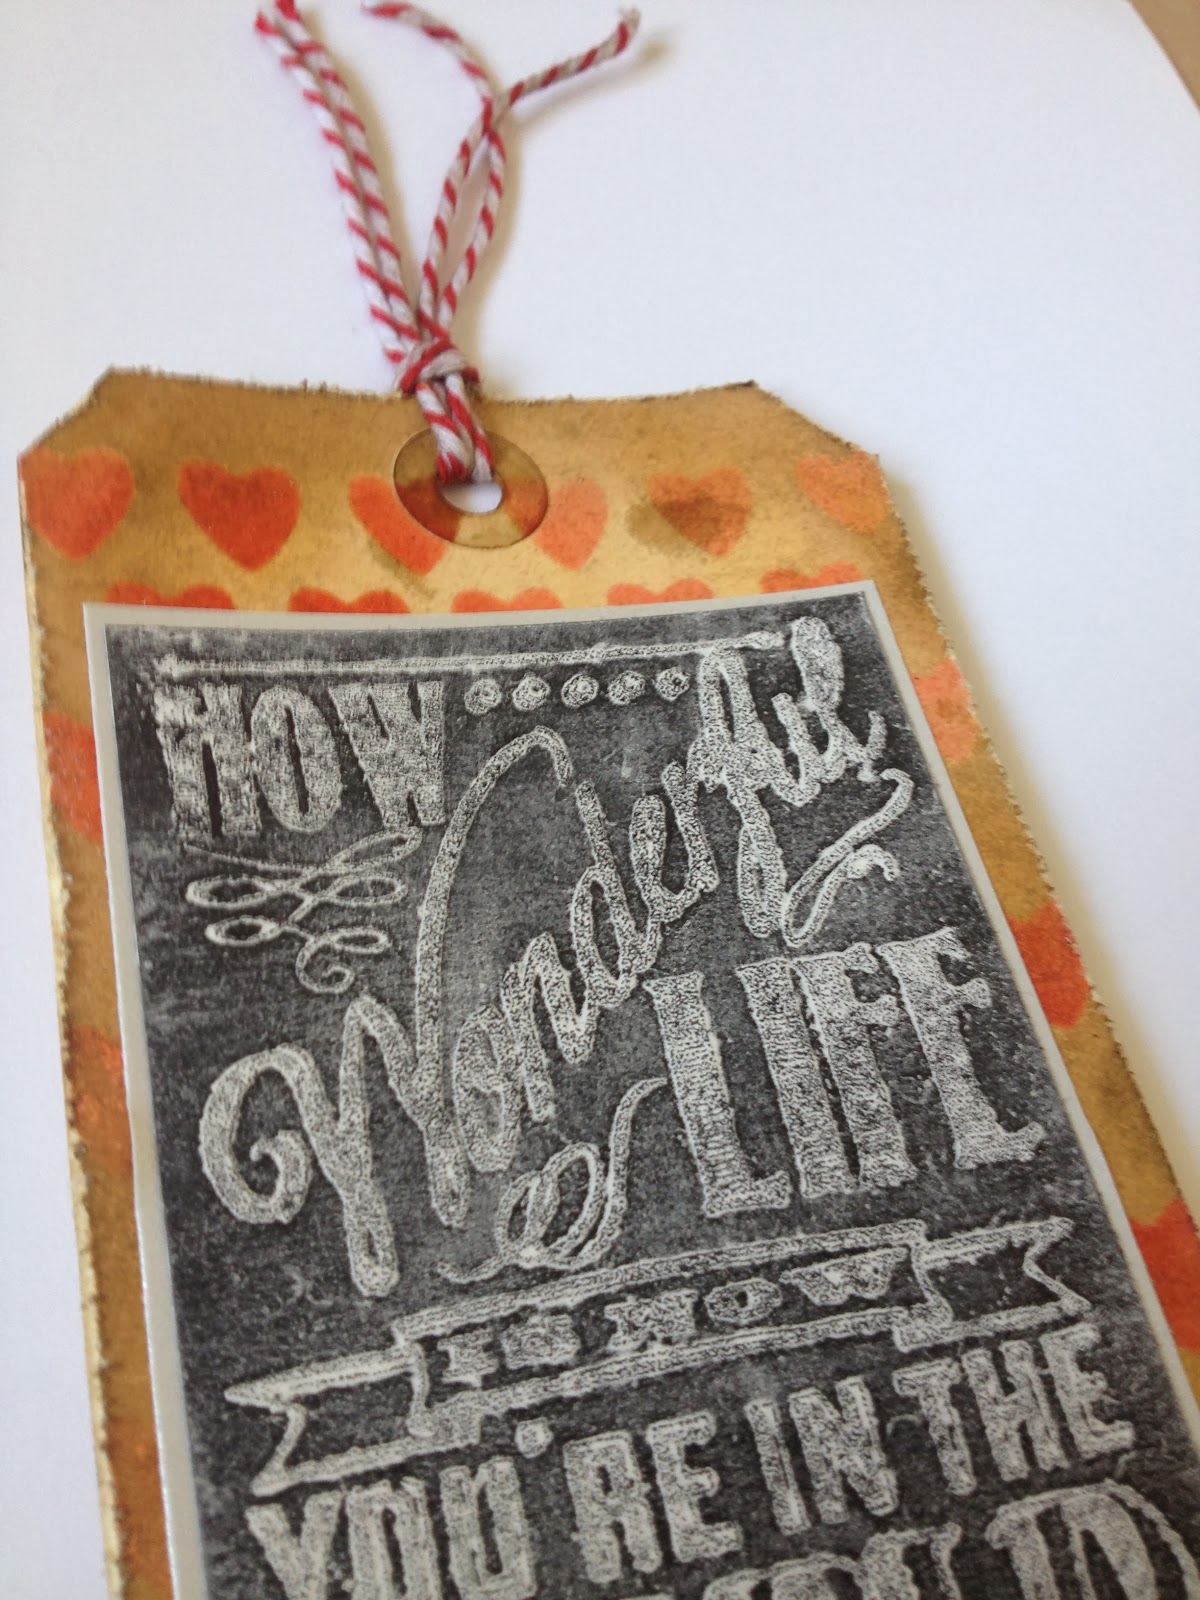
Additional materials/tools used on heart tag:
 - Ranger Distress Ink: Barn Door, Fired Brick, Worn Lipstick
 - Ranger Distress Stain: Brushed Corduroy, Milled Lavender
 - Ranger Distress Glitter: Festive Berries
 - Maya Road Twine Cording: Tomato Red
 - idea-ology Grungeboard
 - Crayola Sidewalk Chalk: White
 - Stamp by Tim Holtz for Stampers Anonymous: CMS182
 - Tim Holtz for Stampers Anonymous Layering Stencil: Hearts
 - Sizzix Big Shot
 - Sizzix Movers and Shapers Dies: Mini Hearts Set
 - Silver cardstock from my stash


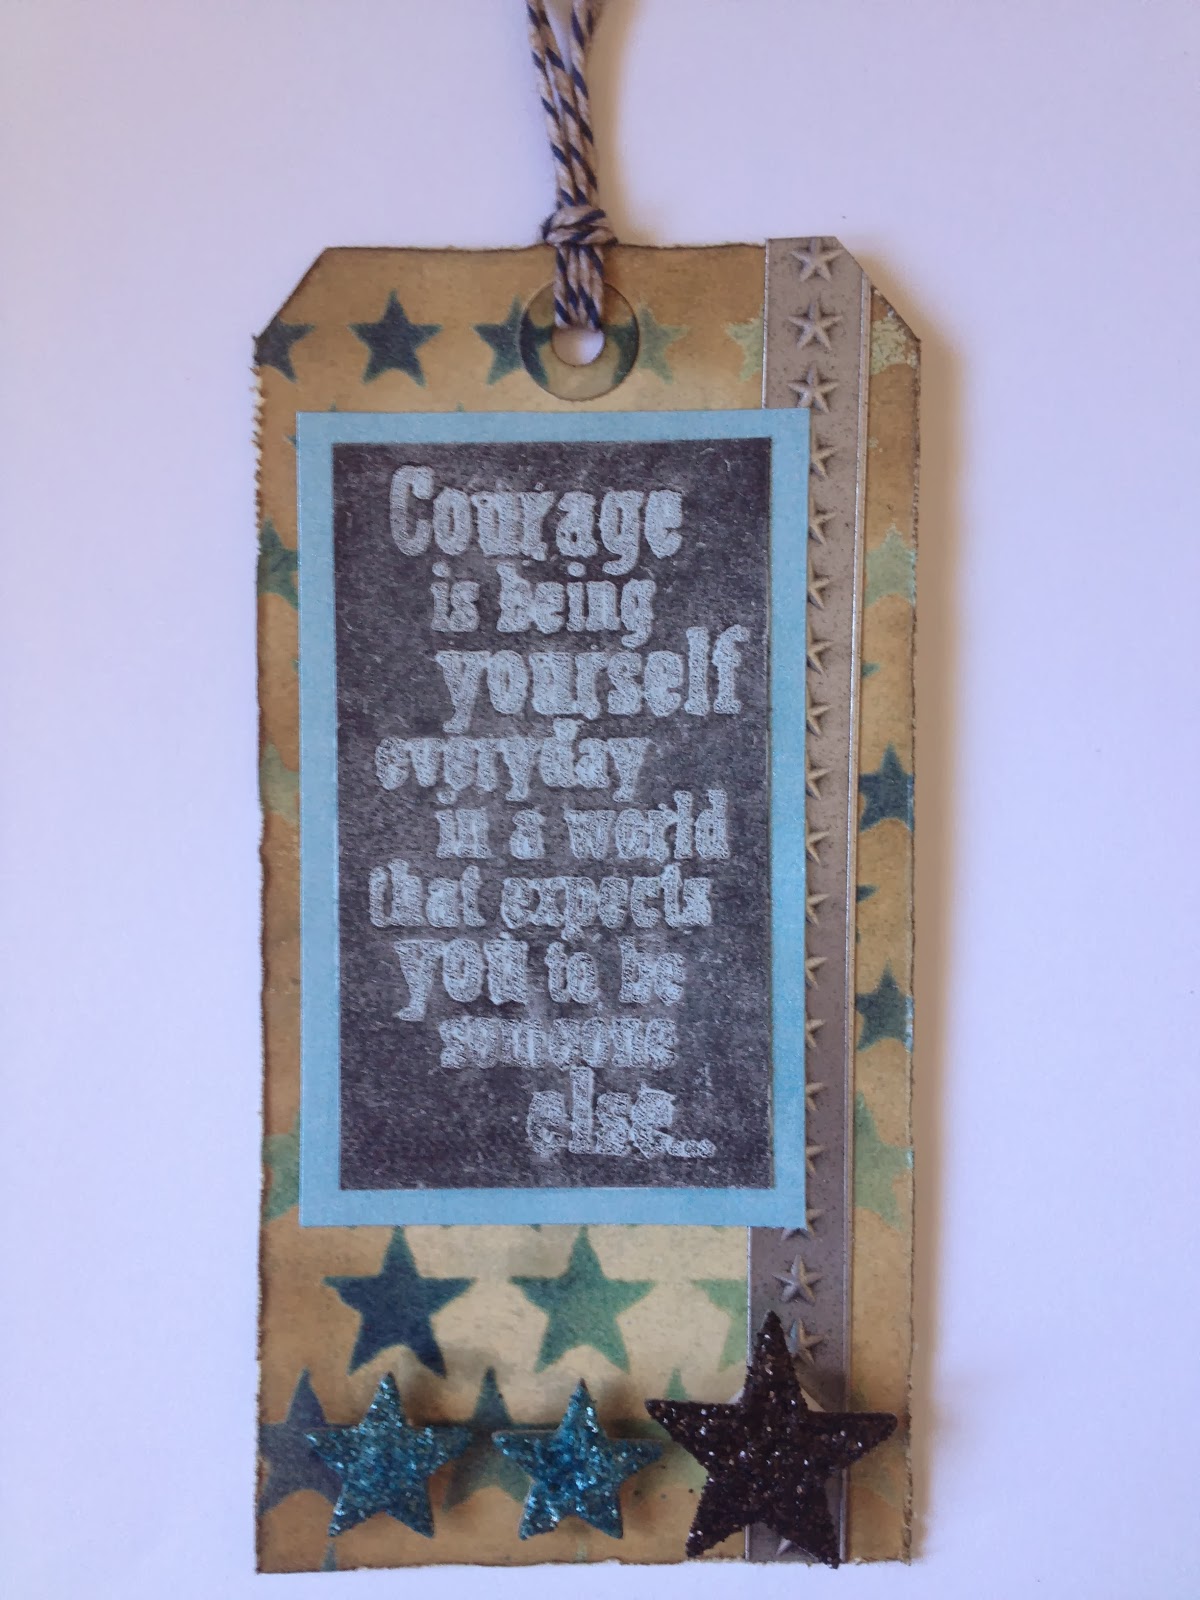
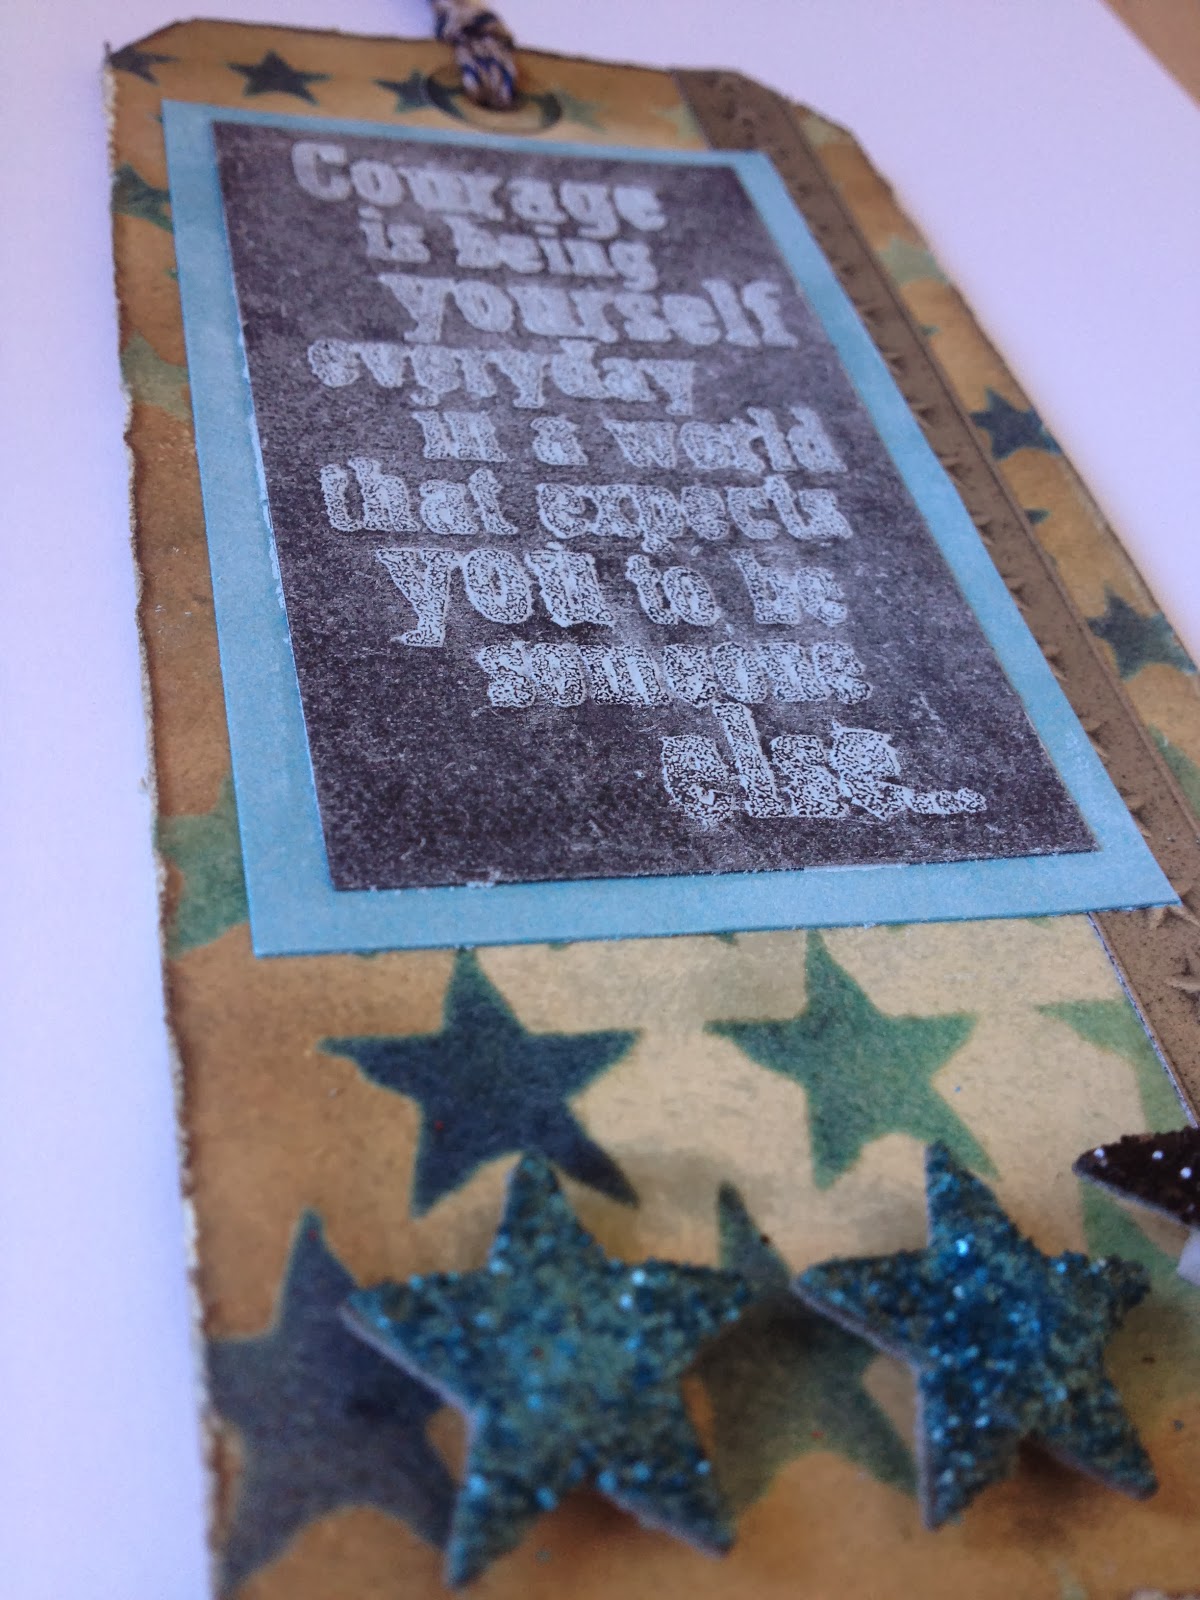
Additional materials/tools used on star tag:
 - Ranger Distress Ink: Black Soot, Broken China, Chipped Sapphire, Tumbled Glass
 - Ranger Distress Stain: Antique Linen, Weathered Wood
 - Ranger Distress Glitter: Black Soot, Broken China
 - Maya Road Twine Cording: Blueberry
 - idea-ology Grungeboard Elements
 - Crayola Sidewalk Chalk: Sky Blue
 - Stamp by Tim Holtz for Stampers Anonymous: CMS165
 - Tim Holtz for Stampers Anonymous Layering Stencil: Stars
 - Long Tweezers
 - Metallic Blue Cardstock from my stash

I will admit that playing with loose glitter is never my idea of a good time.  It gets everywhere, and can sometimes be difficult to clean up.  For a glittered look, I much prefer Stickles, which come out cleanly and stay where I put them.  That said, I have to say that Ranger's Distress Glitter isn't too difficult to clean up, and the effect is really cool.  (And I realize that using Stickles to get the same effect would use up a lot of bottles of Stickles!)  I do find it frustrating, however, that even after using my heat tool on a glittered object, and letting it sit overnight, that when I go to ink the edges I still get glitter on my blending tool.  :-P

I made the star tag second, and had the good idea to use a long pair of tweezers to help me manipulate the stars beneath the glitter I'd poured on them.  It won't work for larger shapes, but the stars were small enough that I could grasp them on the sides and move them without disturbing the glitter on top. (Mostly.)
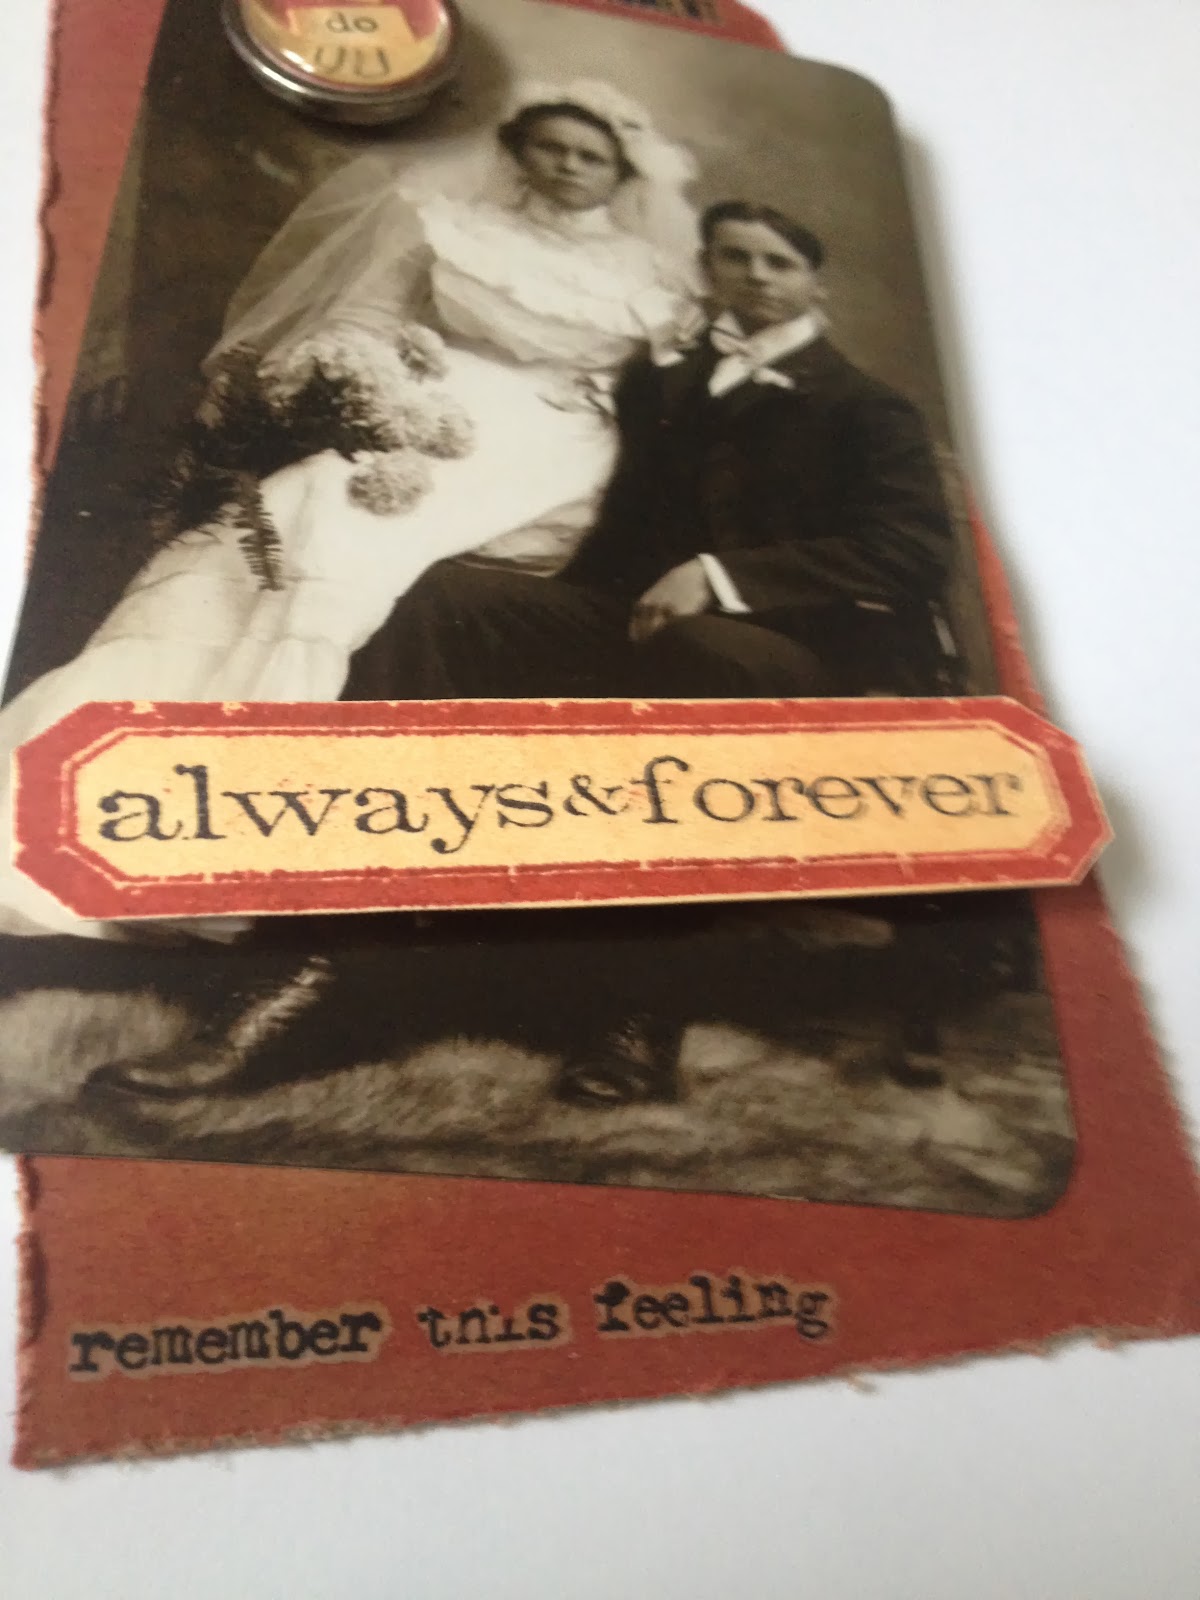
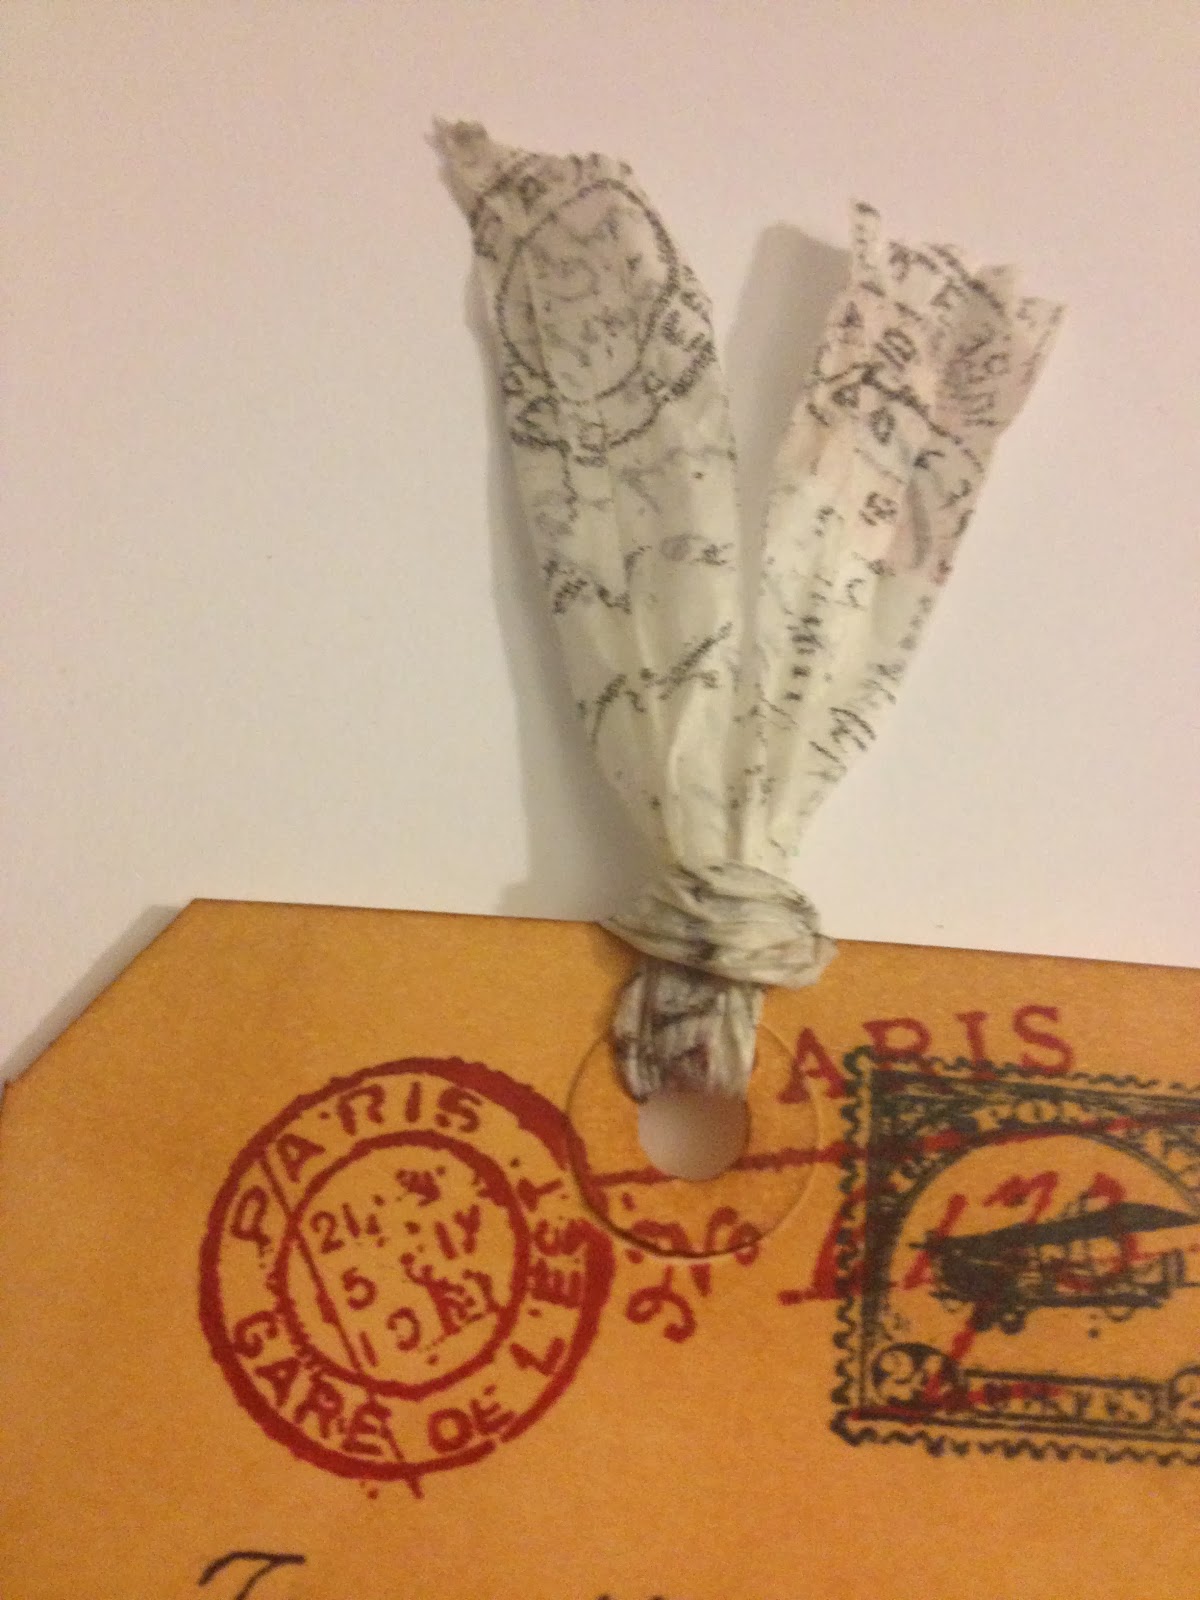
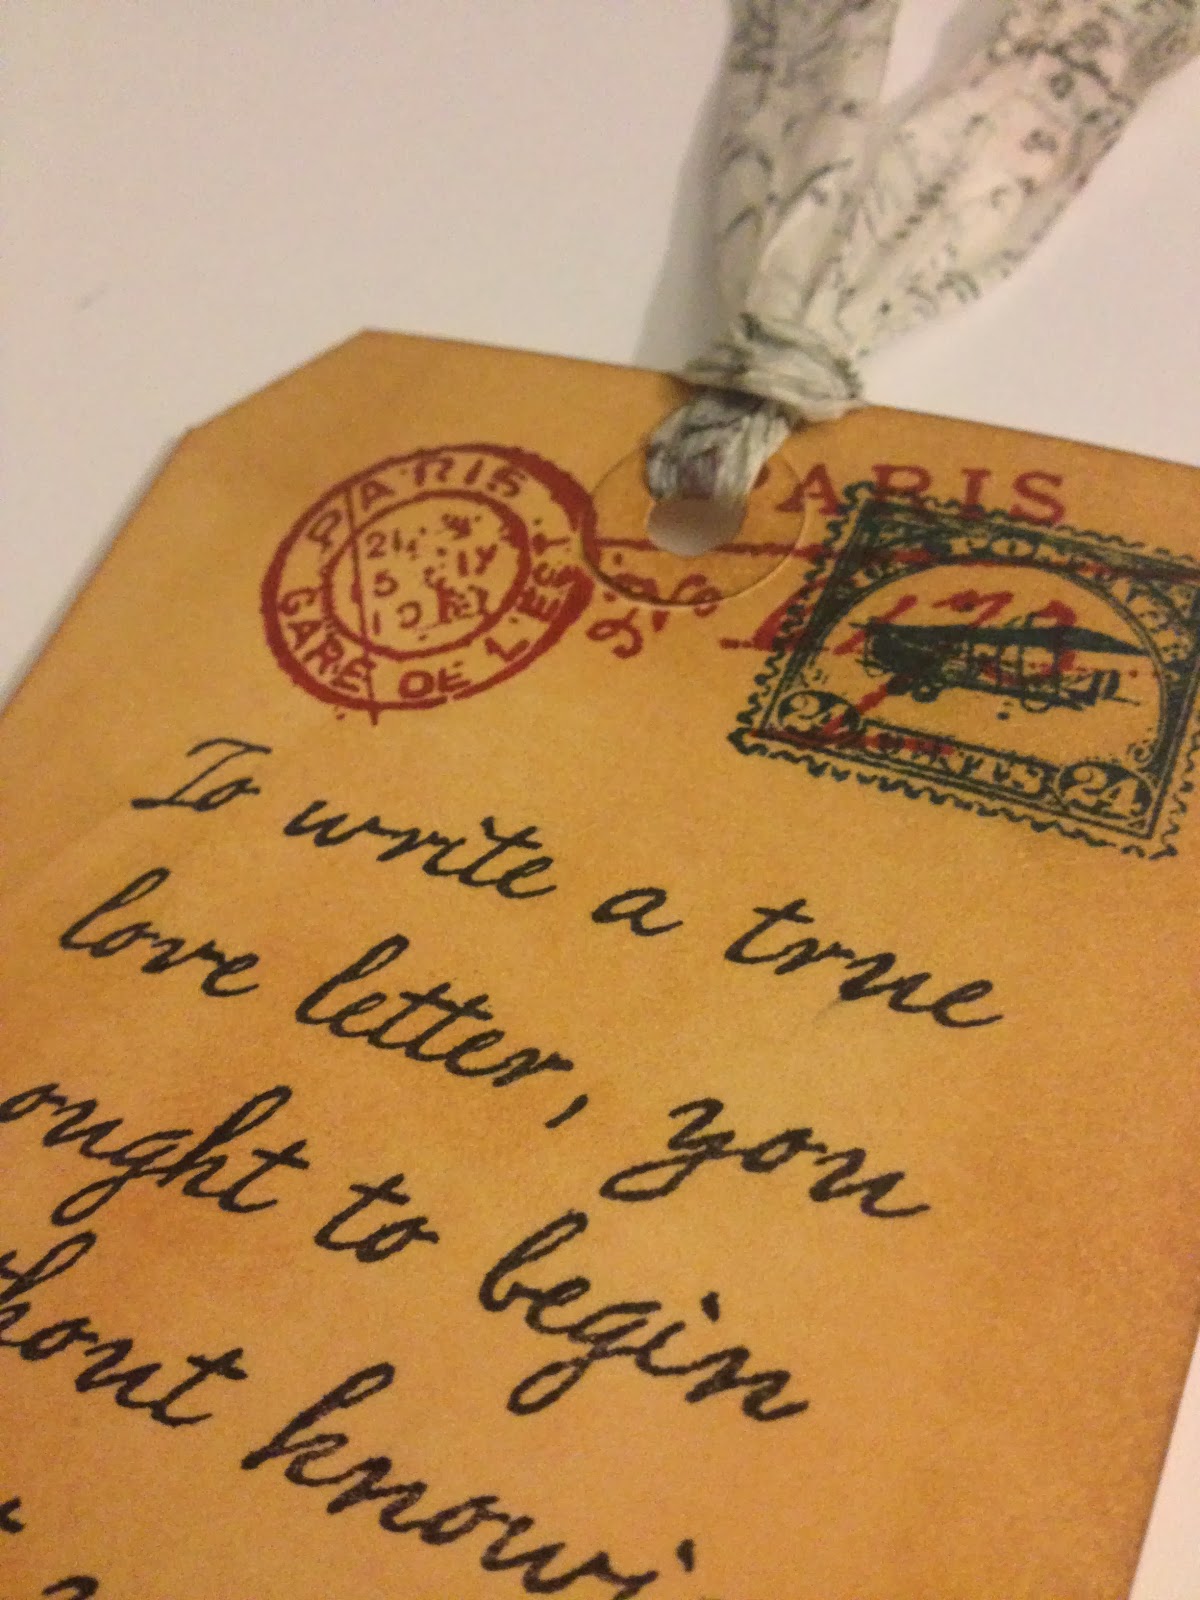
More views:


That's it for this month, I think.  I won't have a lot of studio time over the next few days, but I plan to be back in early March with my next project.

'Til then!
BAC

Monday, February 24, 2014

Challenge: "New Beginnings"

Hello again!

As promised, I have a couple more February projects to share with you!  (And I had a busy weekend in my craft room!) :-)  First up is a challenge within a private group.  The theme was "New Beginnings", and in addition to creating a project that showed that theme, we were encouraged to use a new technique or product.

Here's the tag I created:


Materials/tools used:
 - Ranger Inkssentials Kraft Tags
 - Ranger Inkssentials Manila Tags
 - Ranger Distress Ink: Fired Brick, Picked Raspberry, Tea Dye, Victorian Velvet
 - Ranger Distress Stain: Fired Brick
 - Ranger Archival Ink: Jet Black, Vermillion
 - Ranger Glossy Accents
 - idea-ology: Cash Keys, Chit Chat - Seasonal, Crinkle Ribbon, Found Relatives, Jump Rings, Remnant Rubs - Life Quotes, Wire Pins
 - Ranger Heat Tool
 - Ranger Inkssentials Blending Foam
 - Tonic Studios: Craft Scissors, Paper Distresser
 - Stampin' Up Small Oval Punch
 - Stamp by Tim Holtz for Stampers Anonymous: CMS155
 - Cold-press watercolour paper
 - Double-sick tape, foam dots from my stash

The new product I started with was the pack of Found Relatives, which are new to Tim Holtz's idea-ology line.  What better symbolizes a new beginning than a wedding photo? From there, I just had fun experimenting and playing, until I came to what you see above.  One thing slightly out of the ordinary for me was to use a Kraft tag as my base, rather than Manila or black.  It was a nice reminder for me to see how smooth those tags actually are to work with, and that they take ink just as beautifully as Manila.  (I have some Kraft cardstock that has a very rough surface, and I tend to forget that Ranger's tags aren't the same!)  I used some ideas from last year's 12 Tags, placing some remnant rubs before I inked my tag, and creating a custom cash key.  Other than a little trouble with the lower remnant rub, I was REALLY happy with how this one turned out!  :-)

Additional views:


I'll be back tomorrow with another post!  :-) 

'Til then,
BAC

Thursday, February 20, 2014

IE February Challenge: Say It With Words!

Hello again!

This month, Inspiration Emporium's challenge was to "Say It With Words"!  Here's my tag:


Materials/tools used:
 - Ranger Inkssentials Manila Craft Tags
 - Ranger Distress Ink: Brushed Corduroy, Tea Dye
 - Ranger Archival Ink: Cobalt, Deep Purple, Jet Black, Vermillion
 - idea-ology Tissue Tape: Nostalgic
 - Stamps by Tim Holtz for Stampers Anonymous: CMS164, CMS182, CSS30188, CSS30195
 - Ranger Inkssentials Blending Foam

I went very simple on this tag - I didn't want any embellishments to distract from the central stamp.  And simple though it may be, I was very pleased with how it came out.  And VERY amused when I noticed that the piece of tissue tape I'd used at the top picked up the same design as the postmark stamp:


More views:


I'll have a few more projects to post before the end of the month, so until then!  :-)

BAC


Wednesday, February 19, 2014

Simon Work It Wednesdays: Something New

Hello all!

Today's project is for a new challenge I'm going to be trying to keep up with this year - Simon Says Stamp's Work It Wednesdays!  On the last Wednesday of each month, they're posting a challenge, giving crafters until the following month to submit their projects.

For the last Wednesday in January, their challenge was to use "something new".  New product, new technique, however you choose to interpret that.  I chose to showcase a new stamp I got as part of a set I bought last week (from Simon!), and did it in a slightly different way than usual.  :-)

Here's my tag:


Materials/tools used:
 - Ranger Inkssentials #5 Manila Craft Tags
 - Ranger Inkssentials #8 Black Craft Tags
 - Ranger Distress Paints: Picket Fence, Salty Ocean
 - Ranger Distress Embossing Ink
 - Ranger Embossing Antiquities Powder: Frosted Crystal
 - Maya Road Twine Cording Solids: Blue Raspberry
 - Ranger Heat Tool
 - Ranger Inkssentials Mister
 - Stamp by Tim Holtz for Stampers Anonymous: CMS182
 - Crayola Sidewalk Chalk: Cerulean
 - Blue cardstock, white cardstock, foam dots, double-stick tape from my stash

I never really make a note of it, but whenever I do a tag, it's almost always #8 size.  It's the size I think of as "standard".  (And I always create my tag to be viewed vertically.)  Looking at the stamp I chose for this project, though, I decided to do something a little different (something new!), and pulled out a #5 tag.  The smaller size meant that I was creating horizontally instead of vertically, but it was a fun change.  I kept my palette in shades of blue (always my favourite color!), and gave another try to the chalk resist technique from Tim's November 2013 tag project.  Finished it off with some twine cording from a brand new spool I bought recently, et voila!

More views:


That's it for now.  Back tomorrow with a new project!  :-)

'Til then,
BAC