Thursday, November 28, 2013

Product Spotlight: Xyron Create-a-Sticker

Hello again!

I'll be headed out soon for Thanksgiving dinner, but first, I had a quick product spotlight for you.  Like the craft scrubbie, this is another tool that I wasn't really sure I needed until I had one, and now I find it indispensible!

Without further ado:

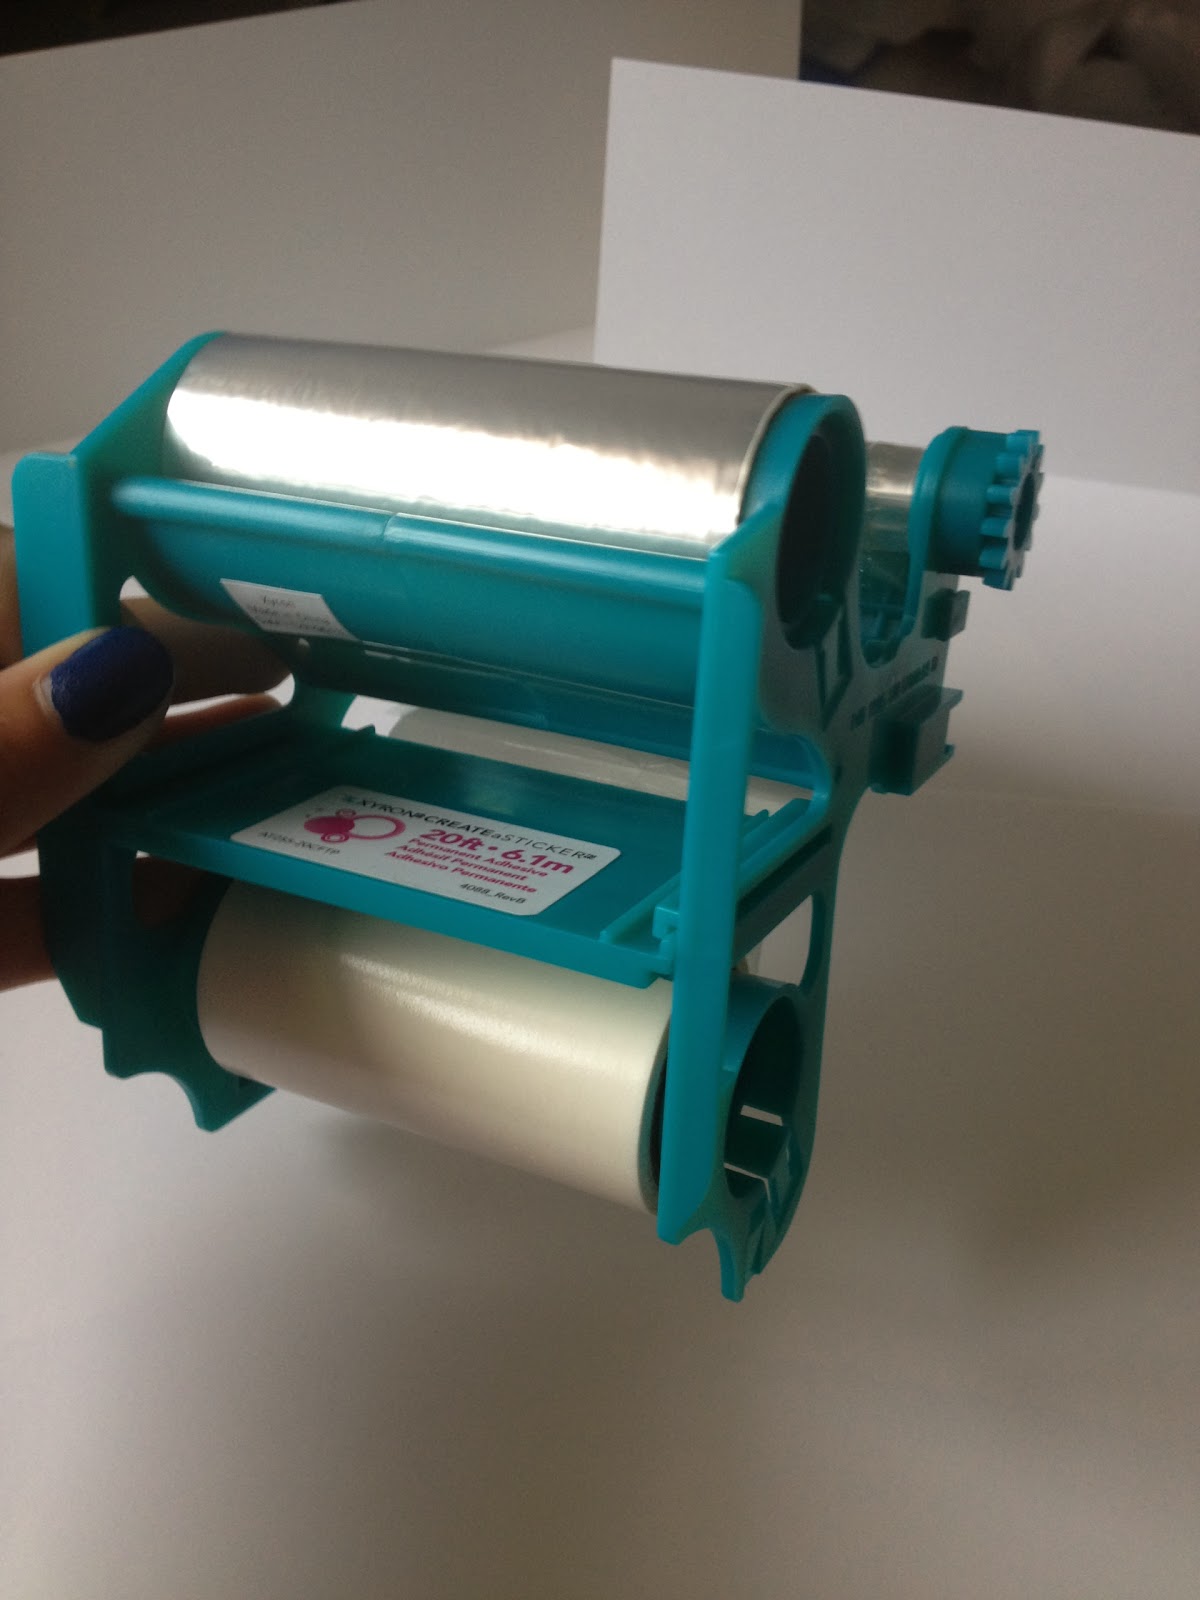
My Xyron Create-a-Sticker!

Xyron makes these machines in various sizes, ranging from the Mini (1-inch wide), to 5 inches wide.  Mine is 2.5", which seemed to make the most sense, given that I primarily work on ATCs.  All of the models except the mini are refillable, and use cartridges.  (The mini is disposable.)  Both permanent and removable adhesives are available, and you can switch from one cartridge to another easily.  (I've only used permanent adhesive, but what can I say?  I do crosswords in pen, too.)  ;-)  Each refill cartridge is 20 feel long, and they usually run about $15 at the big box craft stores.  With a 40-50% off coupon, they're pretty reasonable.


So what is it good for?  It is the perfect tool for adding adhesive to small or oddly shaped items.  I purchased it a while back when I was creating wedding invitations for a friend.  I was using small die-cut letters on the front cover, and needed something better to stick them on with than gluestick.  I remembered having seen the Create-a-Sticker at the craft store, and it turned out to be just what I needed!  Now I use it for securing oddly shaped fussy-cut and die-cut pieces, as well as pieces too small for double-stick tape.

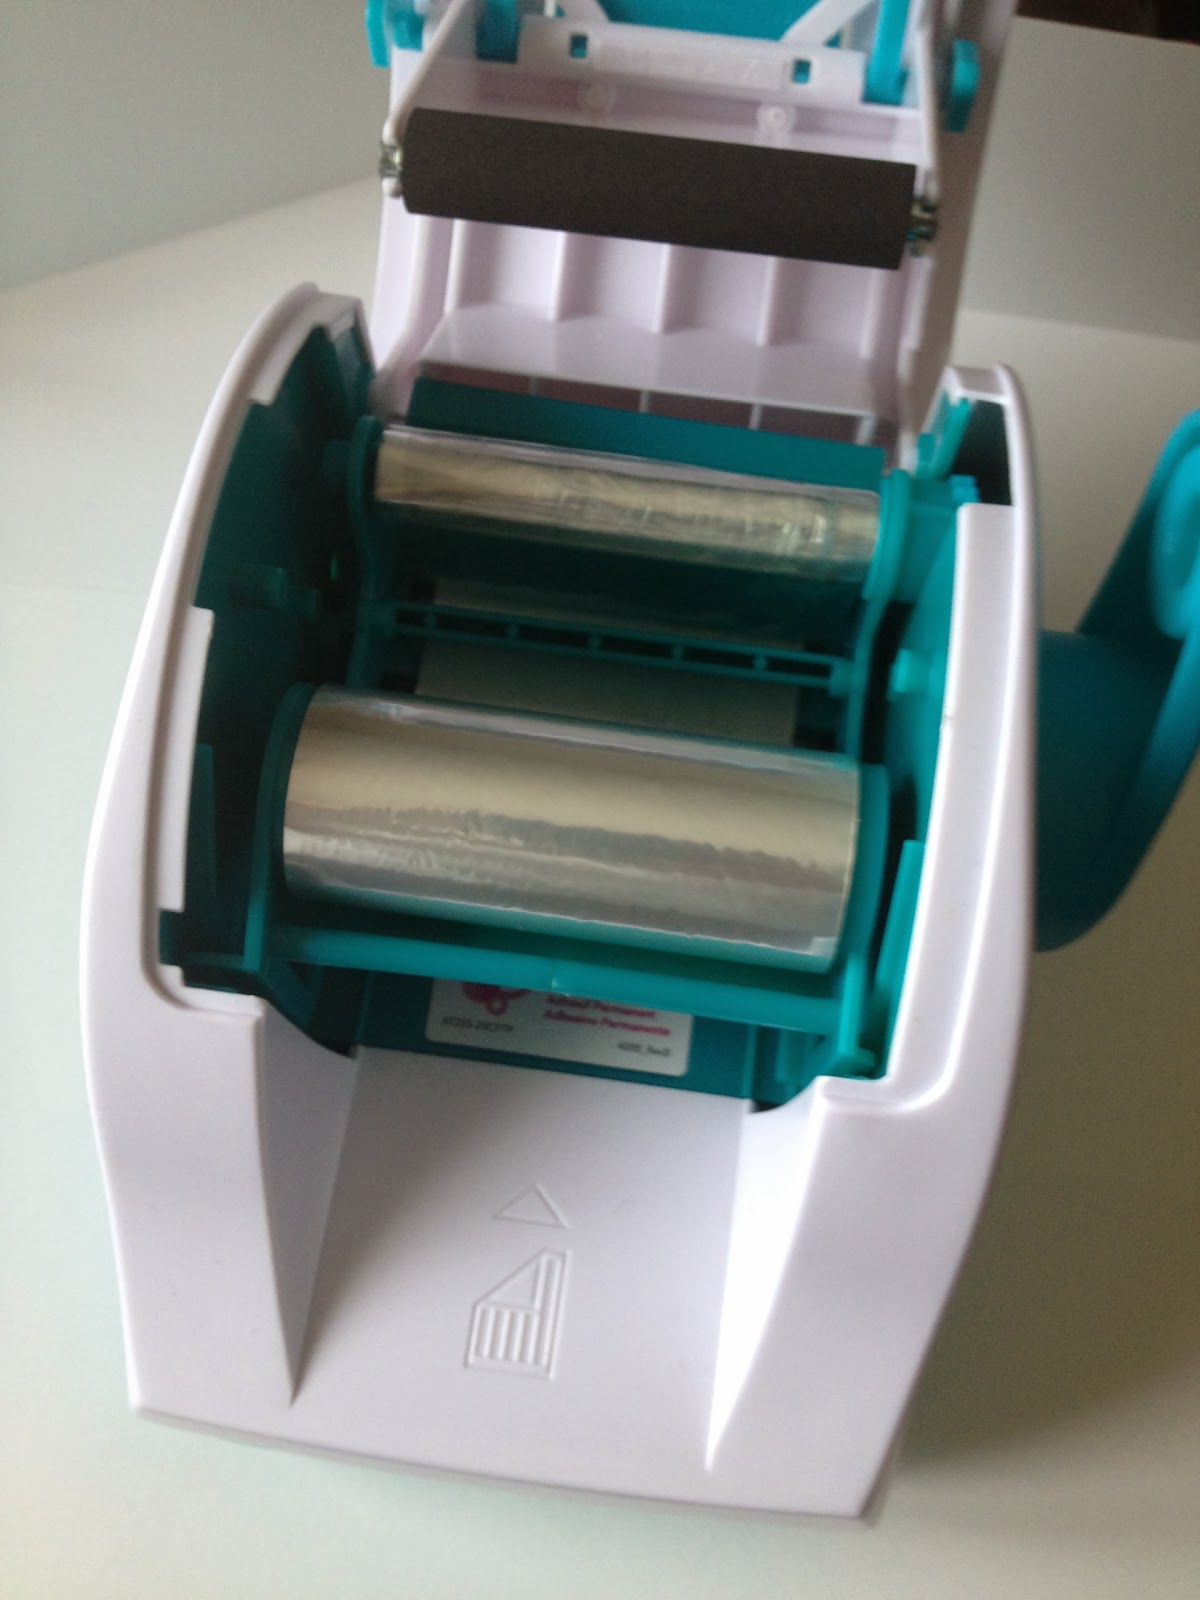
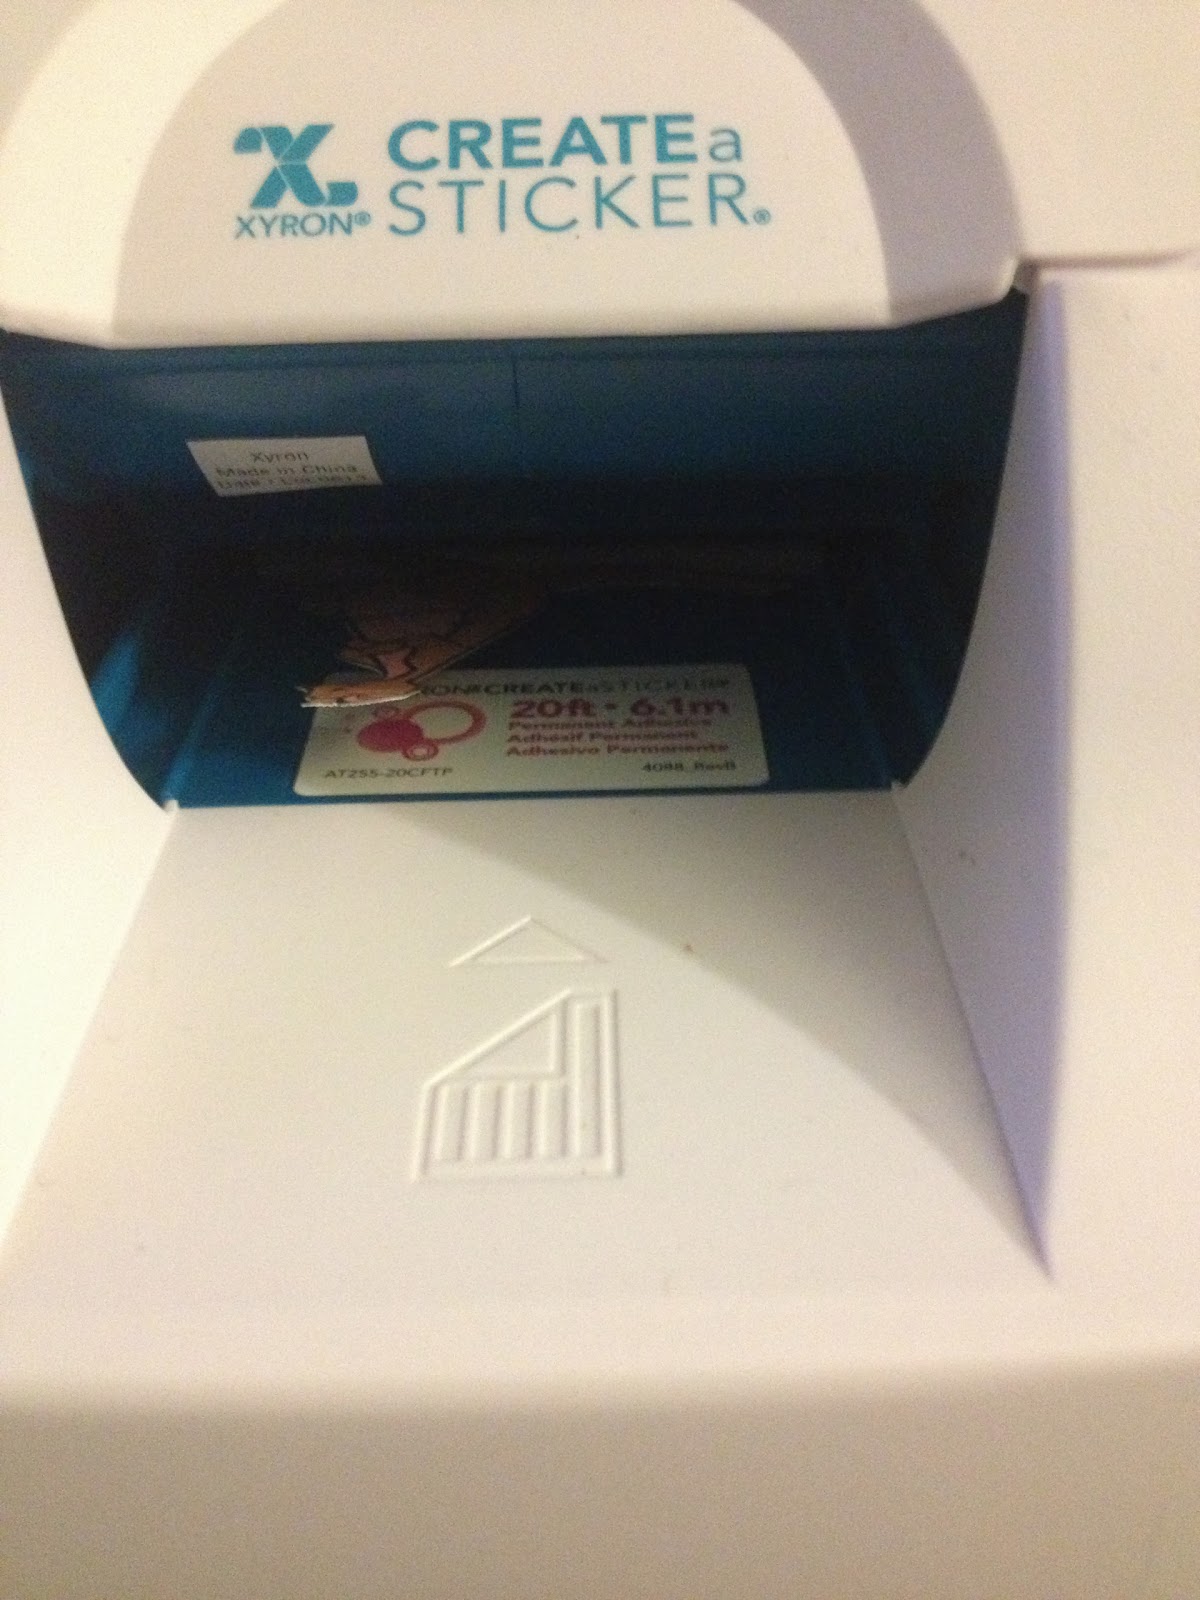
Using it is incredibly easy: place the item that you want to turn into a sticker inside face-up, turn the knob on the side, and it comes out the back on a piece of sticker backing sheet.


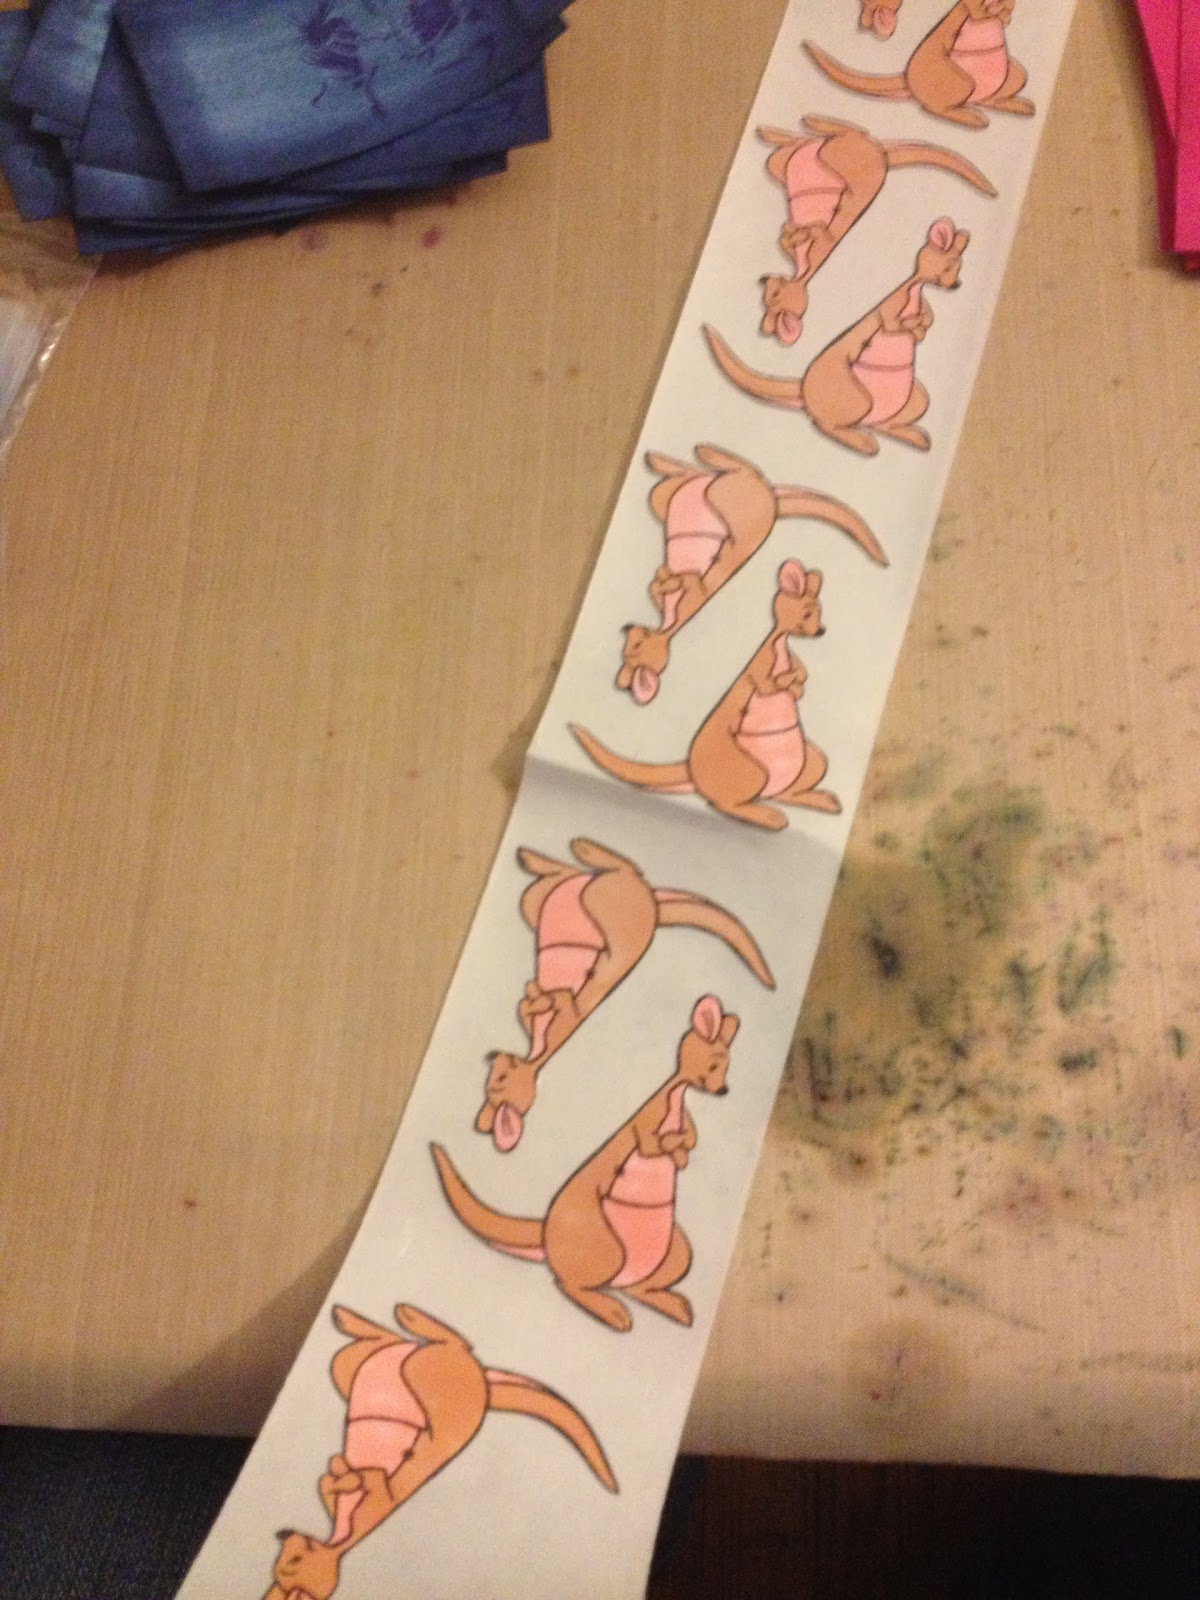
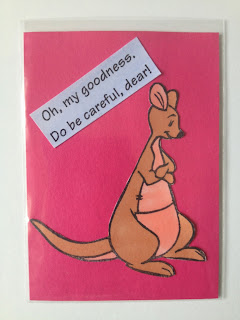
One minor thing to keep in mind, if there are holes in the middle of whatever you put through (die-cut gears come to mind), you may find some stray adhesive visible within those holes.  Same with some uneven edges on fussy-cut pieces (this occurred in the space between Kanga's feet on the above example).  While this can be a little annoying, it's easily removed with a craft pick, but do it BEFORE you apply it to the surface of your project.

Otherwise, I love it, and it's become an invaluable part of my craft setup!  Are there tools in your craft room that you never thought you'd need, until you did?

Well, dinner is calling, and I can't be late!

'Til next time,
BAC

Wednesday, November 27, 2013

Blitsy Holiday Card Challenge

Hi everybody!

Well, my long weekend officially started earlier this afternoon, and so far, I'm pretty much been spending it in my studio.  :-)  Today's project?  Cards for Blitsy's Holiday Card Challenge!

If you're not familiar with Blitsy, give them a look!  They're a little bit like woot! for craft supplies, but their sales last a few days rather than one (or until they sell out!), and they sell more than one product at a time. They sell all kinds of stuff from almost all the major craft companies, and they also have a blog where they share project ideas, make product announcements, and hold challenges.  :-)

When I got home today, I started pulling out my various holiday papers, and stamps, and embossing folders, and trimmings, but then I put it all away again.  Rather than creating a project that would look like anyone else's, working with the same stuff, I decided to do something a little more "me".  I went instead to my stash of hand-carved holiday stamps, and challenged myself to create with only those, and basic solid and metallic cardstock from my stash.  (Okay, I did pull out the label maker again at one point!)  :-)

What I came up with was rather simple, but I really like how they came out.  And the great thing?  They're super easy and fast to put together, so these are some ideas you can use if you're actually making cards in significant quantity.  :-)


Inks used:
Ranger Archival: Cobalt, Deep Purple, Vermillion
Tsukineko Memento: Cottage Ivy
Tsukineko Staz-on: Azure, Cotton White, Forest Green, Jet Black, Silver

I have to admit, I rarely showcase projects using my hand-carved stamps on this blog, so I was happy this project gave me a reason!

'Til next time!

BAC

Tuesday, November 26, 2013

November tag!

I can't believe this year is almost over!!  One more tag to go in 2013!

But first, here's my November tag:


Materials/tools used:
 - Ranger Inkssentials Black Craft Tags
 - Ranger Distress Ink: Pumice Stone
 - Ranger Distress Embossing Ink
 - Ranger Archival Ink: Jet Black
 - Ranger Embossing Antiquities powder: Frosted Crystal
 - Maya Road Twine Cording: Blackberry
 - Ranger Heat Tool
 - Ranger Inkssentials Mister
 - Ranger Inkssentials Foam Blending Tool
 - Tonic Craft Scissors
 - Stamps by Tim Holtz for Stampers Anonymous: CMS136, CMS155
 - White cardstock, white chalk, glue dots, foam tape from my stash

Notes: 
 - This was my first time trying out the chalkboard technique, and while I think it's a lot of fun, and looks awesome, it does take some practice.  Just getting the embossing powder cured in all the places, without being overcured in some of them, takes a lot of practice!  But I'll be continuing to work with this one, and eager to see what results I get with coloured chalk as well.
 - I noticed that the white of my chalk didn't look as bright as Tim's example, but I was using the no-name teacher chalk I found at the office supply store.  I'll likely try again with RoseArt or Crayola and see if that makes a difference.  :-)
 - As much as I am intrigued by Tim's new stamp & die collections, they haven't found their way into my budget yet, so in the meantime, I used some blueprint stamps I already owned, and fussy cut them.  Same effect, a little more work.  But totally doable without laying out for new stamp/die combos, and the magnetic platform.  :-)

More views:


I'm looking forward to a nice long weekend (I'm off work beginning at noon on Wednesday, and continuing through the weekend), and spending a lot of it in my studio.  Still have a couple more posts planned in November.  What are your creative plans for the holiday?  :-)

BAC

Sunday, November 24, 2013

A quick pick-me-up for a Fairy Princess...

A certain young letterboxer I know recently underwent a rather unpleasant oral surgery procedure, so I decided to make her something pretty to cheer her up.  :-)

She loves fairies, and her dad mentioned that her favourite colours are blue and aqua (girl after my own heart!), so this is what I came up with:


Materials/tools used:
 - Ranger Inkssentials Manila Craft Tags
 - Ranger Distress Ink: Salty Ocean
 - Ranger Distress Stain: Broken China, Evergreen Bough, Peacock Feathers, Salty Ocean
 - Ranger Stickles: Lagoon, True Blue
 - Tsukineko Staz-on Ink: Azure, Teal Blue
 - idea-ology Crinkle Ribbon
 - Ranger Heat Tool
 - Ranger Inkssentials Mister
 - Ranger Inkssentials Foam Blending Tool
 - Sentiment stamp by Tim Holtz for Stampers Anonymous: CSS30188
 - Fairy stamps carved by me

More views:


I can't wait to hear how she likes it!  :-)

Friday, November 22, 2013

A quick challenge! (7gypsies: A Very Vintage Christmas)

So, this morning when I woke up, I checked my Facebook feed, and noticed an update from 7gypsies: "LAST DAY to enter the Very Vintage Christmas challenge on the 7G blog!"  I had missed the original challenge announcement (I blame my RSS reader, which has been wonky lately!), but I decided I'd give it a try anyway!

Here's the challenge (for me, at least!):  My local stores carry some 7gypsies products (indeed, I own some of their papers and stamp sets), but I didn't have any of their Christmas papers, and I wasn't sure if I'd find any.  After work today, I went out on the hunt, and managed to find a few sheets at Joann!  Success!  That, and a well-chosen gypsy pack, led to:


Materials/tools used:
 - Ranger Inkssentials Manila Craft Tags
 - 7gypsies Gypsy Pack: Vintage Market
 - 7gypsies Calender Tickets
 - 7gypsies Santa's Journey Collection: Santa's Trunk
 - Maya Road Twine Cording: Tomato Red
 - Dymo label maker
 - Tonic Craft Scissors
 - Single-hole punch
 - Double-stick tape from my stash

It felt really weird for me to create a tag without any stamps on it anywhere, but I have to say, once I figured how my layout, it sure came together fast!  Hope you like it!

'Til next time!

BAC