This project was created for A Vintage Journey's Challenge #4 ("Spring Flowers"), and I'm also submitting it to SimonSaysStamp's Wednesday challenge ("Anything Goes").
Here's my tag:

Materials/tools used:
- Ranger Inkssentials Manila tags
- Ranger Distress Ink: Broken China, Bundled Sage, Dried Marigold, Iced Spruce, Mustard Seed, Ripe Persimmon, Salty Ocean, Vintage Photo
- Ranger Distress Paint: Peeled Paint, Picket Fence
- Ranger Distress Stain: Tea Dye
- Ranger Heat Tool
- Ranger Inkssentials Foam Blending Tool
- Ranger Inkssentials Mister
- Ranger Inkssentials Collage Glue Stick
- Tim Holtz 8x8 Paper Stash: Collage, Menagerie
- idea-ology: Crinkle Ribbon, Long Fasteners, Sanding Grip
- Tonic Studios: Craft Scissors, Paper Distresser
- Sizzix Big Shot
- Sizzix dies: Tattered Florals Bigz, Tattered Leaves Bigz
- Stamp by Tim Holtz for Stampers Anonymous: CSS30218
- 1/8" hole punch
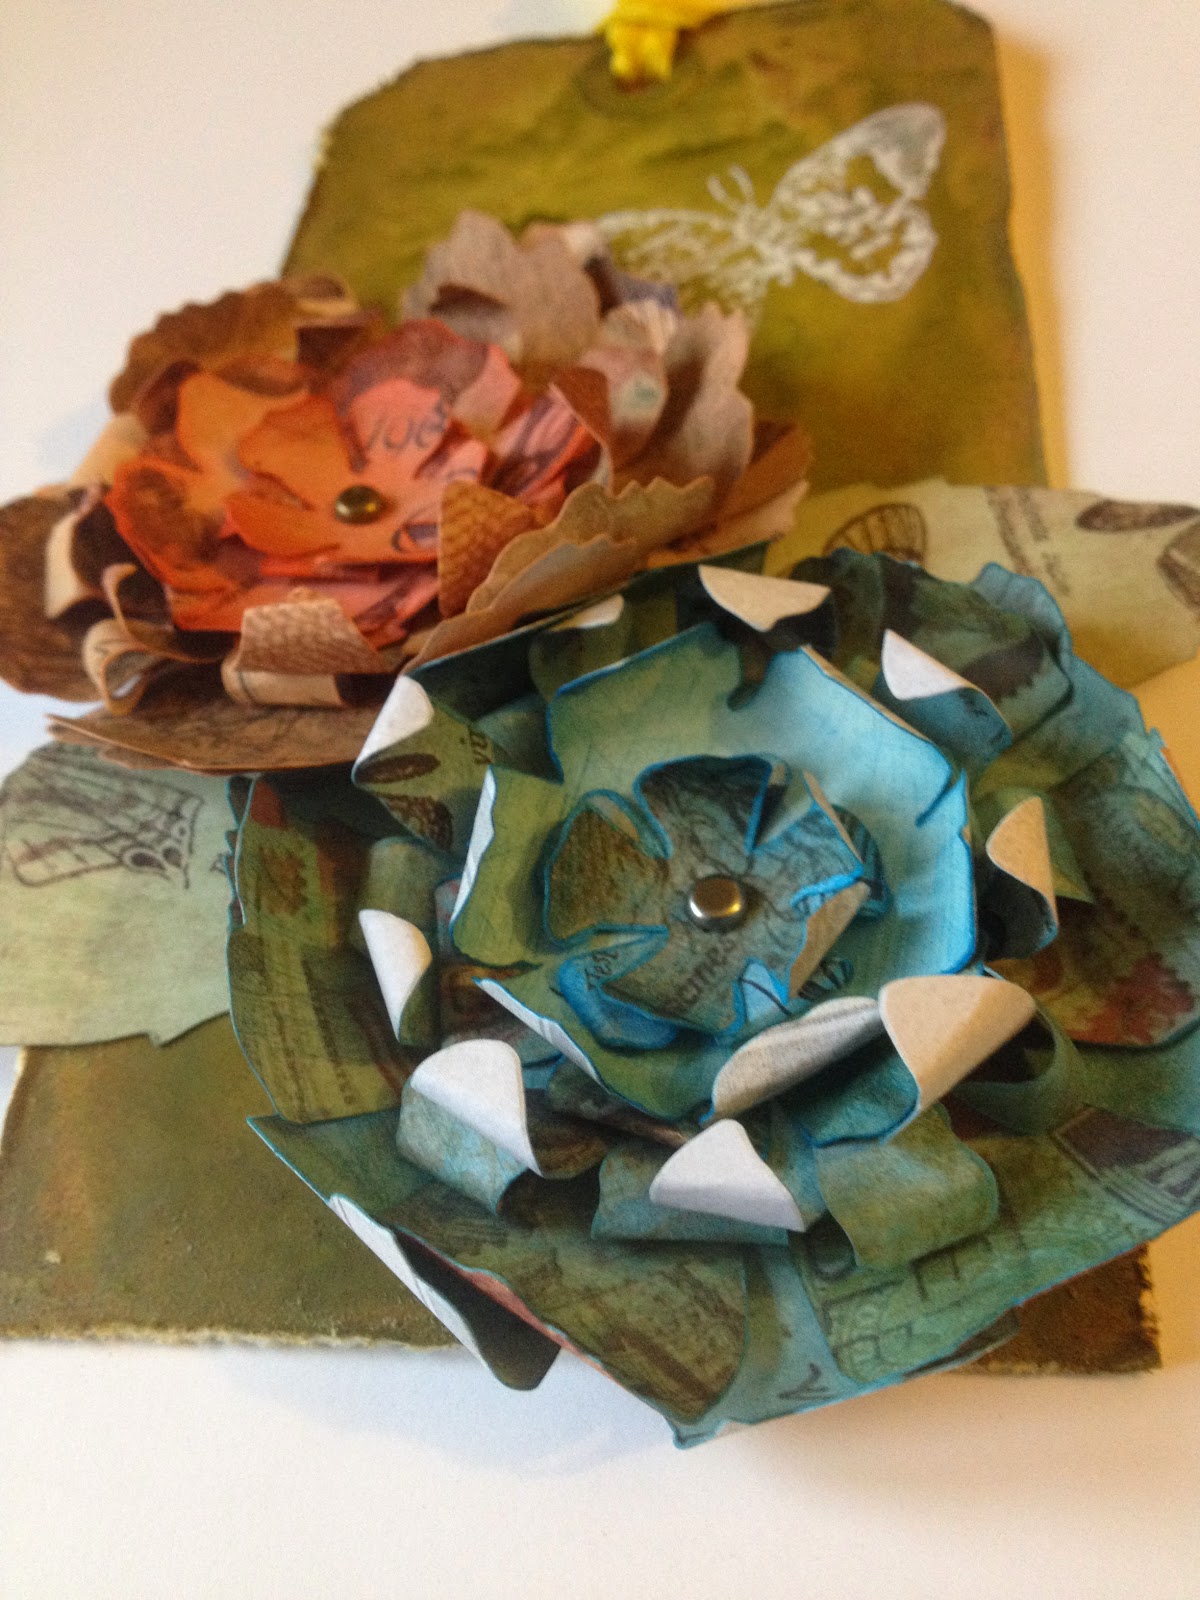
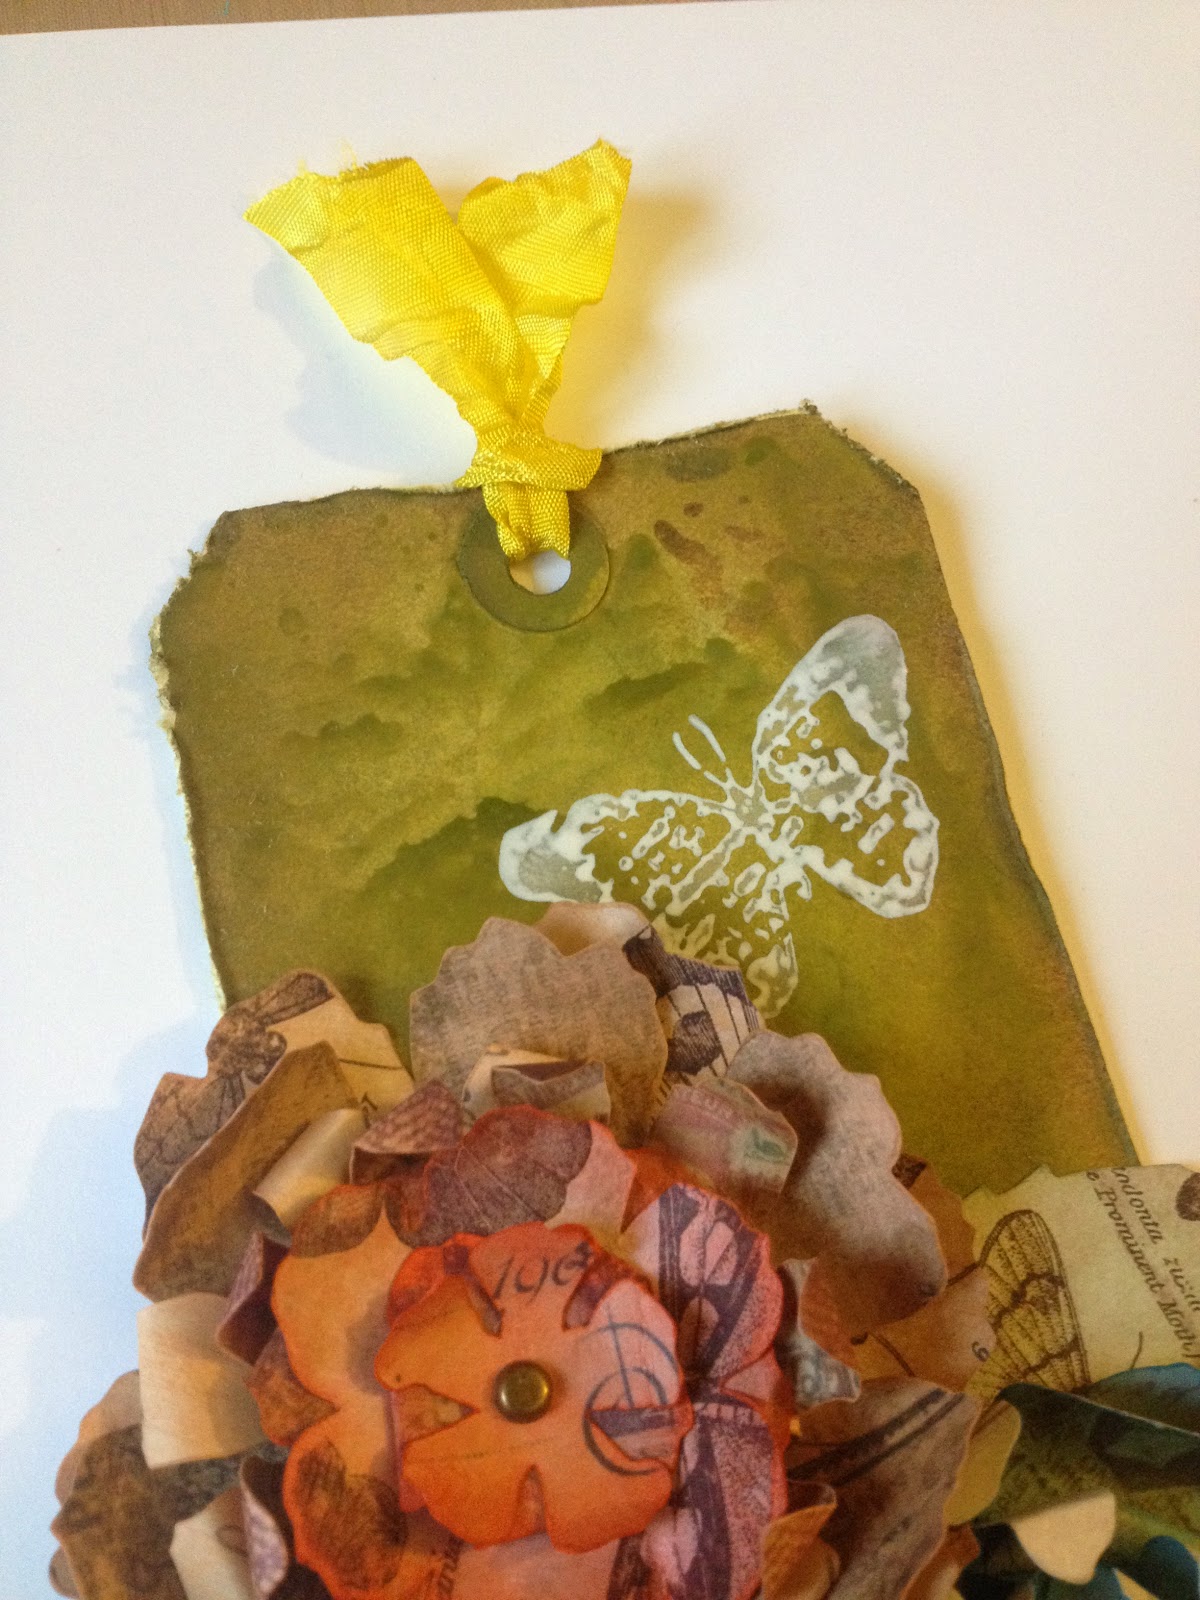
To create this tag, I started by putting some Tea Dye Distress stain and Peeled Paint Distress paint on my craft sheet, and swiping my tag through them until it was covered. I dried it with my heat tool, and then covered it with Iced Spruce Distress ink. Then I splattered some droplets of water on it, and dried once again with the heat tool. I then inked around the edges with brown Distress ink, and distressed them with the Tonic distresser tool. Next, I stamped my butterfly with white Distress paint, cleaned my stamp, and used my heat tool to dry the paint.
Next, I set the tag aside, and began working on my die cuts. I cut pieces from four different pages in the paper stashes, and die-cut 4 sets of the Tattered Floral pieces, and 2 single leaves from the Tattered Leaves die. I lightly sanded the edges, and then used my foam tool to add some color to my flower pieces. Each flower above contains 2 sets of Tattered Floral pieces, but I mixed and matched the different paper designs for variety. I used my tiny hole punch to make a hole in the centre of each flower piece, and began to put my flowers together, from the top down, on long fasteners. I alternated rolling the petals inward or outward to create some dimension. Once my flowers were complete, I attached the leaves to my tag with collage glue stick, and used some Glossy Accents to adhere the completed flowers. Lastly, I took a piece of crinkle ribbon, spritzed it with water, rubbed a yellow Distress pad on it, crumpled it up, and dried it with my heat tool, for the perfect finishing touch on top.
More views:
Back in a little bit with my last post for this evening! :-)
BAC
Such a lovely tag - I really like the colors you have chosen. The entire tag is filled with wonderful details and topped off with that lively yellow ribbon.
ReplyDeleteThanks for joining us here at A Vintage Journey
Very nice tag. Those flowers are great! Thanks so much for playing along with us over at the Simon Says Stamp Wednesday Challenge!
ReplyDeleteFabulous, I love the whole tag, the effects you have achieved are wonderful. Thanks for joining us on A Vintage Journey xx
ReplyDeleteHi again Liz. :) These flowers are quite striking! Your Peeled Paint and Tea Dye swiped background gives a very nice mottled effect. That white butterfly really stands out. Thanks for joining us at A Vintage Journey. <3 Candy
ReplyDelete